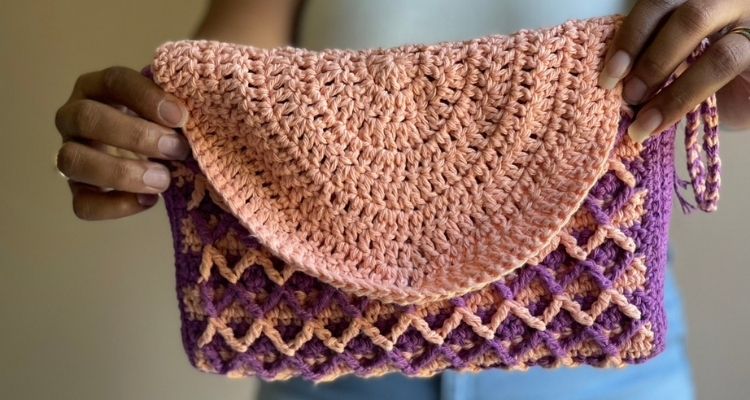
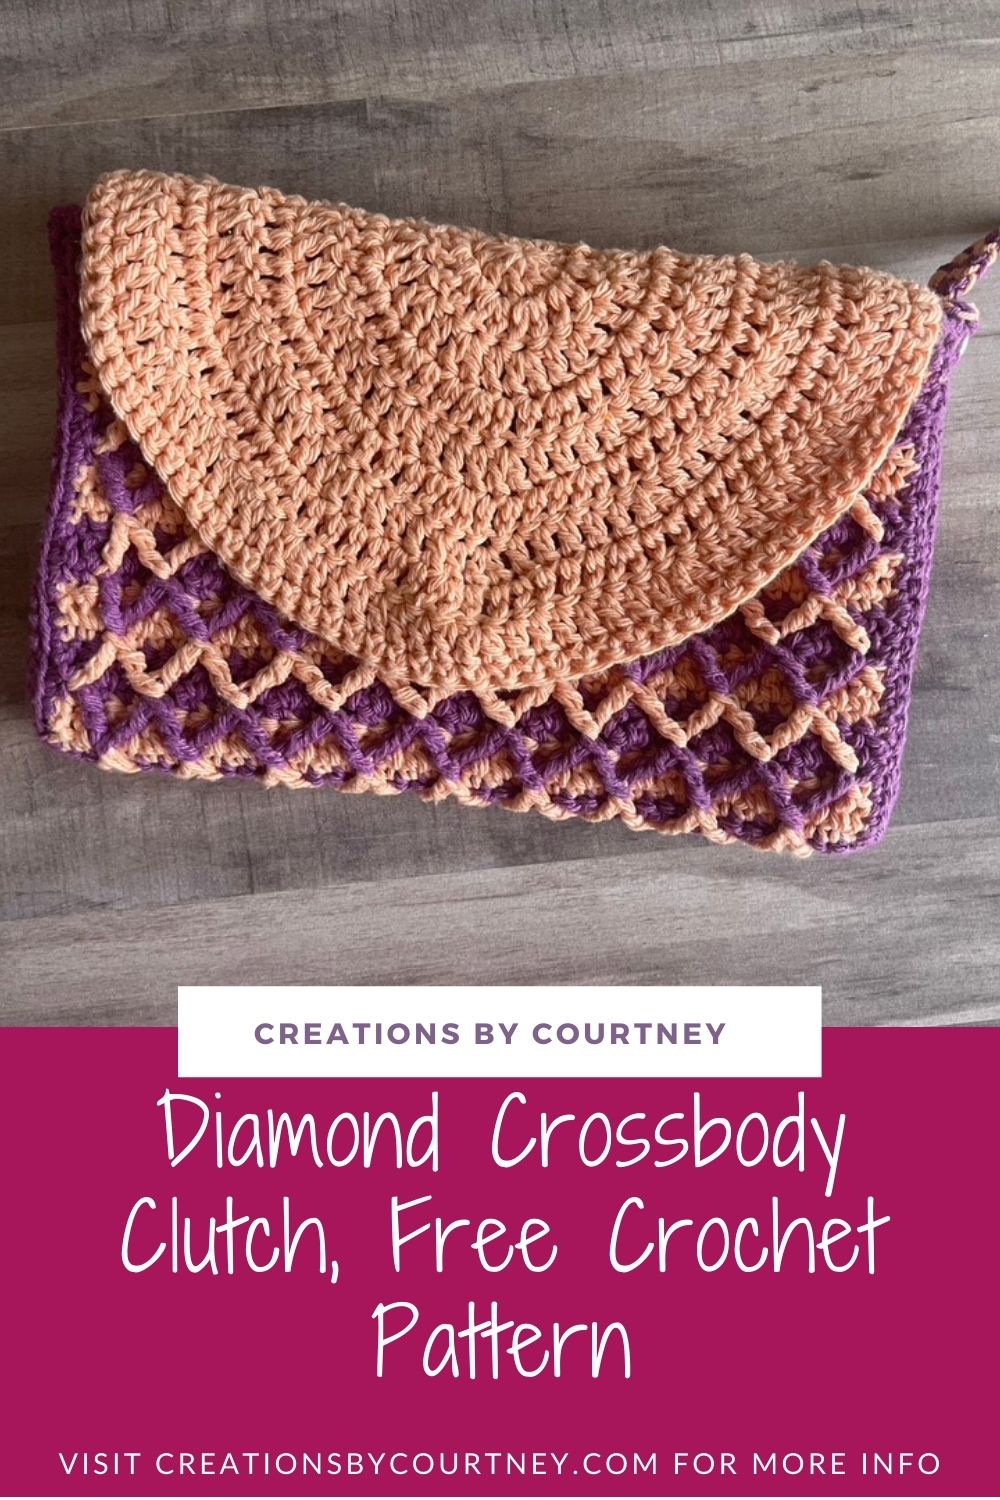
The Diamonds Crossbody Clutch is your next favorite crochet project!
The Diamonds Crossbody Clutch offers texture with the Diamond Trellis Stitch and a fun striping effect by alternating two colors. It’s the perfect size for carrying your essentials when heading out for work, to lunch or a date your Boo.
As a huge fan of purses, totes and wristlets, it was easy to come up with a design that is stylish and practical. This crochet clutch has a fabric lining, zipper and snap to keep your items secure no matter which strap you choose to use. Yep, the Diamonds Crossbody Clutch has two strap options, wrist and crossbody.
The Diamonds Crossbody Clutch original idea was to have a single color background and a contrasting diamond stitch, but the color changes were not neat. Also, I thought a striping effect would be more fun create.
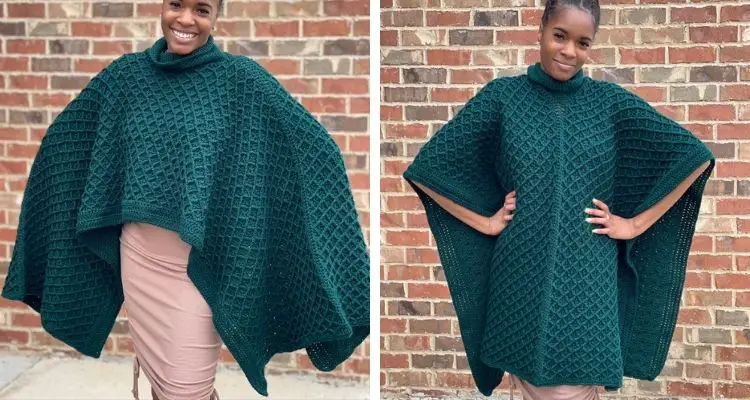
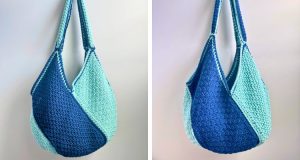
If you enjoy the Diamond Trellis Stitch, check out the Draped in Diamonds Poncho too!
YARN
I chose some Premier Home Cotton from my stash in Passionfruit and Peach. This yarn is 100% cotton and comes in 51 colors, solids and multis.
I enjoyed working with this cotton yarn, as it is the right amount of soft to not irritate one’s fingers while crocheting, and has the sturdiness that cotton is known for to keep it’s shape.
Personally, I choose cotton yarns most frequently when making a crochet tote or purse so that it can keep its shape, and last for many years of use. Cotton is one of the easier to care for natural fibers, particularly in crochet projects that will be used frequently.
Premier Home Cotton can be found at Michaels, Joann, LoveCrafts, and Premier Yarns. With so many colors to choose from, and only needing 1 ball of each color, there’s a ton of options to create a collection of Diamond Crossbody Clutches to go with your favorite outfits.
*Disclosure: This post may contain affiliate links to products that I use, and think you will enjoy using too. Should you decide to use any such link, I will earn a small commission at no cost to you. Thank you for supporting this small business.

Add to Ravelry Queue
MATERIALS
- Premier Home Cotton (85% cotton, 15% polyester, 140 yds/ 128 m; 2.8 oz/ 80 g skein): Color A: Peach, 1 skein/ 140 yds; Color B: Passionfruit, 1 skein /140 yds
- US I (5.50 mm) hook or hook to meet gauge
- Stitch marker, x2
- Scissors
- Yarn Needle
- Measuring Tape
- Grommet, x2
- Purse Strap Clip
- Fabric to line clutch
- 9” zipper
- Sewing needle and thread
GAUGE
- Flap: 7 rows of dc sts = 4 in. [10 cm]
- Body: 15 dc sts = 4 in [10 cm], 12 rows in pattern = 4 in. [10 cm]
SIZES
- Body: 10.5” wide x 14” long, before seaming,
- Flap: 10.25” wide x 5.5” tall
- Assembled: 10” wide x 6.5” tall x 1” deep
PATTERN KEY
- BL: back loop
- Btw: between
- Ch: chain
- Cnr: corner
- CSDC: chainless starting double crochet
- Dc: double crochet
- FL: front loop
- FO: fasten off
- FPtr: front post treble crochet
- FPtr2tog: front post treble 2 together
- Fsc: foundation single crochet
- Hdc: half double crochet
- M: stitch marker
- RS: right side
- Sl st: slip stitch
- Sc: single crochet
- St(s): stitch(es)
- Sk: skip
- Tr: treble crochet
SPECIAL STITCHES & TECHNIQUES
CSDC: pull up a loop, holding loop in place and wrap yarn around hook (YO), insert hook in first st, YO, pull up a loop, [YO, pull through 2 loops] twice
Fptr2tog: YO twice, insert hook in back bump of 2nd ch from hook, pull up a loop, *[YO, pull up a loop in next st]; repeat from * to end
Attach with sc: insert hook in last st, YO, pull up a loop (2 loops on hook), insert hook through next st, YO, pull through all loops on hook
EXPERIENCE LEVEL
Intermediate

NOTES
- Pattern is written US terms.
- Read the entire pattern before beginning.
- The foundation row can be substituted by making a ch in the number of sts as the fsc +1 listed.
- The CSDC of each row is included in the total st count.
- Be sure to sk the st behind each FPtr and FPtr2tog.
- All FPtr2tog have 3 skipped sts btw each leg of the st to create half of the diamond shape.
- All FPtr2tog are linked to create the diamond shape.
- Any changes in length are not listed in the yarn amounts.
You may like these patterns too
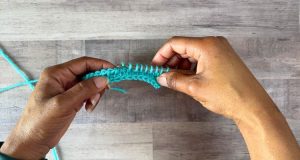
Need help with the stitches?
Check out the following tutorials:
Grab the ad-free PDF that includes tutorial pictures and video


Instructions
Flap
With Color A, magic circle
Row 1: Ch 2 (does not count as a st), 8 dc in center, tighten center, turn – 8 dc
Row 2: CSDC in first st, [2 dc in each st] 6 times, dc in last st, turn – 14 dc
Row 3: CSDC in first st, [2 dc in next st, dc in next st] 6 times, dc in last st, turn – 20 dc
Row 4: CSDC in first st, [2 dc in next st, dc in next 2 sts] 6 times, dc in last st, turn – 26 dc
Row 5: CSDC in first st, [2 dc in next st, dc in next 3 sts] 6 times, dc in last st, turn – 32 dc
Row 6: CSDC in first st, [2 dc in next st, dc in next 4 sts] 6 times, dc in last st, turn – 38 dc
Row 7: CSDC in first st, [2 dc in next st, dc in next 5 sts] 6 times, dc in last st, turn – 44 dc
Row 8: CSDC in first st, [2 dc in next st, dc in next 6 sts] 6 times, dc in last st, turn – 50 dc
Row 9: CSDC in first st, [2 dc in next st, dc in next 6 sts] 6 times, dc in last st, turn – 56 dc
Rnd 10: Sc in first st, sc in each st, turn cnr, ch 1, and evenly space 38 sc across flat edge, sl st to join in first sc, turn – 94 sc
Rows 11: Sc in first st, sc in next 37 sts, turn – 38 sc
Row 12: Sc in each st, turn
Body
Row 1: Working in back loop only, sc in each st, turn – 38 sc
Row 2 (WS): CSDC in first st, dc in each st, change to Color B, turn. Do not FO Color A – 38 dc
Note: Be sure to skip a st behind each FPtr and FPtr2tog.
Row 3 (RS): Ch 1, FPtr around 3rd sc 2 rows below, sc in next 3 sts, *FPtr2tog around 3rd sc 2 rows below, sc in next 3 sts, rep from * until 2 sts remain, FPtr around same st as last FPtr2tog, sc in last st, turn – 8 FPtr2tog, 2 FPtr, 28 sc
Row 4: CSDC in first st, dc in each st to end, change to Color A , turn – 38 dc
Row 5: Ch 1, sc in first st, sc in next 2 sts, FPtr2tog around 1st and 4th st 2 rows below (connects to make first diamond), *sc in next 3 sts, FPtr2tog; rep from * until 2 sts remain, sc in last 2 sts, turn – 9 FPtr2tog, 29 sc
Row 6: CSDC in first st, dc in each st to end, change to Color B, turn – 38 dc
Row 7-36: Rep [Rows 3-6] 9 times or until piece measures 14 in. [35.5 cm] in length, turn
Note: Length can be shortened or lengthened, as desired. Yarn amounts listed do not account for any changes in length.
Row 37: Rep Row 3, FO Color A
First Side
Row 1: Continuing with Color B, ch 1, evenly space 58 sc along Rows 1-37. Place M in 28th st from each end, turn – 58 sc
Row 2: Working in FL only, sc in first st, sc in next 25 sts, attach with sc in last st (this will be where the M is placed, sl st in next st (counts as ch 1 for next row), turn – 27 sc
Row 3: Sc in first st, sc in next 23 sts, turn – 24 sc
Row 4: Sc in first st, sc in each st until 1 remains, attach with sc in last st, sl st in FL of next st, turn – 24 sc
Row 5: Sc in first st, sc in next 23 sts, 2 fsc, sk next 2 sts, dc in last st, FO with long tail for seaming
Attach grommet
Grab the ad-free PDF with pictures to see how the grommet fits, Ravelry or Etsy
Second Side
Row 1: Attach Color B to cnr of Row 37 (Last Row of the Body), sc in each st to cnr, ch 1, evenly space 58 sc, turn – 96 sc, 1 ch
Row 2: Place M in 28th and 31st sts from end; working in BL only, sc in first st, sc in next 25 sts, attach with sc, sl st in next st, turn – 27 dc
Row 3: Sc in first st, sc in next 23 sts, turn – 24 sc
Row 4: Sc in first st, sc in next 22 sts, attach with sc in last st, sl st in next st, turn – 24 sc
Row 5: Sc in first st, sc in next 23 sts, 2 fsc, sk next 2 sts, tr in last st, FO with long tail for seaming
Attach grommet
Wrist Strap
- Using both colors, leave a tail at least 2-3” [5-7.5 cm] long, make a slip knot and place on hook.
- Wrap first color from front to back over hook.
- Wrap second color from back to front over hook and pull through all loops.
- Repeat Steps 2-3, alternating each color that is wrapped first, until desired length to fit wrist.
- FO with at least 2-3” [5-7.5 cm] extra yarn, fold in half, and knot together. Ends will function like a tassel
Crossbody Strap
- Using both colors, grab both ends of the yarn for a total of 4 strands; knot around the Purse Clasp.
- Make a ch with all 4 strands.
- Split the colors into two groups; wrap first color from front to back over hook.
- Wrap second color from back to front over hook, and pull through all loops.
- Wrap the second color from front to back over hook.
- Wrap the first color from back to front over hook, and pull through all loops.
- Repeat Steps 3-6 until strap measures at least 40” [101.5 cm] long
- Pull up a loop in one color that is large enough to fit over the Purse Clasp.
- Using just one strand of the other color, sc around the loop, FO all strand and secure ends.
Need help with the straps?
Check out the 2-color cord tutorials
Finishing
- Seam both sides. Weave in ends.
- Sew on snaps to Body and Flap.
- Create a lining with fabric and attach to the bag.
- Attach zipper. It may help to sew around zipper first.
- Attach Wrist Strap by looping around one grommet.
- Attach Crossbody Strap by using loop on end to attach to one grommet, and then clasp the other end to the other grommet.
Quick Summer Makes Blog Hop
I’m so excited to be the featured designer for June 1st for the Quick Summer Makes Blog Hop. Littlejohn’s Yarn has put together a fabulous event featuring so many stylish and practical crochet patterns that will have you ready for the pool, barbecue, or movie on the lawn.
For 24 hours, you can download the Diamonds Crossbody Clutch for free by getting the code from Littlejohn’s Yarn, and then heading over to Ravelry to get your free copy.
Be kind, and share the blog hop with all of your crochet friends! As designers, we enjoy putting together fun events to share lots of crochet patterns and possibly new to you designers/ A blog hop lets you try out a pattern, then become a fan of your new favorite crochet designers.
GET YOUR DAILY CODE HERE
Did you miss out downloading a copy of the Diamonds Crossbody Clutch? You can purchase it from Ravelry, Etsy or LoveCrafts. If you were unable to download other days of the Quick Summer Makes crochet patterns, purchase the pattern bundle to get all 30 patterns instantly.
GET THE PATTERN BUNDLE
Pin it for Later
If we’re not hanging out on social media yet, come check me out on Facebook, Instagram and Pinterest.
Want to talk about yarn goodness, crochet tips, and exclusive weekly deals? Join my Facebook Group, Creations By Courtney Community.
Join my newsletter for sneak peeks, crochet tips, and more. HERE
Please use #CreationsByCourtney on social media when sharing your projects.
This pattern is not to be duplicated or resold, and not to be reproduced commercially. You may sell finished products on Etsy, at farmers markets, and craft fairs, but please credit Creations By Courtney as the pattern’s author.
8 Responses
I like the effect of the fptr stitch.. gives the clutch such a nice textured look!
I love adding texture whenever possible. I think we need to spend more time with fptr. 🙂
Great colorwork! I have crocheted for decades, but stuck with colorwork in rows. In 2021, I have ventured into C2C patterns with multiple colors, and am now looking into other ways to work with multiple colors, other than the too-many-colors in mandala designs and fancy granny squares. How clever to use a semicircle for the flap and a rectangle for the body of the clutch! Great pattern!
Thank you! Colorwork is so much fun with several options. C2C is a great technique for making images. Let me know if you need any suggestions for color work techniques.
Happy Birthday Courtney! What a fun and elegant way to accessorize any outfit!