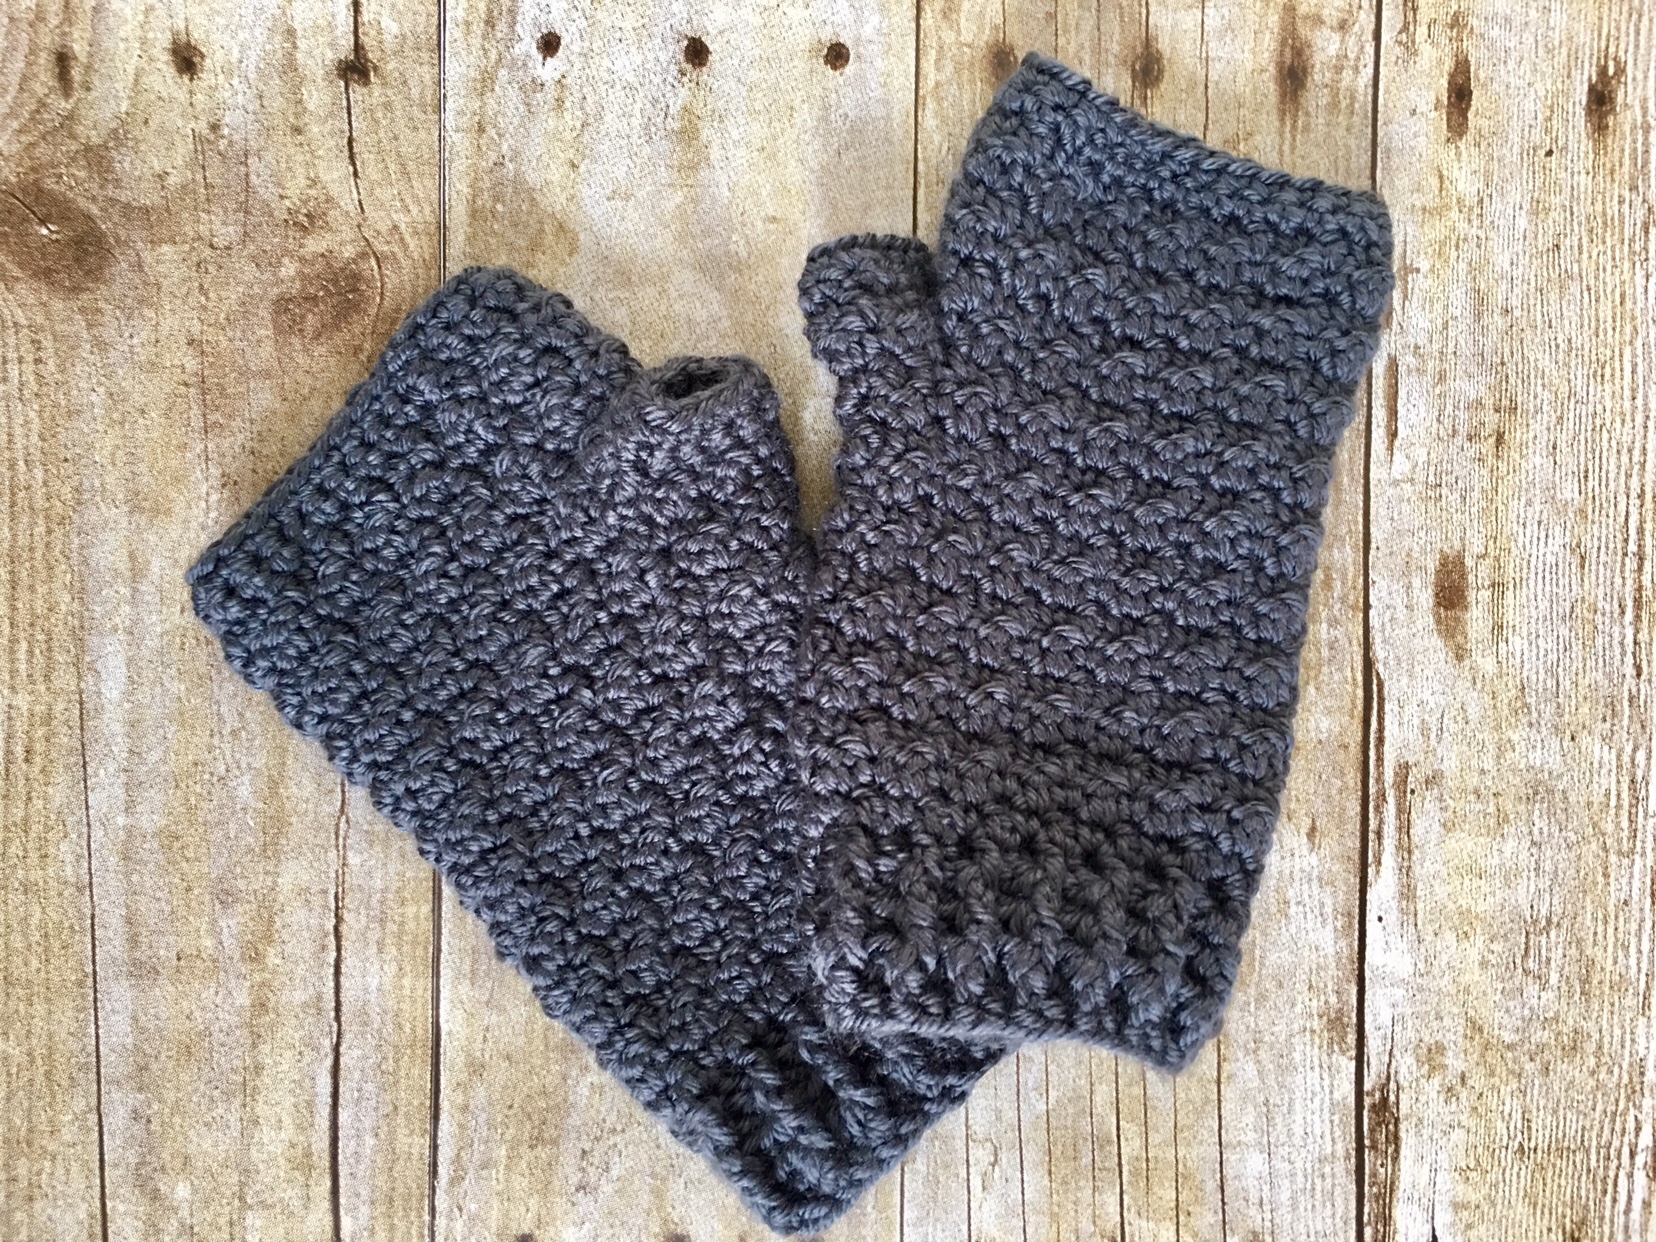
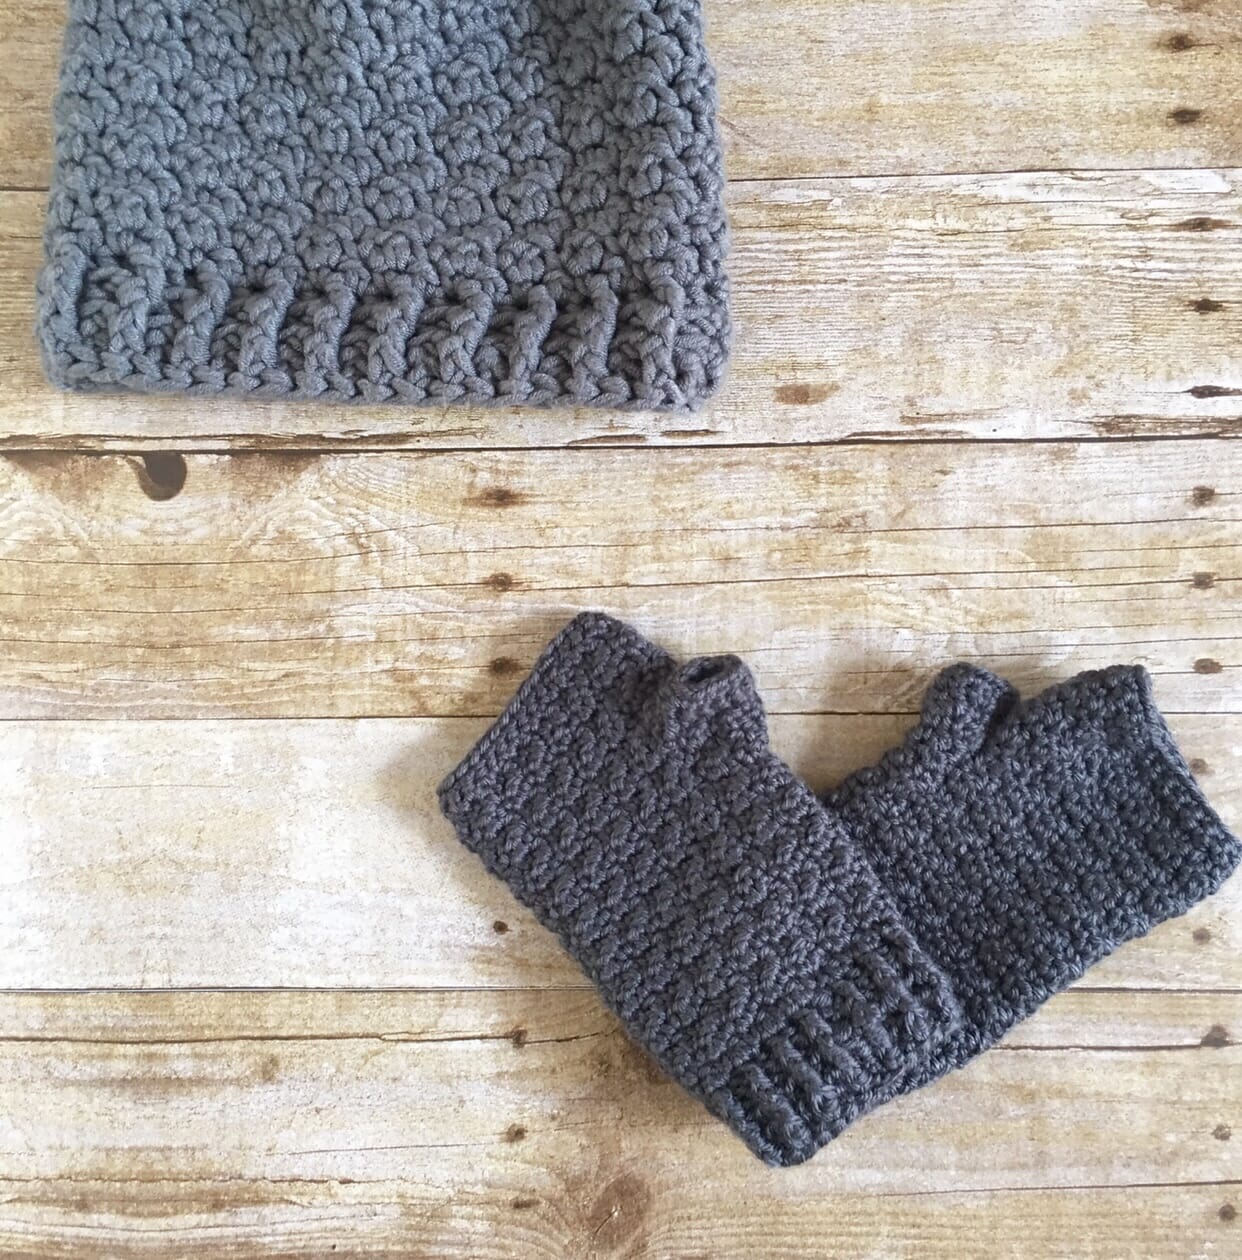
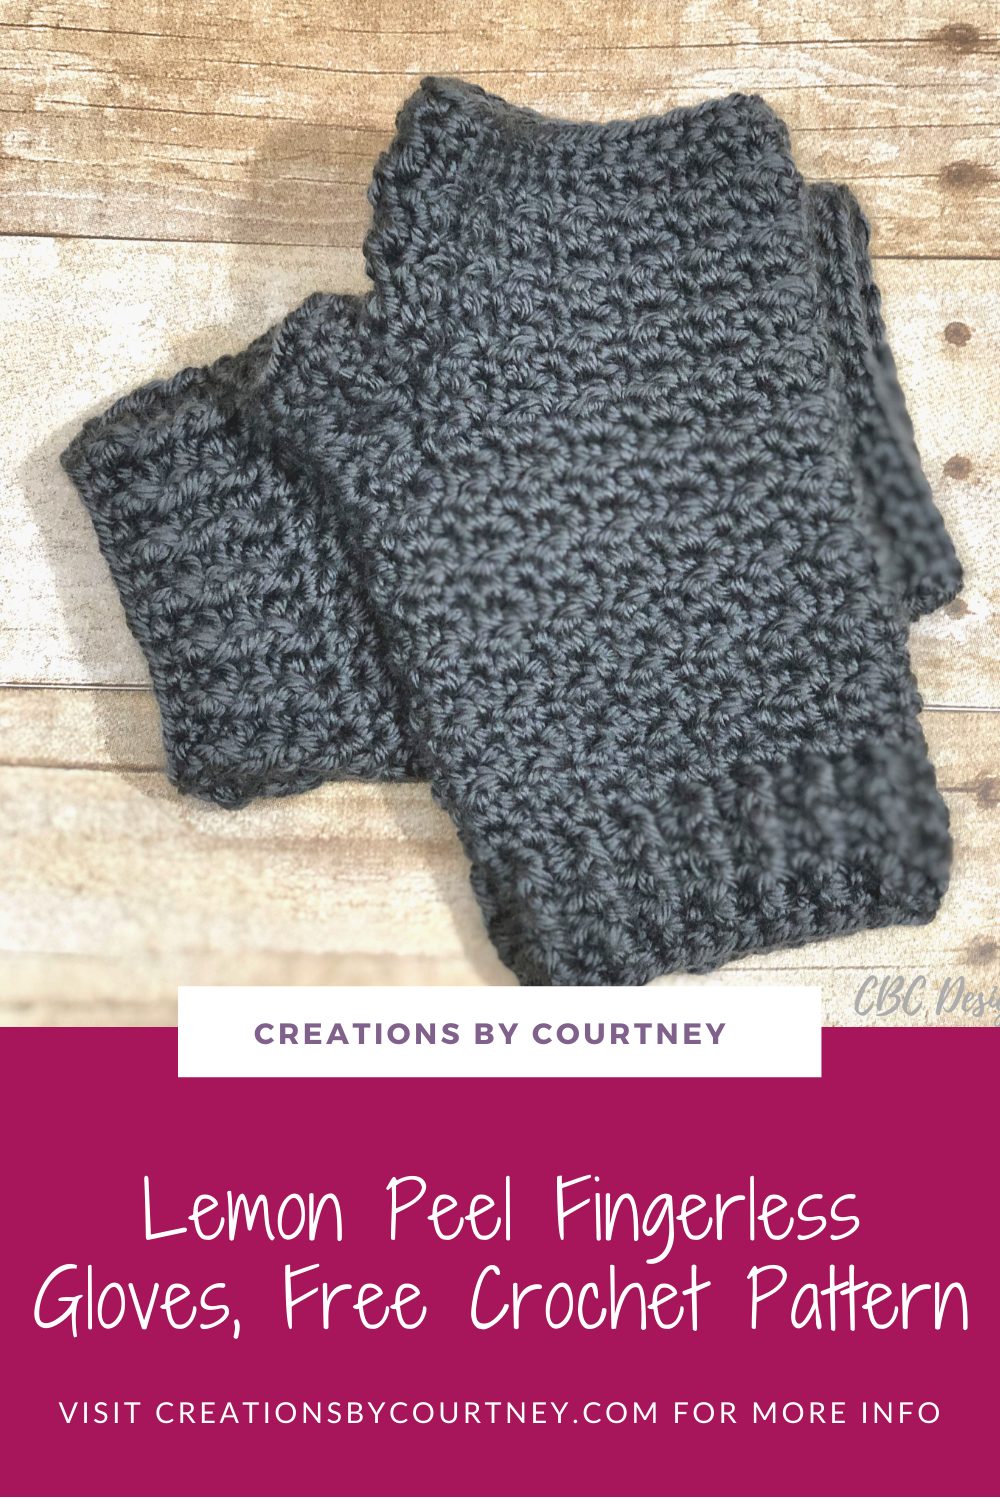
Did you know that crochet fingerless gloves are quite popular patterns? And that the lemon peel stitch is such a popular stitch that it has several names?
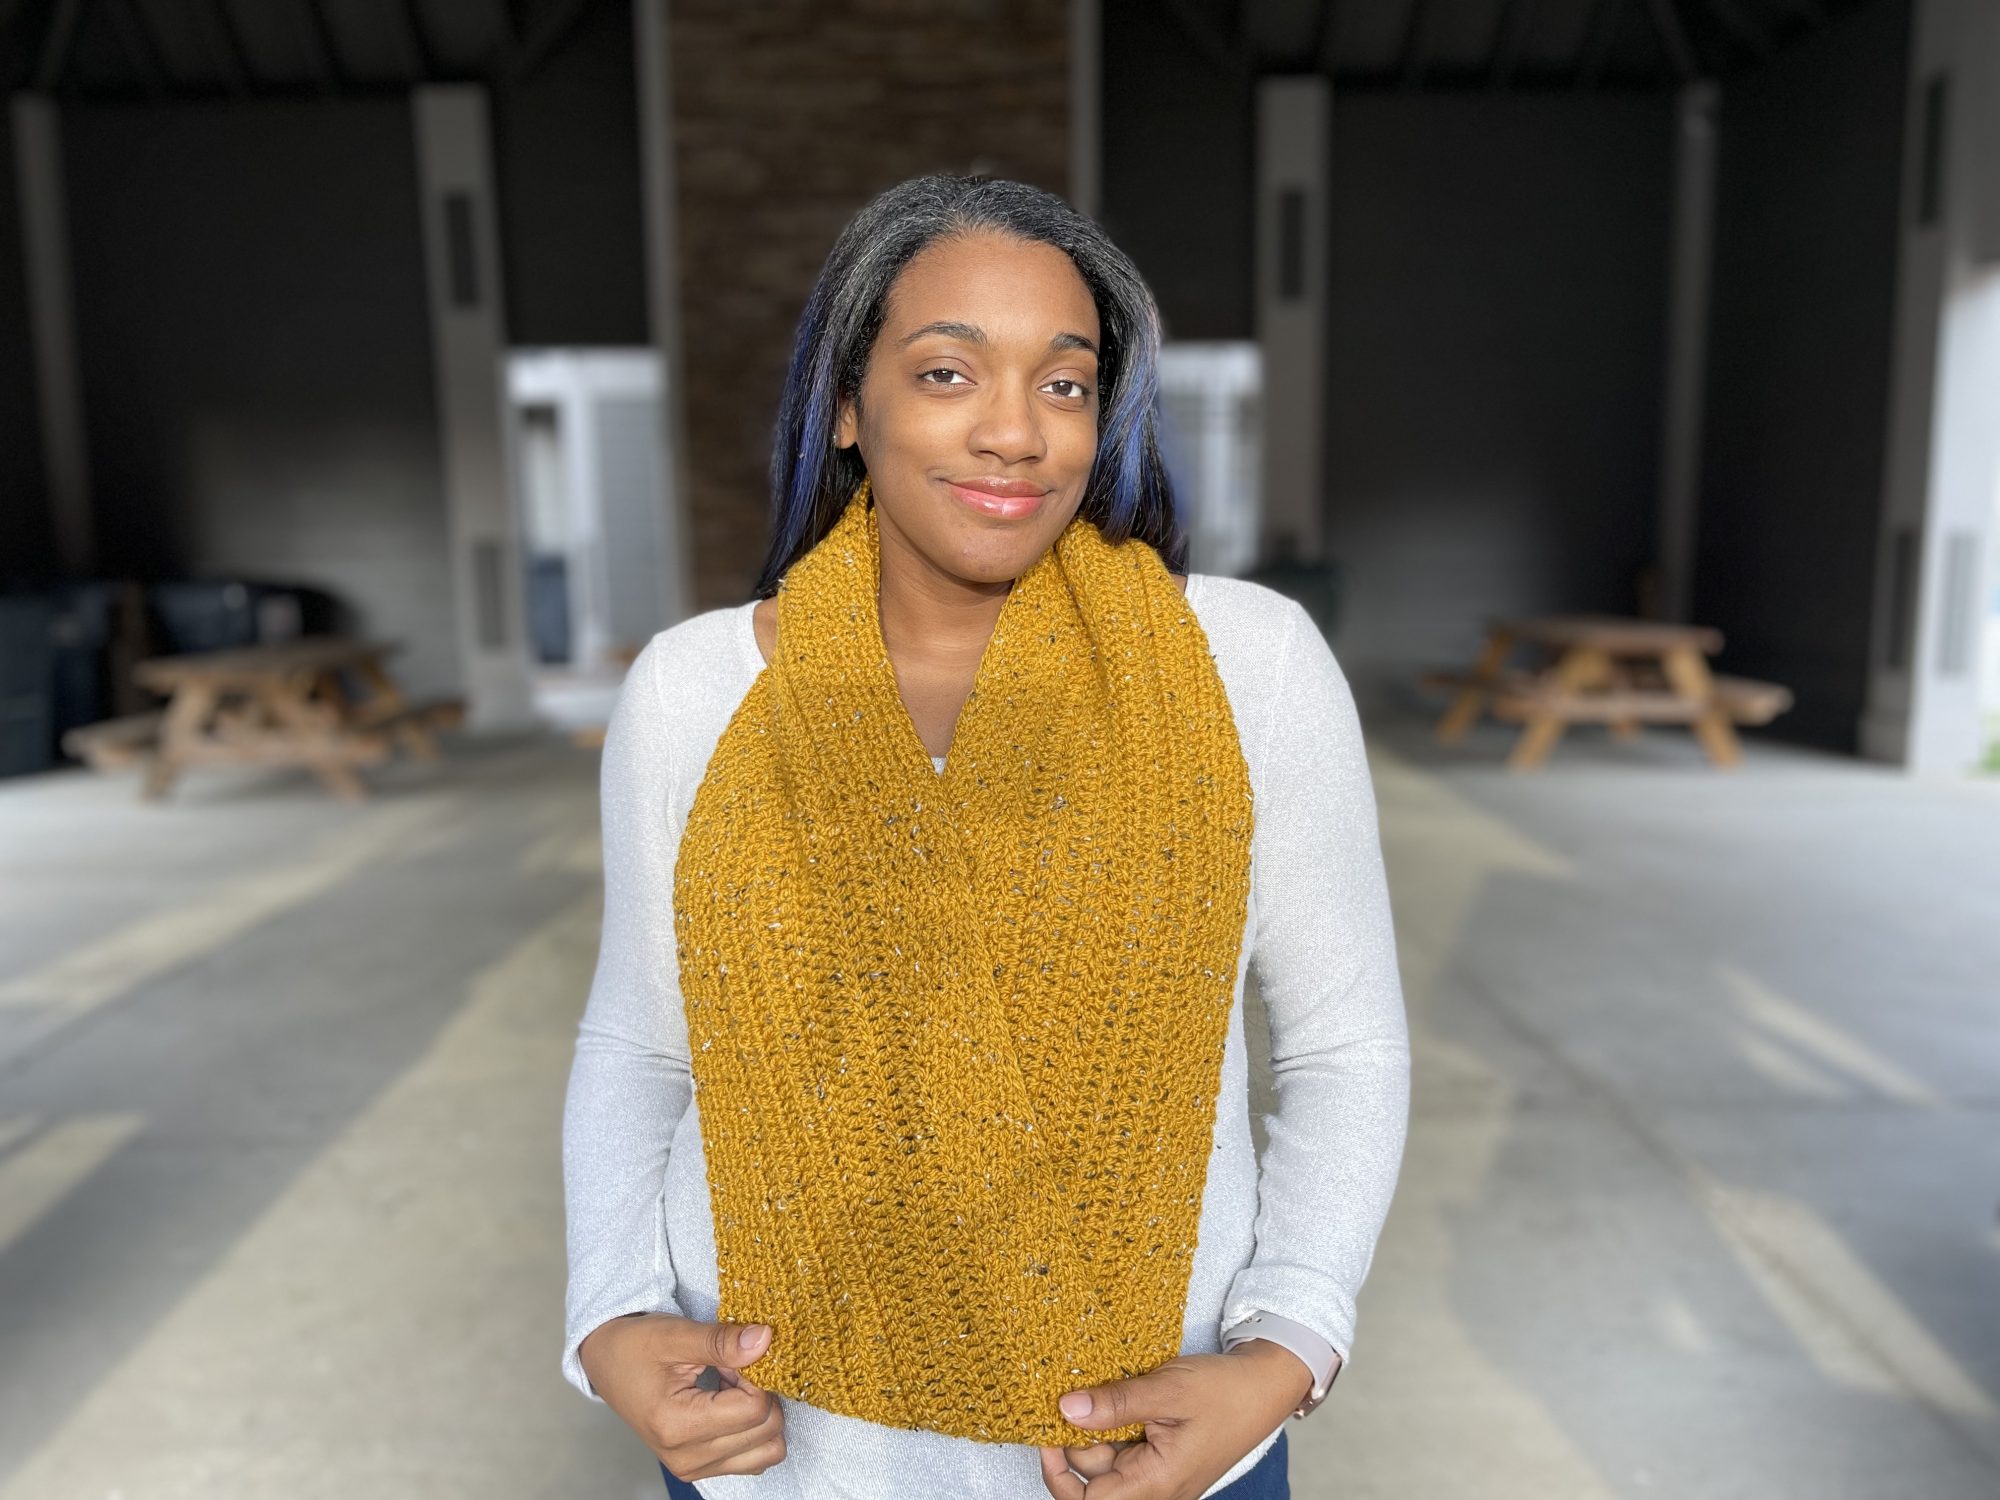
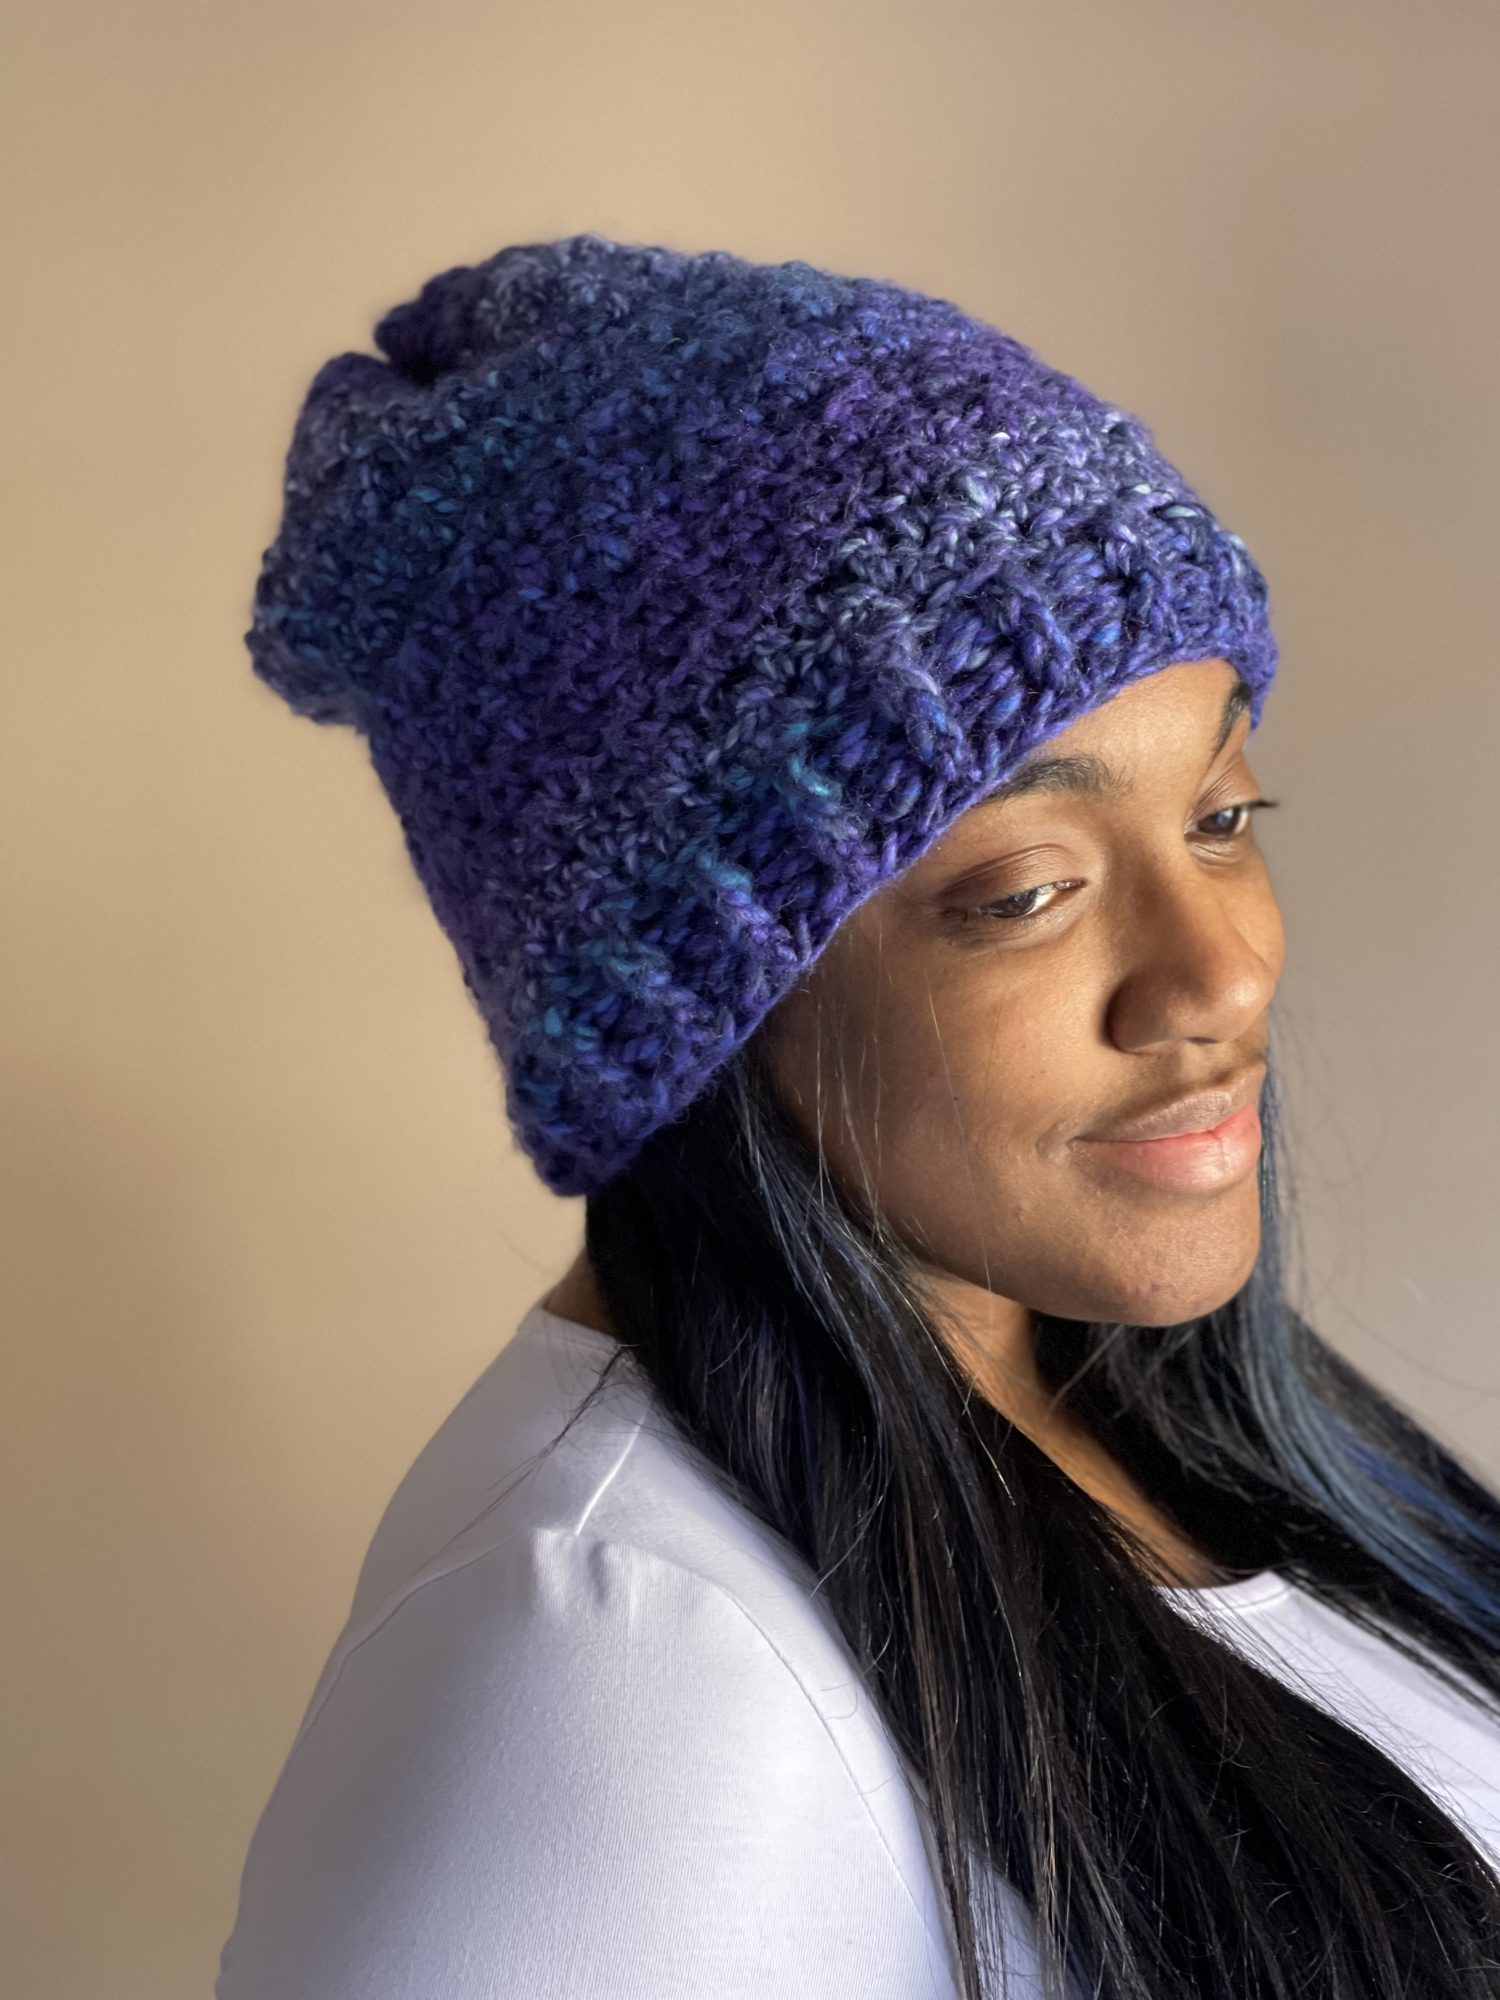
The Lemon Peel fingerless gloves feature the lemon peel crochet stitch 🤣 which is simple crochet stitch to learn. The lemon peel stitch has shown up in several crochet designs since the debut of the Hooded Poncho and then the Rainy Day Hat because it creates a great texture just like an actual lemon. 🍋
The texture of the stitch is created by alternating double crochet and single crochet stitches. This stitch can work with any even number.
The lemon peel crochet stitch should not be confused with the suzette crochet stitch. They both use double and single crochet, but the suzette stitch is a double AND single crochet in one stitch. The lemon peel stitch is a double crochet in one stitch followed by a single crochet in the next stitch. Both offer great texture!
This crochet stitch has been called citrus peel stitch, grit stitch and seed stitch. When one looks those up, the grit stitch is most often the same as the suzette stitch. Maybe one day there will be a master stitchionary. 🤔
The Design
I chose fingerless gloves or fingerless mittens, as some call them, because that are quick and practical to wear whenever it’s chilly but you still need to use your fingers.
Fingerless mittens are great crochet gifts for men, women, teens and kids.
This pair of crochet fingerless gloves are worked from the ribbing up to the thumb opening and then the top half of the palm. The thumb opening is worked separately for added warmth. There are two options for finishing the thumb hole based on your skill and comfort level. I think anyone can do the advanced method by taking their time and reading it before stitching.
One size is provided in this crochet pattern but could be easily adjusted to fit any size hand, as long as an even number is used.
More Lemon Peel Crochet Patterns
Also on the blog, I have other designs with the lemon peel/citrus peel/seed stitch, the Hooded Poncho, the Lemon Peel Mobius Cowl, the Rainy Day Hat, Lemon Peel Mittens, LP Hoodie, and Peel Out Set.

These are just a few designs, and I hope you check them all out HERE
*Pattern tested by Michaela and Melissa for accuracy. If you find an error or need pattern support, let me know.
*Disclosure: This post may contain affiliate links to products that I use, and think you will enjoy using too. Should you decide to use any such link, I will earn a small commission at no cost to you. Thank you for supporting this small business.

Add to your Ravelry Queue
MATERIALS
- Red Heart Soft (100% acrylic; 256 yds/ 234 m, 5 oz / 141g): 1 skein in Charcoal
- US H/8 (5.00 mm) or size to meet gauge. I love to use any of my Furls Crochet hooks.
- Scissors
- Yarn Needle
- Row counter, optional but recommended
GAUGE
4 stitches x 3 rows = 1 inch x 1 inch in stitch pattern, does not include the cuff
SIZE
7.5 inch length x 4.25 inch width flat, 8.75 inch circumference
PATTERN KEY
- BPdc : back post double crochet
- Ch: chain
- Dc: double crochet
- Fdc: foundation double crochet
- FPdc: front post double crochet
- FO: fasten off
- Rep: repeat
- Rem: remain(s) (ing)
- Sk: skip
- sl st: slip stitch
- st(s): stitch(es)
NOTES:
- Pattern is written in US terms.
- Ch 1 at the beginning of rows does not count as a stitch.
- Gloves can be made longer by adding rows before or after the thumb hole
- Gloves can be made wider by increasing a multiple of 2 foundation stitches, or made narrower by decreasing a multiple of 2 foundation stitches
- Foundation stitches can be substituted by making a chain of 32, then dc in 4th chain, dc in each st to end, sl st to join. Continue to follow the rest of the pattern as written.
- You have the option to not create the thumb hole, or follow one of the two options provided within the pattern.
Grab the ad-free PDF from your favorite shop.


INSTRUCTIONS
Make 2
Cuff
Round 1: 30 fdc, sl st to join
Round 2: Ch 3 (counts as dc here and throughout), *FPdc around next st, BPdc around next st. Rep from * around, sl st to join, turn
Round 3: Ch 3, *BPdc around next st, FPdc around next st. Rep from * around, sl st to join
Round 4: Rep Row 2
Hand
Round 1: Ch 1, sc in first st, dc in next st, *sc in next st, dc in next st. Rep from * to end, sl st to join, turn. (15 sc, 15 dc)
Rounds 2 – 12: Rep Row 1
Round 13: Ch 1, *sc in next st, dc in next st. Rep from * until 6 sts rem, ch 6, sk 6 sts (thumb hole created), sl st to join, turn.
Round 14: Ch 1, sc in first ch, dc in next ch, *sc in next ch, dc in next ch. Rep from * across all ch, **sc in next st, dc in next st. Rep from ** to end, sl st to join, turn
Rounds 15 – 19: Rep Row 2, turn
Rounds 20 – 21: Ch 1, sc in first st, sc in each st around, sl st to join, turn. FO after Row 20
Thumb Hole
For Beginners
Round 1: Attach yarn with a sl st in the first stitch of the thumb hole, ch 1, sc in the first st, dc in the next st, [sc in next st, dc in next st] two times, sc in side of stitch, dc in remaining loop of first ch of ch-6, (sc in next ch, dc in next ch) two times, sc in last ch, dc in the side of stitch, sl st to join, turn. (14 stitches)
Rounds 2-3: ch 1, sc in first st, dc in next st, *(sc in next st, dc in next st). Repeat from * around, sl st to join, turn.
Rounds 4-5: ch 1, sc in first st, sc in each st, sl st to join. FO after Round 5, weave in end.
Advanced
Round 1: Attach yarn along thumb hole in side of stitch, ch 1, sc in first st, dc in next st, [sc in next st, dc in next st] two times, sc in next stitch, dc in side of stitch, turn (8 stitches)
Round 2: sl st through back bump, ch 1, sc in first st, dc in next st, *sc in next st, dc in next st. Repeat from * over the next 4 sts, sl st to the back bump of the first ch of Round 12 ch-6, turn (8 stitches)
Round 3: Sl st to the back bump of Row 12 ch-6, ch 1, sc in first st, dc in next st, *sc in next st, dc in next st. Rep from * over the next 4 sts, sc in the next 4 back bumps of Round 12 ch-6, sl st to join, turn (12 stitches)
Rounds 4-5: ch 1, sc in first st, sc in each st, sl st to join, turn. FO after Row 5, weave in end.

Pin it for Later
If we’re not hanging out on social media yet, come check me out on Facebook, Instagram and Pinterest.
Want to talk about yarn goodness, crochet tips, and exclusive weekly deals? Join my Facebook Group, Creations By Courtney Community.
Join my newsletter for sneak peeks, crochet tips, and more. HERE
Please use #CreationsByCourtney on social media when sharing your projects.
26 Responses
I am glad to see this kind of pattern. I was bitten by a feral cat and had extensive surgery on my right hand.
I healed well and all came out fine after all the rabies shots, removal of all the damaged skin and months of
therapy. However, my hand aches and gets very cold in the winter so I wear fingerless gloves to keep both hands warm and functioning better with such gloves! Thank you for the pattern….crocheting is a good way
of keeping hands limber as well…a win-win!
Hi Ruth!
Oh my goodness! I’m sorry to hear that a cat caused such damage to your hand. Thank you for your kind words about my pattern! I hope you’ll share a picture of your finished gloves.
Love your fingerless glove pattern and would love to make mittens with the lemon peel stitch, do you have a pattern for mittens??
Hi Kathy!
Thank you for your comment. I do not have a pattern for the mittens at this time, but I can definitely consider offering a pattern in the near future.
Thank you, will look forward to that pattern ?
Hi Kathy! This is a late reply, but I did make a pair of mittens. It’s never too early to start making gifts for the fall and winter. Here’s the link: https://creationsbycourtney.com/2018/12/lemon-peel-mittens/
Even doing only 30 foundation stitches, the cuff seems HUGE. Are they supposed to be loose or snug?
It’s that wide in order to fit around the hand so it’ll be looser around the wrist. If you want it to fit tighter, you can use a smaller hook to make the foundation round or reduce the total number of stitches by a multiple of 2, but it may fit tighter around your hand. Don’t forget to check gauge once you complete several rows.
They are very nice looking fingerless gloves. Thank you for sharing your pattern.
You’re so welcome!
I absolutely LOVE this pattern. Thank you so much for sharing it! Do you know, roughly, how many yards this uses?
Hi Jenn!
I’m so glad that you like the pattern! 200 yards will work.
Thank you for the free pattern! I’m going to make them using sock yarn and a 3mm hook (I’m in the UK and I’m not sure what you call that weight of yarn 😂). Fingers crossed they work out ok ☺️
Hi Lucy!
You’re very welcome for the free pattern. Fingering weight will be too thin, but an aran weight is the equivalent to the US worsted weight. 🙂
I look forward to seeing your finished mitts.
I have some hygge yarn by red heart to make some mittens to match a hat and scarf. Can I do that with this pattern?
Hi Barbara,
The Lemon Peel Mittens were made with a worsted weight #4, and Red Heart Hygge is a bulky weight #5. If you want to use Hygge, I would try making the smaller size and checking the fit as you make it, or use the suggested hook size to make tighter stitches. It will likely be larger based on the yarn thickness.