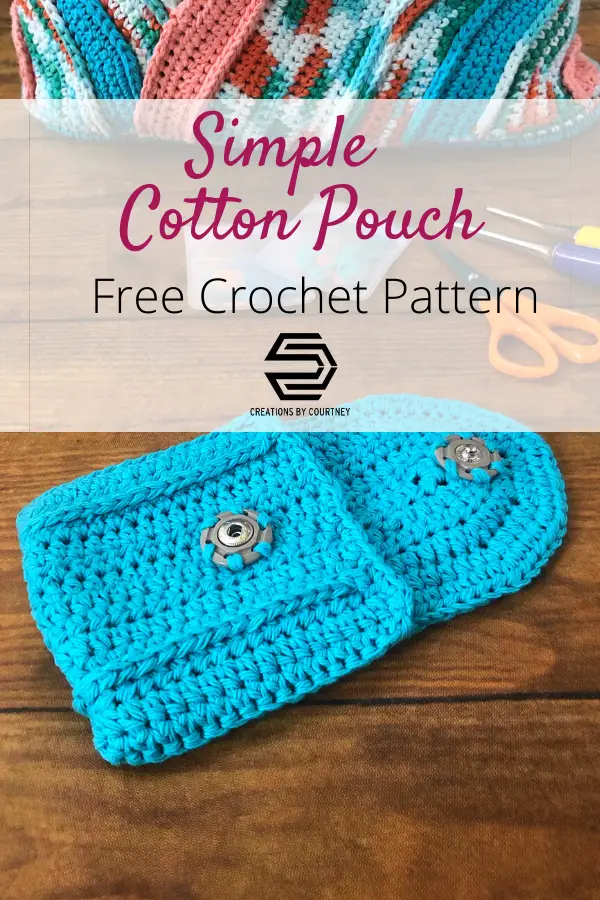
The simple cotton pouch is just that, simple and quick. This is a great project for using left over yarn, as it only requires 75 yards of yarn.
I designed it to coordinate with the Miami Cotton Tote , as my FB group members voted overwhelmingly for a pouch in a solid color. I had started the design with the Ahoy Ombre because it’s such a fun color way.
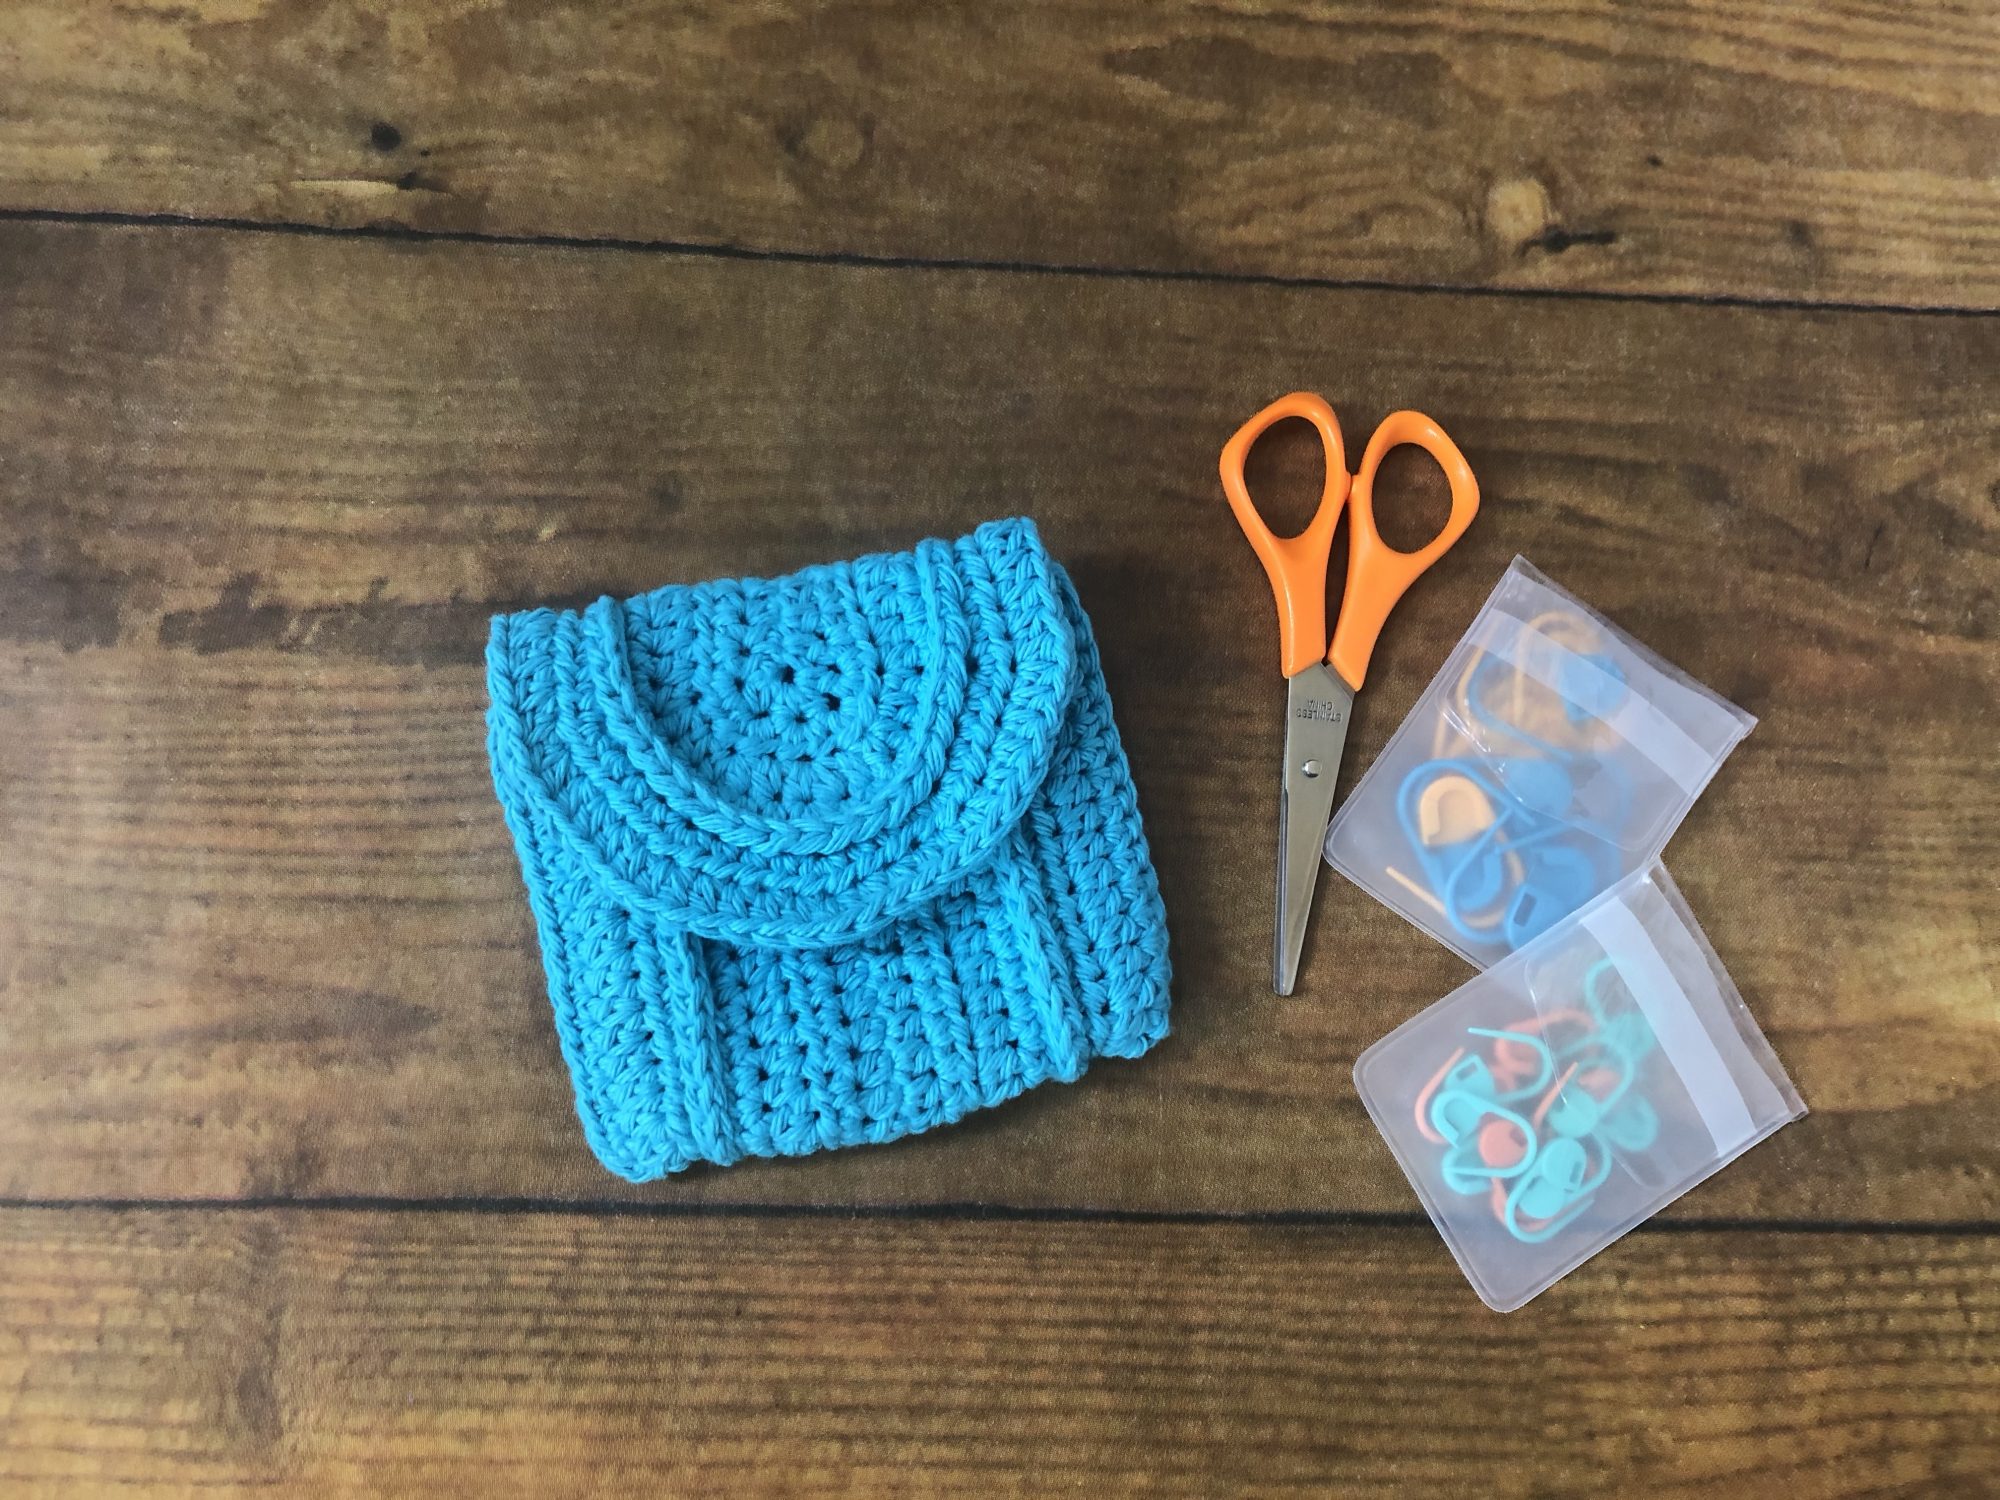
This simple cotton pouch will allow one to practice the special slip stitches in a quick project before taking on the tote. It’s large enough to use as a small wallet for your cards and cash, or fill it with your favorite small scissors and stitch markers to carry in your project bags. I never leave home with a small pouch holding the essentials for a project, and it makes it easier to switch projects bag. (I know you have a few just like I do. 😉)
This is such a simple project that you could make your pouch more narrow or wider by subtracting or adding rows and continuing to increase evenly among the rounded edge.
I have to admit that you will have to cut and attach yarn one time in order to complete the simple cotton pouch. I thought about how to make it completely seamless, but to do so would’ve have taken away from the simplicity of this project.
Pattern tested by Rhonda and Sarah for accuracy and clarity. If you find an issue with the pattern, please let me know.
*Disclosure: This post may contain affiliate links to products that I use, and think you will enjoy using too. Should you decide to use any such link, I will earn a small commission at no cost to you. Thank you for supporting this small business.
Add to Ravelry Queue
MATERIALS
- Lily Sugar ‘n Cream Super Size, Medium weight #4 yarn (100% Cotton; 200 yds/ 184 m; 4 oz/ 113g): Aquamarine, 1 skein or 75 yds/ 68.58 m
- Hook US Furls Crochet Hook, G/6 (4.00 mm) or size needed to meet gauge
- Sew-on snap
- Scissors
- Yarn needle
- Measuring tape
GAUGE
8 hdc x 6 rows = 2 in. (5 cm)
FINISHED SIZE
- 12 in. x 4.5 in. [ 30.5 cm x 11.5 cm], before seaming
PATTERN KEY
- Ch: chain
- sl st: slip stitch
- sc: single crochet
- hdc: half double crochet
- FL: front loop
- yo-slst: yarn over slip stitch
- YO: yarn over
SPECIAL STITCHES & TECHNIQUES
- Yo-slst: YO, insert hook in next st, YO, pull through all loops
EXPERIENCE LEVEL
Easy
NOTES
- Pattern is written US terms.
- Read the entire pattern before beginning.
- Beginning ch 1 does not count as first st.
- Body can be made wider and longer by completing more rows and evenly increasing the rounded end.
Purchase the ad-free PDF from your favorite pattern shop.


INSTRUCTIONS
Ch 41
Row 1 (RS): Hdc in 2nd ch from hook, hdc in next 38 ch, 5hdc in last ch, working along other side of starting ch, hdc in next 39 ch, turn – 83 hdc
Row 2: Ch 1, hdc in first st, hdc in next 37 sts, [2hdc in next st] 5 times; hdc in next 40 sts, turn – 88 hdc
Row 3: Ch 1, hdc in first st, hdc in next 39 sts, [2hdc in next st, hdc in next st] 4 times, 2hdc in next st, hdc in next 39 sts, turn- 93 hdc
Row 4: Ch 1, hdc in first st, hdc in next 38 sts, [2hdc in next st, hdc in next 2 sts] 4 times, 2hdc in next st, hdc in next 41 sts, turn – 98 hdc
Row 5: Ch 1, yo-slst in FL of each st, turn – 98 yo-slst
Row 6: Working in the remaining loop of Row 4 for every st, ch 1, hdc in first st, hdc in the next 39 sts, [2hdc in next st, hdc in next 3 sts] 4 times, 2hdc in next st, hdc in next 41 sts, turn – 103 hdc
Row 7: Ch 1, hdc in first st, hdc in next 40 sts, [2hdc in next st, hdc in next 4 sts] 4 times, 2hdc in next st, hdc in next 41 sts, do not fasten off- 108 hdc
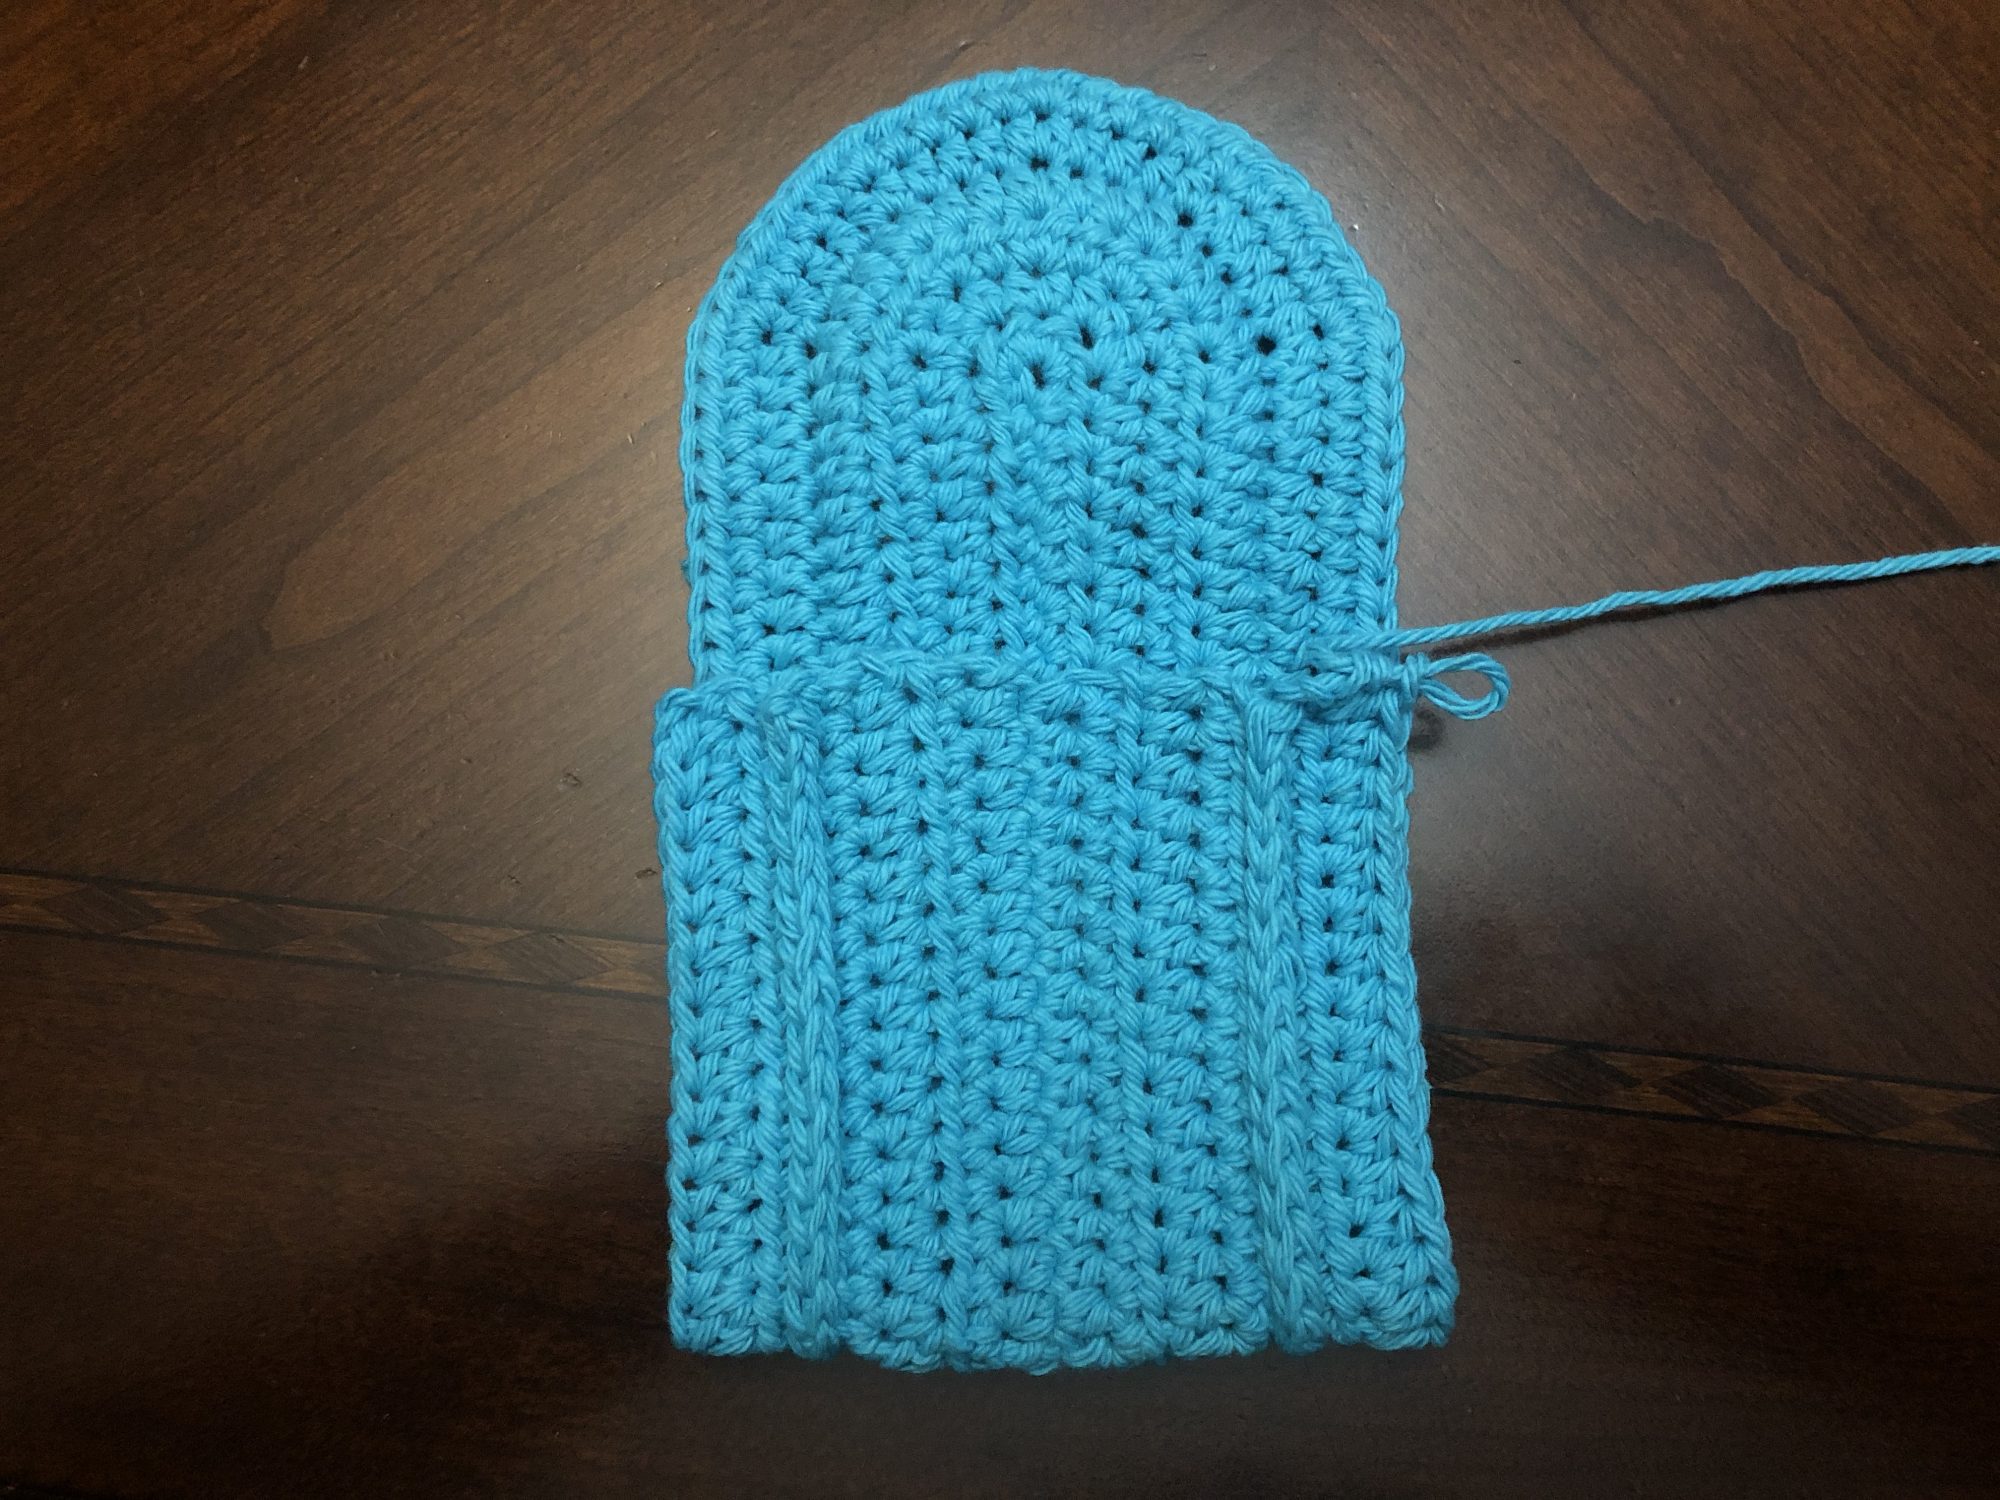
Seaming
First side: Count 17 sts from the flat end (refer to picture below) and line up stitches, working through both sts, sc in next 16 sts, sl st in the next st, fasten off.
Second side: Attach yarn with sl st in space of first sc made for First Side (refer to picture below), evenly sc in each row, rotate piece, make sure sts are lined up, working through both sts, sc in next 16 sts, sl st in next st, fasten off.
Finishing
Sew on snap- one piece on the rounded top and line up to place the second piece on the body.
Sew in all ends, trim excess.
You may like these patterns too.
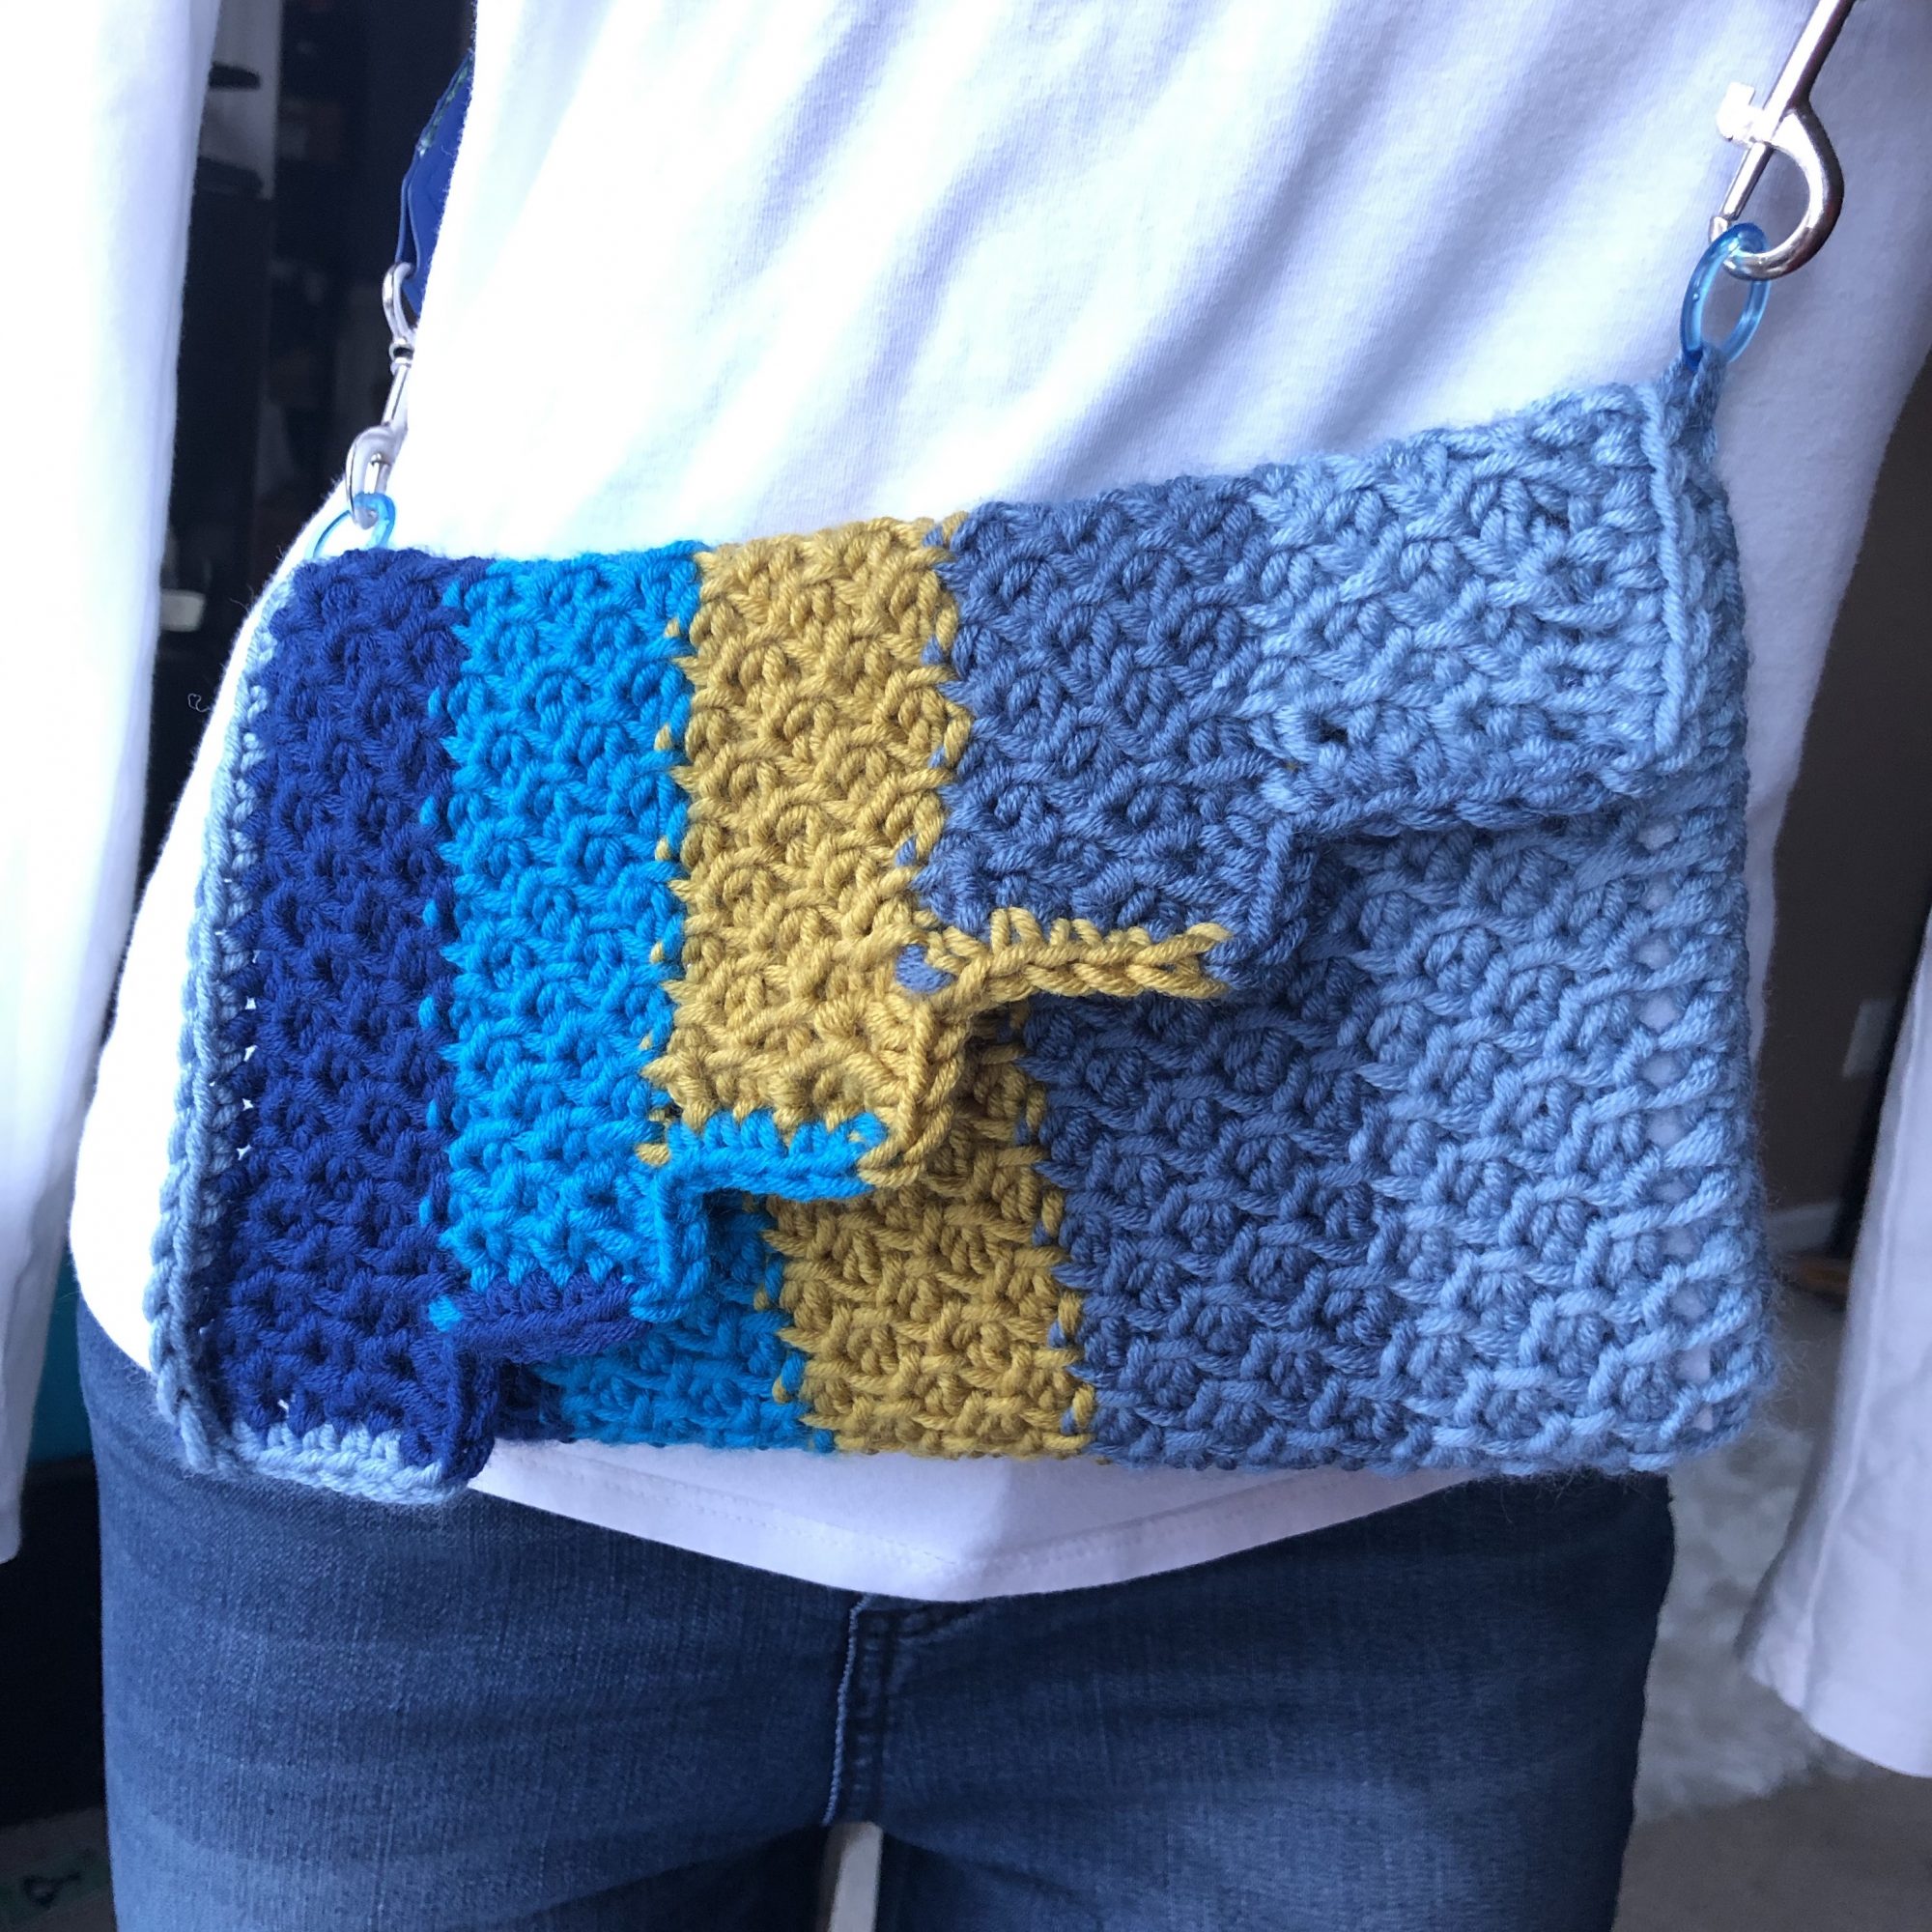
Tunisian Honeycomb Purse 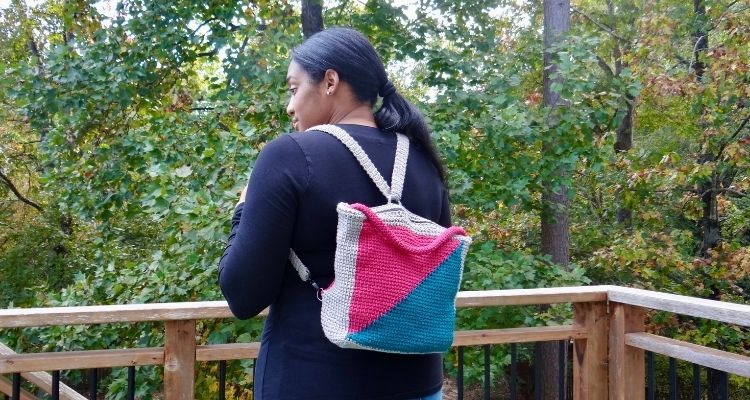
Tunisian Color Block Backpack 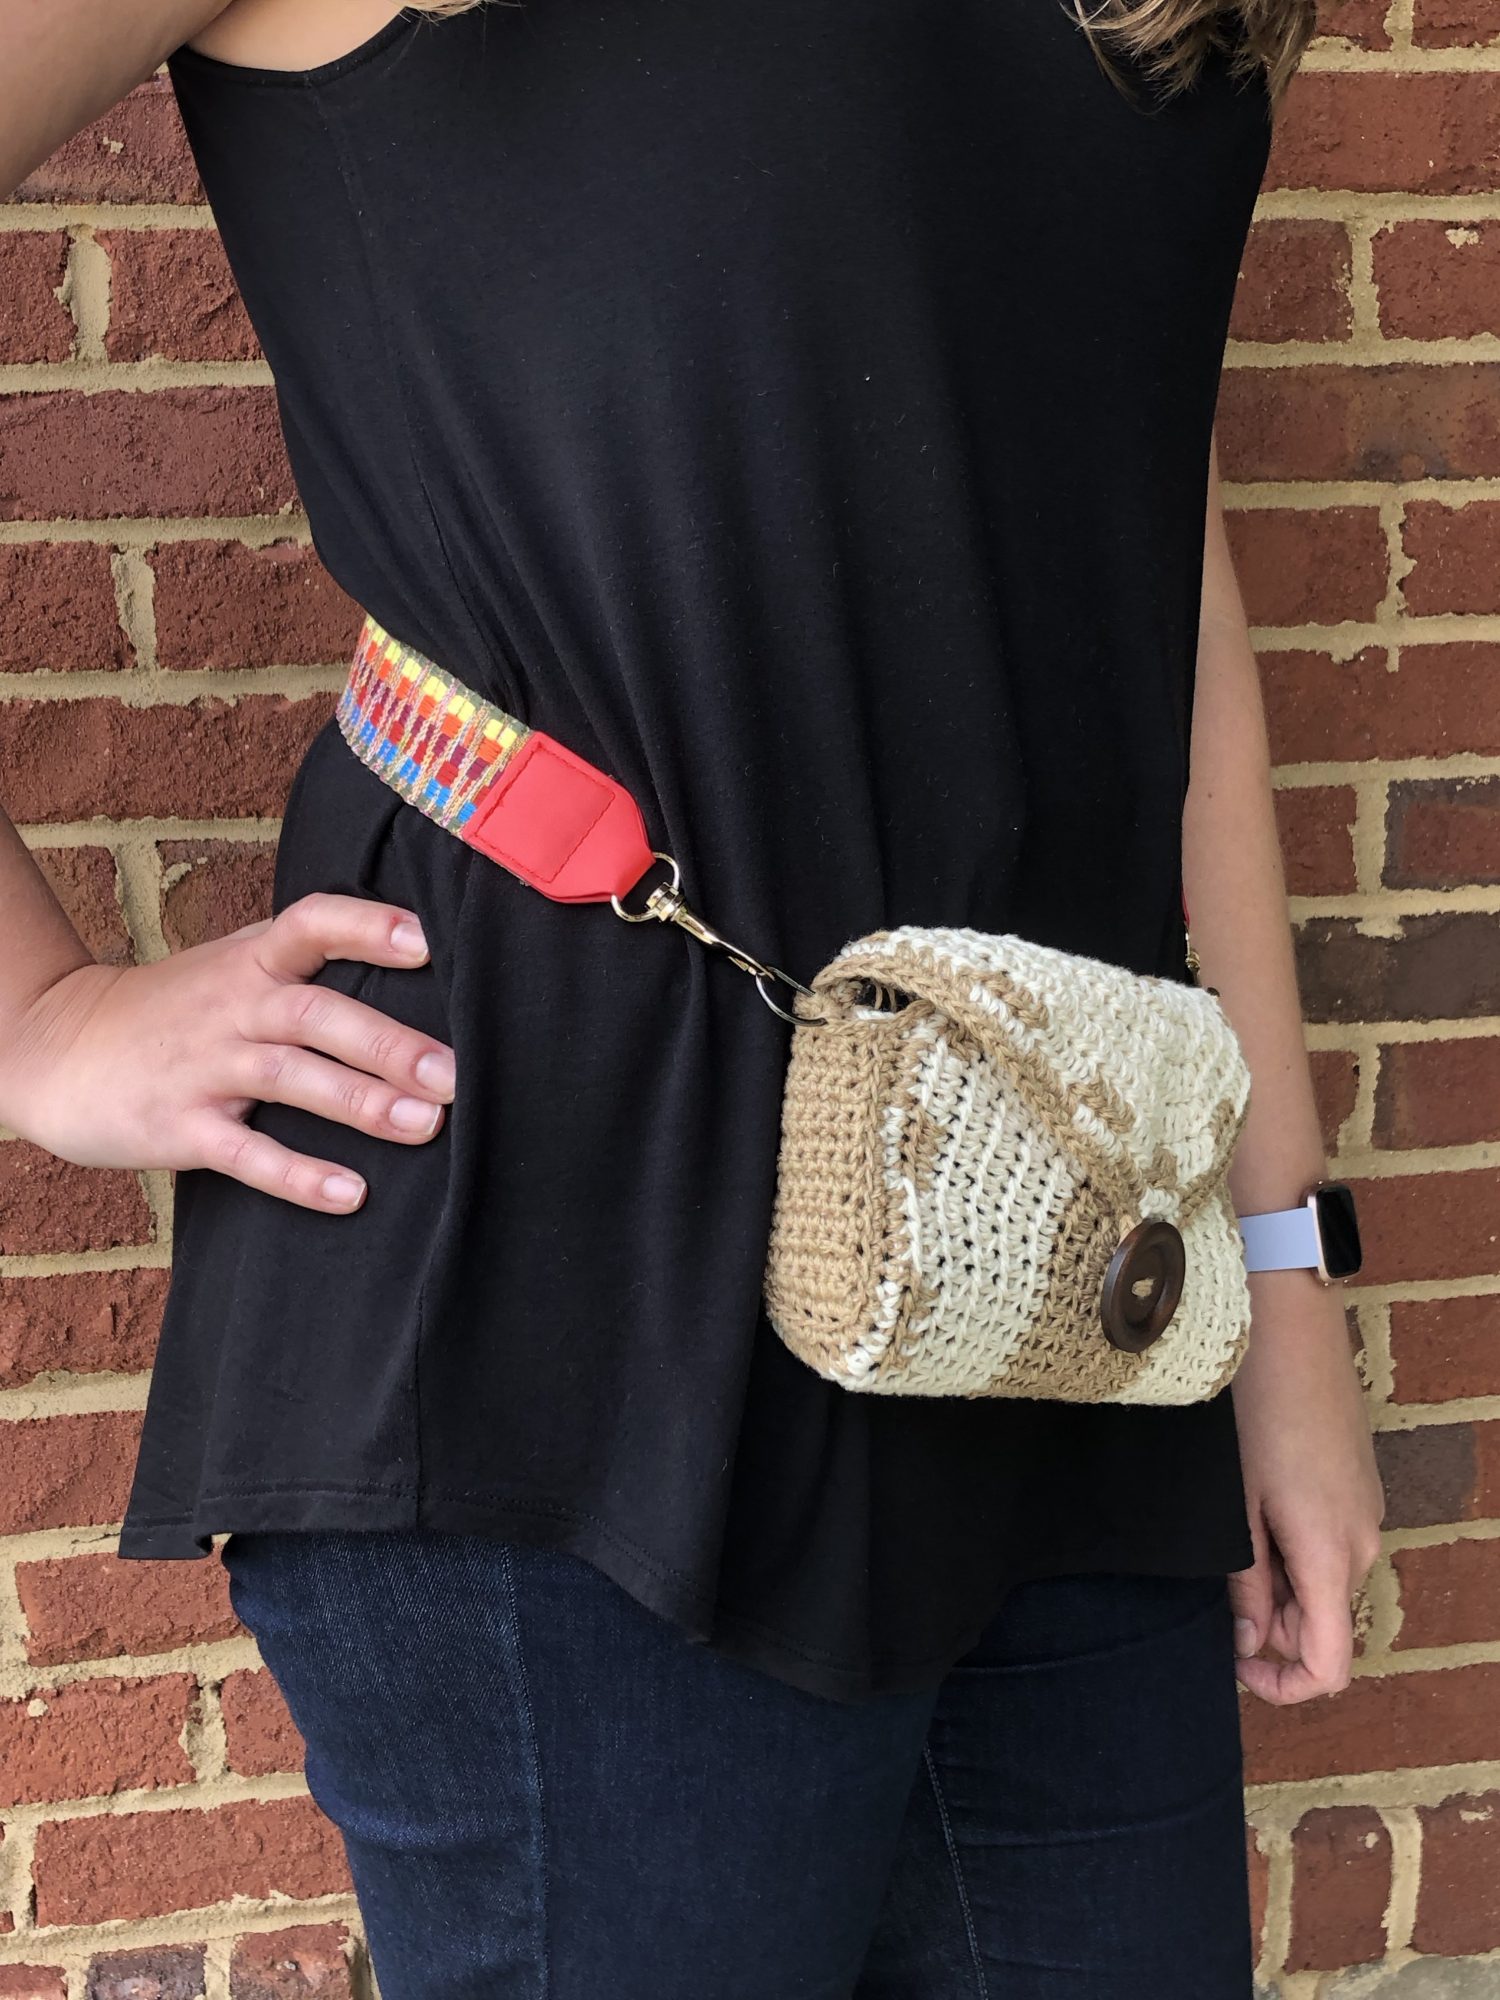
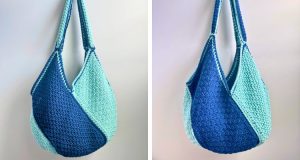
Boho Belt Bag
PIN IT FOR LATER
Sweet and Simple Beginner Friendly Pattern Giveaway
It’s week 3 of the Sweet and Simple Beginner Friendly Pattern Giveaway hosted by Carroway Crochet! You can download one or all crochet patterns between February 22nd to the 28th. Don’t forget to head over to Carroway Crochet to get the coupon code for the free patterns of choice. Click the “Download Free PDF” button to get your copy of the Simple Cotton Pouch. You can see all of the featured patterns by clicking the “Return to Roundup” button.


If we’re not hanging out on social media yet, come check me out on Facebook, Instagram and Pinterest.
Want to talk about yarn goodness, crochet tips, and exclusive weekly deals? Join my Facebook Group, Creations By Courtney Community.
Join my newsletter for sneak peeks, crochet tips, and more. HERE
Please use #CreationsByCourtney on social media when sharing your projects.
This pattern is not to be duplicated or resold, and not to be reproduced commercially. You may sell finished products on Etsy, at farmers markets, and craft fairs, but please credit Creations By Courtney as the pattern’s author.

13 Responses
What a fun pattern to whip up for teachers, family gifts, or even a hostess gift!
That is a great point! I’ve been trying to figure out what to make my son’s teachers this year. Thank you for the idea! 🙂
I can hardly wait to make one of these! Great quick make with my favorite fiber — cotton! Thank you!
I love cotton too, Beth! It’s so versatile for so many projects, especially quick makes that will be used frequently.
I’ve started making the Simple Cotton Pouch for myself. I’m at the end of Row 1 where it says turn. Is the the usual turn — flip it over and crochet on the stitches I just finished?
Hi Joanne,
Yes, it is a standard turn. Each row is turned to create an arched shape like a skinny rainbow. If you need additional pattern support, please send me an email, as it will likely be easier to keep up with question and answer in that format.
Happy Birthday Courtney! This is an indispensable and versatile pattern for organizing and gifting!
** aisha.marto@gmail.com