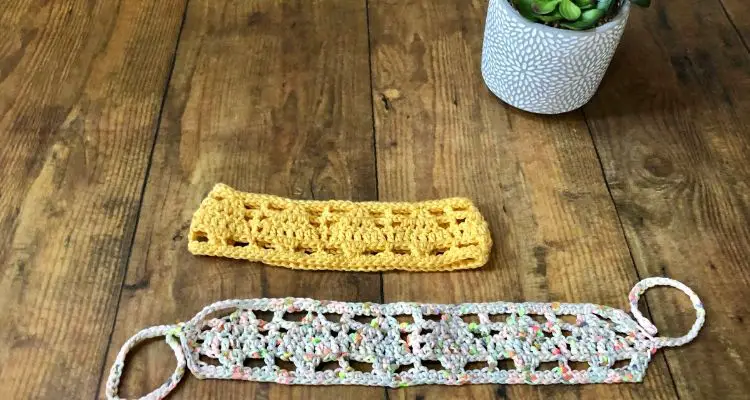
The Pine Trees Crochet Headband is a quick, stash busting crochet pattern! Literally, the smaller sizes might take you 35 minutes! I made one while cooking breakfast. ?
I love designing garments, and using techniques to minimize seaming. Sometimes those techniques and stitches may be new to some crocheters, so I enjoy designing a smaller project as an introduction to a technique. The Pine Trees Crochet Headband is an introduction project using the Modified Pine Tree Stitch with worsted weight yarn. If you’re feeling adventurous and love making garments, check out the Lacy Transformation Top.?
*Disclosure: This post may contain affiliate links to products that I use, and think you will enjoy using too. Should you decide to use any such link, I will earn a small commission at no cost to you. Thank you for supporting this small business.
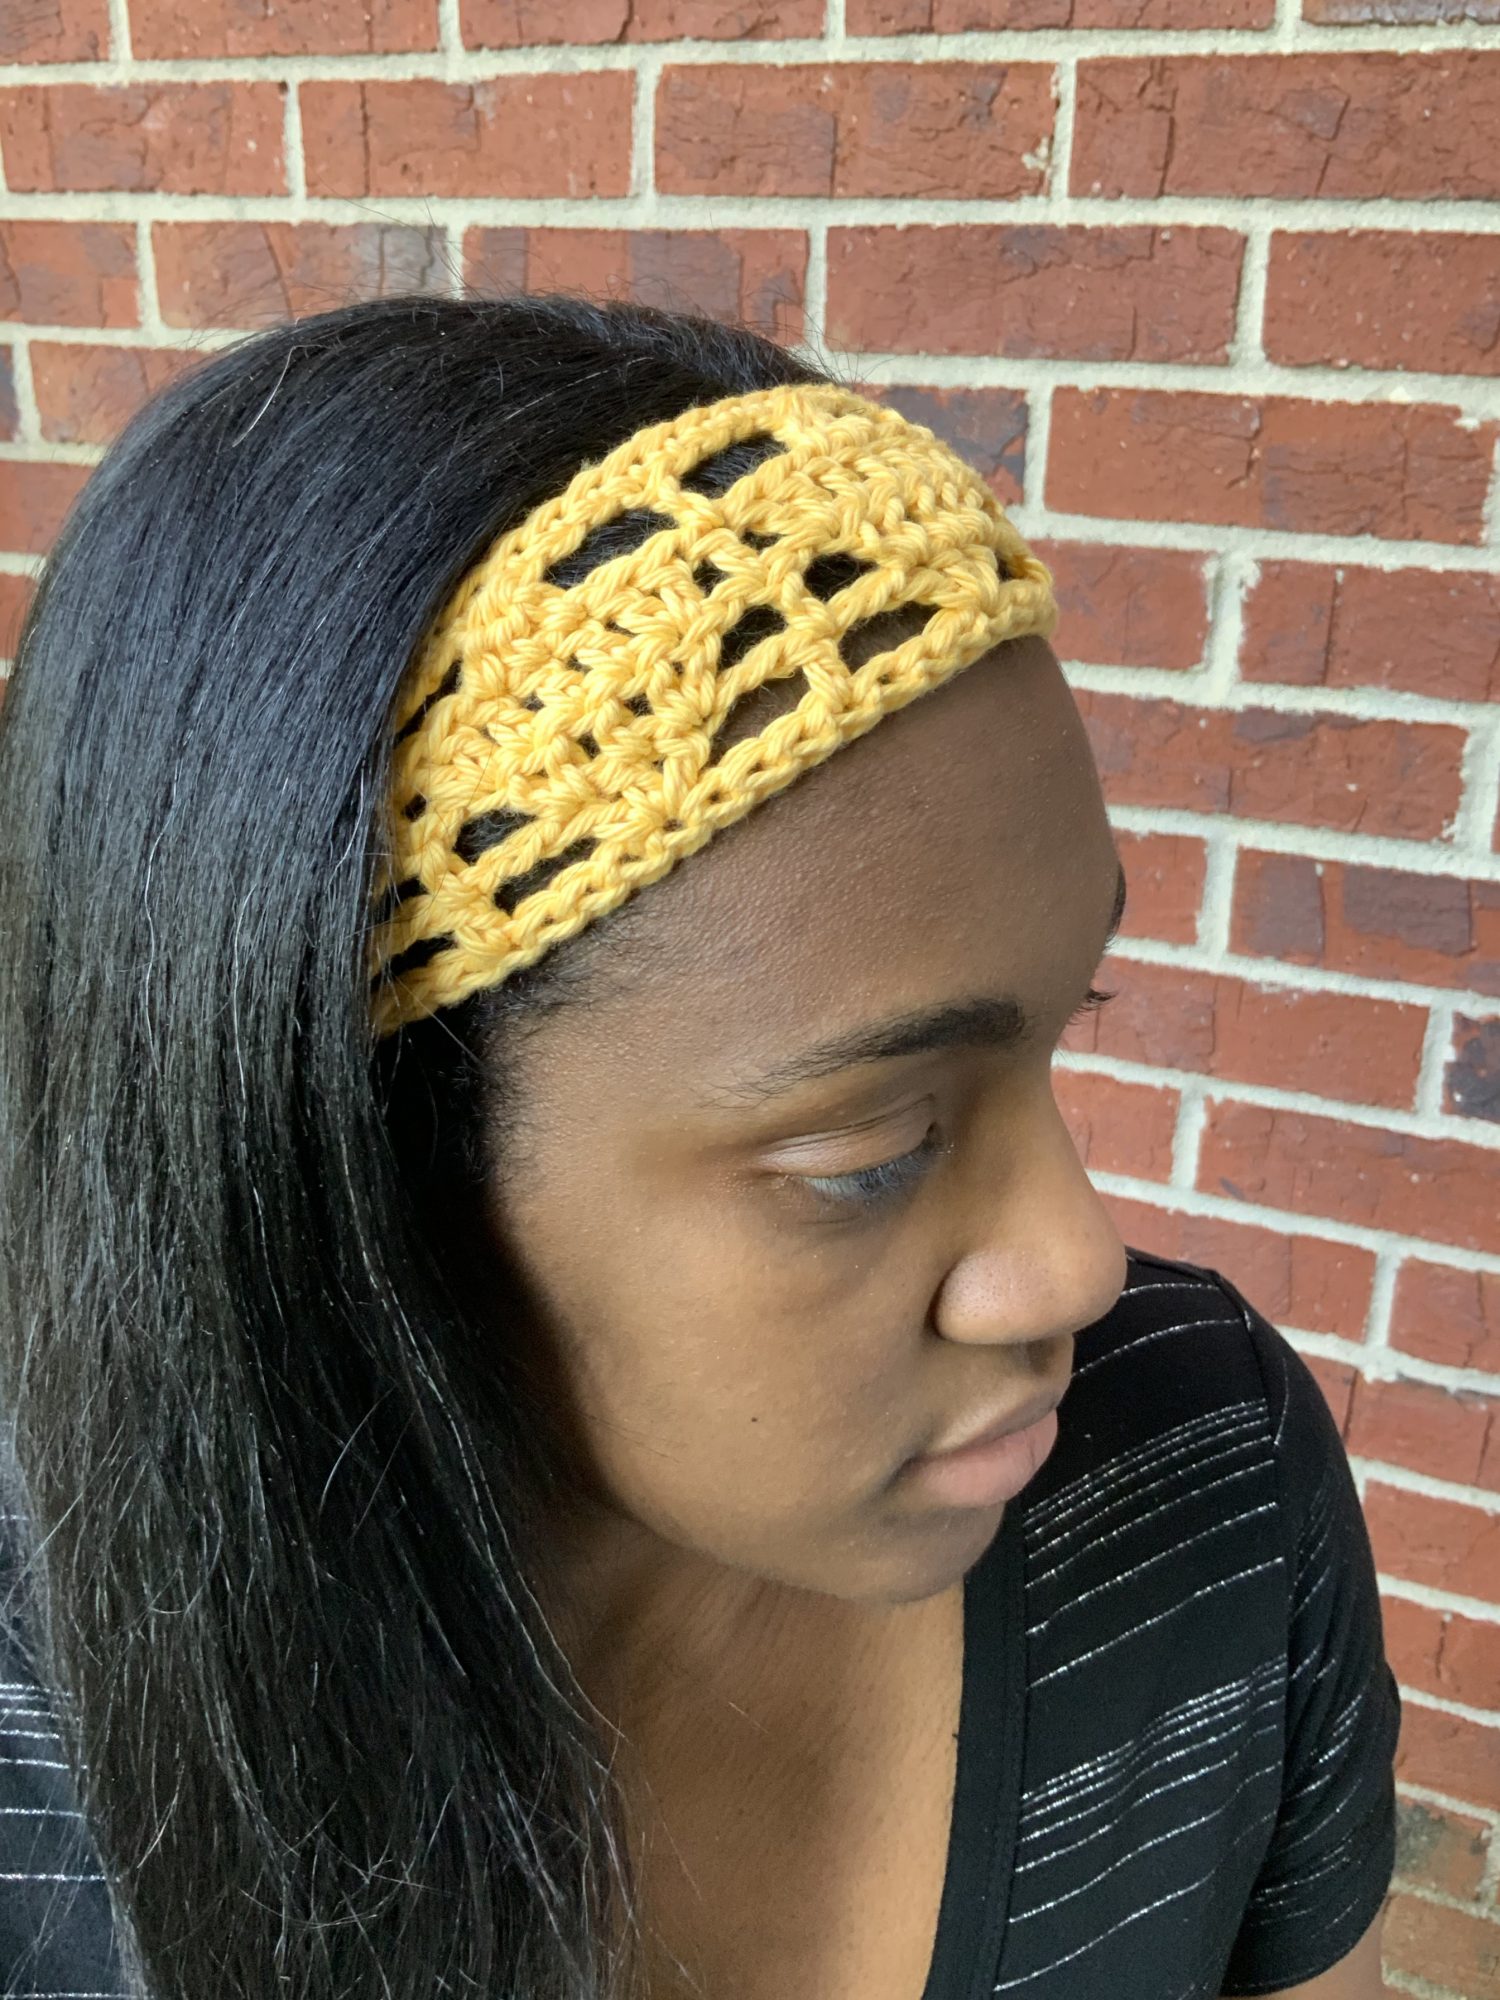
The Pine Trees Crochet Headband project offers two options, in the round and flat. There are three sizes available for in the round, and the flat version fits all sizes. If you decide to make one for a baby, you may want to skip row 5 to shorten the width for a cute baby head.
The stitch chart was created by my friend handmadebyroeska. She’s not only a super talented crocheter, she’s awesome at creating stitch charts.

Add to Ravelry Queue
MATERIALS
- Conway Bliss Lolli, worsted weight (80% cotton, 20% polyester; 50g; 110m/120 y): Tutti Frutti, 1 Skein or 26-45 yards
- Yarn Alternatives: Red Heart Shimmer, Hobby Lobby I love This Cotton, Lion Brand Basic Stitch Premium
- Hook US H/8 (5.00 mm) or size needed to meet gauge
- Scissors
- Yarn needle
- 1 stitch marker
- Measuring tape
GAUGE
2 repeats = 4.25″/ 10.5 cm; 3 pattern rows = 1.5″/ 4 cm
SIZES
- Toddler: 8.5 in. (21 cm) laid flat x 2.25 in. (5.5 cm), to fit head circumference up to 18.5 in. (47 cm)
- Child: 8.75 in. (22 cm) laid flat x 2.25 in. (5.5 cm), to fit head circumference up to 20 in. (51 cm)
- Adult: 9.5 in. (23.5 cm) laid flat x 2.5 in. (6.5 cm), to fit head circumference up to 22.5 in. (57 cm)
- Flat Headband without ties: 13 in. (33 cm) long x 2.5 in (6.5 cm) wide, to fit any size
PATTERN KEY
- Ch: chain
- CSDC: chainless starting double crochet
- dc: double crochet
- dc3tog: double crochet 3 together
- fsc: foundation single crochet
- sc: single crochet
- sk: skip
- sl st: slip stitch
- st(s): stitch(es)
SPECIAL STITCHES & TECHNIQUES
- CSDC: pull up a tall loop, holding loop in place and wrap yarn around hook (yarn over), insert hook in first st, YO, pull up a loop, [YO, pull through 2 loops] twice
- Join fsc: For final fsc, insert hook through foundation chain of last st made, yarn over and pull up loop (2 loops on hook), insert hook through next st (this attaches the fsc), yarn over and pull through st and 1 loop (2 loops on hook), yarn over, pull through two loops.
EXPERIENCE LEVEL
Easy
NOTES
- Pattern is written US terms.
- Read the entire pattern before beginning.
- Pattern can be worked in the round or flat.
- CSDC can be replaced with ch 3.
- A stitch tutorial can be found here for the Modified Pine Trees Stitch.
- Instructions are provided for the headband in the round, and then the headband with ties.
- Stitch Chart is provided in the ad-free PDF pattern.
Purchase the ad-free PDF from your favorite shop
INSTRUCTIONS
In the round: Toddler (Child, Adult)
55 (63, 71) Fsc, follow Join fsc instructions, sl st to join. 56 (64, 72)
Row 1 (RS): CSDC in first st, ch 2, sk 3 sts, 3dc in next st, ch 2, sk 3 sts, [dc in next st, ch 2, sk 3 sts, 3dc in next st, ch 2, sk 3 sts] 6 (7, 8) times, sl st to join, turn. 56 (64, 72) sts; 7 [8, 9] total repeats
Row 2: CSDC in first st, ch 1, sk 2 ch, 2dc in next st, dc in next st, 2dc in next st, ch 1, sk 2 ch, [dc in next st, ch 1, sk 2 sts, 2dc in next st, dc in next st, 2dc in next st, ch 1, sk 2 ch] 6 (7, 8) times, sl st to join, turn. 56 (64, 72) sts; 7 [8, 9] total repeats
Row 3: CSDC in first st, sk 1 ch, 2dc in next st, dc in next 3 sts, 2dc in next st, sk 1 ch, [dc in next st, sk 1 ch, 2dc in next st, dc in next 3 sts, 2dc in next st, sk 1 ch] 6 (7, 8) times, sl st to join, turn. 56 (64, 72) sts; 7 [8, 9] total repeats
Row 4: CSDC in first st, ch 3, sk 2 sts, dc3tog, ch 3, sk next 2 sts, [dc in next st, ch 3, sk next 2 sts, dc3tog, ch 3, sk next 2 sts] 6 (7, 8) times, sl st to join, turn. 56 (64, 72) sts; 7 [8, 9] total repeats
Row 5: Ch 1, sc in first st, sc in each st around, sl st to join, fasten off. 56 (64, 72) sts
Finishing
Sew in all ends, trim excess.
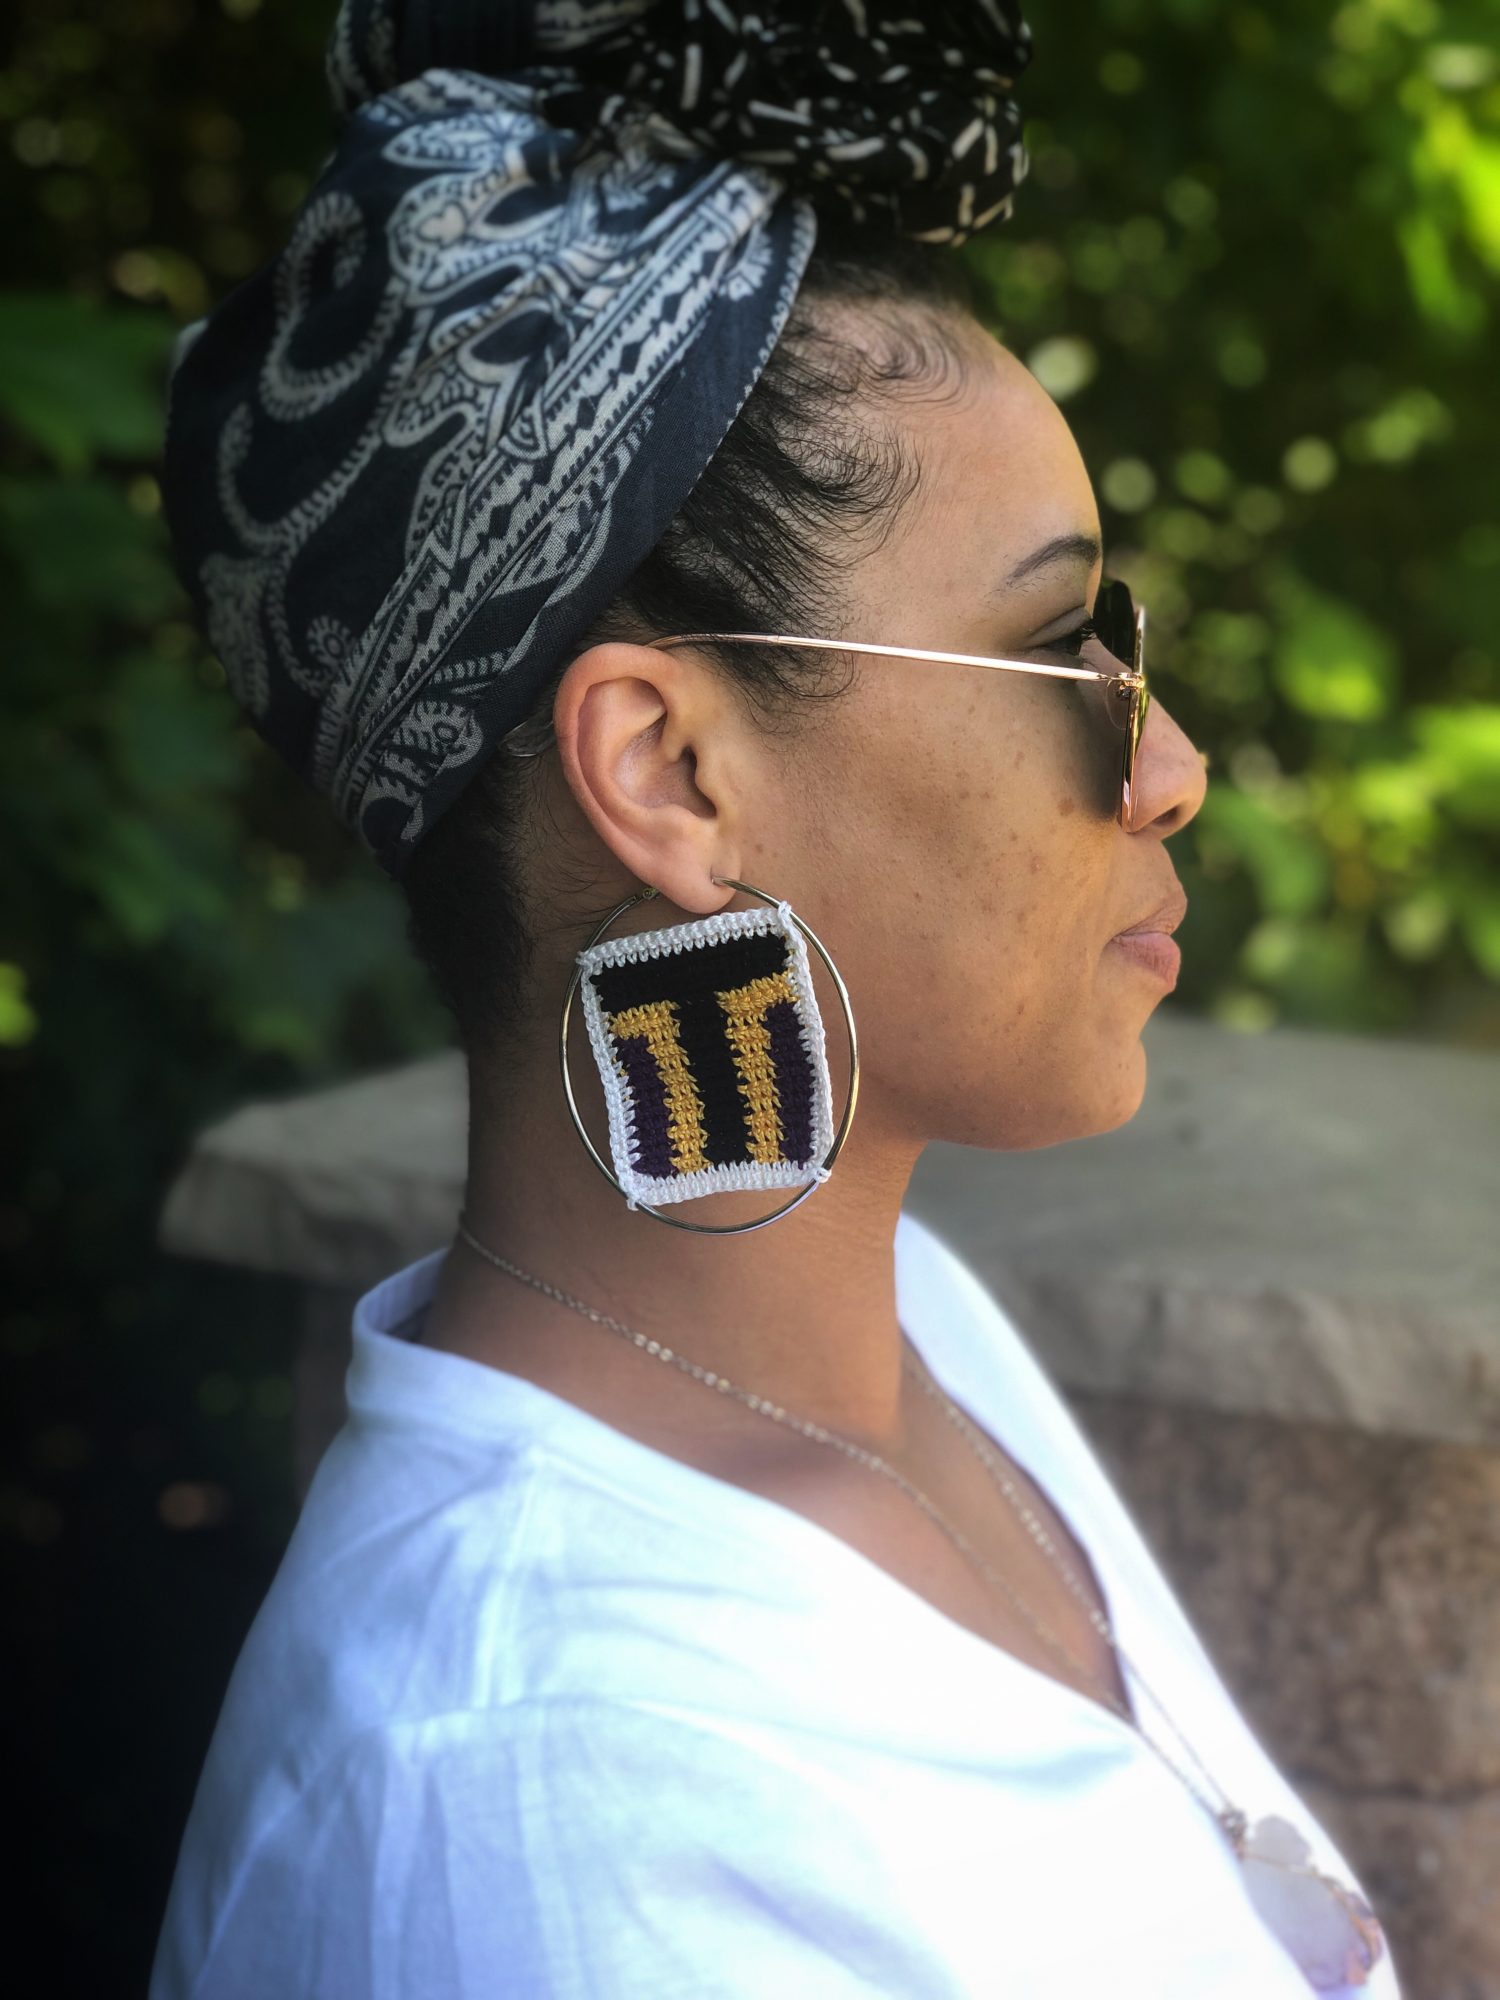
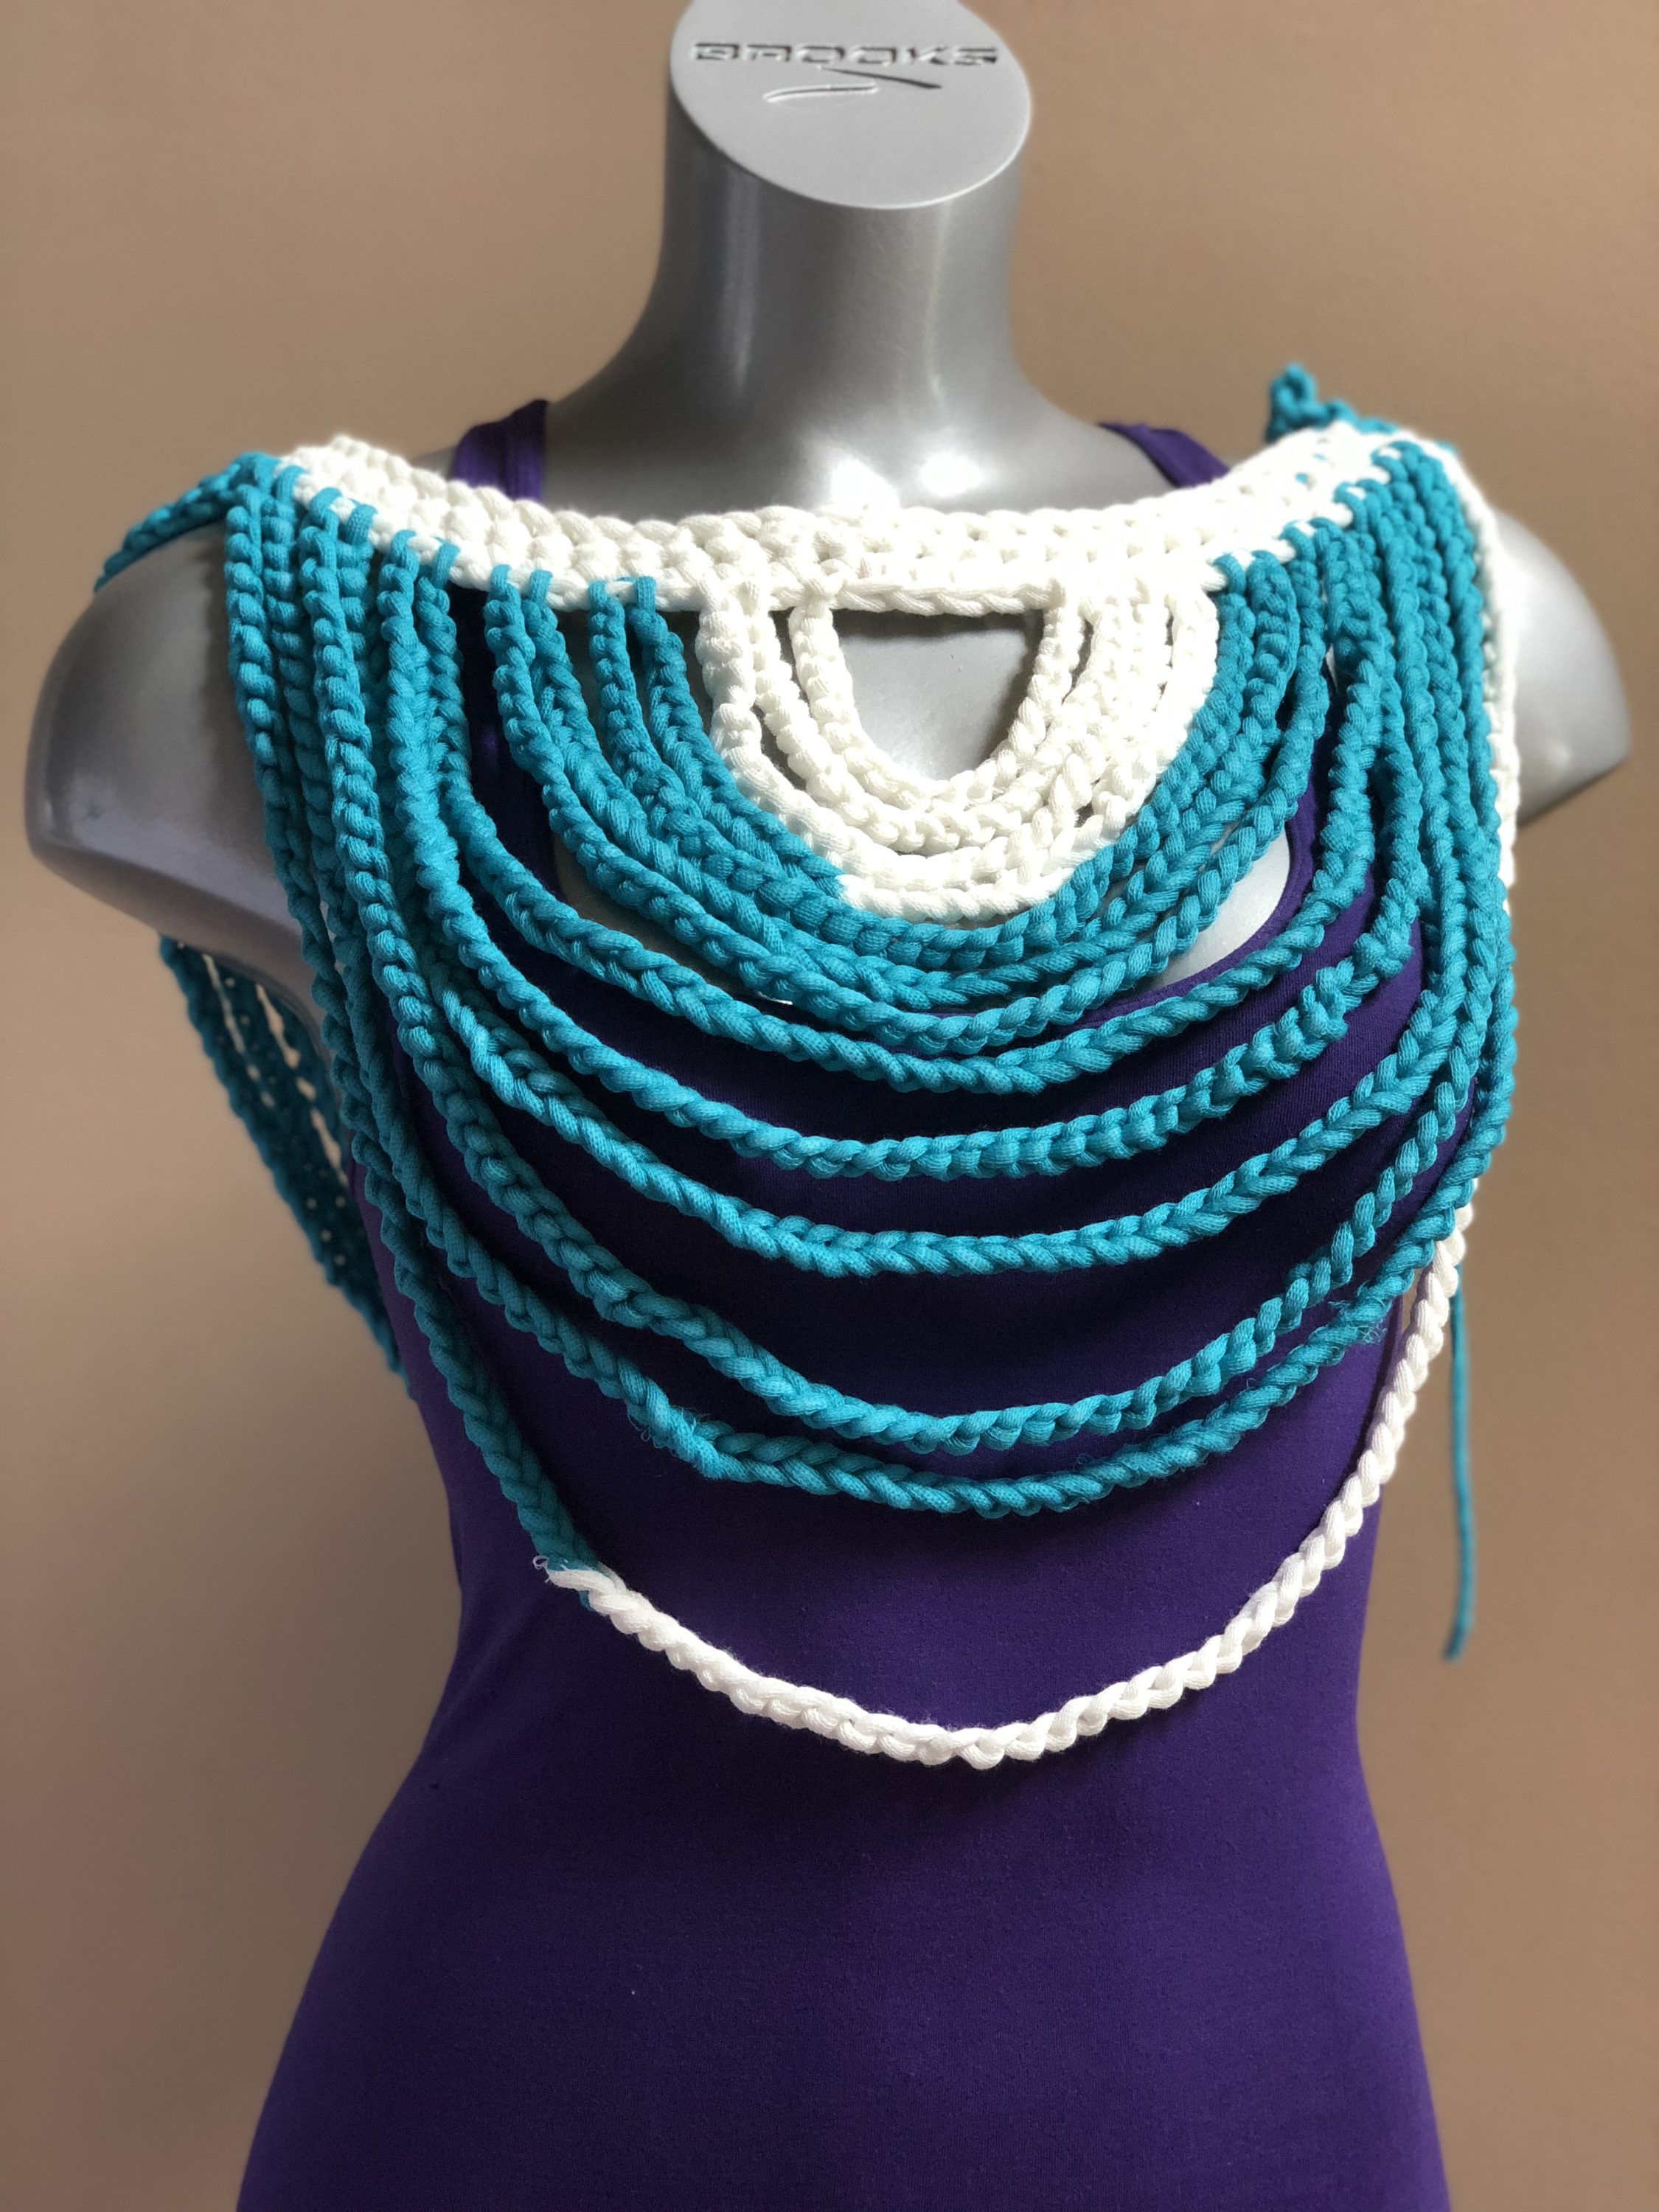
Love crochet jewelry? Check out these designs.

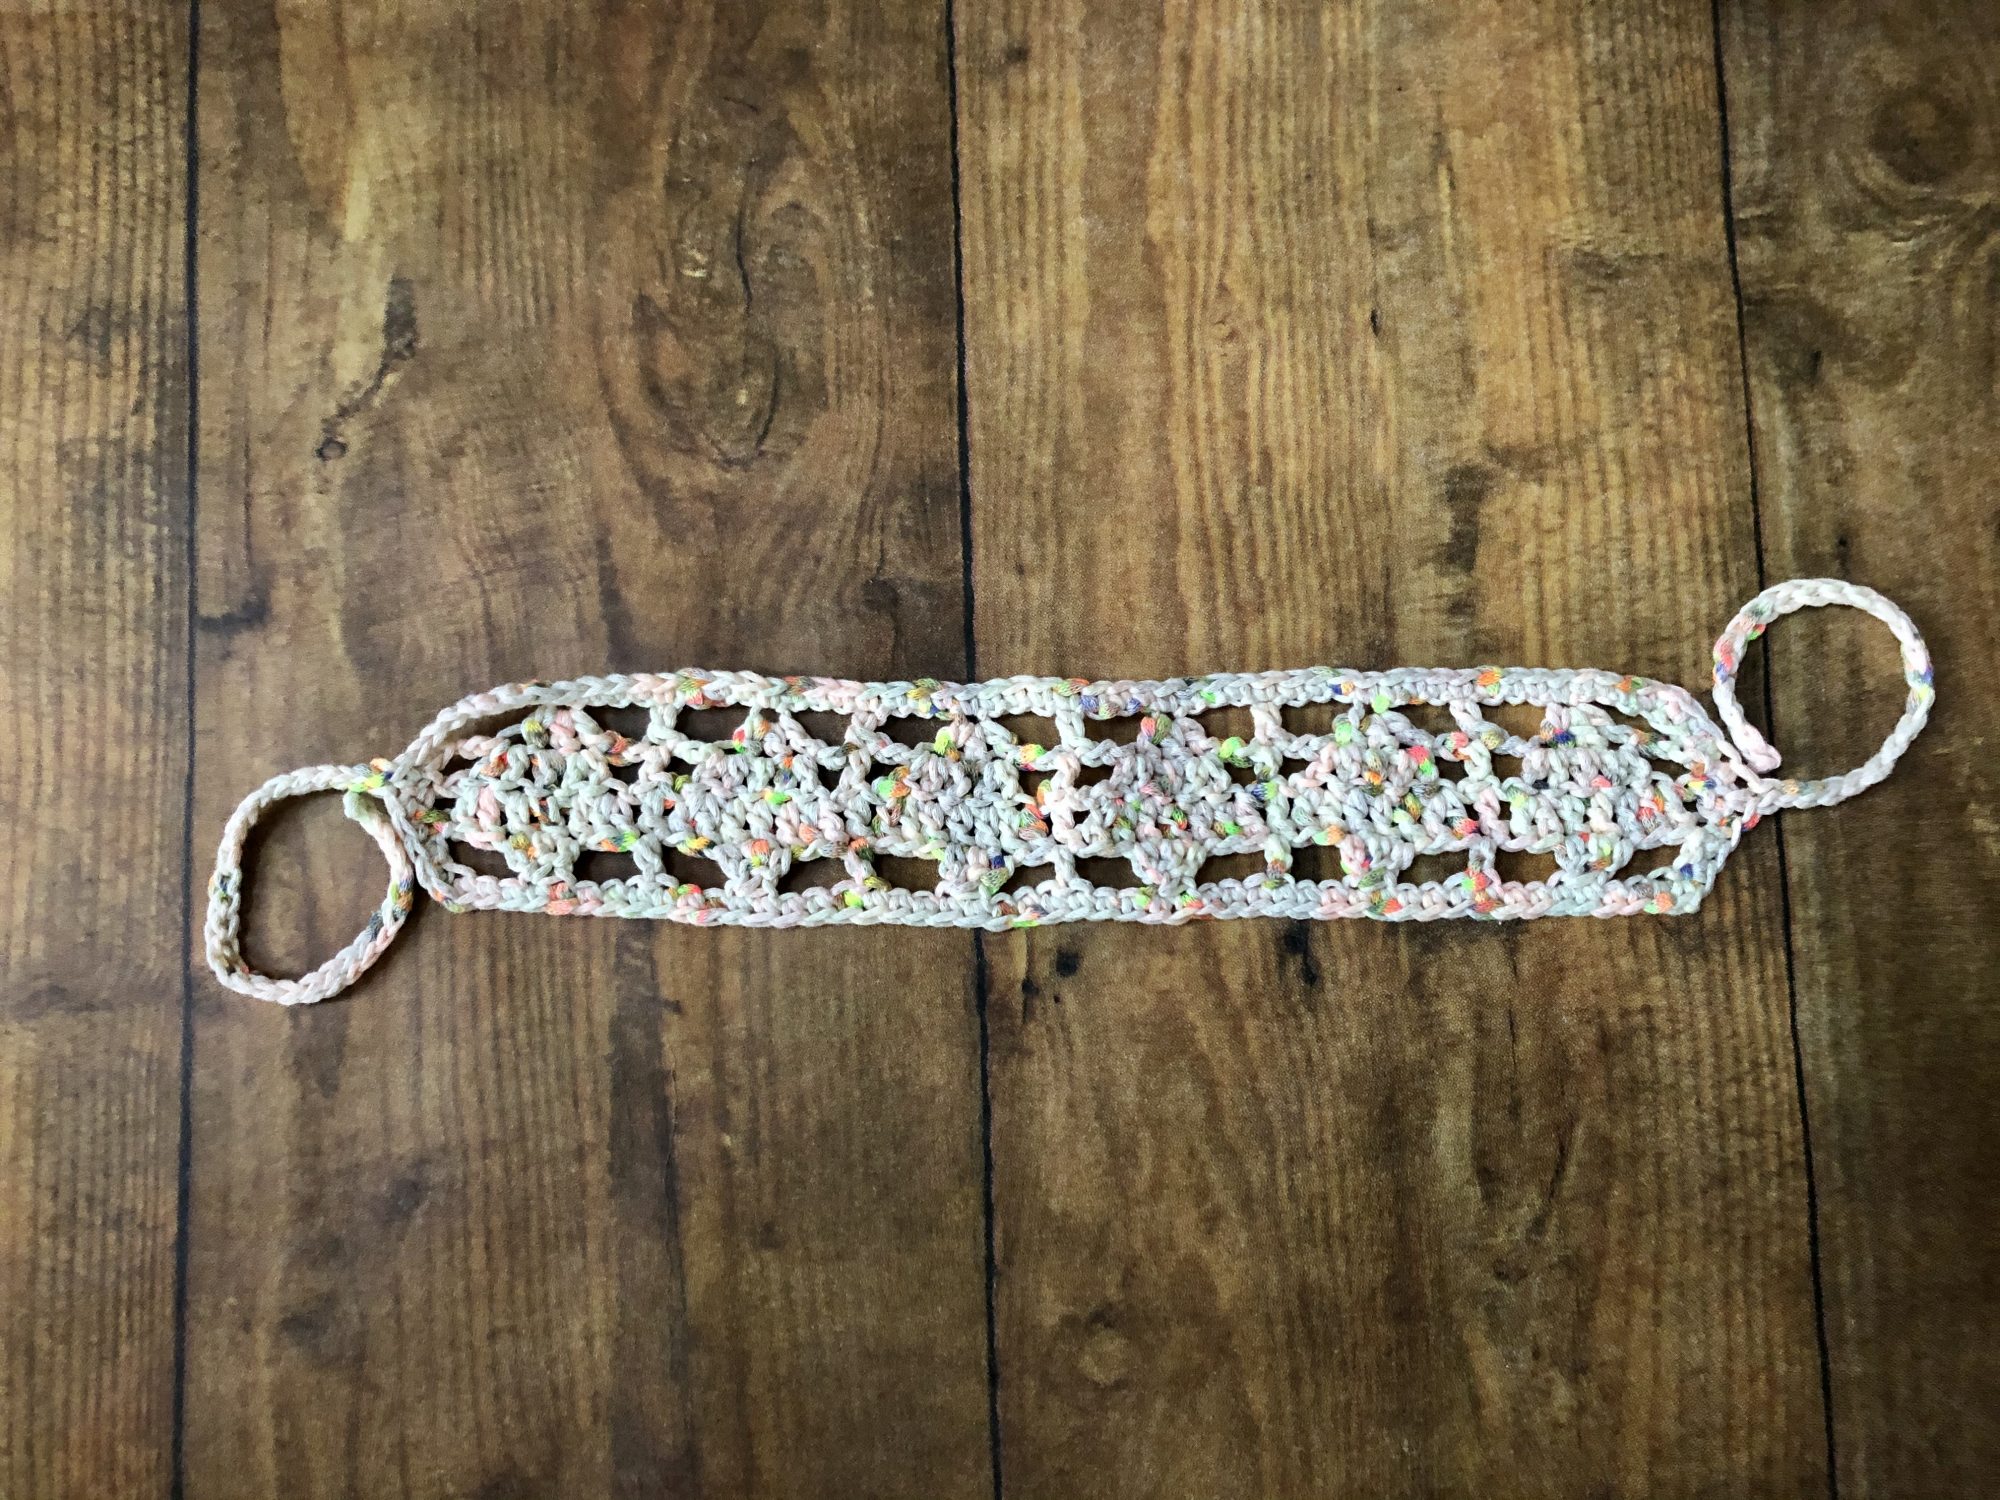
Flat Headband with Ties
Ch 53, turn
Row 1: 3dc in 9th ch (the skipped 8 ch counts as ch 2, dc and skipped ch 3), ch 2, sk 3 ch, [dc in next ch, ch 2, sk 3 ch, 3dc in next ch, ch 2, sk 3 ch] 5 times, dc in last ch, turn. 49 sts; 6 repeats
Row 2: CSDC in first st, ch 1, sk 2 sts, 2dc in next st, dc in next st, 2dc in next st, ch 1, sk 2 sts, [dc in next st, ch 1, sk 2 sts, 2dc in next st, dc in next st, 2dc in next st, ch 1, sk 2 ch] 5 times, dc in last st, turn. 49 sts; 6 repeats
Row 3: CSDC in first st, sk 1 ch, 2dc in next st, dc in next 3 sts, 2dc in next st, sk 1 st, [dc in next st, sk 1 ch, 2dc in next st, dc in next 3 sts, 2dc in next st, sk 1 ch] 5 times, sl st to join, turn.49 sts; 6 repeats
Row 4: CSDC in first st, ch 3, sk 2 sts, dc3tog, ch 3, sk next 2 sts, [dc in next st, ch 3, sk next 2 sts, dc3tog, ch 3, sk next 2 sts] 5 times, dc in last st, turn. 48 sts; 6 repeats
Row 5: Ch 1, *sc in each st to end, rotate piece, ch 1, 4 sc evenly spaced in the sides of the dc stitches, ch 31, sk 1 ch, sl st in each ch, 4 sc evenly spaced in the sides of the dc stitches, rotate piece, ch 1, sc in each st to end; repeat from *, sl st to join, fasten off. 48 sts; 6 repeats
Finishing
Sew in all ends, trim excess.
Pin it for Later


Sweet and Simple Beginner Friendly Blog Hop
It’s week 2 of the Sweet and Simple Beginner Friendly Blog Hop hosted by Pam of Caraway Crochet. Each crochet pattern is easy for a beginner crocheter, or a quick project for the maker and experienced crocheter. Each week of this blog hop allows you to download the patterns for free. This week is February 15-21, 2022.
Make sure you get the coupon code first by heading over to the Blog Hop roundup post. Click “Download Free PDF” to get your copy of the Pine Trees Headband before 11:59pm EST on February 21st.
If we’re not hanging out on social media yet, come check me out on Facebook, Instagram and Pinterest.
Want to talk about yarn goodness, crochet tips, and exclusive weekly deals? Join my Facebook Group, Creations By Courtney Community.
Join my newsletter for sneak peeks, crochet tips, and more. HERE
Please use #CreationsByCourtney on social media when sharing your projects.
This pattern is not to be duplicated or resold, and not to be reproduced commercially. You may sell finished products on Etsy, at farmers markets, and craft fairs, but please credit Creations By Courtney as the pattern’s author.





9 Responses
These are adorable! Thank you for the pattern!
Thank you!
Thanks for sharing.
This is great for the warmer months of summer. My MIL just may like one! 🙂
I agree! Lacy headbands are great for warm weather days and adding a little bit of color to an outfit.