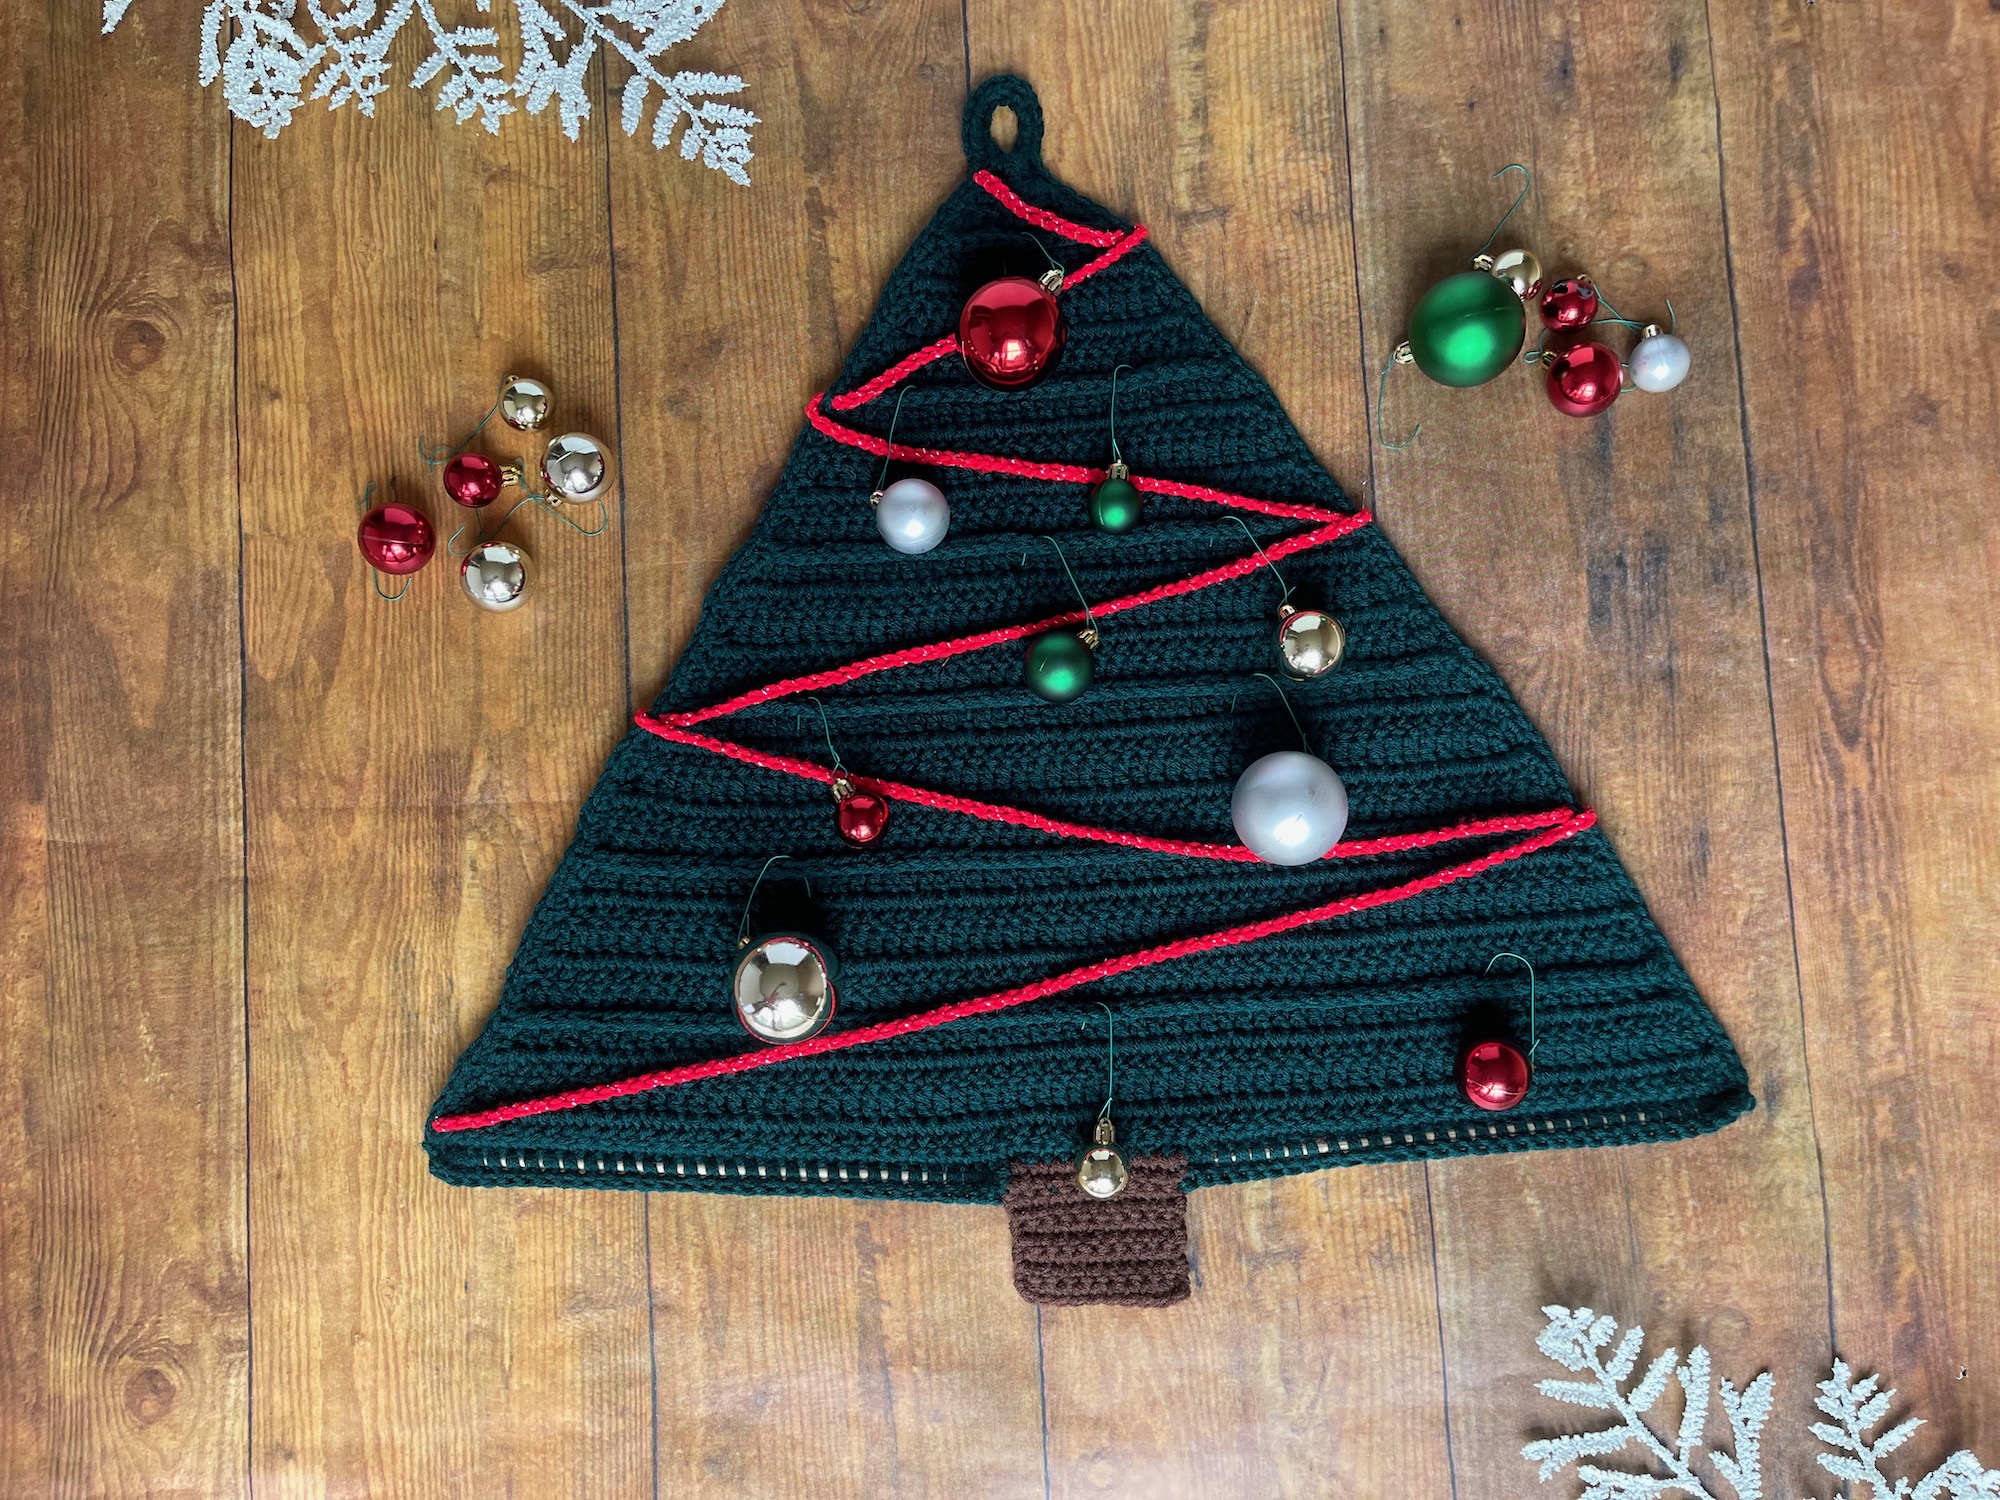
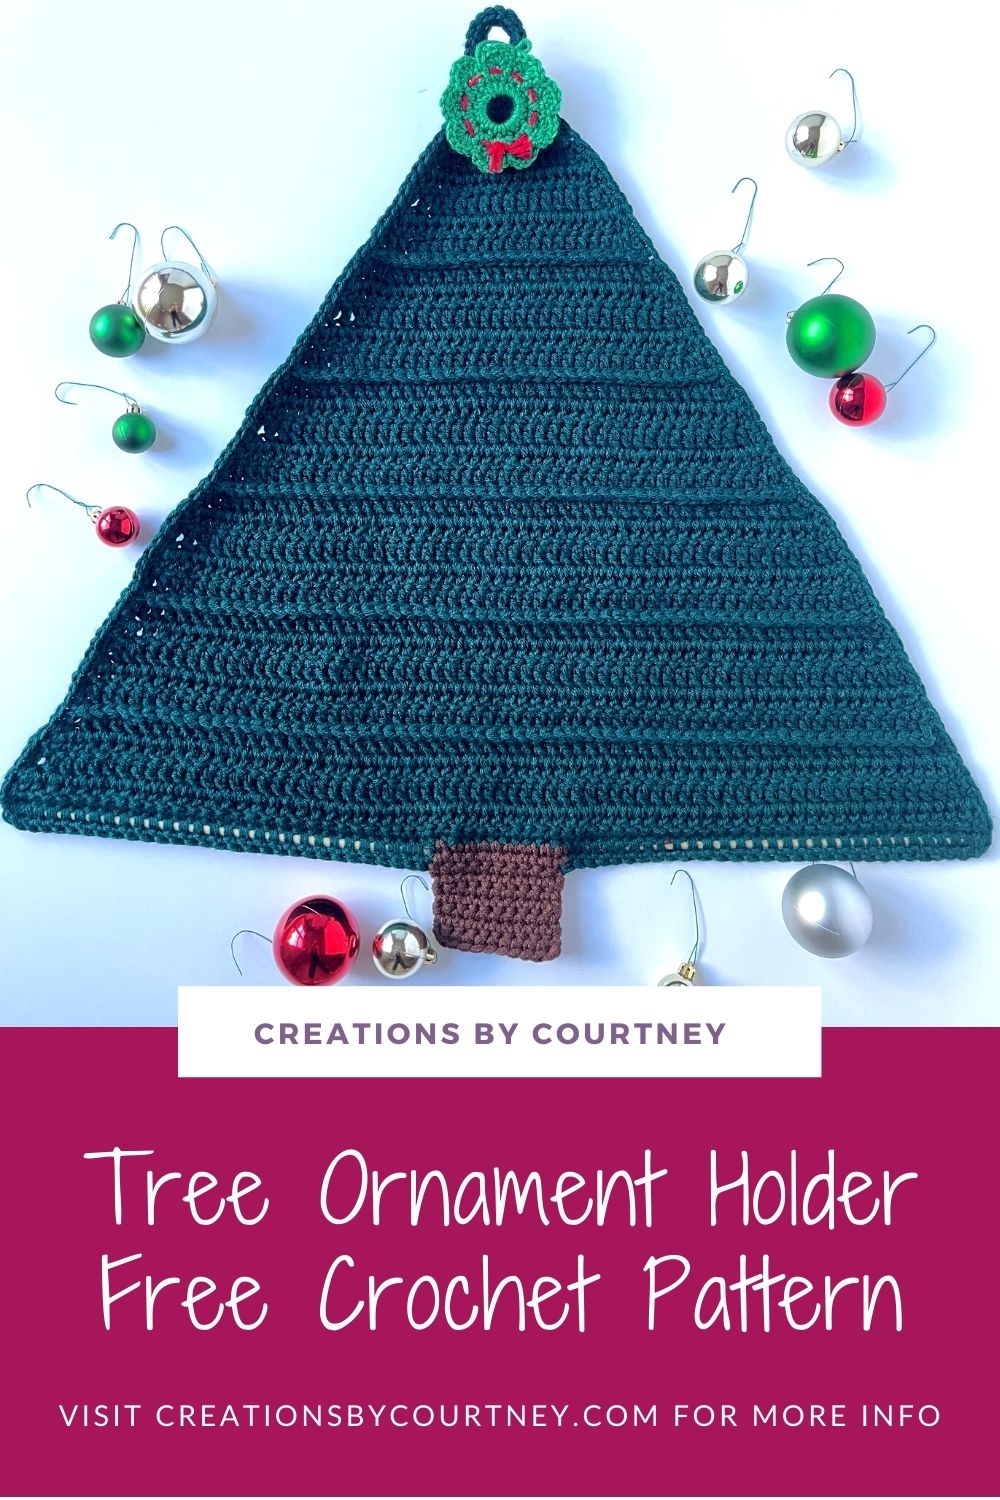
The Tree Ornament Holder is a fun, quick crochet project to add some cheer to any winter or holiday decor. Maybe you just love pine trees and have a ton of dangling earrings…
Why am I mentioning dangling earrings?
The Tree Ornament Holder includes rows of a special slip stitch that creates a sturdy line for hanging various sized ornaments or your collection of handmade earrings. I mean aren’t ornaments with hooks just large earrings?? LOL
You’ll enjoy the simple stitching in this crochet project. It’s easy enough to work on while binging your current fave show.
If you really want to make a dent in your yarn stash in time to be gifted more yarn, I would grab those scraps to make the slip stitch rows. Your Tree Ornament Holder will be even more festive. Besides, the joy of crafting is adding our own touch of creativity to all projects, so I hope to see a variety of colored tree sporting simple to extravagant to keepsake ornaments during the holiday season.
YARN
I chose WeCrochet Brava 500 in hunter to make the Tree Ornament Holder. To me, its the perfect shade of green, plus I had some left over from making the Draped in Diamonds Poncho.
If you have never used Brava 500 before, you’re going to love it! It’s a soft, worsted weight, 100% acrylic yarn that can be used for lots of things! I will admit that because of it’s softness, you might think that it’s not a great choice for a wall hanging, but there’s a few simple tricks listed below to help.
As an S-twisted yarn, it doesn’t split to much when crocheting. And I love how there have been very few knots within the yarn. I’m sure most fiber artists have gotten a lemon of a skein of yarn that had a ton of knots in it to create the entire thing. Well WeCrochet is the bomb dot com for the quality of yarn they provide.
The trick for making this yarn work for the Tree Ornament Holder is holding it double, and you could use a slightly smaller hook to tighten your stitches. If you have a loose gauge in general, definitely go down in hook size. Wood dowels are also used to anchor the piece.
*Disclosure: This post may contain affiliate links to products that I use, and think you will enjoy using too. Should you decide to use any such link, I will earn a small commission at no cost to you. Thank you for supporting this small business.
Add to Ravelry Queue
MATERIALS
- Color A: WeCrochet Brava 500 (100% premium acrylic, 1090 yds; 17.5 oz/ 500 g): Hunter x 225 yds
- Color B: Red Heart Super Saver, (100% acrylic): Brown x 15 yds or 8 g
- Optional Color C: Small amount of worsted weight yarn in color of choice, approx 6g
- US Furls Crochet L (7.00 mm) hook or hook to meet gauge I love using Furls Crochet Hooks.
- US J-10 (6.00) for garland
- ¼ in. X 12 in. Wood dowels, 2
- Scissors
- Yarn needle
- 1 stitch marker
- Measuring tape
GAUGE
10 dc x 6 rows of dc = 3.5” x3.5” [9 cm x 9 cm]
FINISHED SIZE
24” L x 27” W, excluding hanging loop
PATTERN KEY
BL: back loop
Ch: chain
Cnr: corner
CSDC: chainless starting double crochet
Dc: double crochet
FO: fasten off
M: stitch marker(s)
Prev: previous
Rem: remain(s) (ing)
Rep: repeat
RS: right side
Sc: single crochet
Sk: skip
Sl st: slip stitch
Sp: space(s)
St(s): stitch(es)
WS: wrong side
YO: yarn over
Yo-slst: yarn over slip stitch
SPECIAL STITCHES & TECHNIQUES
CSDC: pull up a loop that is row height, holding loop in place and wrap yarn around hook (YO), insert hook in first st, YO, pull up a loop, [YO, pull through 2 loops] 2 times
Yo-slst: YO, insert hook in back loop of next st, YO, pull through st and 2 loops on hook
EXPERIENCE LEVEL
Easy

Never wonder again what hook or yarn you were using, and know exactly where you stopped in the pattern with the Simple Fiber Project Planner.
It can be printed or used with a digital notebook.
Thank you!
You have successfully joined our subscriber list.
NOTES
- Pattern is written US terms.
- Read the entire pattern before beginning.
- The Tree Ornament Holder is made in parts: Body and Edging & Seam.
- Each yarn is held double throughout the pattern to create a bulky weight.
- A row of yo-slst will always be the WS so that it protrudes to the RS of the fabric.
- Color A is carried when working with Color B.
- The Garland is an optional decoration. It is not secured to the Tree to be removed as needed.
Grab the ad-free PDF that includes tutorial pictures and color-coding for each size from your favorite pattern shop.
INSTRUCTIONS
Ch 6, sl st to join to make a ring
Row 1 (RS): CSDC in loop, 2 dc in loop, turn – 3 dc
Row 2 (WS): CSDC in first st, 2 dc in same st, dc in next st, 3 dc in last st, turn – 7 dc
Row 3: CSDC in first st, 2 dc in same st, dc in next 5 sts, 3 dc in last st – 11 dc
Row 4: Ch 1, working through the BL, yo-slst in each st, turn – 11 yo-slst
Row 5 (RS): Working in rem loop 2 rows below, slst to first st, CSDC in first st, dc in same st, 2 dc in next st, dc in each st until 2 sts rem, 2 dc in last 2 sts, turn – 15 dc
Row 6: CSDC in first st, dc in same st, dc in each st until 1 st rem, 2 dc in last st, turn – 17 dc
Row 7: CSDC in first st, dc in each st, turn – 17 dc
Row 8: CSDC in first st, dc in same st, 2 dc in next st, dc in each st until 2 sts rem, 2 dc in last 2 sts, turn – 21 dc
Row 9: Rep Row 6 – 23 dc
Row 10: Rep Row 4 – 23 yo-slst
Row 11 (RS): Rep Row 5 – 27 dc
Row 12: Rep Row 6 – 29 dc
Row 13: Rep Row 7 – 29 dc
Row 14: Rep Row 8 – 33 dc
Row 15 (RS): Rep Row 6 – 35 dc
Row 16 (WS): Rep Row 4 – 35 yo-slst
Row 17: Rep Row 8 – 39 dc
Rows 18-22: Rep Rows 12-16 – 47 yo-slst
Row 23 (RS): Rep Row 5 – 51 dc
Row 24: Rep Row 6 – 53 dc
Row 25: Rep Row 7 – 53 dc
Row 26: Rep Row 8 – 57 dc
Row 27: Rep Row 7 – 57 dc
Row 28 (WS): Rep Row 4 – 57 yo-slst
Row 29: Working in rem loop 2 rows below, slst to first st, CSDC in first st, dc in same st, dc in next st, dc in each st until 1 st rem, 2 dc in last st, turn – 59 dc
Row 30: Rep Row 7 – 59 dc
Row 31: Rep Row 8 – 63 dc
Row 32: Rep Row 7 – 63 dc
Row 33: Rep Row 6 – 65 dc
Row 34: Rep Row 4 – 65 yo-slst
Row 35: Working in rem loop 2 rows below, slst to first st, CSDC in first st, dc in next st, dc in each st until 1 st rem, 2 dc in last st, turn – 65 dc
Row 36: Rep Row 8 – 69 dc
Row 37: Rep Row 7 – 69 dc
Row 38: Rep Row 6 – 71 dc
Edging
Rnd 1: Ch 1, sc in each st to cnr, ch 1, turn cnr, evenly sc to the ring, sc in first ch of ring, 2 sc in next 3 ch, sc in last ch, evenly sc to next cnr, ch 1. Do not turn.
Place M in 30th st from each end. This marks will the trunk will be made with Color B
Row 2: Holding one dowel, sc in each st and around the dowel until M; change to Color B, sc in next 11 sts; change to Color A, holding the second dowel, sc in rem 30 sts, turn – 71 sc
Row 3: Sc in first st, sc in next 29 sts; change to Color B, sc in next 11 sts; change to Color A, sc in rem sts, FO Color A
Trunk
Row 1: Insert hook in first st and pull up a loop, ch 1, sc in each st, turn – 11 sc
Row 2: Sc in first st, sc in each st, turn
Rows 3-7: Rep Row 2, FO
Note: The Trunk can be lengthened or shortened. Any adjustments is not included in the yarn amount.
Garland

Using smaller hook and Color C, create a ch that measures at least 76″, FO
Starting at the top, use the smaller hook to pull one end through the Edging to the back; create a zig zag by pulling the ch through a st along the Edge to “drape” the garland. Pull the end to the back at the bottom corner.
Finishing
Weave in all ends.
Holiday Decor Hop
Deck the halls, tables, and more with the festive crochet patterns of the Holiday Decor Blog Hop. Each day offers a different crochet pattern that can be downloaded from the designer.
Let’s all cheer three times for the crochet designers and their sharing spirit!
Head over to Cosy Rosie UK to get the coupon code each day for the featured pattern, and then head to the designer’s website or shop to enter the code for your free pdf.
I’m thrilled to work with Cosy Rosie UK again and be the featured designer for Sunday, November 12, 2023!
For 24 hours, you can get a free copy of the Tree Ornament Holder. Just click the “Download from Ravelry” button to enter the code that you found at Cosy Rosie UK.


Pin it for later

Need more quick crochet gift ideas?


If we’re not hanging out on social media yet, come check me out on Facebook, Instagram and Pinterest.
Want to talk about yarn goodness, crochet tips, and exclusive weekly deals? Join my Facebook Group, Creations By Courtney Community.
Join my newsletter for sneak peeks, crochet tips, and more. HERE
Please use #CreationsByCourtney on social media when sharing your projects.
This pattern is not to be duplicated or resold, and not to be reproduced commercially. You may sell finished products on Etsy, at farmers markets, and craft fairs, but please credit Creations By Courtney as the pattern’s author.


4 Responses
The Tree Ornament Holder is adorable….reminds me of driving by a Christmas tree farm and admiring all those little tree’s that are peppered throughout the property