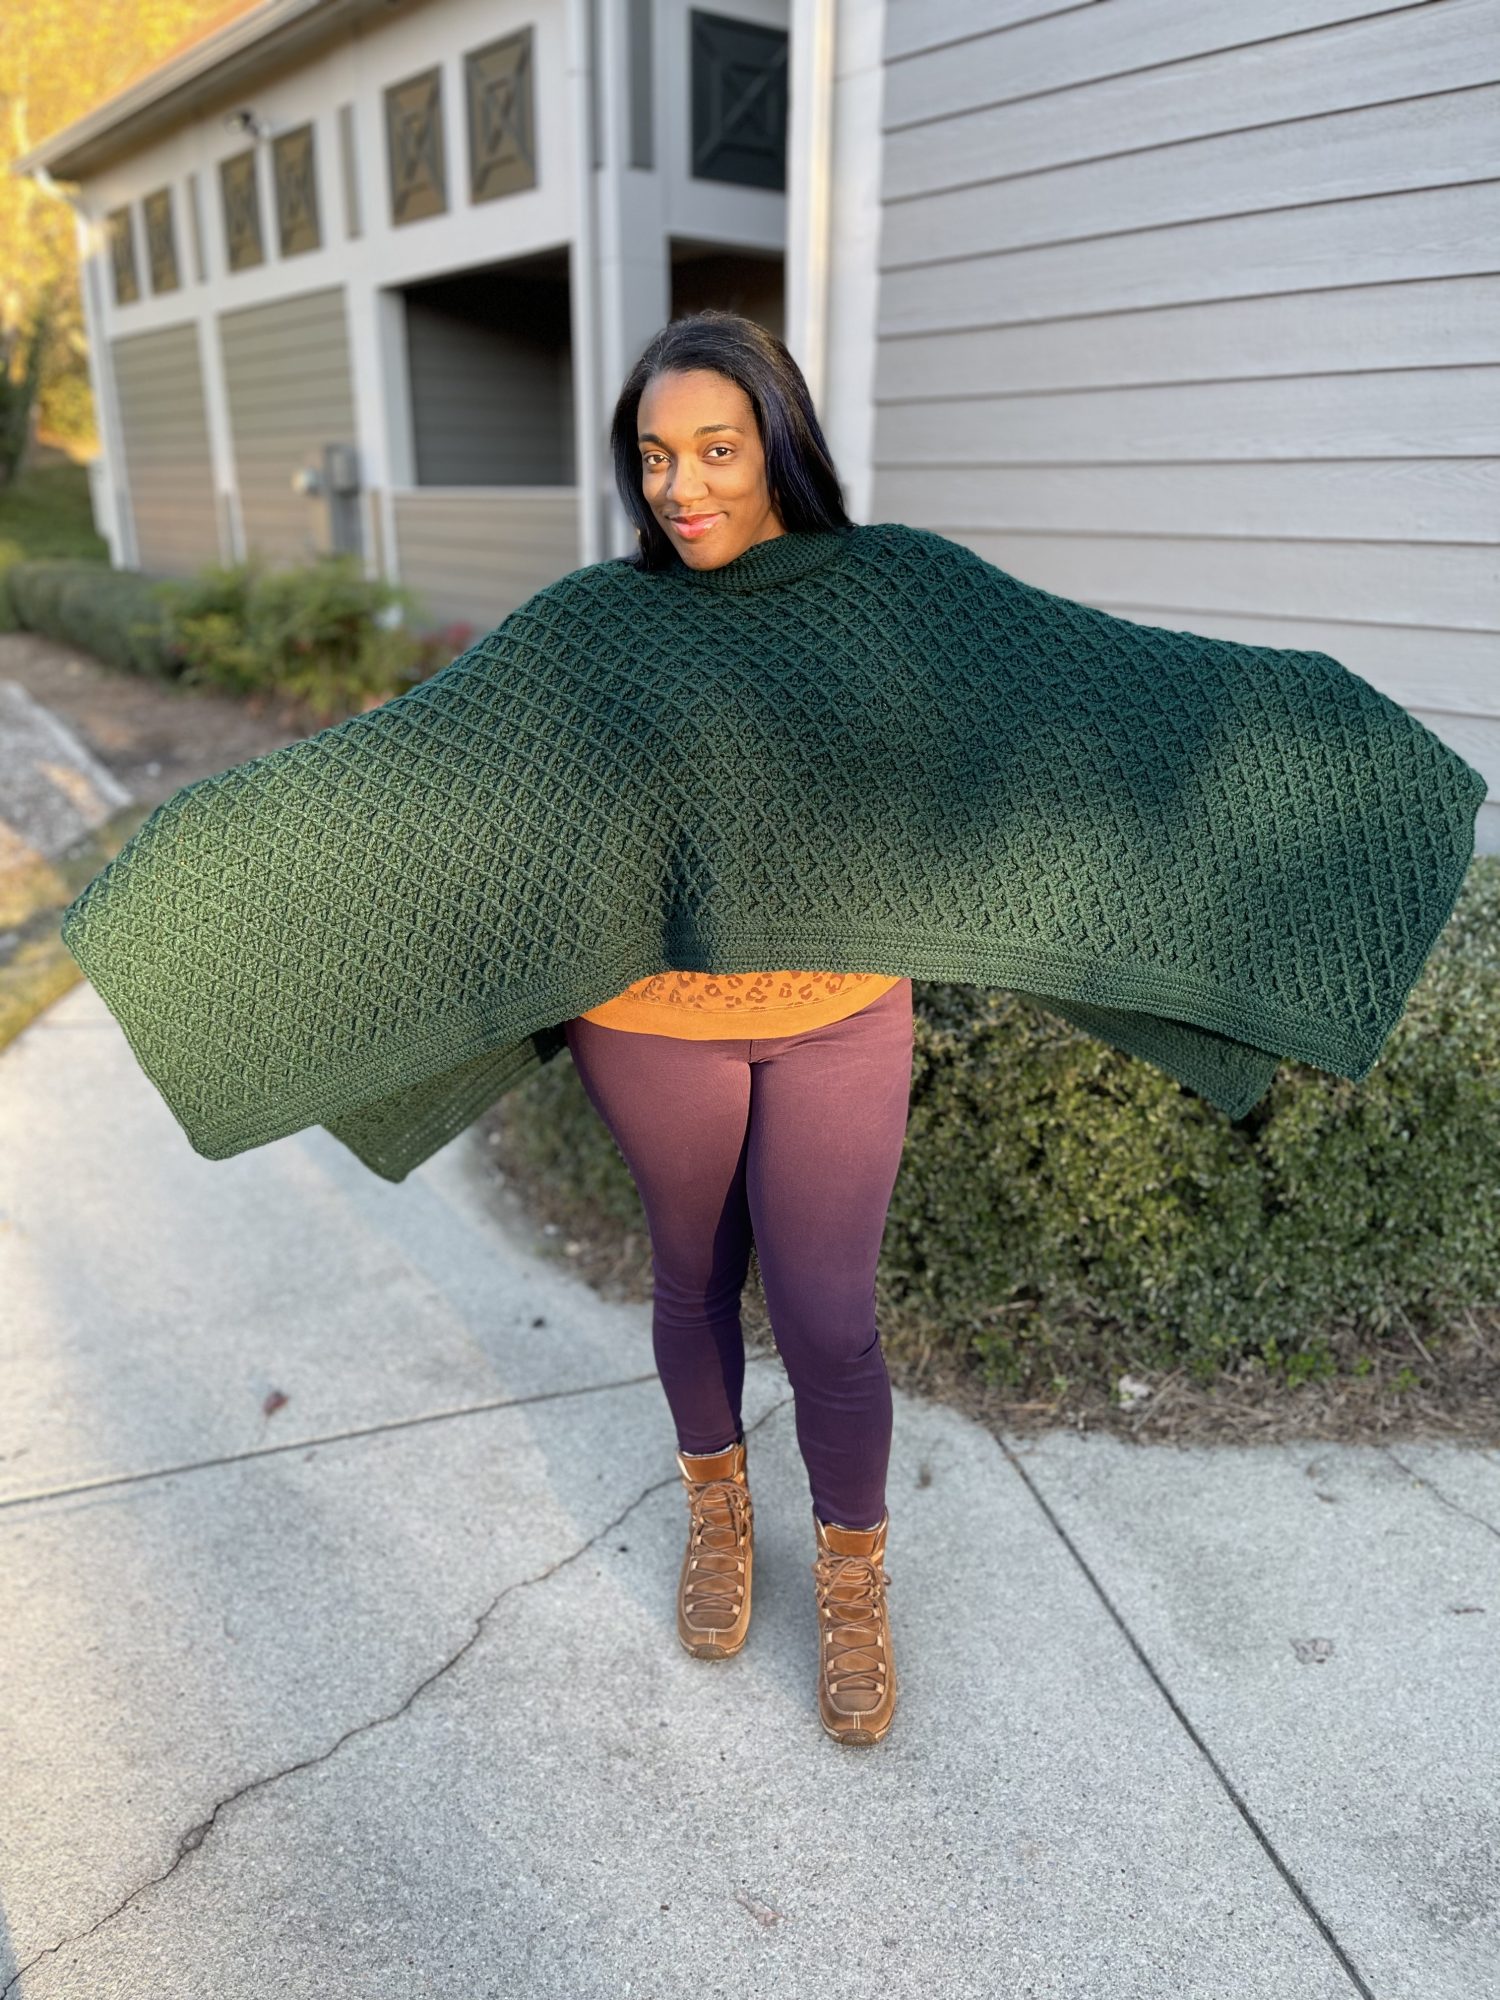
Have you ever made a tunisian crochet poncho? If you have not, I hope you choose the Cedar Mill Tunisian Poncho to be your first!
The Cedar Mill Tunisian Poncho features two tunisian crochet stitches and simple shapes to create an easy to wear poncho that’s perfect for to keep the chill at bay. By making a a classic poncho style, this can be in regular rotation through spring, fall and winter days.
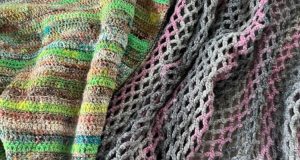
The Cedar Mill Tunisian Poncho offers a unique striping effect thanks to the yarn, and the direction that the stitches are made. I was hoping to make all three sections seamless (because I avoid seaming as much as possible ?), but I chose to keep it simple so that someone new to tunisian crochet will enjoy making this project.
Want to know what Cedar Mill means? It’s just the combination of two creeks in my area. Yep, that’s it. I’m so lucky to live in an area outside of Atlanta that values it’s green space through the county parks. In early summer 2020 (when folks were starting to go outside again), my cousin asked me to walk with her at the park, and she showed me this gorgeous waterfall. I had been to the park before with my parents and siblings, but never knew about the waterfall. To be clear, it’s a not a water flowing over a cliff, but it’s the creek cascading down rocks with shallow pools that visitors enjoy splashing in. I love visiting this park but I didn’t like the name for the poncho, so I looked up other waterways in the area and combined the names. I love finding inspiration in nature.
*Disclosure: This post may contain affiliate links to products that I use, and think you will enjoy using too. Should you decide to use any such link, I will earn a small commission at no cost to you. Thank you for supporting this small business.
Yarn
As a King Cole North American Brand Ambassador, I have an opportunity to try out new yarns, and when I got the first cake of Harvest DK, I knew that I had to make a garment with it. This yarn is SO SOFT and works up beautifully in tunisian crochet. Harvest DK is 90% acrylic and 10% alpaca ? that comes in a generous cake of 585 yards / 535 meters. ?? Yes, that is a lot of yardage in a single cake of yarn. This yarn offers long color changes that make color changes a breeze. With 8 color ways in soft palettes, it’s an easy choice to make garments and accessories that will blend with your closet.
If want to add some Harvest DK to your stash, you can get some with your local yarn shop or online at Wool Warehouse. At the time of this writing, Harvest DK is $8.74 at Wool Warehouse. If you have any sensitive to natural animal fiber, but want to the look of alpaca, try Lion Brand’s Feels Like Alpaca, which is temporarily sold out due to an amazing sale. It’s normally $8.99 per skein, and comes in 7 warm, neutral colors.
Add to Ravelry Queue
MATERIALS
- King Cole Yarn Harvest DK, (90% acrylic, 10% alpaca, 585 yds/ 535 m; 4.75 oz/ 150 g): Babbling Brook x 4 (5, 6) skeins or 2280 (2594, 2926) yds total
- US K (6.5 mm) Tunisian hook with cord or hook to meet gauge
- Scissors
- Yarn Needle
- Measuring Tape
GAUGE
Section 1: 13 thdc x 14 rows = 4” x 4” [10 cm x 10 cm]
Section 2: 14 tss x 14.5 rows = 4” x 4” [10 cm x 10 cm]
FINISHED SIZE
- Size 1: to fit bust 28-38” [71-96.5 cm]; when flat and before seaming, 20” length x 60” [50.8 x 152.4 cm] wide excluding ribbing
- Size 2: to fit bust 40-50” [101.5-127cm]; when flat and before seaming, 22” length x 63” [55.9 x 160 cm] wide excluding ribbing
- Size 3: to fit bust 52-62” [132-158 cm]; when flat and before seaming, 24” length x 66” [61 x 167.6 cm]wide excluding ribbing
PATTERN KEY
Bpdc: back post double crochet
Ch: chain
Cnr: corner
CSDC: chainless starting double crochet
Dc: double crochet
FPdc: front post double crochet
FO: fasten off
FwP: forward pass
M: stitch marker(s)
Prev: previous
Rem: remain(s)
Rep: repeat
RetP: standard return pass
RS: right side
Sc: single crochet
Sc2tog: single crochet 2 together
Sk: skip
Sl st: slip stitch
St(s): stitch(es)
Thdc: tunisian half double crochet
Thdc RetP: tunisian half double crochet return pass
Tss: tunisian simple stitch
WS: wrong side
YO: yarn over
SPECIAL STITCHES & TECHNIQUES
RetP: Ch 1, *YO, pull through 2 loops; rep from * across
Thdc foundation row: Make a ch with an even number of sts, YO, insert hook in back bump of 2nd ch from hook, pull up a loop, *[YO, pull up a loop in next st]; repeat from * to end
Thdc next rows: Sk first 2 vertical bars, *YO, insert hook under next 2 vertical bars (the vertical bar on the left will be leaning back), YO, pull up a loop; repeat from * until last st, YO, insert hook under 2 loops of the end, YO, pull up a loop
Thdc RetP: Ch 1, *YO, pull through 3 loops; rep from * across
EXPERIENCE LEVEL
INTERMEDIATE
NOTES
- Pattern is written in US terms.
- Read entire pattern before beginning.
- The Cedar Mill Tunisian Poncho is made in 7 parts: Sections 1-2, 3 times; Seaming; Shoulder Seam; Neck Opening Edging; and Edging.
- Due to the nature of tss curling, Section 2 may appear smaller than Section 1 of each panel.
- Refer to the schematic in the PDF to choose size and see the direction of seaming the pieces together.
- Each size is color-coded with changes for other sizes in parentheses ( ).
- Stitch counts are provided when possible. If a stitch count is not listed, notes may be provided on whether an even or odd st count is recommended.
Purchase the ad-free PDF from your favorite pattern shop.
INSTRUCTIONS
SIZE 1 (SIZE 2, SIZE 3)
Section 1
Ch 33 (36, 39)
Row 1 FwP: YO, insert hook in 2nd ch from hook, YO, pull up a loop, *YO, insert hook in next ch, YO, pull up a loop; repeat from * to end – 65 (71, 77) loops
Row 1 RetP: Ch 1, *(YO, pull through 3 loops); repeat from * to end – 33 (36, 39) Thdc
Note: Follow instructions for Thdc next rows, and all RetP are the same.
Row 2: 33 (36, 39) Thdc. Thdc RetP – 33 (36, 39) Thdc
Rows 3- 70 (74, 77): Rep Row 2 or until Section 1 measures 20 (21, 22)” in length
Bind off row: Ch 1, working under the slanted vertical and next vertical bar, sc until 1 st rem, working under last slanted vertical bar and horizontal bar, sc, working under both loops of st at end of row, sc. Do not FO – 33 (36, 39) sc
Section 2
Note: If fewer or more rows are needed to reach the length, adjust the number of Tss.
Row 1 FwP: Working along the side of Section 1, starting in the last row, insert hook in the last st, YO, pull up a loop, *insert hook in last st of next row (row end), YO, pull up a loop; rep in each sp to end – 70 (74, 77) loops
Row 1 RetP: Ch 1, *(YO, pull through 2 loops); rep from * to end – 70 (74, 77) Tss
Rows 2-36 (40, 44): 70 (74, 77) Tss. RetP – 70 (74, 77) Tss
Note: Adjust rows if needed until Section 2 is 10 (11, 12)” in length.
Bind off: Ch 1, working under vertical and horizontal bars, sc to cnr, sc under both loops of the last st; sc in same sp as last sc, sc in the last st of each row until Section 1, FO- 105 (113, 120) sc
Note: Adjust the number of sc as needed, if the total number of rows was changed.
Repeat Sections 1 and 2 two more times.
Need help with the stitches?
Seaming
Align Section 1 of first piece with Section 2 of the second piece; rep with third piece but aligned with second piece. Use M to hold pieces together, seam pieces with your preferred method.
Shoulder Seam
Fold Piece in half, place M 18 (17.5, 19)” from top cnr; attach yarn to top cnr, working through both thicknesses, ch 1, sc in each st until M, remove M, do not FO
Neck Opening Edging
Rnd 1: Working through one layer, ch 1, sc in each st around, sl st to join
Rnd 2: Ch 1, sc in each st around, sl st to join
Rnd 3: Ch 1, sc2tog, sc in each st until 2 sts rem, sc2tog, sl st to join
Rnd 4: Ch 1, sk first st, sc in each st until 1 st rem, sc2tog in next st and sk st, sl st in next 3 sts of the prev rnd, FO
Edging 1
Row 1: Attach yarn to cnr of a short side, CSDC in first st, dc in each st to next cnr, turn
NOTE: ensure it is an odd number of total sts
Row 2: CSDC in first st, *BPdc around next st, FPdc around next sts; rep from * until 2 sts rem, BPdc around next st, dc in last st, turn
Row 3: CSDC in first st, *FPdc around next st, BPdc around next st; rep from * until 2 sts rem, FPdc around next st, dc in last st, turn
Rows 4-6: RepRows 2-3, then Row 2
Row 7: Ch 1, sc in first st, sc in each st. Do not FO
Edging 2
Row 1: Working along remaining edge and working in the side of Edging 1, ch 1, sc evenly along Edging 1, sc in each st, sc evenly along other end of Edging 1
Row 2: CSDC in first st, dc in each st, turn
Rows 3-7: CSDC in first st, * *bpdc around next st, fpdc around next st; rep from * until 1 st rem, dc in last st, turn
Row 8: Ch 1, sc in first st, sc in each st, FO
FINISHING
- Weave in all ends.
- Block to final size, if needed.
PIN IT FOR LATER
Loved this pattern? Check out these patterns.
Draped in Diamonds Poncho 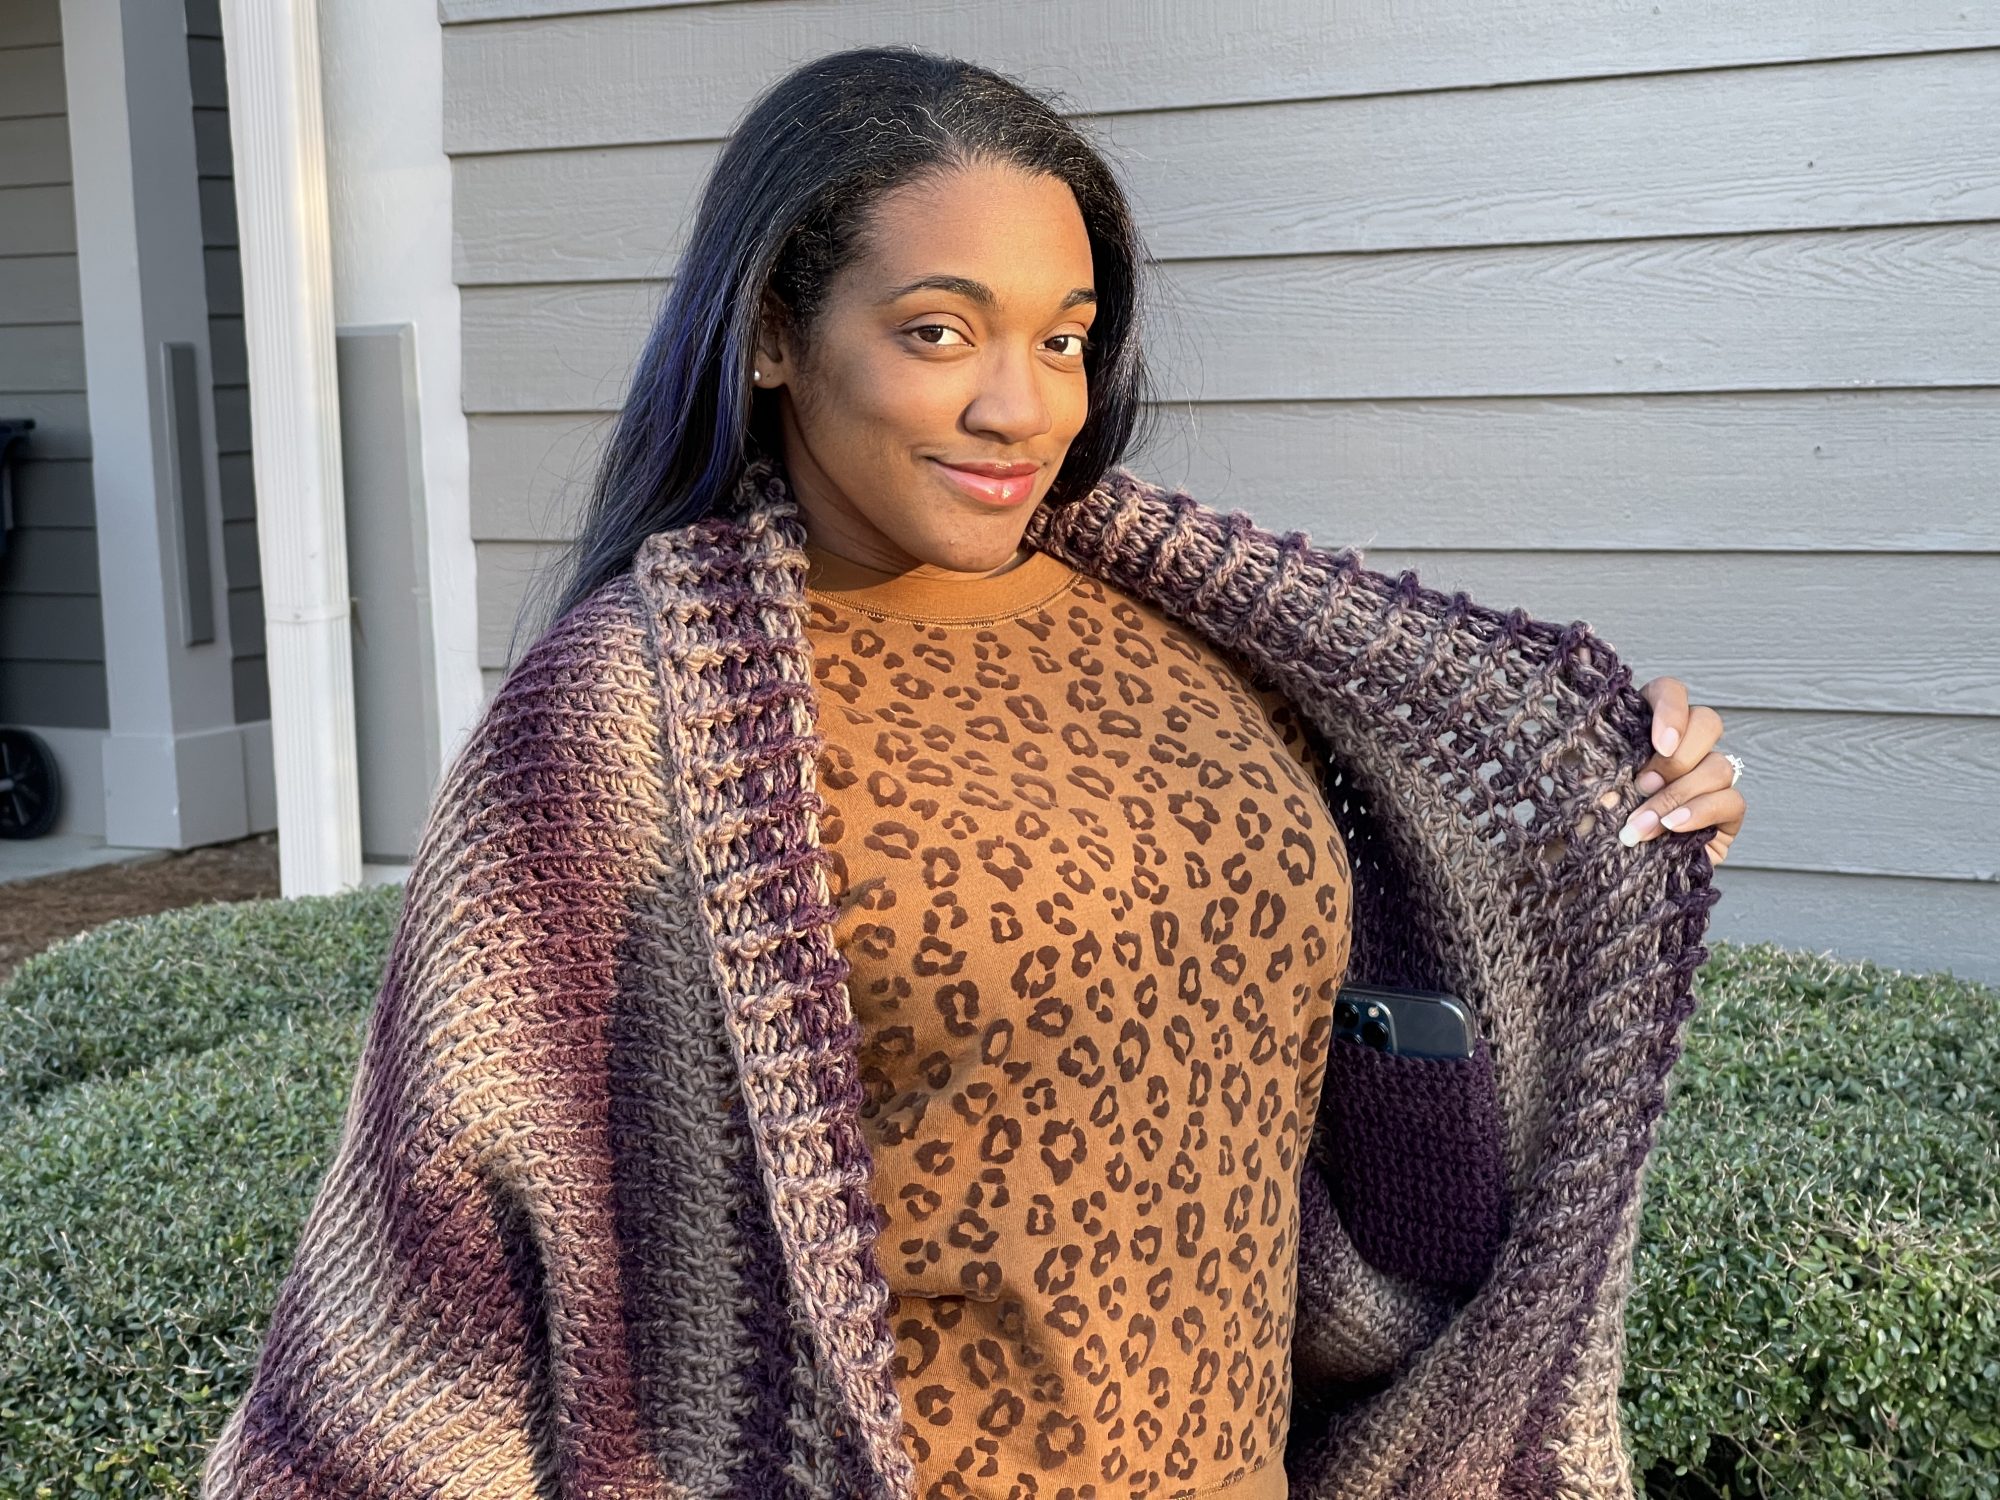
Abrazo Rayado Cocoon 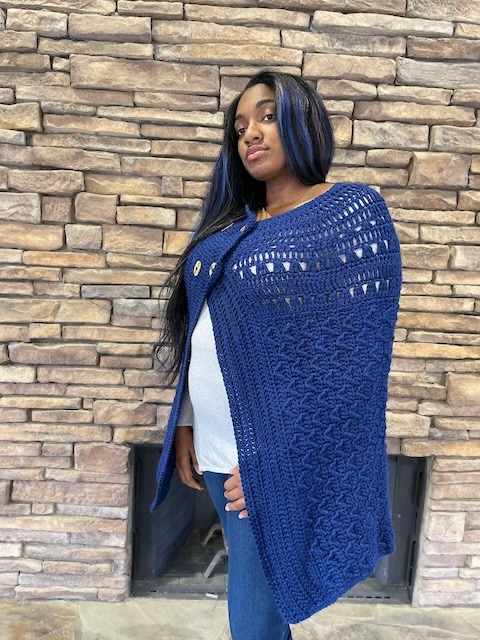
Wrapped in Waves Cape
If we’re not hanging out on social media yet, come check me out on Facebook, Instagram and Pinterest.
Want to talk about yarn goodness, crochet tips, and exclusive weekly deals? Join my Facebook Group, Creations By Courtney Community.
Join my newsletter for sneak peeks, crochet tips, and more. HERE
Please use #CreationsByCourtney on social media when sharing your projects.
This pattern is not to be duplicated or resold, and not to be reproduced commercially. You may sell finished products on Etsy, at farmers markets, and craft fairs, but please credit Creations By Courtney as the pattern’s author.



4 Responses