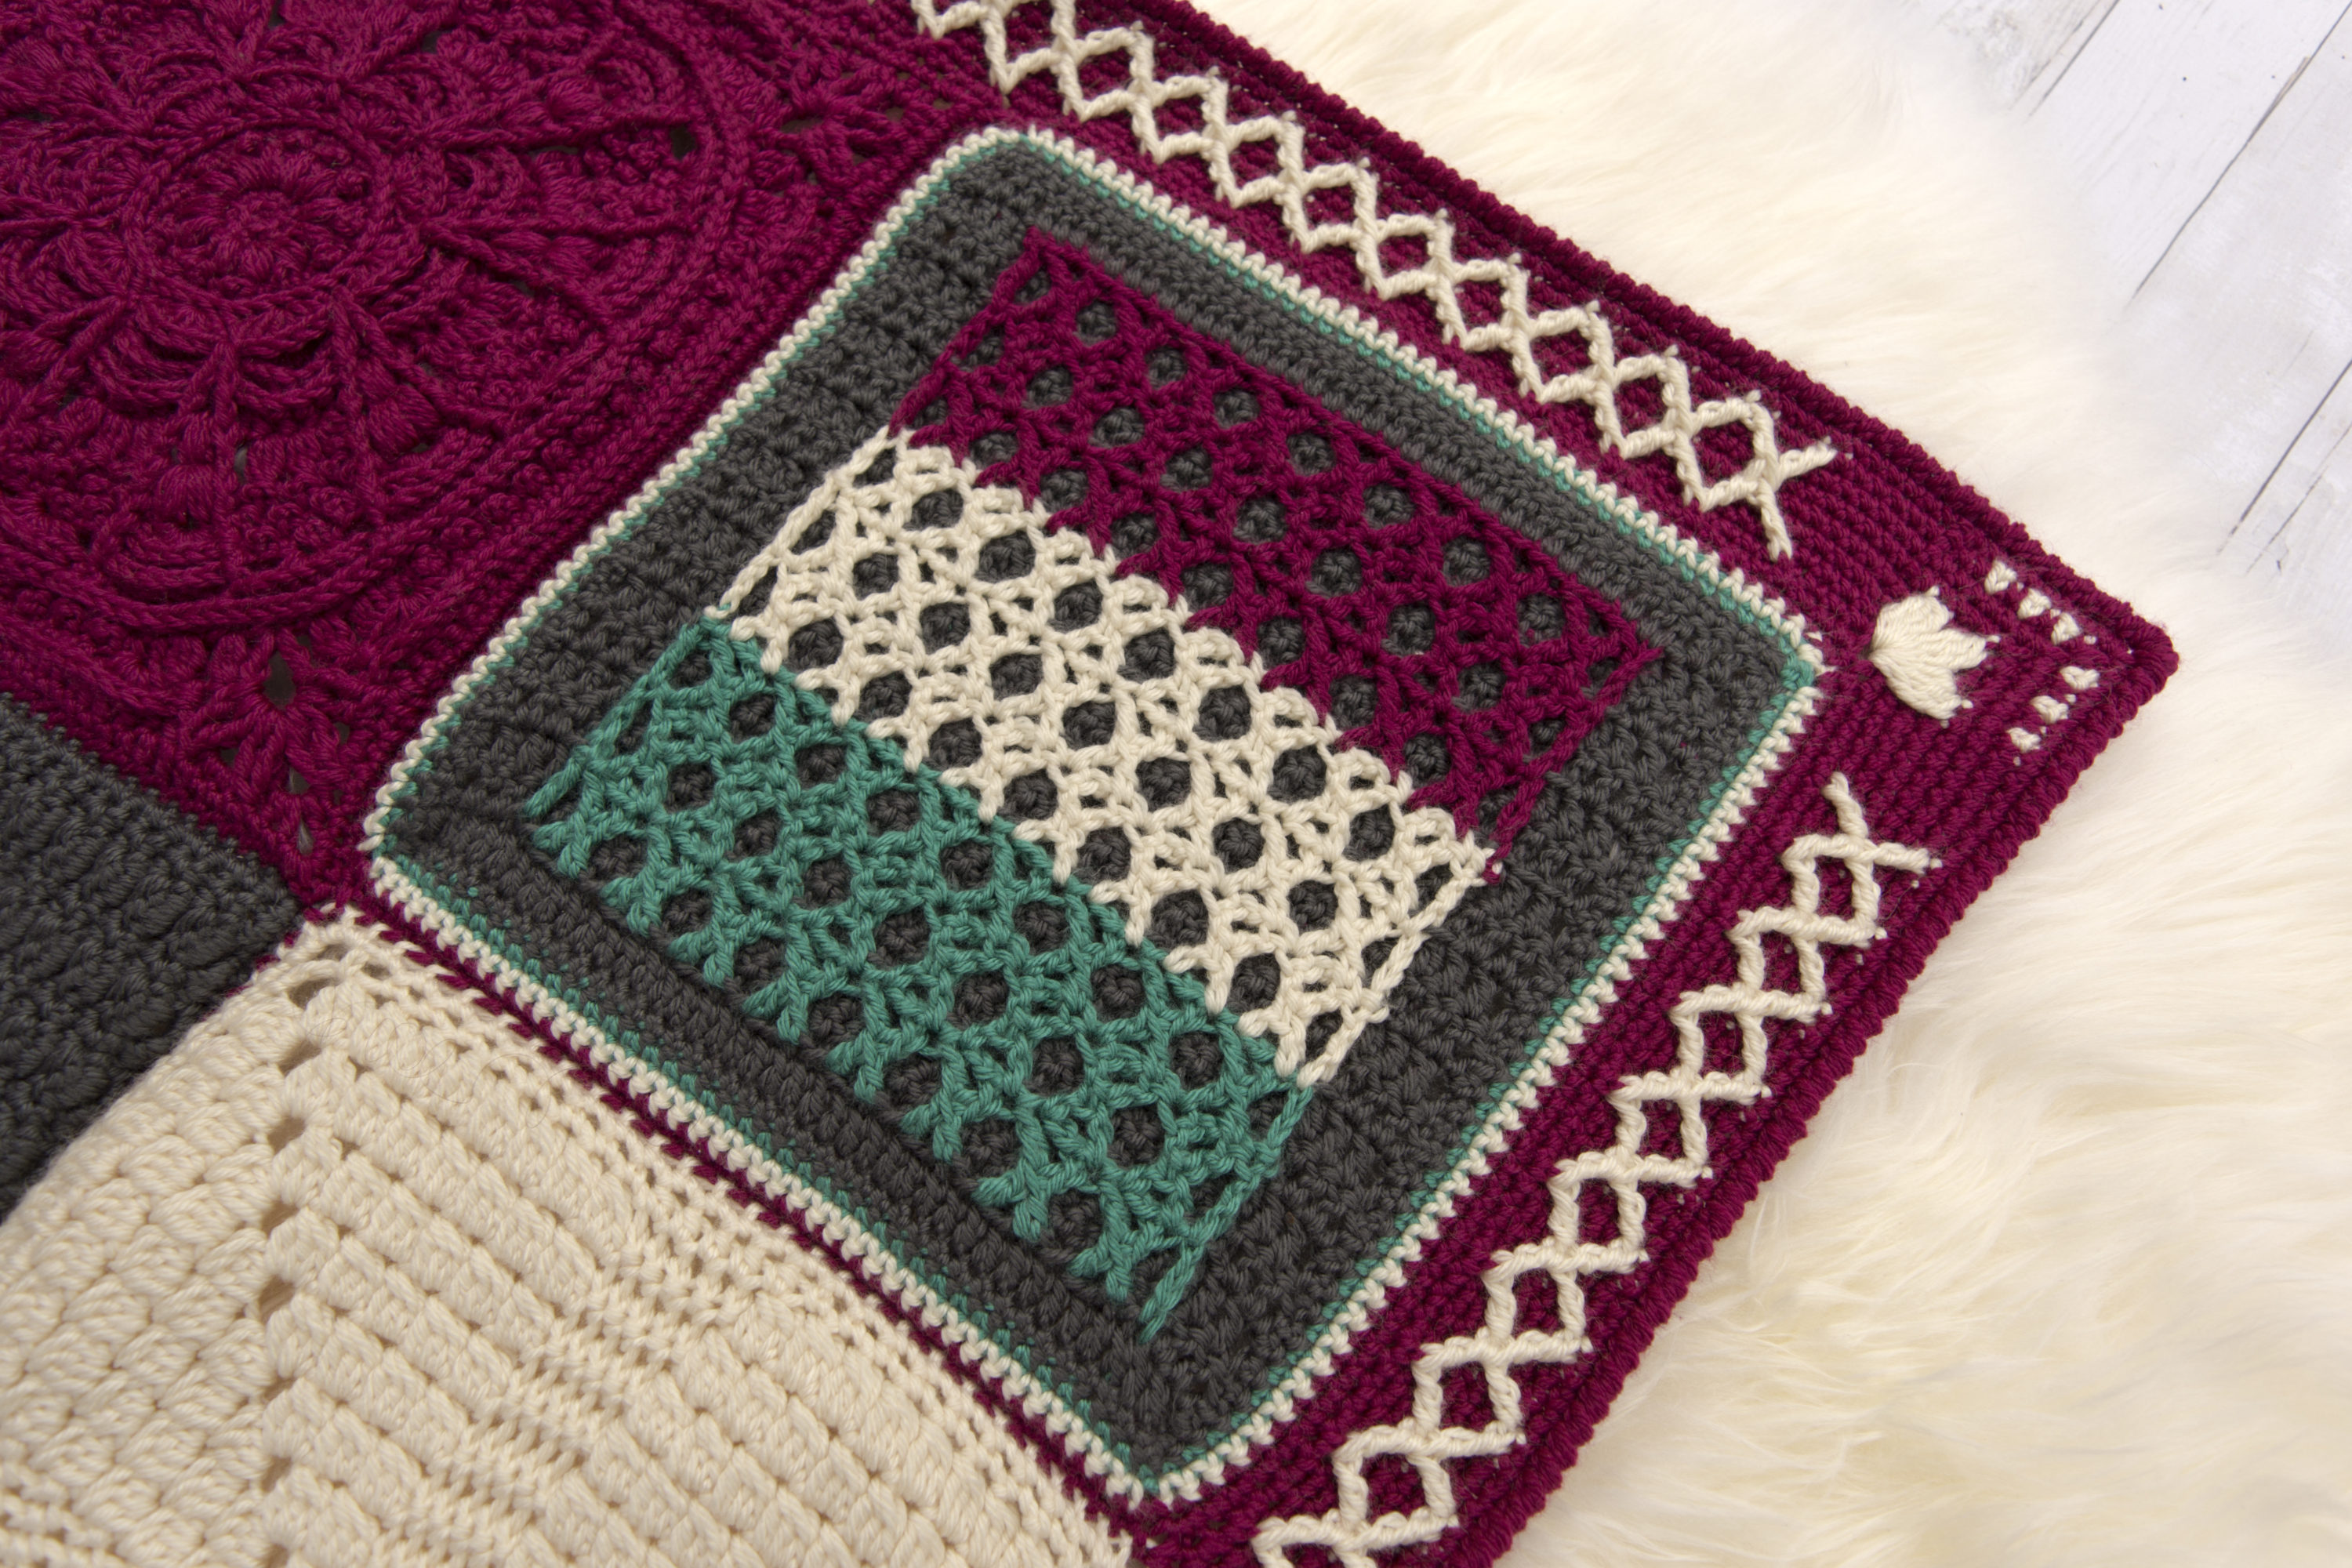
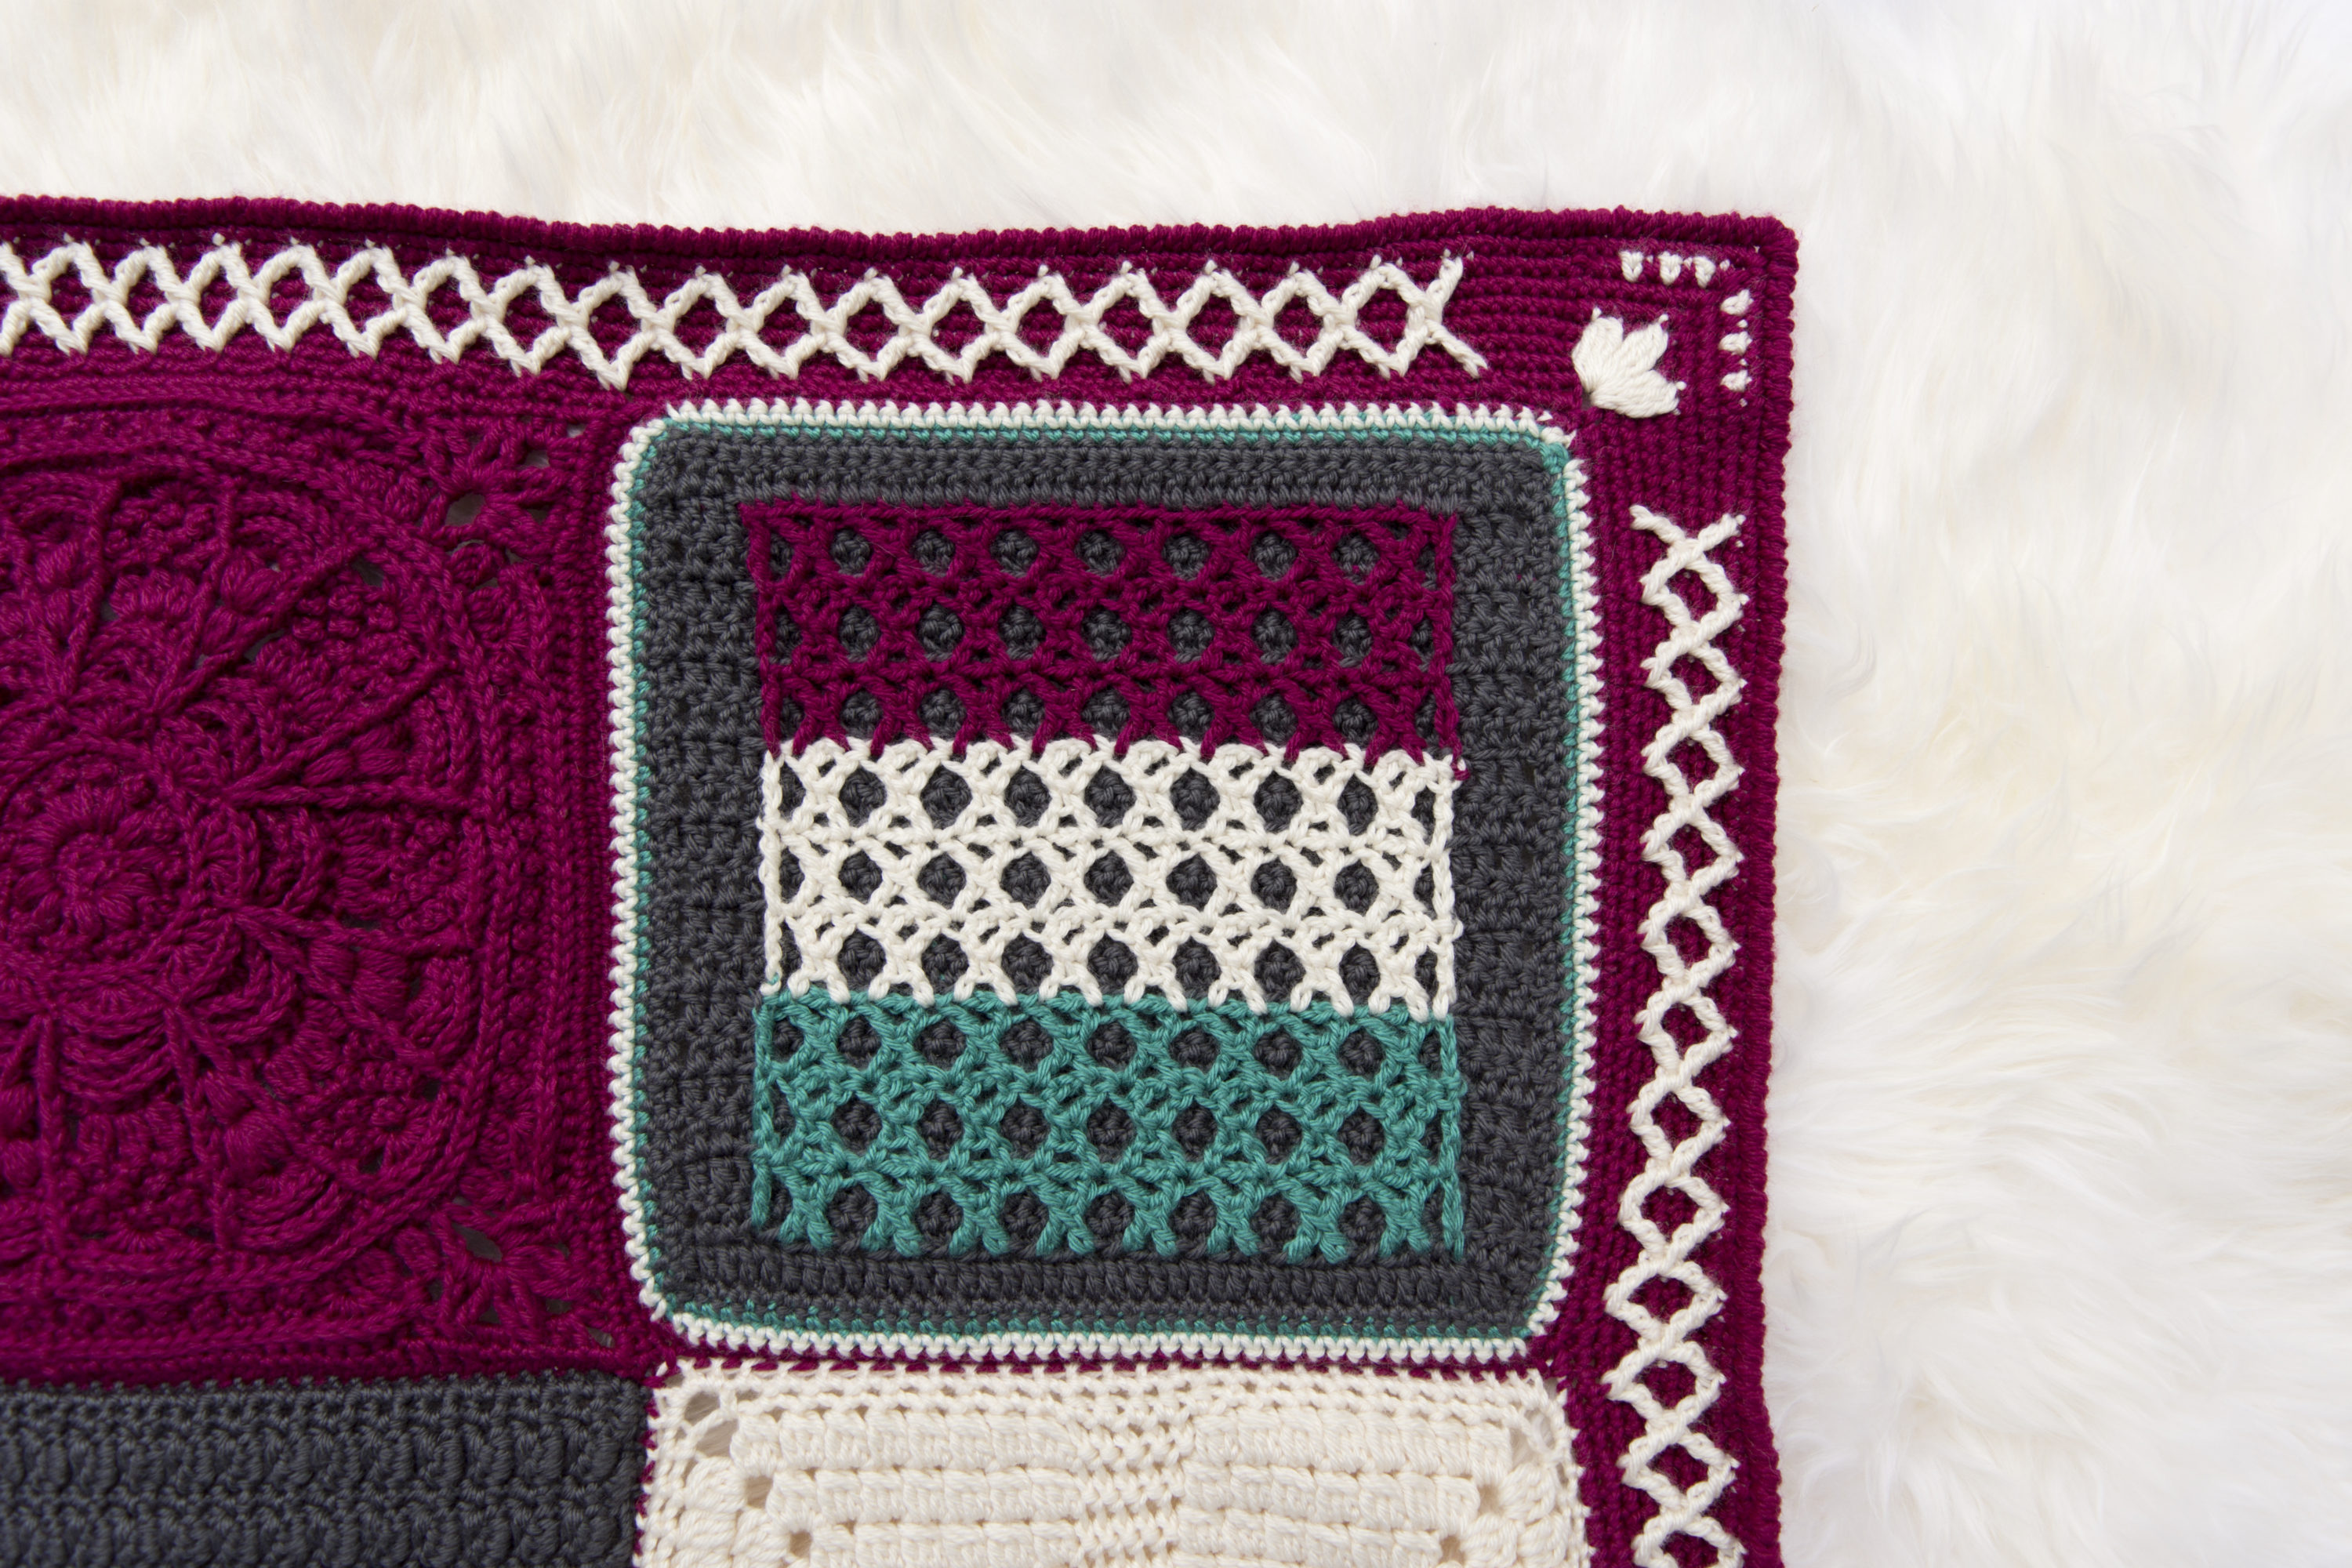
Share the love of many kisses by combining an X-stitch and double crochet to create a simple, elegant layered square.
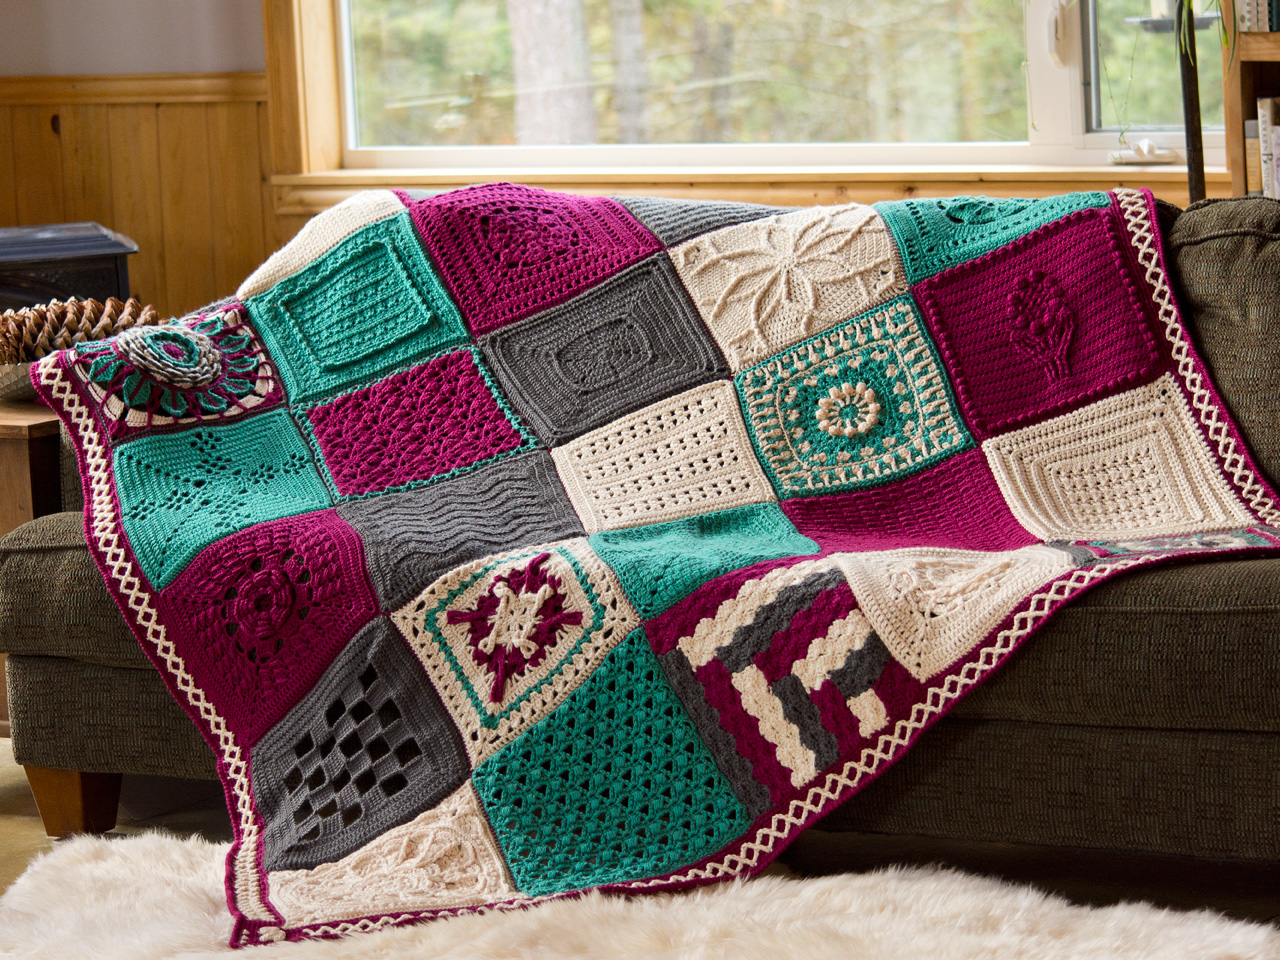
The Kisses Square is the second square that I designed as part of the Creative Crossings blanket. This was a collaborative project between 15 designers, as a token of appreciation for Lorene Eppolite is Cre8tion Crochet. We were lucky enough to be a part of her beta group in Cre8tion Business Academy.
You can find the first square, Tunisian Checkerboard Square, here.
The Kisses Square is a created in two “pieces” that can be made separately or simultaneously. This square would be great in two or more colors to coordinate for any blanket project, and it’s great practice of the X Stitch.
Does the X Stitch look familiar? It should since I’ve used it in a recent design, except this time there is no treble crochet between each X Stitch.
Want a convenient PDF of this pattern? Visit Ravelry
Difficulty: Intermediate
Materials Needed:
Hook: Size H/5mm Furls Crochet Streamline Hook
Yarn: Red Heart Soft, worsted weight, Charcoal (A): 155 yards; Deep Sea (B), Berry (C) and Off White (D): 35 yards each stitch markers scissors
needle
Stitches Used:
ch= chain
sc = single crochet
FLdc = front loop double crochet
tr = treble crochet
dc = double crochet
sk = skip
st = stitch(es)
sl st = slip stitch
first-dc = first double crochet
X St = X Stitch
First-dc = first double crochet
FL = front loop only
Additional Terms
Color A, B, C or D
First-dc: sc in first st, ch 2
X Stitch Row 1: Ch 4 (counts as tr here and throughout, in first FL), *yo twice, pull up a loop in next FL, yo, pull through 2 loops, yo, skip 2 ch (FL), pull up loop in next ch (FL), [yo, pull through 2 loops] 4 times, ch 2, yo, insert hook from right to left in middle of formed stitches, pull up a loop, [yo, pull through 2 loops] twice. Repeat from * to last st, treble in last stitch, remove hook from active loop and pull through last available FL, turn (4 X-stitches, 2 trebles)
X Stitch Row 2: Ch 4, *yo twice, pull up a loop next st and through FL of background, yo, pull through 2 loops, yo, skip 2 ch, pull up loop in next st and FL, [yo, pull through 2 loops] 4 times, ch 2, yo, insert hook from front to back in middle of formed stitches, pull up a loop, [yo, pull through 2 loops] twice. Repeat from * to last st, treble in last stitch, remove hook from active loop and pull through last available FL, turn
Continue X Stitch by repeating Row 2
Gauge: 16 dc x 8 rows = 4 in (10 cm) x 4 in (10 cm); 4 X Stitch x 4 X rows = 4 in (10 cm) x 4 in (10 cm)
Measurements: 12 in (30.5 cm) x 12 in (30.5 cm)
Notes:
- Pattern is written in US terms
- This square is made in two pieces, the background color first, and then the X Stitch rows are worked on top. It may be helpful to fold the square along the row of front loops that you’re working into so you do not catch other stitches.
- Both pieces can be made at the same time by completing two rows of the background color followed by one row of X Stitch.
- Each row of X Stitch is the same height as two rows of dc.
- The first row of X-stitch will be attached by pulling the remaining loop through the first available front loop of Row 4 of the background, turn your work and then continue in pattern.
- Each following row of X Stitch attaches the pieces together by working through the available loop of the background and either the front or back loop (whichever is facing you) of the X stitch row.
- The final row of the background color is worked after completing the X Stitch rows.
- First-dc is used to minimize the gap along the edges, but can be substituted with a ch 3. First-dc is alway placed in the first stitch after turning.
- When changing colors in the X Stitch, try this method of color change: http://www.sewrella.com/magic-crochet-color-change/
Instructions:
Background Square
Ch 42 with Color A
Row 1: Dc in the 4th ch from hook, dc in each ch across, turn.
Row 2: First-dc in first st, dc in next 2 sts, FLdc in each stitch until last 3 sts, dc in last 3 sts, turn.
Row 3: First-dc in first st, dc in each st across, turn.
Rows 4-19: Repeat Rows 2-3, do not fasten off; place stitch marker in loop
Row 20: After completing Row 9 of X St, First-dc, dc in next 2 sts, working through the st and the FL of X St, 34 dc, 3 dc in last 3 sts. Do not fasten off
X Stitch Rows
Using Color B, make a slip knot leaving a long tail, and pull through from the back and under the first front loop of Row 2 in the 4th st.
Rows 1-3: Ch 4 (counts as tr), X St in FL across to last FL, tr in last FL, turn. Change to color C at the end of Row 3 (8 X St, 2 tr)
Row 4-6: Repeat Rows 1-3, change to Color D (8 X St, 2 tr)
Rows 7-9: Repeat Rows 1-3, fasten off and pull yarn tail through to the back to weave in. (8 X St, 2 tr)
Remove stitch marker, and complete Row 20 of the background
Edging
Row 1: Using Color A, rotate square to work down side, ch 1, place 2 sc in each dc to corner, 3 sc in first st of bottom side to create corner, sc in each st to next corner, 3 sc in last st, place 2 sc in each dc along side to corner, sc in first st, change to Color B in last st, sl st to join, turn.
Row 2: ch 1, 2sc in first st, *sc in each st to corner, 3 sc in center st of corner. Repeat from * around the square, place last sc in the same space as first st (to make corner), change to Color C in last st, sl st to join, turn.
Row 3: ch 1, 2sc in first st, *sc in each st to corner, ch 1. Repeat from * twice, sc to next corner, change to Color D, ch 1, sl st to first sc to join, turn.
Row 4: ch 1, *(sc, ch 1, sc) in ch-1 space, sc in each st to next ch-1 space. Repeat from * around, sl st to join, fasten off. Weave in ends.
Thank you for your support! ♥ You can pick up my latest free and paid patterns by visiting my website: https://www.creationsbycourtney.com/cbc-designs
Additionally, I invite you to sign-up for my email newsletter, and follow me on social media for more crochet and yarnie goodness!
Newsletter: http://eepurl.com/cJh_2j
Facebook: https://www.facebook.com/creationsbycourtneyllc
Pinterest: https://www.pinterest.com/cbycourtney
Instagram: http://www.instagram.com/creationsbycourtneyllc
Ravelry: http://www.ravelry.com/designers/courtney-w-of-creations-by-courtney Craftsy: http://www.craftsy.com/profile/creations-by-courtney
© 2018 Courtney Whitehead. This pattern is not to be duplicated or resold, and not to be reproduced commercially. You may sell finished products on Etsy, at farmers markets, and craft fairs, but please credit Courtney Whitehead as the pattern’s author. Thank you.



10 Responses
Hello
I’m working on the kisses square in Creative Crossings. Finding it difficult to understand the Xstitch rows. Wondered if there is a tutorial or YouTube lesson that I could follow.
Regards
Linda Blakey
Hi Linda,
You can find a tutorial here
The X-stitch rows are worked in the front loops only since they are on top of the rows of double crochet. It may help to create all of the double crochet rows first without fastening off, and then create the x-stitch rows in the front loop. You’ll have to fold the rows back out of the way when inserting the hook.
I hope this helps. If you need more assistance, please send an email through Contact Me
Hi I’m currently working on the kisses square and having some issues. I have completed the first row of X stitches but I’m a bit confused as to the second row. 1) When attaching the pieces I am not sure which loop of the previous X row to work through and 2) in relation to “insert hook from front to back in the middle of formed stitches” I’m not entirely clear where to insert my hook as this is different to the first row and when doing it I seem to get a different result to the picture which makes think I’m doing it wrong. Any help would be greatly appreciated!
Hi Megan, did you receive my email? Email is the best method for pattern support. If you didn’t receive my email, please use the contact form
I absolutely love the Kiss blanket square. Love the uniqueness of it. I hope to try it soon.