Crochet Garments are my favorite items to design, and from what I’ve noticed in the crochet community there are lots of crocheters that love making them. There’s also a section of the crochet community that does not enjoy making garments or has yet to try. If I have the chance to ask someone why they haven’t made a crochet garment yet, they may respond that it seems scary, complicated, or won’t fit well. There absolutely are crochet garment patterns that are complicated, but just like any crochet pattern, we have to start at the beginning and take our time to understand the construction, stitches and techniques.
I created a form to ask my crochet friends what they wanted to know about crochet garments, and I started answering the questions in my weekly newsletter. One awesome friend asked if the information about gauge was on the blog so she could bookmark. Since it was not available on the blog, I’ve decided to share my responses to the questions on the blog for easy reference.
I was going to create separate posts, but I decided to keep it short as a reference page, and will include additional information, if someone asks for clarification. If you have additional questions or want something clarified, feel free to submit your question by clicking the “Ask Me Anything” button below. I hope you find this helpful, and will feel more confident in making crochet garments.

Question & Answer
Below you will find the questions that were submitted on How to crochet a garment. Some have been edited for clarity. This post will be updated each week until all questions have been answered. As stated above, you can submit your questions related to making a crochet garment and questions to clarify to the form. The questions are submitted anonymously, so ask whatever you’ve really wanted to know about how to crochet garments.
How to make kids garments?
No matter the person that you’re making a garment for you want to have their body measurements. The most common and helpful measurements for children crochet garments are chest/ bust, waist, cross back (shoulder to shoulder), and back waist length (from the bottom bone of the neck to the top of the natural waist). Depending on the style of garment, you may want to know bicep circumference, arm hole depth and arm length (from the armpit to the wrist).
If you’re unable to get the exact measurements of the child, I would suggest measuring a well fitted garment that the child wears to choose the size in a pattern that is closest to the measurements.
Many designers refer to the Craft Yarn Council’s sizing charts to determine the sizing for a pattern. You can find the standard measurements for baby, children/youth, women and men for the body, hands, feet and head circumference.
In my opinion, children garments are easier to make because there is typically less shaping to fit their body, are usually constructed from simple shapes, i.e. squares and rectangles, and they are great practice of garment making techniques before making an adult garment.
What does gauge mean?
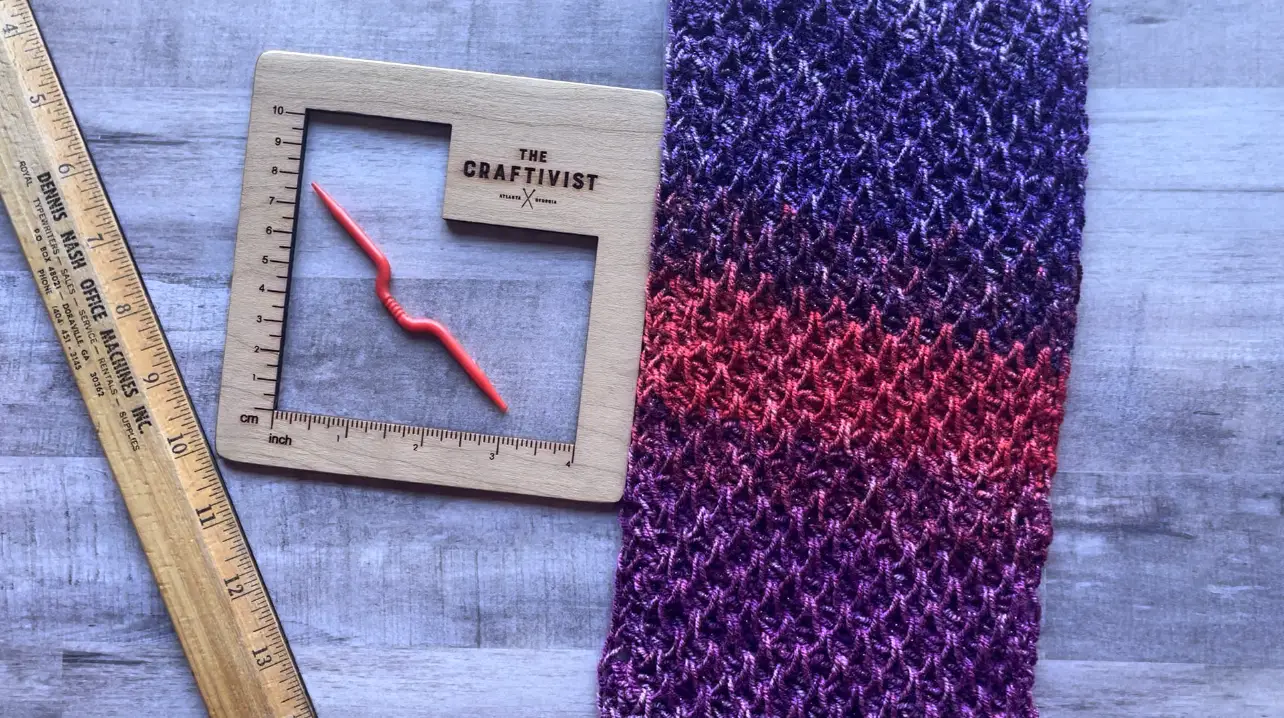
Gauge is the measurement of your tension when crocheting. Specifically, gauge tells us how many stitches and rows are within a set area. Most often gauge is written in patterns based on a 4″ x 4″ (10cm x 10cm) square. Smaller projects may list gauge based on a 1″ x 1″ square (2.5 cm x 2.5 cm).
Gauge is important to check for garments and other wearables to ensure that your finished project size matches the pattern, and that you have an adequate amount of yarn. This means that if you don’t check your gauge a size Small can be an extra Small or Large. No one wants to frog all of that work.
Oftentimes, stitch gauge can be met but the row gauge is off. Sometimes, adding extra rows can make up the difference in length, but this becomes challenging when a garment has shaping. The better method is adjusting the Golden Loop (the first pull through of a crochet stitch).
Gauge will also allow you to make modifications to a crochet garment so you have the desired fit. Specifically, knowing how many stitches per inch means that you can adjust to fit your bust, waist and hips.
If your stitch gauge is off by one stitch, e.g. you have 5 stitches instead of 4, that an additional stitch every 4 inches. If you have fewer stitches, that means that the project could be at least one inch smaller for every 4 inches (a width of 16 inches would actually be 15 inches or less).
I know it’s not fun, but make that gauge swatch before you start making a garment.
What is the golden loop?
The Golden Loop is the loop that is pulled up after inserting your hook in the designated stitch. This loop dictates the height of the stitch, impacts the row gauge, and usually varies from crocheter to crocheter.
The Golden Loop varies for crocheters based on how that loop is made, and often categorized in three ways, “riders,” “lifters,” and “yankers.”
Riders tend to hold their hook along the top of the row so it’s “riding along.” 😆 This means that the loops on the hook tend to be similar in size. Lifters tends to pull up more when they create the pull through, therefore the golden loop tend to be taller, so they have taller stitches. And yankers tend to tighten the loops onto the throat of the hook to create shorter stitches.
Lifters may not meet row gauge because they have too few rows, and yankers may not meet row gauge because they have too many rows. If you tend to do one of these when crocheting, practice doing the opposite to meet row gauge.
*remember that row gauge is important when making a garment with shaping where the rows completed will make a difference. If that’s not the case, then you can add or subtract rows as needed for your desired length and fit.
How to adjust sizing to fit my body when my measurements cover different sizes?
I’m going to do my best to answer this without writing a book. 😆 If you would like a lot more detail, then definitely purchase A Guide to Creating Crochet Garments that Fit.
As stated above for making any garment, one starts with their measurements. It’s best practice to have someone take your measurements when you’re wearing something that fits well. Next, review the pattern to understand how the garment will be created, and review the schematics (which are hopefully included). A schematic is usually a diagram of the shape of the garment with the measurements listed for each size. The schematic is super helpful in determining where to make adjustments to fit your body. If a schematic is not included, then grab some paper and a pencil to make your own. It doesn’t have to be perfect, but it needs to clearly show the shape of the garment based on the pattern instructions.
Next, I would make a gauge swatch to ensure that the hook and yarn will work for the intended finished results. Sometimes, we can make adjustments in sizing by choosing a different hook size. A change in yarn will require more math to determine what changes are needed for the entire project. With the gauge information, determine how many stitches and rows are in one inch. If you need to make an adjustment that is between two sizes, knowing how many stitches or rows per inch will help you figure out how many stitches/rows to add or subtract to fit your body.
I recognize that many crocheters do not like the math, but you can use paper to determine when to increase or decrease, or use the super helpful yarn calculators by Joy of Motion Crochet.
It will help to keep notes of the adjustments that you’re making to the pattern with your measurements, so that you’ll save time with future garment making. It takes some fiddling when adjusting a pattern to fit your body, but it’s worth the effort. Also, it’s okay if the increases or decreases are not perfect multiples because your finished garment is being made to fit your unique and beautiful body.
How to make my own pattern inspired by a knit design?
This is a fun question to answer! Again, I’ll try to make it helpful without writing an essay. 😂
When we find a knit design that we wish were in crochet, it usually means spending some time searching the internet for a crochet version, or creating the design for ourself. If a crochet pattern can’t be found, the first option I would look for is a knit pattern. Unfortunately, the patterns are not easily translated from one technique to the other if you don’t know how to read knit patterns, but the pattern should include sizing information and a schematic, if it’s a detailed pattern. If it’s a knit piece in a store, consider purchasing it. Purchasing the piece will make it easier to determine shaping and sizing.
If there isn’t a pattern available to look at or purchase, take a picture to print or print the picture (if online) of the item to take notes. You want to know your body measurements, and determine the various measurements you’ll need to make the crochet version, such as sleeve length, arm opening circumference, total length, bust and ease.
I would choose a similar or thinner weight yarn as the knit design, if possible. Crochet fabric is thicker than knit fabric, so a thinner yarn with the right size hook will produce a fabric with adequate drape. As always with any garment, make a gauge swatch with the chosen yarn and stitch pattern; determine stitch and row per inch, and then do some math. You want to know how many stitches are needed to make the desired size and length. As you make progress on the WIP, whether it’s multiple pieces or worked in the round, check you gauge periodically. If you purchased the knit design, use it as a reference for comparing length and width.
If you haven’t purchased a copy of “A Guide to Creating Crochet Garments that Fit” yet, definitely add it to your digital library where more detail is given for adjusting a pattern to fit your beautiful body, and project planner pages to keep track of any changes that are made.
How to make a pattern in different sizes?
To simply answer this question, use some math.
I know that math can be frowned upon in the fiber community, but it’s really important when making modifications to a pattern. Specifically when making a different size, sometimes it can be as simple as using a different size hook than what is recommended in a pattern or the yarn label. This method is effective but limited when trying to make an item that is markedly larger or smaller.
If you’re going to use math, ALWAYS start with a gauge swatch, and adjust your hook as needed until you match the gauge (refer to Golden Loop above, if needed). You want to figure out how many stitches and rows per inch from the gauge swatch, and then use this information to determine how many stitches and row will be needed to make the desired size. Since we cannot make a fifth of a stitch, there will be some rounding of the numbers, and you get to choose whether you want to round up or round down. I tend to round to the closest even number for many of my designs because I prefer even numbers, and it helps with increases and decreases.
Additionally, you can use the gauge swatch to help you determine the yarn amount. Definitely check out the yarn calculators by Joy of Motion Crochet, if you aren’t familiar with how to use the weight and area of the swatch and final project.
How to substitute yarn in a pattern?
The easiest way to substitute yarn in a pattern is to start with a yarn in the same weight category, and then make a gauge swatch. Yes, a gauge swatch to see if the new yarn will create the same look as the image in the pattern.
Other things to think about when substituting a yarn is the fiber content. As one becomes more experienced in crochet and working with different types of fiber, one learns that the fiber content behaves differently. The easiest thing to do is to use a different yarn that is the same fiber content, acrylic for acrylic, cotton to cotton and so on. If a pattern suggests an acrylic yarn, but you want to use a cotton yarn, the drape will dramatically change. Cotton is a great fiber to work with, but tends to be denser than an acrylic, which means that it creates a stiffer fabric and requires lacy/open stitches and a larger hook to create drape.
If you would like to substitute a yarn with an animal fiber, then your garment will likely have more drape and will likely grow (stretch) more when worn over time. Animal fibers are great to work with too, but tend to have the highest level of elasticity, so project will stretch more unless the animal fiber is blended with a man-made fiber.
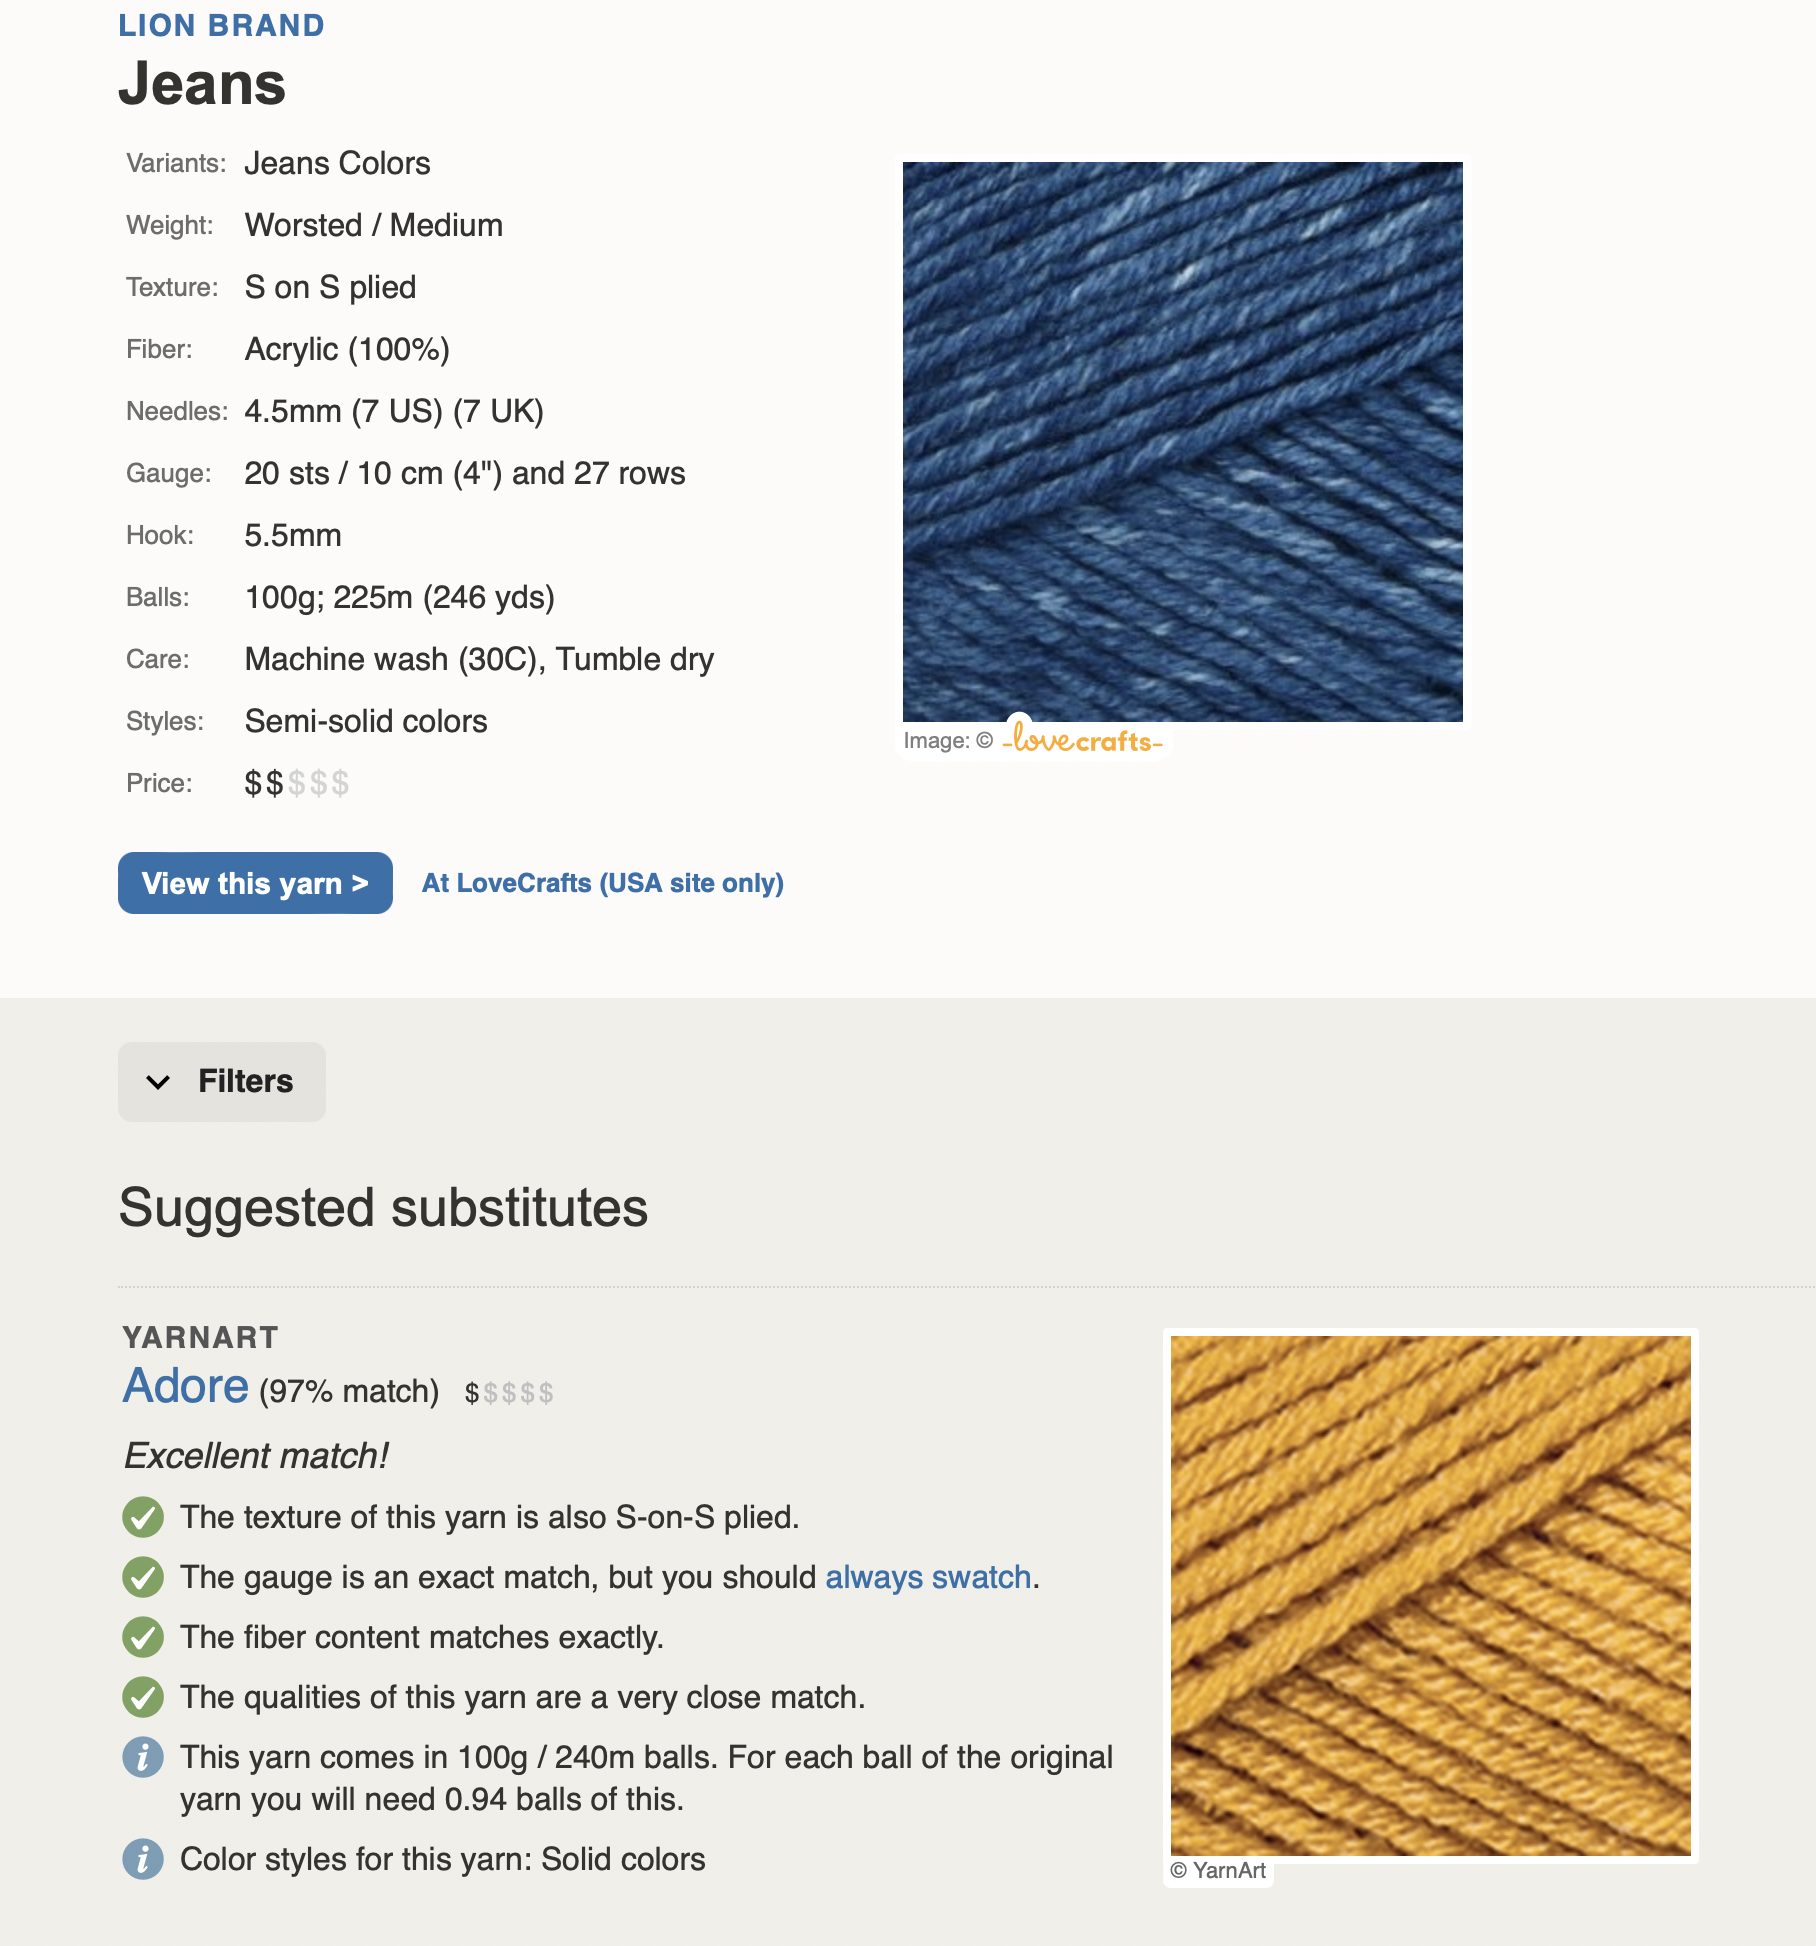
One of the best resources for finding a good yarn substitute is yarnsub.com. This is a great place to start, as it has a growing database that offers the yarn details of the original yarn in a pattern, and then lists the details of reasonable substitutes with a percentage of match!
Lastly, I would not choose a different weight category yarn when substituting. This choice would require figuring out how many stitches per inch and rows per inch in the substitute yarn after making at least a 6″ x 6″ [15 cm x 15 cm] swatch in the main pattern stitch. It’s a doable task, but requires a lot more effort that may take away from the joy of creating and following a pattern.
Definitely have fun substituting yarn in a pattern, just remember to choose the same weight category and think about the impact of the fiber content of the substitute yarn.
How to create drape in a pattern?
Creating drape in a pattern can be straightforward or it can be complicated.
Drape refers to how the fabric hangs under it’s own weight, or how it moves when worn. This means that fabric with little drape appears stiff, such as tight stitches to make a basket. Crochet fabric with drape means that it hangs well on the person and compliments the body.
Most often drape is created by using thinner yarns, such as sport, fingering and lace weight. It can be achieved with worsted weight and some thicker yarns by using tall, lacy or mesh stitches.
The easiest method for creating drape is to use a larger than recommended hook size for the yarn, such as using a size G (4.5mm) hook with fingering weight yarn when its recommended to use 3.5-3.75 mm. The challenge in changing hook size is that if you’re following a garment pattern this will greatly change the finished size; and I would not recommend choosing a smaller size in hopes that you’ll get the size you need with the larger hook.
Another method for improving drape is choosing a fiber that has natural drape, such as animal fibers, silk, and bamboo. The stretchiness of animal fiber and the smoothness of silk or bamboo lend to the movement of a fabric.
A third method of adding drape to a crochet garment is to block the pieces or finished project in a wet soak. You could block by pinning to size and using a spray bottle, but all of the fibers may not be equally moistened. With a wet soak in a gentle detergent, like Soak, the fibers absorb the water and detergent to relax and become more malleable for shaping and drape. Think of like detangling wet hair versus dry hair, in which the follicles long the shafts relax.
Which method are you going to try?
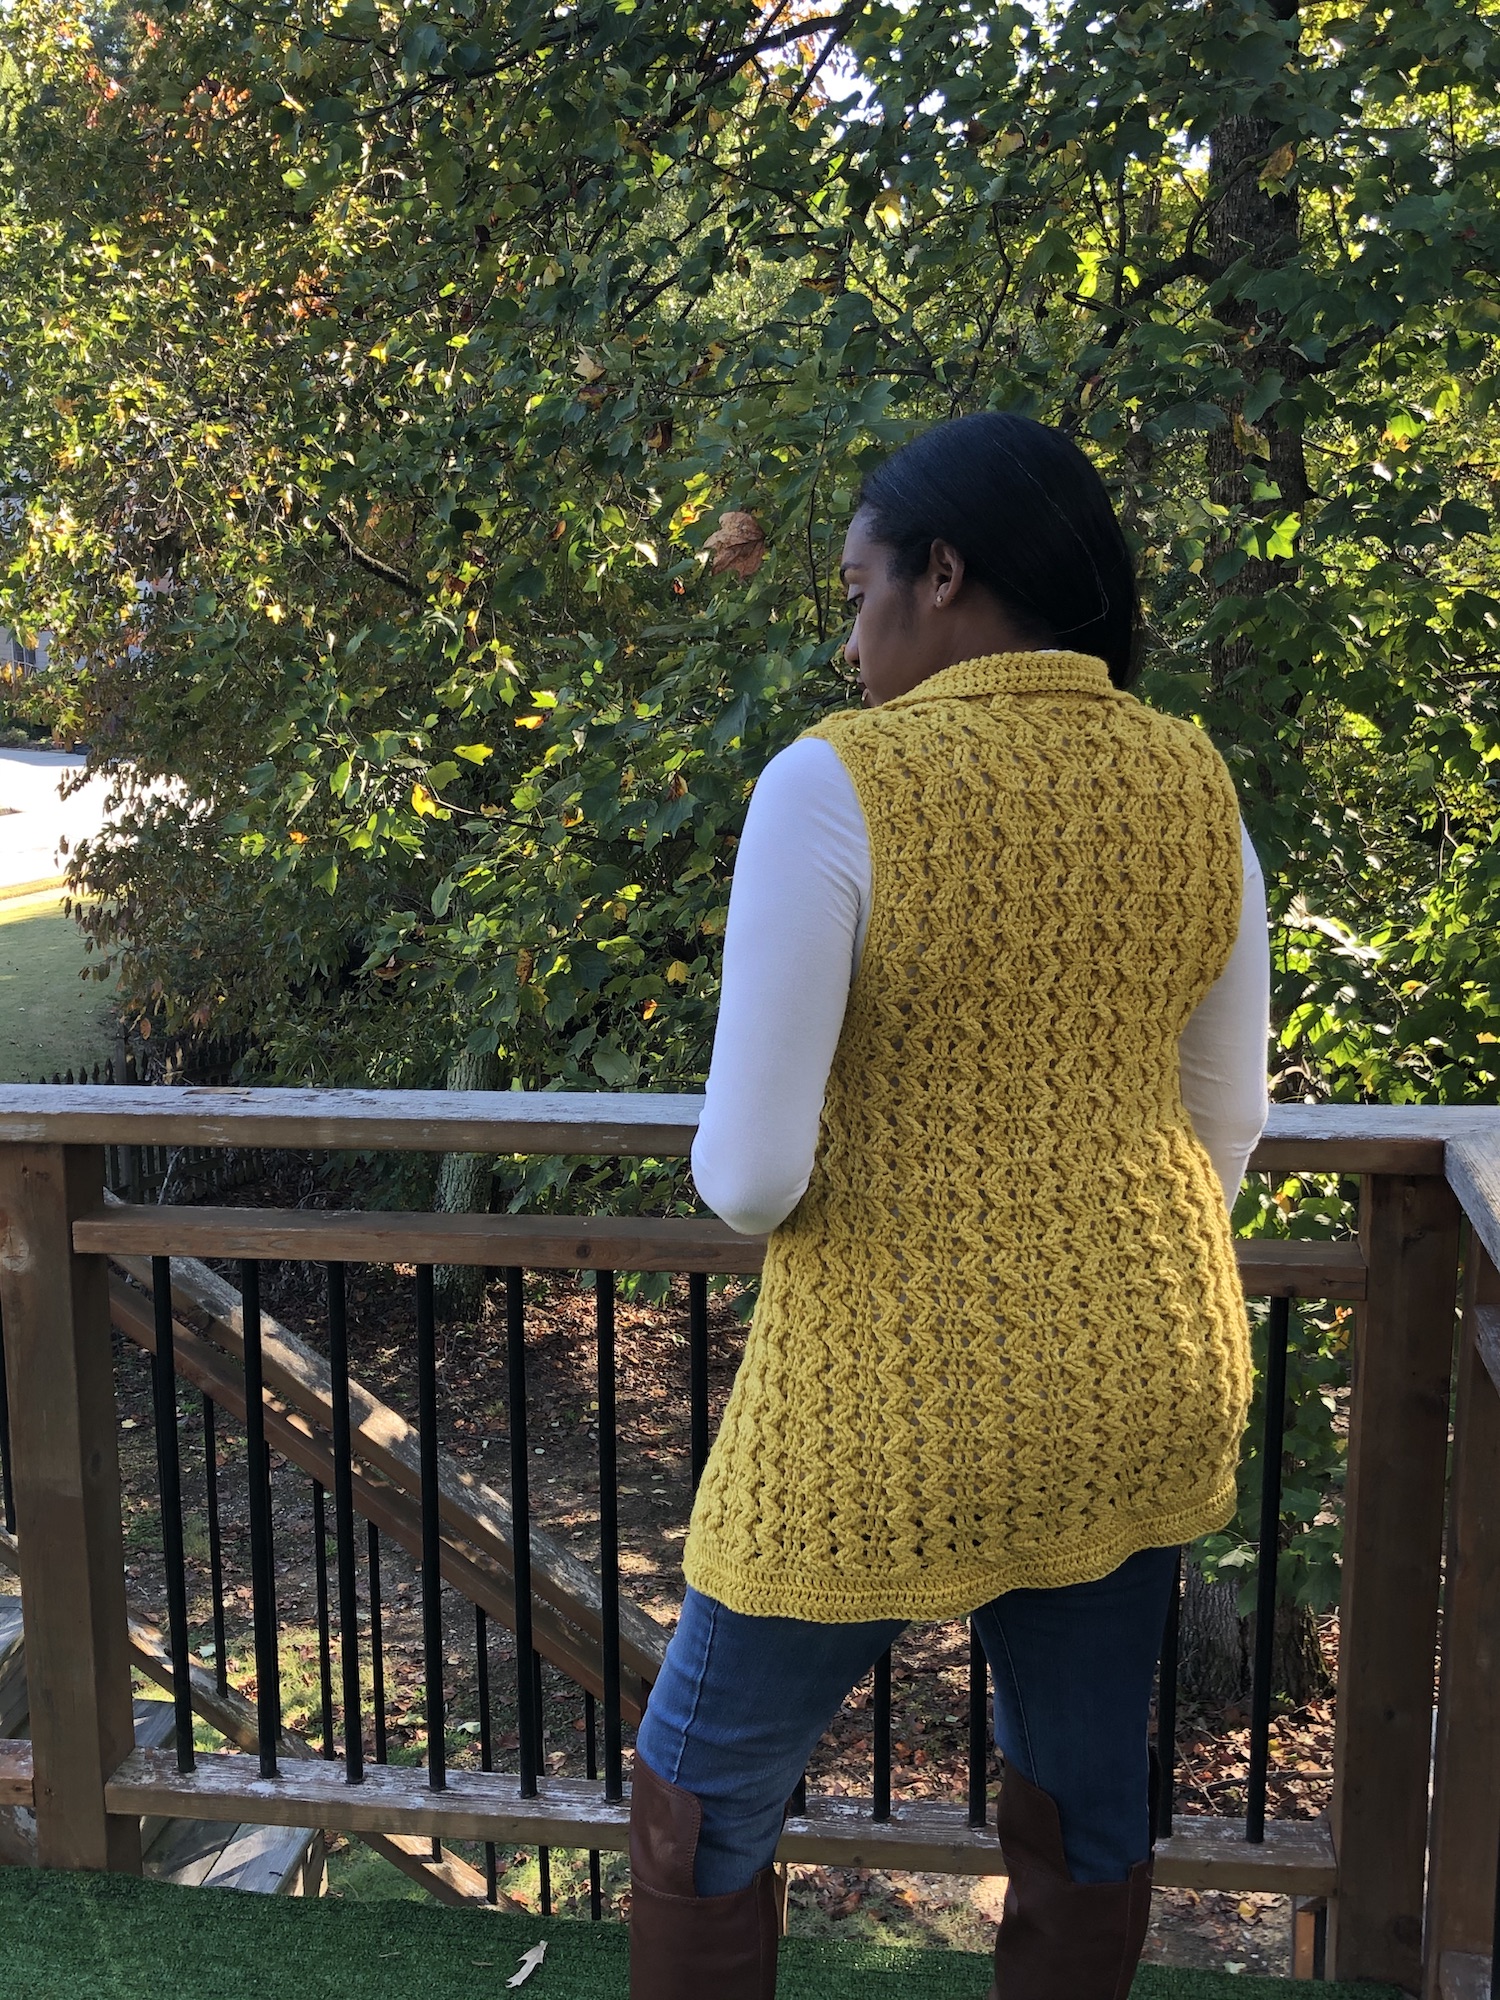
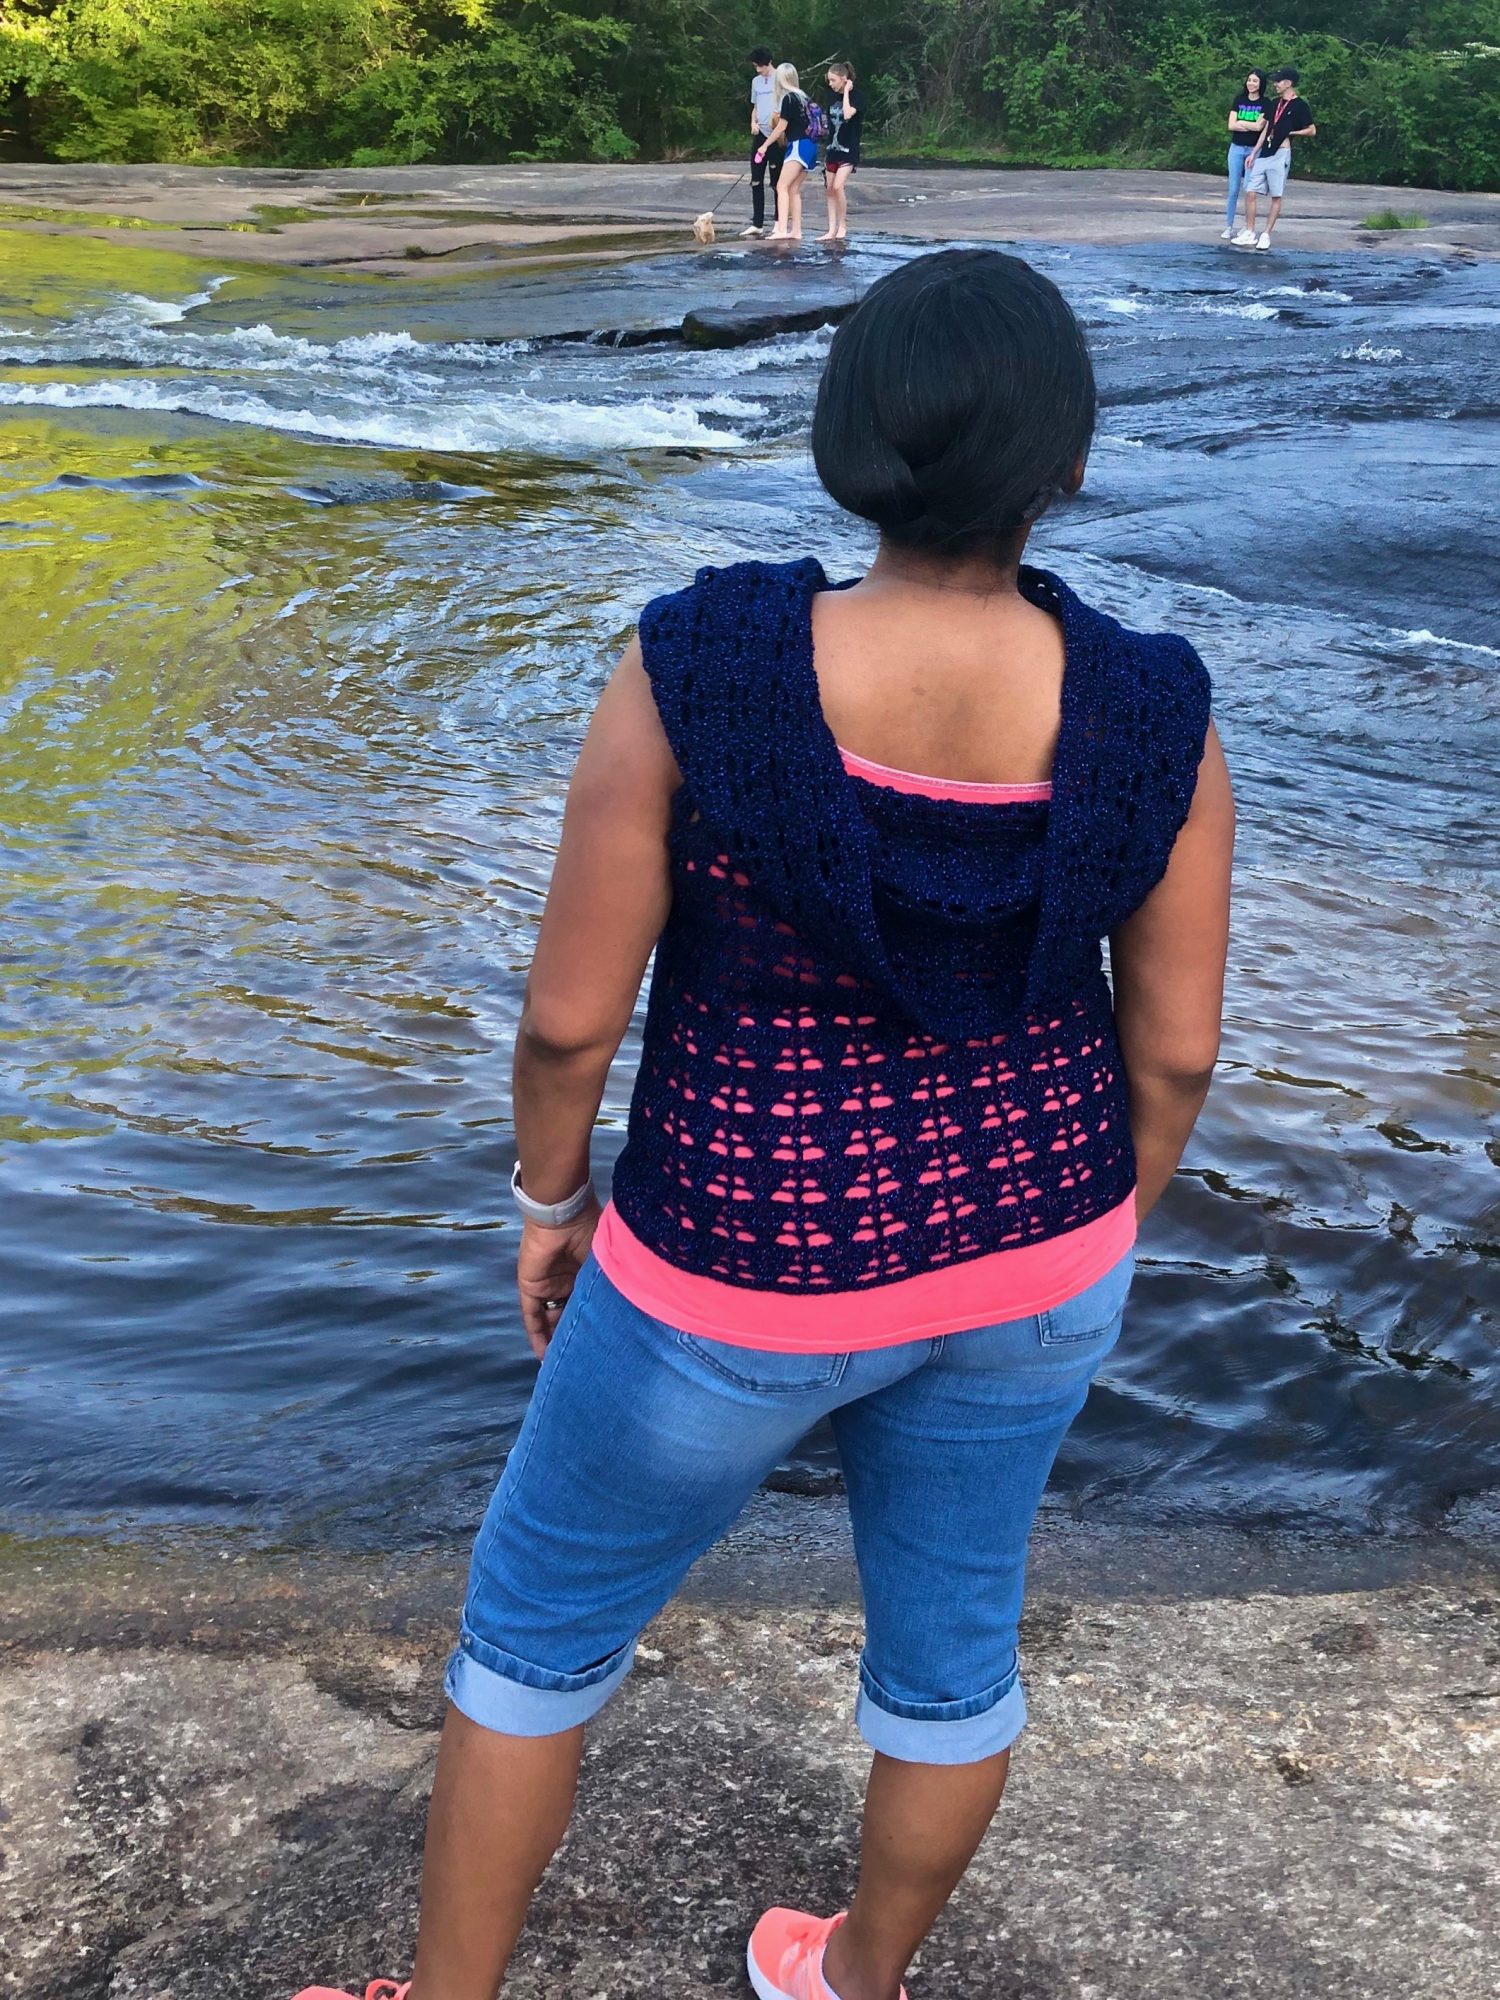
- Making Waves Waistcoat > The stitches create drape in this design.
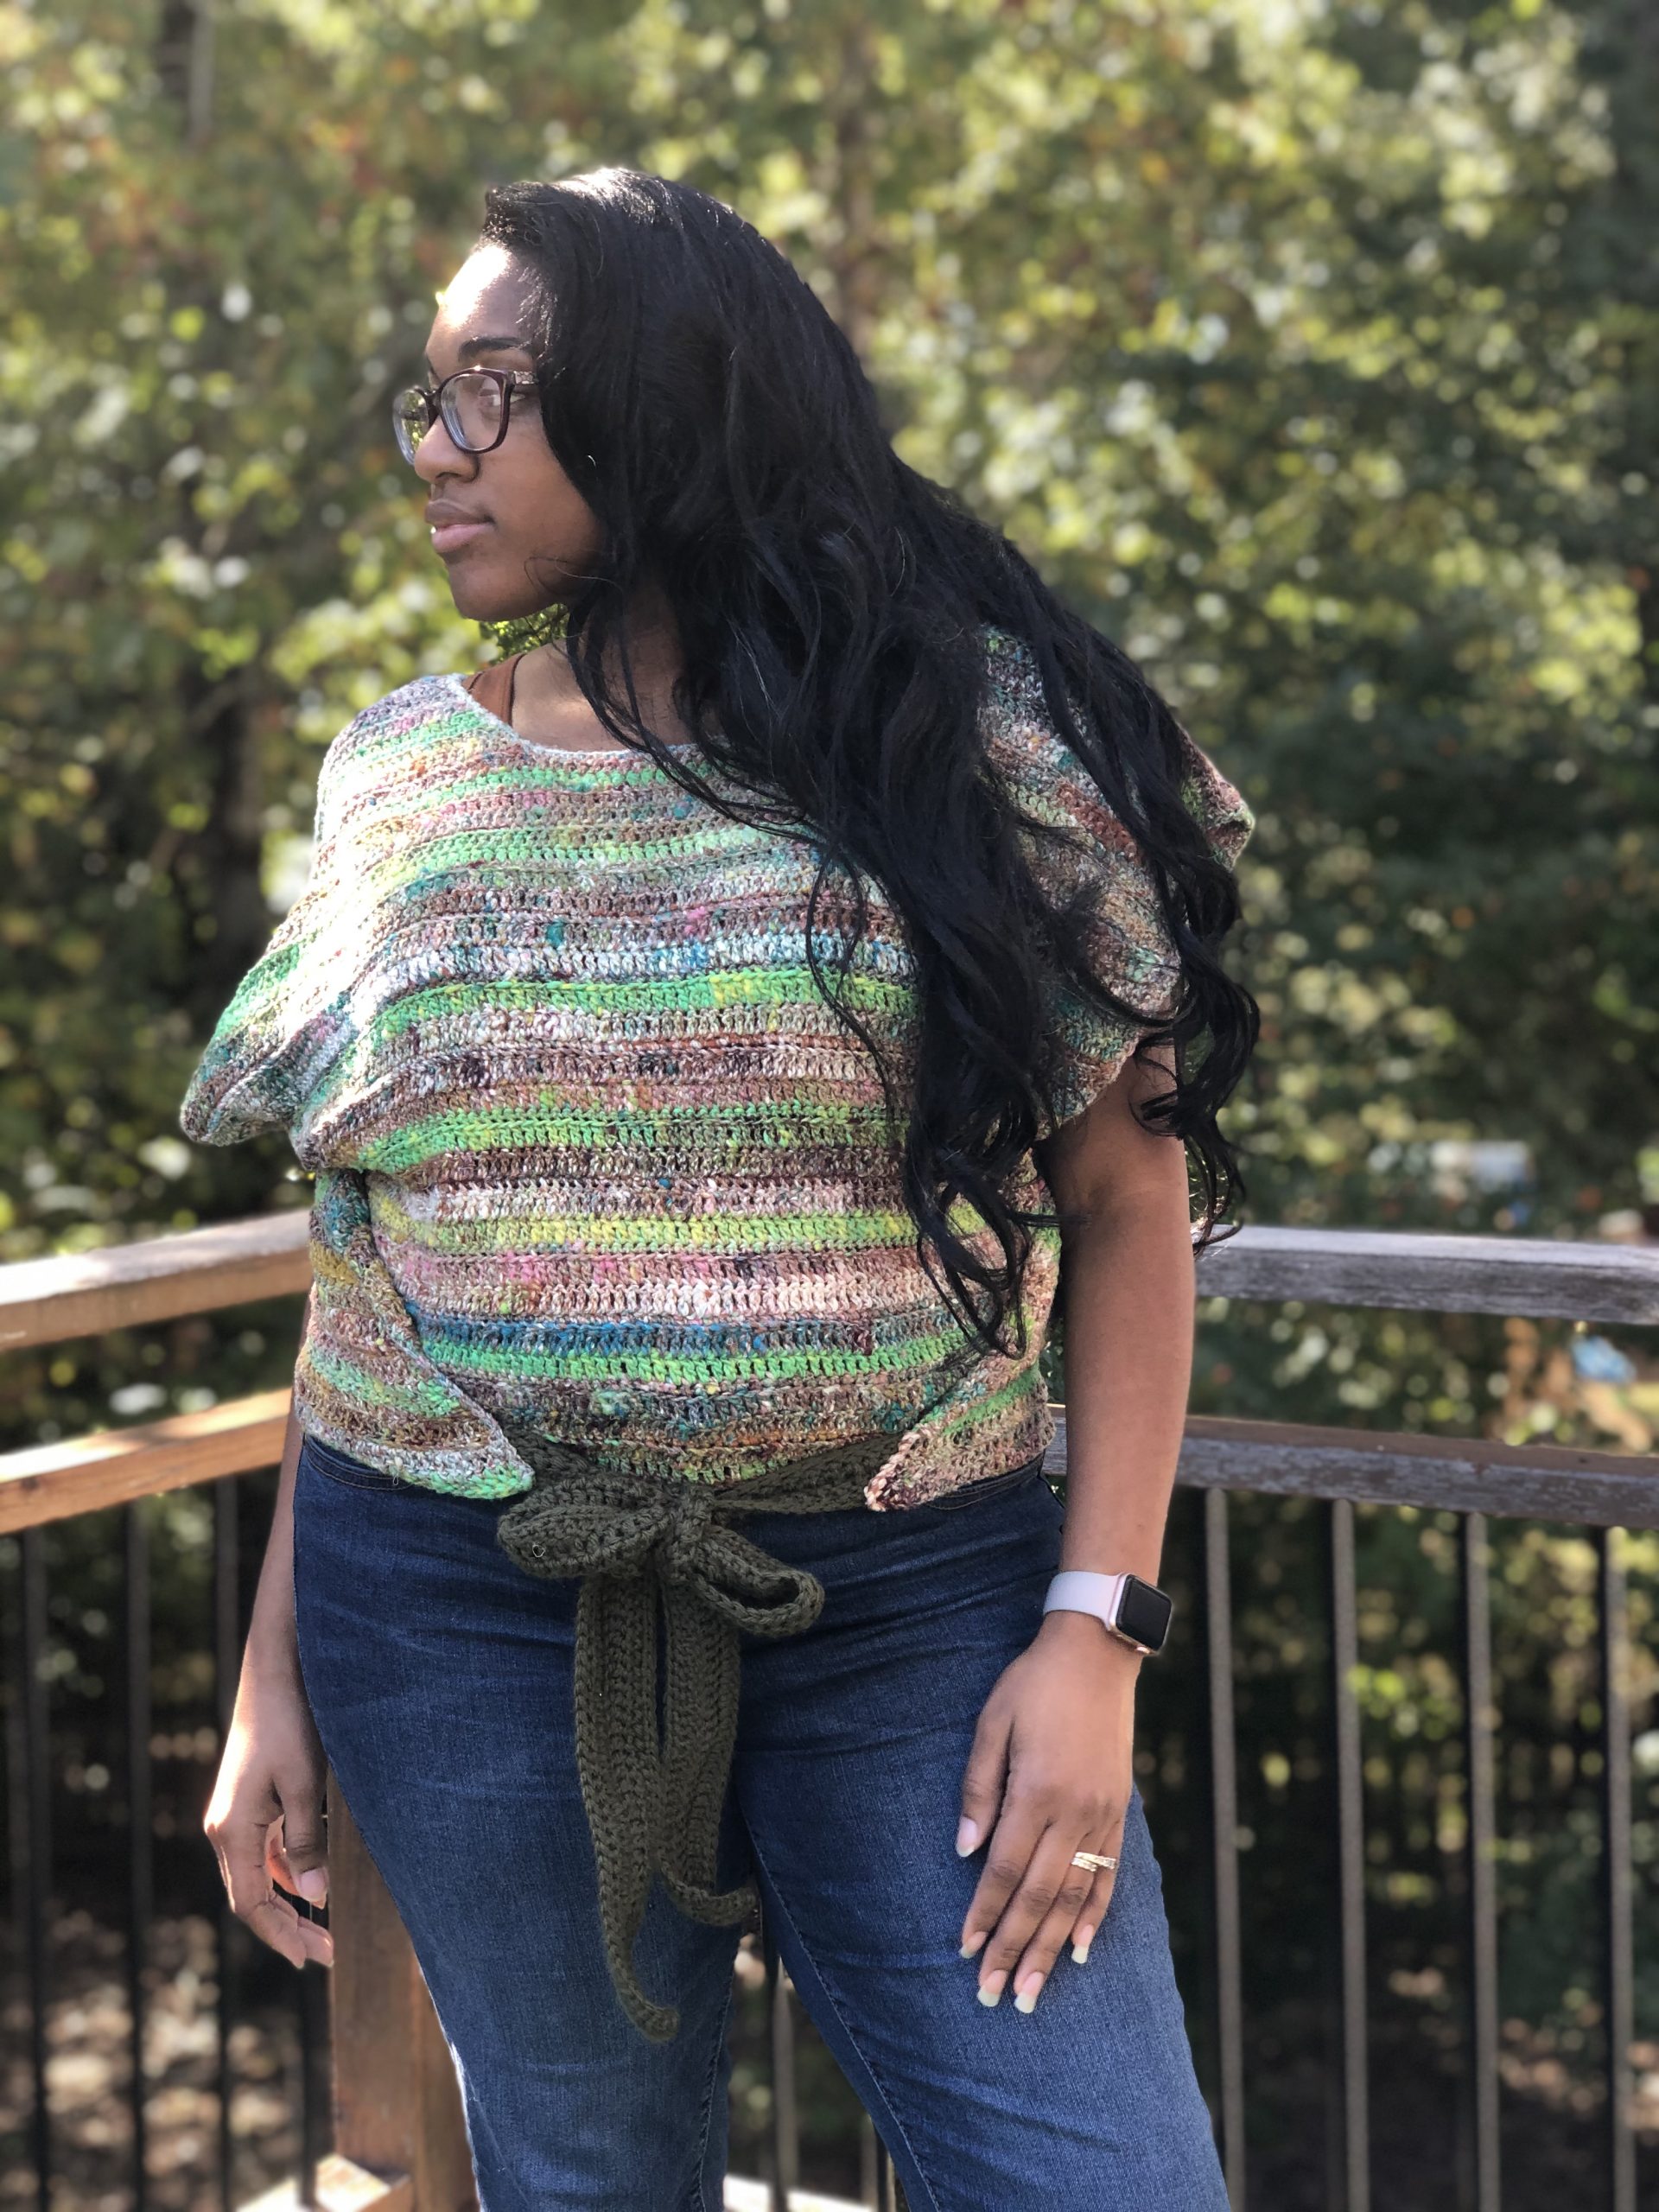
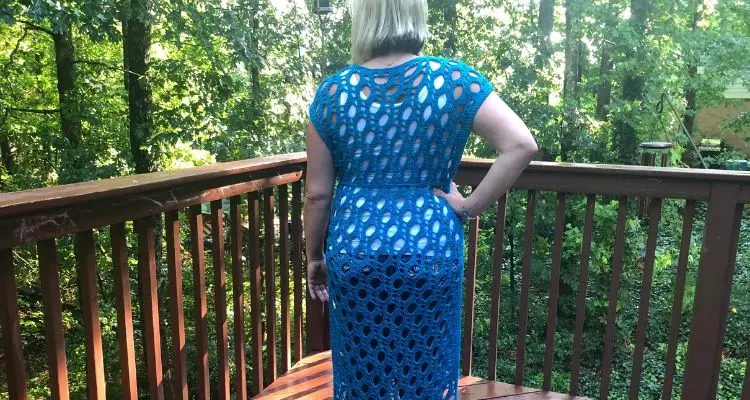
- Stepping Out Coverup > The stitches and fiber content create the drape. The stitches may appear differently if made in a different fiber.
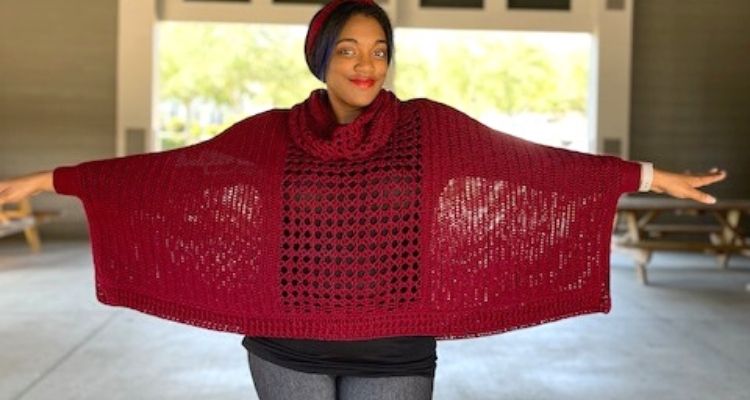
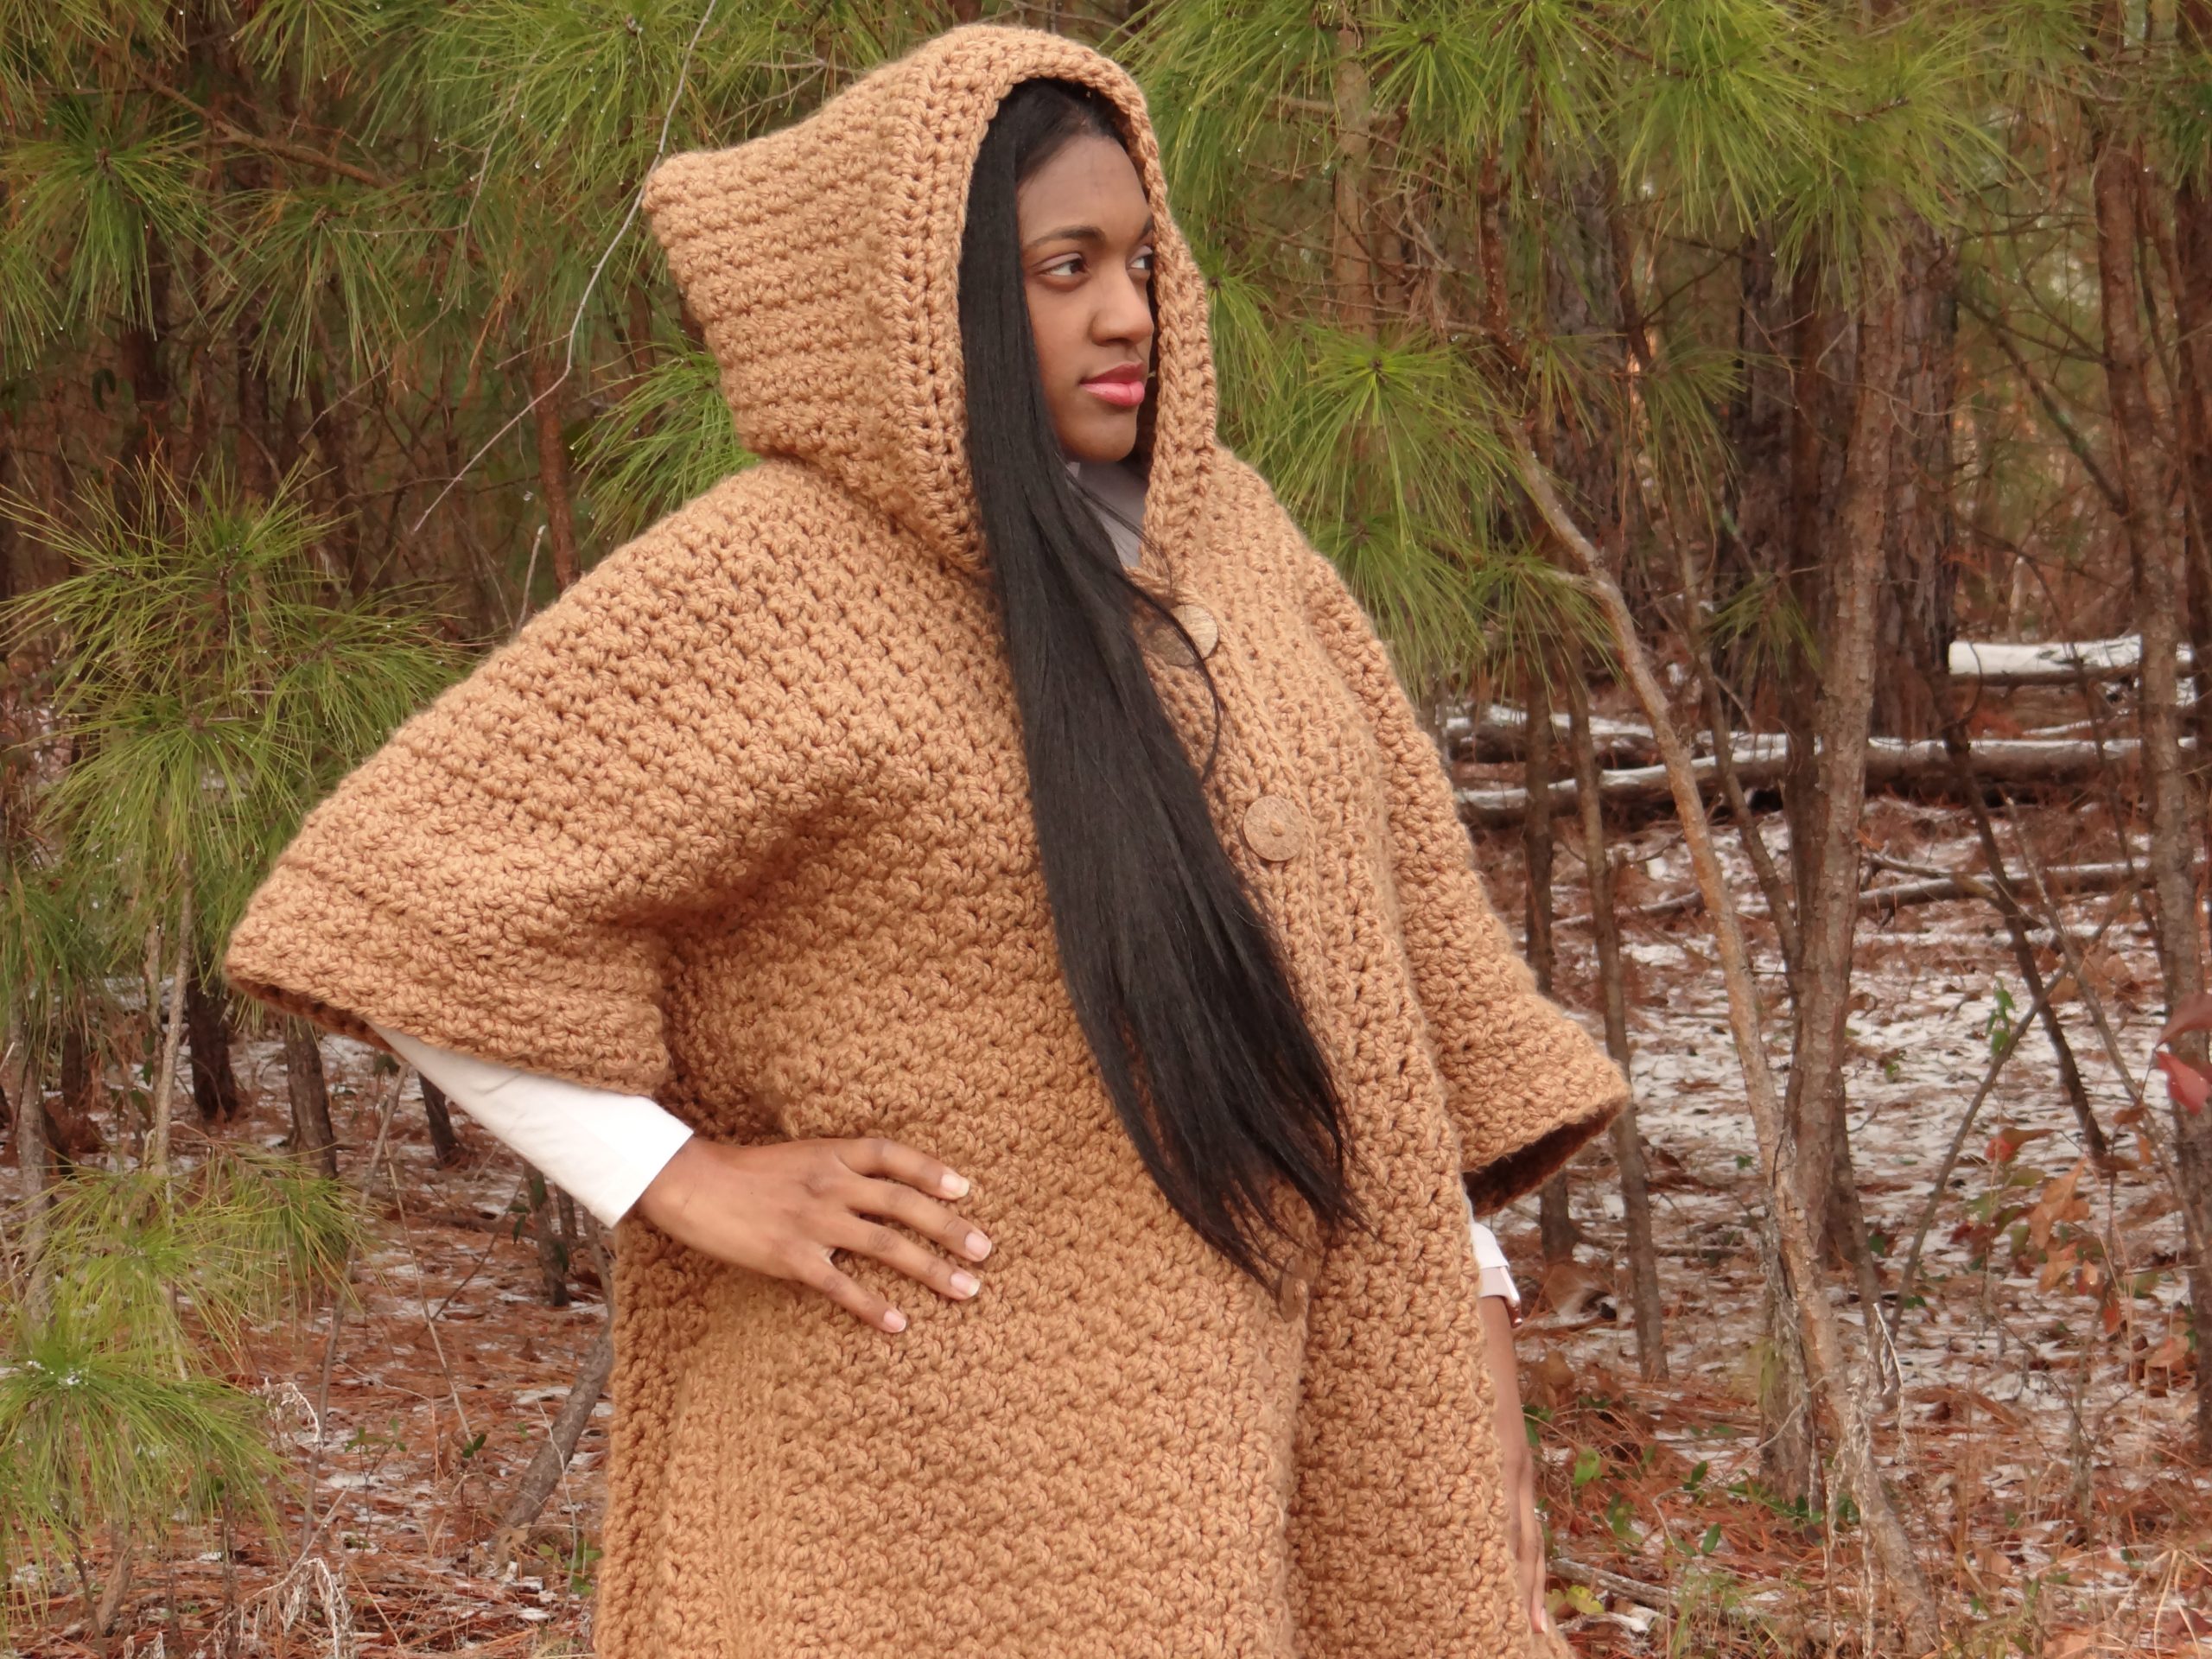
- Hooded Poncho > There is some drape due to the oversized fabric, but it does not move fluidly due to the chunky yarn.
What to do if a customer offers their own yarn?
A customer offering their own yarn can be great or disastrous. This can be a great experience if the customer is familiar with and understands the differences in yarn. Any yarn of any fiber content can be used for a project, but through experience, crocheters learn that some fiber content works better than others for a particular project.
If a customer insists on offering the yarn, I would suggest letting them know the specific yarn you need to make their desired garment; inviting them to meet you at a yarn store to look together and you can show them the available reasonable options; or set up an online meeting (FaceTime, Skype, FB or IG messenger, Google Meet, etc) to review the online shopping options.
When I used to complete custom orders, I noticed that some customers offered yarn in an attempt to save money. If you’re open to discounting the price because they supply yarn, you can, but I would suggest that you maintain your set price because they’re paying for your skill. You deserve to be paid what you’re worth, and not what they think it should be when compared to retail, mass-produced items.
That’s it!
I hope you have enjoyed learning how to crochet a garment with me. I definitely had fun, and I hope you have another topic that you would like to learn more about. If so, just leave a comment below to let me know!
Pin It for Later
If we’re not hanging out on social media yet, come check me out on Facebook, Instagram and Pinterest.
Want to talk about yarn goodness, crochet tips, and exclusive weekly deals? Join my Facebook Group, Creations By Courtney Community.
Join my newsletter for sneak peeks, crochet tips, and more. HERE
Please use #CreationsByCourtney on social media when sharing your projects.
This post is not to be duplicated. Please share the link and give credit as Creations By Courtney.
One Response