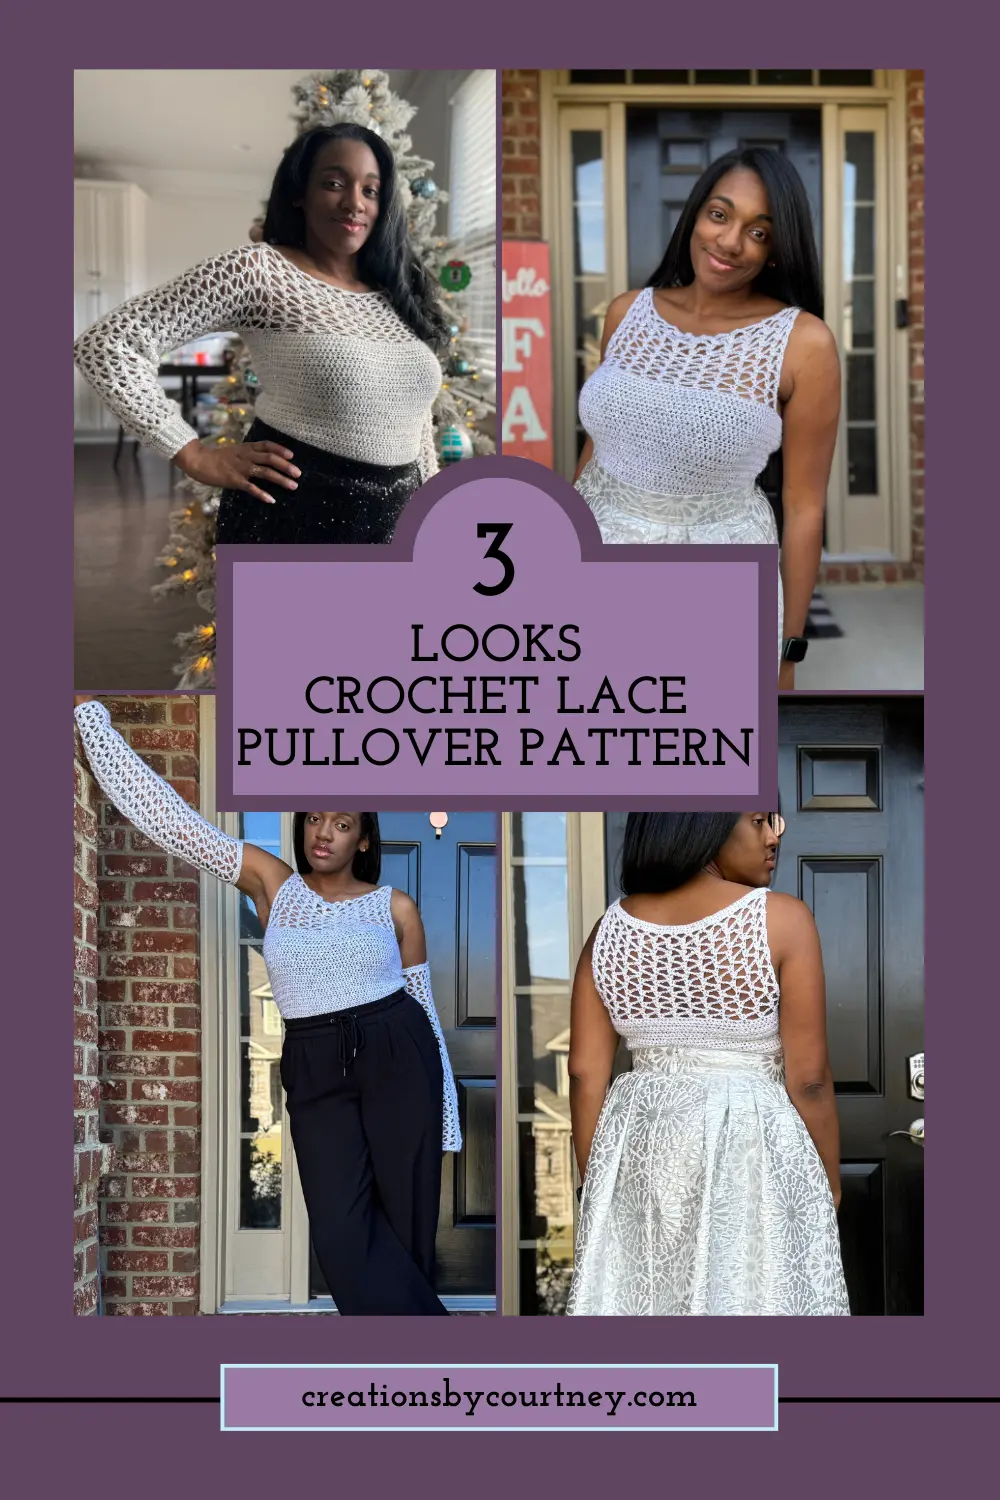
Are you ready to create a handmade garment that’s as stylish as it is versatile? The Genevieve Crochet Top is the perfect project for any crocheter. With its size-inclusive design (up to 72” bust) and three wearable styles—sleeveless, cold shoulder with removable sleeves, and long sleeves—this crochet top sweater will become your new go-to piece for every season. Whether you need a cozy crochet pullover or an elegant piece for holiday parties, this top has you covered.
Why You’ll Love the Genevieve Crochet Top
1. Three Stunning Styling Options:
• Sleeveless: A breezy summer look or a perfect layering piece under cardigans and jackets.
• Cold Shoulder with Removable Sleeves: Trendy and flexible, this version offers a chic, off-the-shoulder style.
• Long Sleeve Version: A close, cozy fit that highlights the lacy stitchwork—ideal as a crochet pullover for cooler weather.
2. Holiday Ready:
The subtle sparkle of King Cole Galaxy DK yarn makes this top perfect for festive celebrations:
• Christmas Gatherings: Style the long-sleeve version with tailored trousers and heels for a polished look.
• Valentine’s Day: Choose a romantic red or soft pink yarn and wear it as a shimmering off shoulder crochet top for a date night or special evening.
3. Size-Inclusive Design: Designed to fit bust sizes up to 72 inches, the Genevieve Crochet Top flatters all body types, ensuring a comfortable and confident fit.
Choosing yarn for a crochet pullover
We cannot talk about crochet without talking about the yarn. With lots of wonderful options, there’s no limit to what you can choose to fit your style.
list yardage, weight, cost, fiber content
The Genevieve Crochet Top shines (literally!) thanks to King Cole Galaxy DK, a yarn that adds glamour to your handmade garments. This amazing yarn features subtle sequins for a gentle sparkle without overpowering the design. It’s soft and lightweight as a DK weight yarn, made of acrylic and wool. Specifically, 65% acrylic, 31% wool and 4% soft payette, which offers warmth, comfort and the right amount of stretch to make it easy to put on this crochet pullover, even with the negative ease.
Each 50 gram “donut” has a put-up of 191 yards / 175 meters, and is available in 14 wonderful colors, from shades of pink and red to variegated shades of gray, black and even antique gold.
You’re going to love how affordable this yarn is! It’s only 3.99 in British Pounds, which converts to $5.19 when ordered from Wool Warehouse, but can cost up to $12.99 per skein, depending on the website. I strongly suggest visiting Wool Warehouse and checking for a local stockist.
Another reason to love Galaxy DK is the shine from the sequins, and the drape for the lacy upper bodice and sleeves of the Genevieve Top. Can you hear all of the compliments when you walk into the holiday parties, or sitting at Valentine’s Day dinner? Better yet, prepare to receive compliments when you wear the Genevieve Top with jeans for a causal look.
A third reason to love this yarn is the easy care instructions. Although it can be dried on low heat, I strongly encourage handwashing on cool water and lay flat to dry. This will keep your crochet pullover looking beautiful for years to come.
Three Stylish Ways to Wear the Genevieve Crochet Pullover
1. Holiday Glam: Wear the long sleeve version with black trousers, sparkly heels, and bold accessories for Christmas or New Year’s Eve.
2. Casual Chic: Style the sleeveless version with high-waisted jeans or a maxi skirt for a relaxed but polished daytime look.
3. Layered & Cozy: Pair the cold shoulder version under a cozy cardigan or coat for transitional weather, giving you style without sacrificing warmth.
This versatile crochet top sweater works year-round, and the lacy details make it a standout crochet pullover for every wardrobe.
*Disclosure: This post may contain affiliate links to products that I use, and think you will enjoy using too. Should you decide to use any such link, I will earn a small commission at no cost to you. Thank you for supporting this small business.
ADD TO RAVELRY FAVORITES
MATERIALS
- DK, #3 weight yarn
- Suggested Yarns:
- King Cole Galaxy DK (65% acrylic, 31% wool, 4% soft payette, 191 yds / 175 m, 1.75 oz / 50 g)
- King Cole Glitz DK
- Hobbii Highland Wool
- Lion Brand Yarn Orchard Truboo Sparkle
- Stitch Please Superwash Extra Fine Merino
- US G+ (4.50 mm) hook or hook to meet gauge
- Stitch Markers x 20
- Scissors
- Yarn Needle
- Measuring Tape
- Sewing Elastic
YARN
Yarn Amounts for Sleeveless Top
| Size | 1 | 2 | 3 | 4 | 5 | 6 | 7 | 8 | 9 | 10 | 11 |
| Yards | 320 | 383 | 485 | 549 | 636 | 765 | 885 | 981 | 1098 | 1251 | 1324 |
| Meters | 292.6 | 350.2 | 443.5 | 502 | 581.6 | 699.5 | 809.2 | 897 | 1004 | 1143.9 | 1210.7 |
| Skeins | 2 | 2 | 3 | 3 | 4 | 4 | 5 | 6 | 6 | 7 | 7 |
Yarn Amounts for Cold Shoulder or Long Sleeve Top
| Size | 1 | 2 | 3 | 4 | 5 | 6 | 7 | 8 | 9 | 10 | 11 |
| Yards | 618 | 680 | 810 | 891 | 1003 | 1176 | 1326 | 1422 | 1582 | 1789 | 1862 |
| Meters | 565.1 | 621.8 | 740.7 | 814.7 | 917.1 | 1075.3 | 1212.5 | 1300.3 | 1446.6 | 1635.9 | 1702.6 |
| Skeins | 4 | 4 | 5 | 5 | 6 | 7 | 7 | 8 | 9 | 10 | 10 |
GAUGE
Hdc: approx. 15 hdc x 14 rows = 4” x 4” [10 cm x 10 cm]
Lace, after blocking: 4 rep ((dc, sc), ch 3)) x 10 rows = 4.25” x 4.25” [10 cm x 10 cm]
FINISHED SIZE(S)
| Size | 1 | 2 | 3 | 4 | 5 | 6 | 7 | 8 | 9 | 10 | 11 |
| To Fit Chest | 28” 71 cm | 32” 81cm | 36” 91 cm | 40″ 102 cm | 44″ 112 cm | 48″ 122 cm | 52″ 132 cm | 56″ 142 cm | 60″ 152 cm | 66″ 168 cm | 70″ 178 cm |
| Finished Circum-ference | 26” 66 cm | 30” 76 cm | 34″ 86 cm | 38″ 97 cm | 42″ 107 cm | 46″ 117 cm | 52″ 132 cm | 56″ 142 cm | 62″ 158 cm | 68″ 173 cm | 72″ 183 cm |
| Total Length | 18” 46 cm | 18” 46 cm | 19” 48 cm | 19” 48 cm | 20″ 51 cm | 22″ 56 cm | 22″ 56 cm | 23″ 58 cm | 23″ 58 cm | 24″ 61 cm | 24″ 61 cm |
| Sleeve Length | 19” 48 cm | 19” 48 cm | 19” 48 cm | 20″ 51 cm | 20″ 51 cm | 21″ 53 cm | 21″ 53 cm | 21″ 53 cm | 22″ 56 cm | 22″ 56 cm | 22″ 56 cm |
PATTERN KEY
Ch: chain
Cnr: corner
Dc: double crochet
Fhdc: foundation half double crochet
Fsc: foundation single crochet
FO: fasten off
Hdc: half double crochet
M: stitch marker(s)
PM: place stitch marker
Prev: previous
Rem: remain(s)(ing)
Rep: repeat
RS: right side
Sc2tog: single crochet 2 together
Sc: single crochet
Scbl: single crochet back loop
Sk: skip
Sl st: slip stitch
Sp: space
St(s): stitch(es)
WS: wrong side
YO: yarn over
SPECIAL STITCHES & TECHNIQUES
CSDC: pull up a loop that is row height, holding loop in place and wrap yarn around hook (yarn over), insert hook in first st, YO, pull up a loop, [YO, pull through 2 loops] twice
First Fhdc: ch 2, YO, insert hook in 2nd ch from hook, YO and pull up a loop (3 loops on hook), YO and pull through 1 loop (ch made, 3 loops on hook), YO and pull through 3 loops
Fhdc: YO, insert hook in the ch of prev st, YO and pull up a loop (3 loops on hook), YO and pull through 1 loop (ch made, 3 loops on hook), YO and pull through 3 loops
Join fhdc in the round: For final fhdc, YO and insert hook through foundation chain of last st made, YO and pull up loop (3 loops on hook), insert hook through foundation of first st (starting ch-2), YO and pull through first st and 1 loop on hook (3 loops on hook), YO and pull through 3 loops], sl st to 2nd ch to join
Join in fsc in the round: For final fsc, insert hook through foundation chain of last st made, yarn over and pull up loop (2 loops on hook), insert hook through foundation of first st (starting ch-2), yarn over and pull through two loops (2 loops on hook), yarn over, pull through two loops, sl st to first fsc
EXPERIENCE LEVEL
Easy
SIGN UP TODAY!
YAY! ON THE WAY TO BECOMING CROCHET BESTIES!
Hey there! 🌟
Guess what? You’re just one small step away from joining our awesome crochet newsletter community! 💌 But don’t worry, it’s super easy and quick. All you have to do is hop over to your email inbox and confirm your subscription.
Why should you do it? Well, by confirming your subscription, you’ll ensure that you never miss exclusive content, exciting updates, and fantastic deals that you won’t want to miss out on. Trust me, you’ll be the first to know about all the latest news and happenings in our amazing crochet community!
So, what are you waiting for? Grab that cup of coffee, put on your favorite tunes, and let’s make your inbox a little brighter. Go ahead and find that confirmation email we just sent you. Once you click that magical “Confirm” button, you’ll officially become part of our fantastic newsletter family!
Join us now and prepare for a whole new level of awesomeness. We can’t wait to have you on board! 💪
See you in your inbox! 📩
NOTES
- Pattern is written in US terms.
- Read entire pattern before beginning.
- This top has -2” to 2” of ease. Refer the Sizes Table to determine the ease for your size.
- Each size is color-coded for ease of reading.
- Changes in size are listed in parentheses in the following format Size XS (Small, Medium, Large, X-Large) (2X-Large, 3X-Large, 4X-Large, 5X-Large) (6X-Large, 7X-Large)
- The Genevieve Sweater is made in 7 parts: Lower Body, Front Bodice, Back Bodice, Detached Sleeves, Attached Sleeves, Cuff, and Finishing.
Purchase the ad-free PDF from your favorite pattern shop
Don’t forget to join the Confidently Crochet with Creations By Courtney for CALs, crochet tips, and yarnie fun.
INSTRUCTIONS
Lower Body
Rnd 1: With Color A, 95 (111, 127, 139, 155) (171, 191, 207, 231) (251, 267) fhdc, following Special Instructions, join fhdc in the round, turn. 96 (112, 128, 140, 156) (172, 192, 208, 232) (252, 268) sts
Note: If you would like to add more positive ease, -/+ multiple of 4 + 1 fsc.
Rnd 2: Ch 1 loosely (does not count as st here and throughout), hdc in first st, hdc in each st around, sl st to join, turn. 96 (112, 128, 140, 156) (172, 192, 208, 232) (252, 268) sts
Rnds 3- 36 (37, 42, 42, 44) (49, 49, 51, 51) (53, 53): Rep Rnd 2
Front Bodice
PM in 48th (56, 64, 70, 78) (86, 96, 104, 116) (126, 134) st. This denotes the separation of the Front and Back
Row 37 (38, 43, 43, 45) (50, 50, 52, 52) (54, 54): Sl st in first 4 (4, 4, 5, 7) (7, 8, 8, 9) (11, 11) sts, ch 3 (does not count as st here and throughout), *(dc, sc) in next st, ch 3, sk next 3 sts, rep from * 9 (11, 13, 14, 15) (17, 19, 21, 23) (25, 27), more times, (dc, sc) in next st, leave rem 3 (3, 3, 4, 6) (6, 7, 7, 8) (10, 10) sts before the M unworked, turn. 11 (13, 15, 16, 17) (19, 21, 23, 25) (27, 29) (dc, sc) groups, 10 (12, 14, 15, 16) (18, 20, 22, 24) (26, 28) ch-3 groups
Rows 38-42 (39-44, 44-49, 44-49, 46-52) (51-57, 51-58, 53-60, 53-61) (55-63, 55-63): Ch 3 (does not count as st here and throughout), *(dc, sc) in next st, ch 3, sk next 3 sts, rep from * 9 (11, 13, 14, 15) (17, 19, 21, 23) (25, 27), more times, (dc, sc) in last st, turn.
Rows 43-46 (45-48, 50-53, 50-54, 53-57) (58-62, 59-64, 61-66, 62-67) (64-70, 64-70): Ch 3 (does not count as st here and throughout), (dc, sc) in first st, ch 4, sk next 3 sts, *(dc, sc) in next st, ch 4, sk next 3 sts, rep from * until end of row, (dc, sc) in last st, turn. 11 (13, 15, 16, 17) (19, 21, 23, 25) (27, 29) (dc, sc) groups, 10 (12, 14, 15, 16) (18, 20, 22, 24) (26, 28) ch-4 groups
Last Row: Ch 1, hdc in first st, ch 2, working only in ch-4 sp, *sc around next ch-4 sp, ch 4, rep from * to last ch-4 sp, sc around last ch-4 sp, ch 2, hdc in last st, FO. 2 hdc, 10 (12, 14, 15, 16) (18, 20, 22, 24) (26, 28) sc, 40 (48, 56, 60, 64) (72, 80, 84, 96) (104, 112) ch
Back Bodice
Row 1: Sk 4 (4, 4, 5, 7) (7, 8, 8, 9) (11, 11) sts, attach yarn in the next st, ch 3 (does not count as st here and throughout), *(dc, sc) in next st, ch 3, sk next 3 sts, rep from * 9 (11, 13, 14, 15) (17, 19, 21, 23) (25, 27), more times, (dc, sc) in next st, leave rem 3 (3, 3, 4, 6) (6, 7, 7, 8) (10, 10) sts unworked, turn. 11 (13, 15, 16, 17) (19, 21, 23, 25) (27, 29) (dc, sc) groups, 10 (12, 14, 15, 16) (18, 20, 22, 24) (26, 28) ch-3 groups
Rows 2-12 (12, 14, 16, 16) (18, 18, 20, 20) (22, 22): Ch 3 (does not count as st here and throughout), *(dc, sc) in next st, ch 3, sk next 3 sts, rep from * 9 (11, 13, 14, 15) (17, 19, 21, 23) (25, 27), more times, (dc, sc) in last st, turn.
Row 13 (13, 15, 17, 17) (19, 19, 21, 21) (23, 23): Ch 1 (does not counts as a st), hdc in first st, ch 2, working only in ch-3 groups, *sc in 2nd ch of next ch-3 group, ch 3, rep from * to last ch-3 group, ch 1, sc in top of dc.
Rnd 12 (12, 13, 14, 14) (17, 18, 18, 21) (21, 21): Sl st to first st of the Front Bodice, (attaches Front and Back Bodice), working along Front Bodice, ch 1, sc in first st, 2 sc around ch-2 sp, *sc in next st, 4 sc around next ch-4 sp, rep from * until next ch-2 sp, 2 sc around ch-2 sp, sc in last st, sl st to first st of Back Bodice, working along Back Bodice, ch 1, sc in first st, 2 sc around ch-2 sp, **sc in next st, 3 sc around next ch-3 sp, rep from ** until next ch-2 sp, 2 sc around ch-2 sp, sc in last st, sl st to first st along Front Bodice to join, turn. 31 (37, 43, 46, 49) (55, 61, 67, 73) (79, 85) sc
Next 2 (2, 3, 3, 3) (4, 4, 4, 5) (5, 5) Rows: Sl st in first st, sc in each st until 1 rems, sl st in last st, turn. FO after last row.
Detached Sleeve
Make 2
Rnd 1: 51 (51, 55, 55, 59) (63, 67, 67, 71) (79, 79) fsc, join with fsc, sl st to join, turn. 52 (52, 56, 56, 60) (64, 68, 68, 72) (80, 80) sc
Rnd 2: (CSDC, sc) in first st, ch 3, sk next 3 sts, *(dc, sc) in next st, ch 3, sk next 3 sts, rep from * around, sl st to join, turn. 13 (13, 14, 14, 15) (16, 17, 17, 18) (20, 20) (dc, sc) groups, 13 (13, 14, 14, 15) (16, 17, 17, 18) (20, 20) ch-3 groups
Next Rnds: Rep Rnd 2 until Sleeve measures 19 (19, 19, 20, 20) (21, 21, 21, 22) (22, 22)” / 48 (48, 48, 51, 51)(53, 53, 53, 56) (56, 56) cm in length
Next Rnd: Ch 1, sc in first st, ch 3, working only in ch-3 groups, *sc in 2nd ch of next ch-3 group, ch 3, rep from * around sl st to join. 13 (13, 14, 14, 15) (16, 17, 17, 18) (20, 20) sc, 13 (13, 14, 14, 15) (16, 17, 17, 18) (20, 20) ch-3 groups
Next Rnd: Ch 1, sc in first st, 3 sc around next ch-3 sp, *sc in next st, 3 sc around next ch-3 sp, rep from * around, sl st to join, turn.
Last 2 Rnds: Ch 1, sc in each st around, sl st to join, turn. FO after last rnd.
Attached Sleeves
Make 2
Evenly place 14 (14, 15, 15, 16) (17, 18, 18, 19) (21, 21) stitch markers around the Arm Opening, starting in the middle of the underarm.
NOTE: You can create the following round before Rnd 1, if you prefer to not evenly PM.
Attach yarn to the underarm with sl st, ch 1, 52 (52, 56, 56, 60) (64, 68, 68, 72) (80, 80) sc evenly spaced around the arm opening, sl st to join, turn. 52 (52, 56, 56, 60) (64, 68, 68, 72) (80, 80) sc
Rnd 1: Attach yarn in first M, (CSDC, sc) in first st, ch 3, sk next 3 sts, *(dc, sc) in next st, ch 3, sk next 3 sts, rep from * around, sl st to join, turn. 14 (14, 15, 15, 16) (17, 18, 18, 19) (21, 21) (dc, sc) groups, 14 (14, 15, 15, 16) (17, 18, 18, 19) (21, 21) ch-3 groups
Next Rnds: Rep Rnd 2 until Sleeve measures 17 (17, 17, 18, 18) (19, 19, 19, 20) (20, 20)” / 48 (48, 48, 51, 51)(53, 53, 53, 56) (56, 56) cm in length
Next Rnd: Ch 1, sc in first st, ch 3, working only in ch-3 groups, *sc in 2nd ch of next ch-3 group, ch 3, rep from * around sl st to join. 13 (13, 14, 14, 15) (16, 17, 17, 18) (20, 20) sc, 13 (13, 14, 14, 15) (16, 17, 17, 18) (20, 20) ch-3 groups
Next Rnd: Ch 1, sc in first st, 2 sc around next ch-3 sp, *sc in next st, 2 sc around next ch-3 sp, rep from * around, sl st to join, turn. 42 (42, 45, 45, 48) (51, 54, 54, 57) (63, 63) sc
Last Rnd: Ch 1, [sc2tog, sc in next st] 14 (14, 15, 15, 16) (16, 17, 17, 18) (20, 20) sc times, sl st to join, turn. 28 (28, 30, 30, 32) (32, 34, 34, 36) (40, 40) sc
Cuff
Ch 10,
Row 1: Starting in 1st ch from hook, sc in next 9 ch, last sc (attaches row to Sleeve). 10 sc
Row 2: Sl st in next st of Sleeve (counts as ch 1), turn, scbl in 9 sts, sc in last st, turn. 9 scbl, 1 sc
Row 3: Sc in first st, scbl in next 8 sts, last sc. 1 sc, 9 scbl
Next Rows: Rep Rows 2-3 until you reach the last st of Sleeve
Joining Row: Working through Row 1 and Last Row, sl st in BLO, FO.
Blocking
- Block the Sleeves for width. You can stretch the length, if needed.
- Using sewing elastic and a smaller hook, slip stitch between Rnds 1 and 2 of the Detached Sleeves
- Do not block the cuff of the Attached Sleeves.
Finishing
Weave in ends.
What to Crochet Next: More Stylish Patterns
Once you finish the Genevieve Crochet Top, explore more patterns from Creations by Courtney that are perfect for layering and complementing your new top:
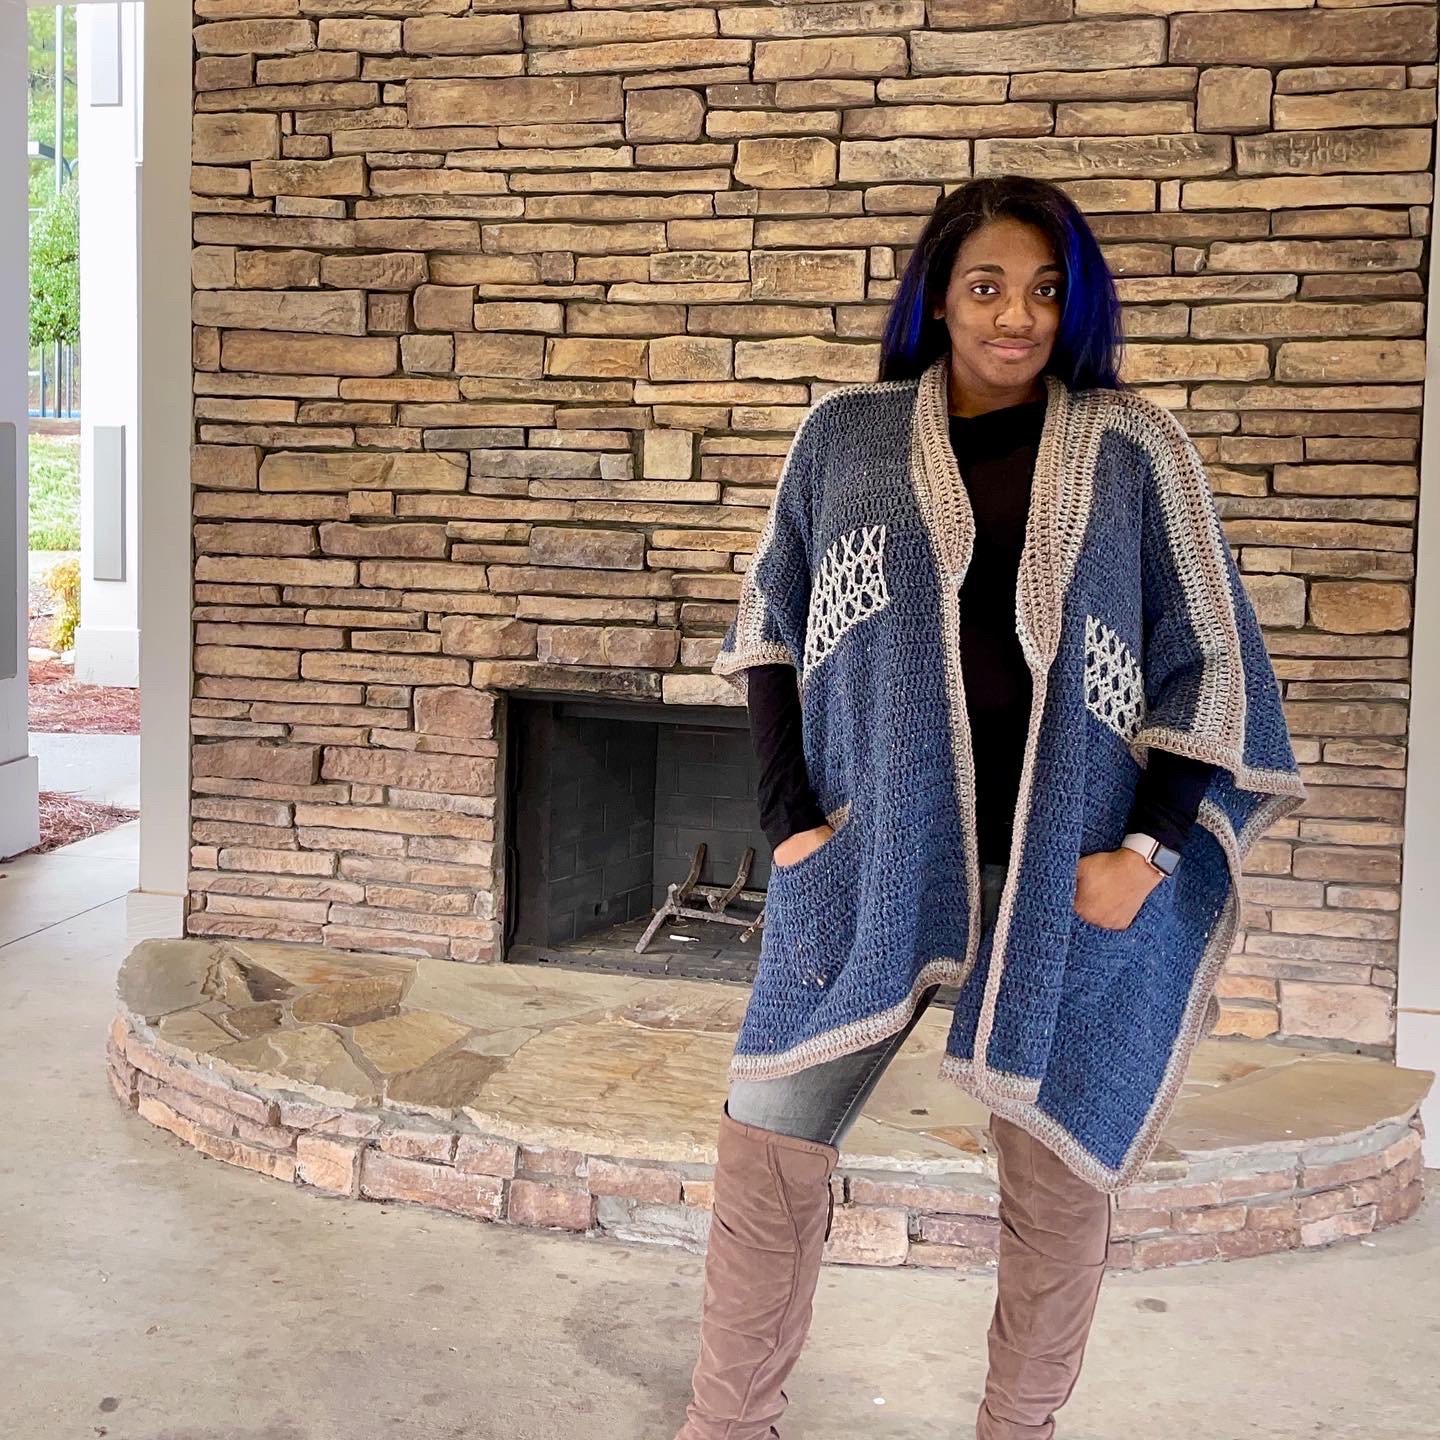
1. Cedar Mill Tunisian Poncho: A cozy, textured poncho perfect for layering.
2. Crossroads Ruana: A flowy and versatile piece for transitional weather.
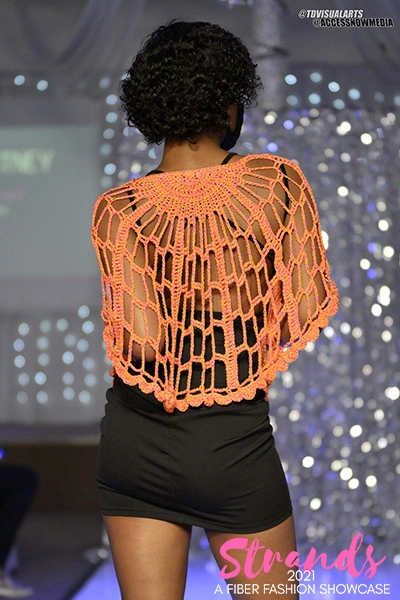
3. Mo’Rocking Sunrise Ponchette: Lightweight and elegant, great for dressing up casual outfits.
These patterns pair beautifully with the Genevieve Top, helping you create a handmade wardrobe that’s stylish and functional.
Follow Along for More Crochet Inspiration
• Save this project to Pinterest and share your finished top, #GenevieveCrochetTop!
Want to talk about yarn goodness, crochet tips, and exclusive weekly deals? Join my Facebook Group, Confidently Crochet with Creations By Courtney.
If we’re not hanging out on social media yet, come check me out on Facebook, Instagram and Pinterest.
Join my newsletter for sneak peeks, crochet tips, and more.
Use #CreationsByCourtney on social media when sharing your projects.
Whether you’re looking for a cozy crochet pullover or a sparkling off shoulder crochet top for the holidays, the Genevieve Crochet Top is the perfect DIY project. With three wearable options and endless styling potential, you’ll love creating and wearing this versatile piece.
Download the ad-free PDF pattern now and get started!
© 2024 Courtney Whitehead This pattern is not to be duplicated or resold, and not to be reproduced commercially. You may sell finished products on Etsy, at farmers markets, and craft fairs, but please credit Creations By Courtney as the pattern’s author.


