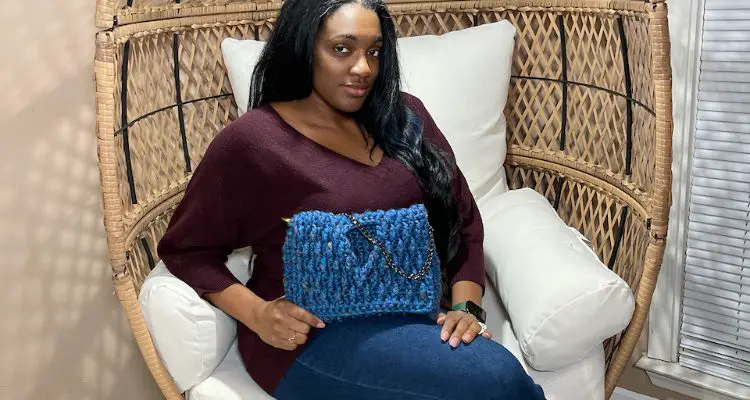
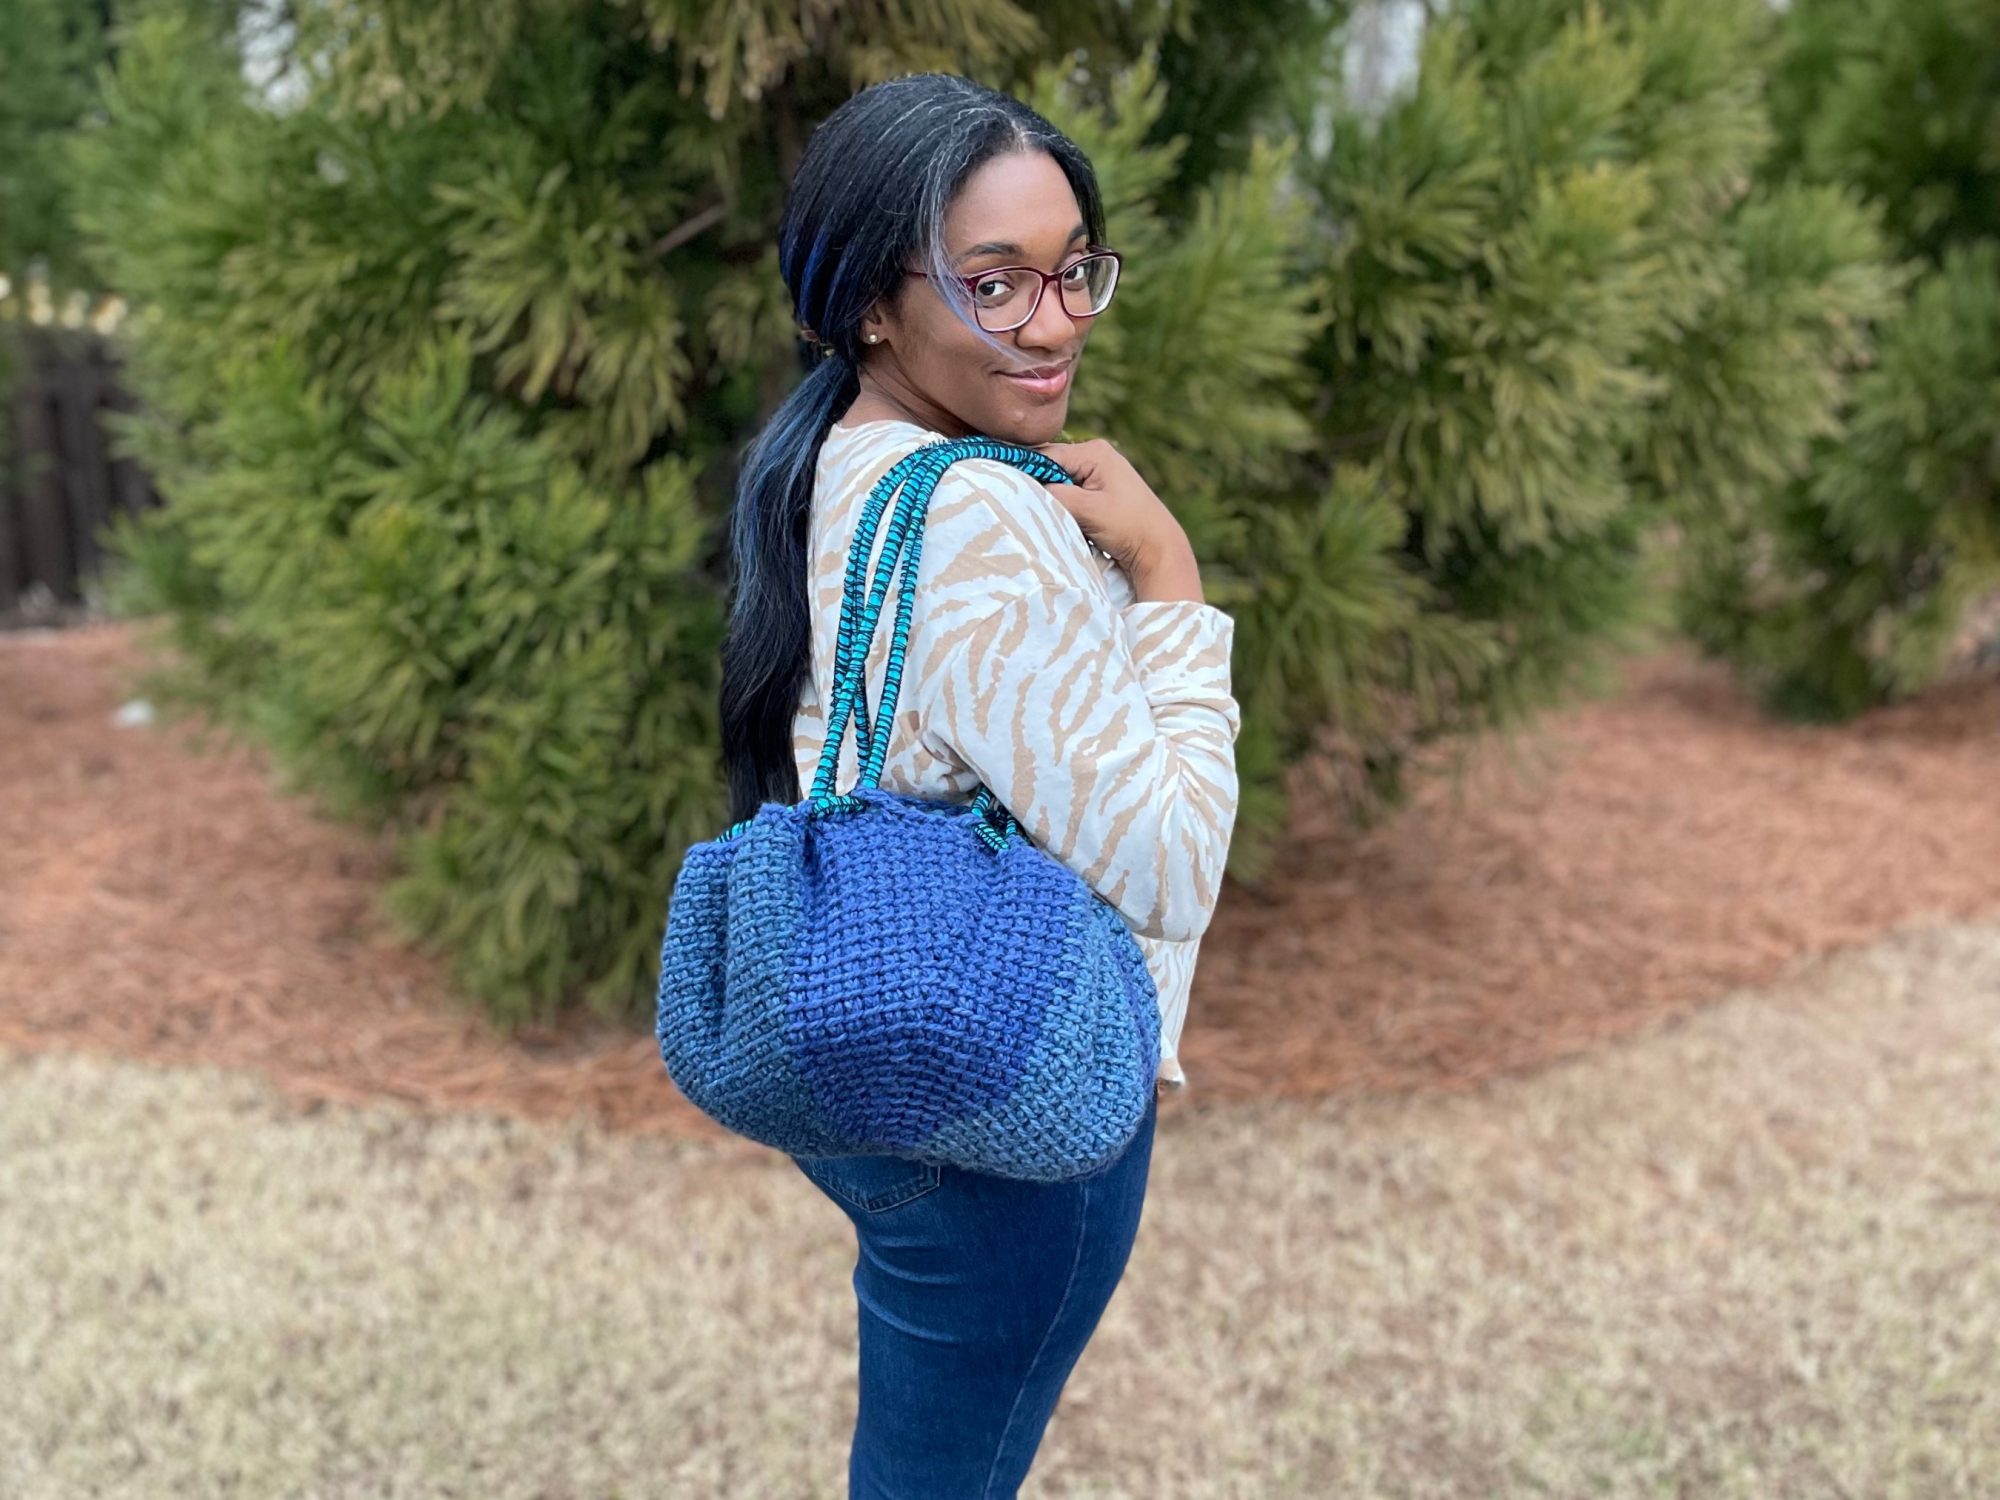
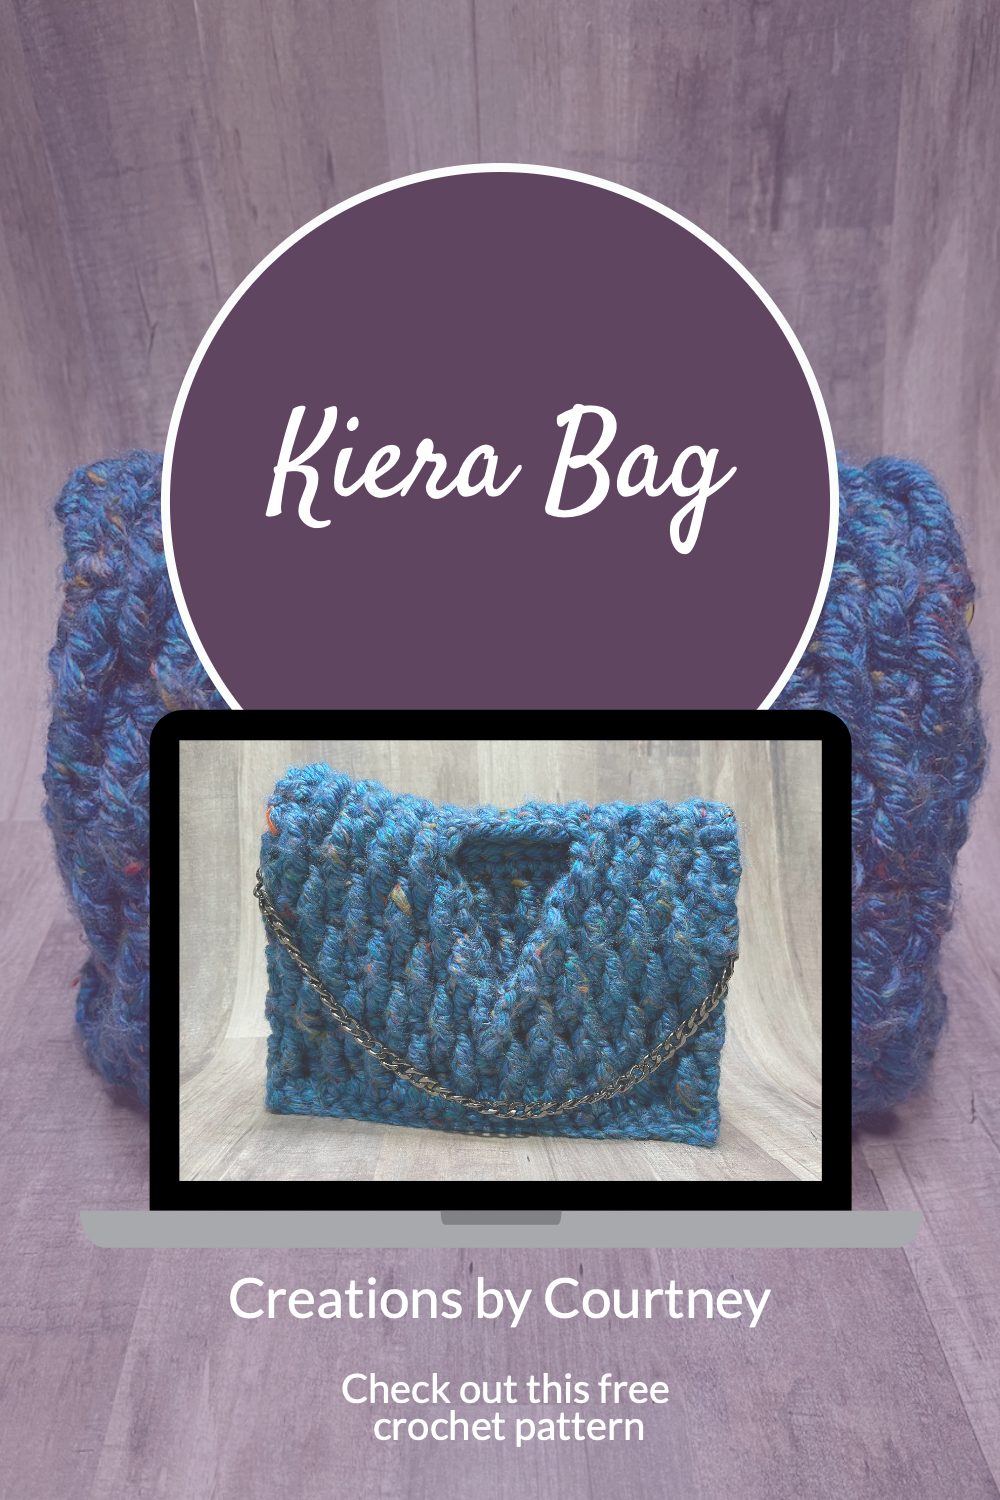
A crochet purse is stylish and practical for carrying your essentials. The Kiera Bag is not only practical but also unique with a triangle opening. Don’t worry about your items falling out, as the textured crochet stitches create a solid fabric.
This crochet purse pattern uses a chunky yarn, which means using a large crochet hook. And if you’re confident with making decreases, the Kiera Bag will work up quickly in one afternoon.
I don’t know about you, but I enjoy DIY’ing my wardrobe essentials. I hope you enjoy making this chunky crochet purse too.
Yarn
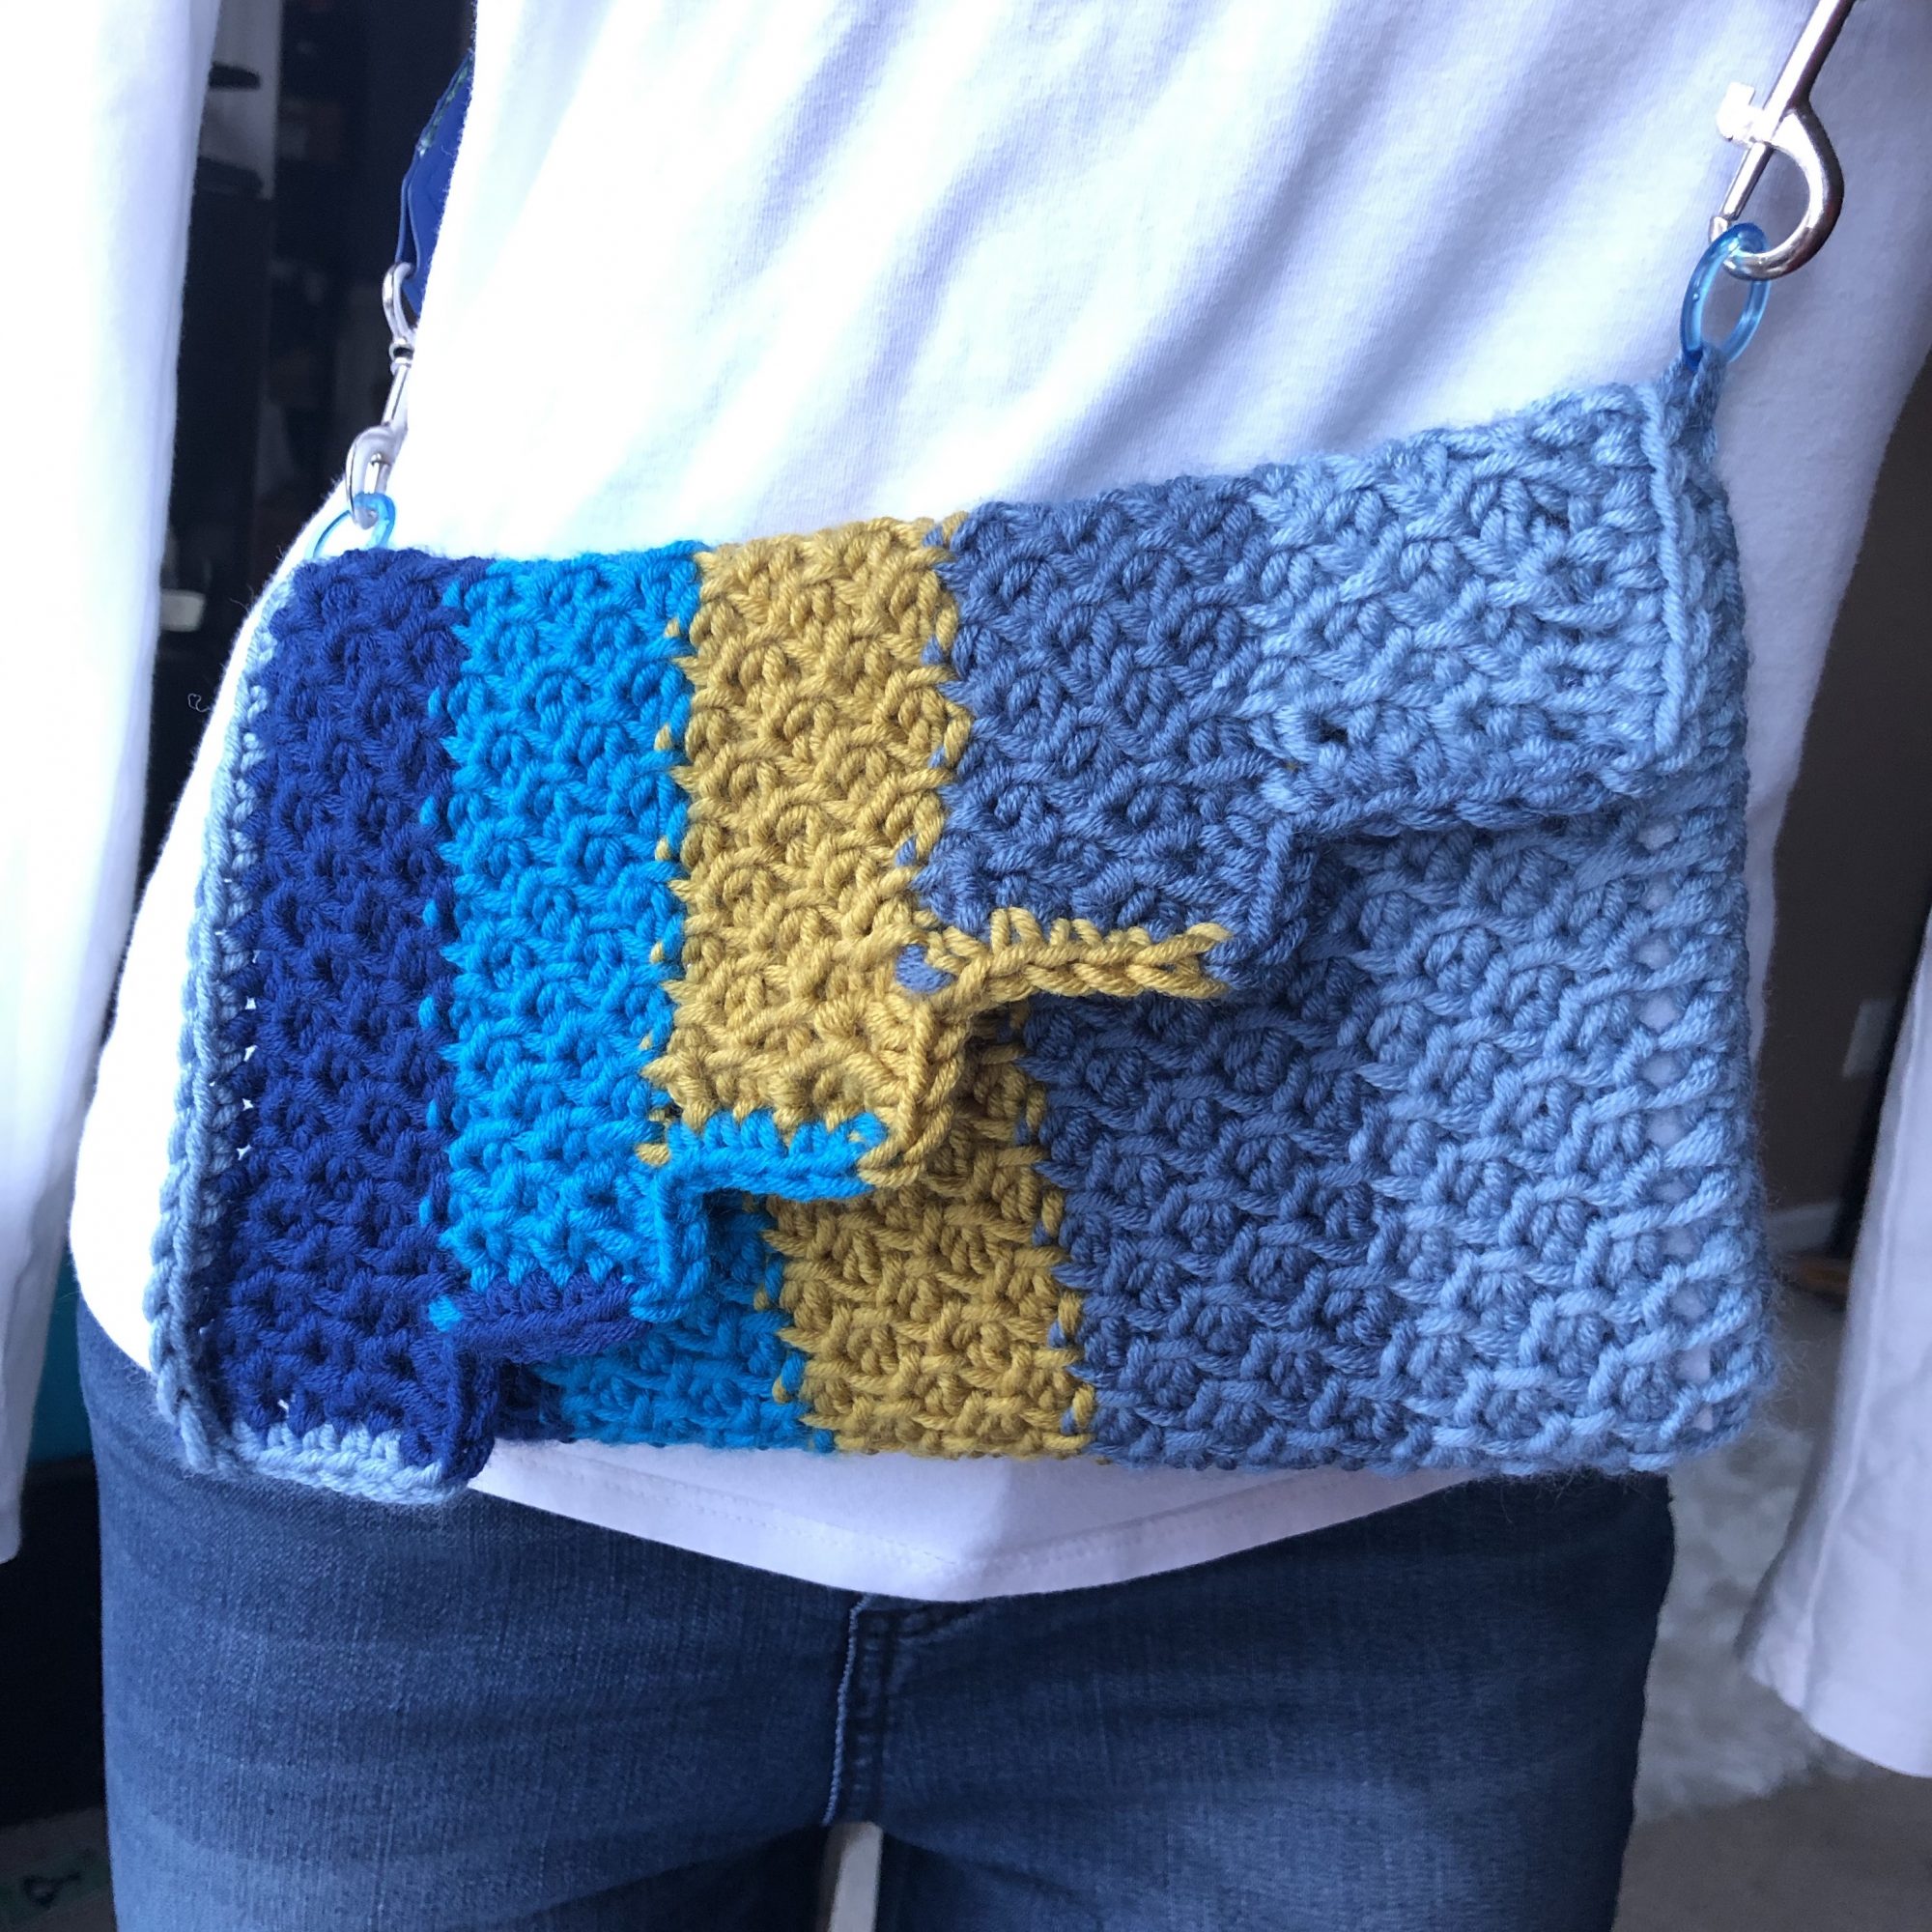
I dived in my yarn stash to make this chunky crochet purse, and have been in a space of working with chunky yarns. My awesome husband surprised me with 20 skeins of Lion Brand Hometown USA a while ago. I won’t say exactly how long to not incriminate myself. 😆
I love the sheen of Hometown USA and the specks of color within Bug Sur Tweed. Unfortunately, this tweed color option is no longer offered but there are 51 solid and tweed colors in Hometown. Same yarn with a new name. 🙂
Hometown Tweed is 94% acrylic and 6% rayon, 64 yards per 113 grams, whereas the solids are 100% acrylic, 81 yards per 142 grams. Each skein is normally $5.99 – $6.49 at your favorite big craft store or online retailer, but it’s on sale at the time of this writing for only $4.19 on the Lion Brand site. There’s a link below in the Materials. 😉
*Disclosure: This post may contain affiliate links to products that I use, and think you will enjoy using too. Should you decide to use any such link, I will earn a small commission at no cost to you. Thank you for supporting this small business.
ADD TO RAVELRY FAVORITES
MATERIALS
- Lion Brand Hometown USA, super bulky weight #6 (94% acrylic, 6% rayon, 64 yds/ 59 m, 4 oz/ 113 g): Big Sur Tweed x 3
- Total yardage: 187 yds
- Available colors of Lion Brand Hometown Yarn
- US N /9.00 mm hook or hook to meet gauge I used my Silver Odyssey hook.
- Magnetic snaps x 2
- 25mm plastic, metal or wood ring x 2
- Purse strap
- Scissors
- Yarn needle
- Stitch markers
- measuring tape
GAUGE
9 sts x 8 rows = 4” x 4” [10 cm x 10 cm]
FINISHED SIZE
Before seaming: 10” W x 22” L [25.5 cm W x 56 cm L]
After seaming: 10” W x 7.5” H x 1.5” D [25.5 cm W x 19 cm H x 4 cm D]
PATTERN KEY
Ch: chain
Cnr: corner
CSDC: chainless starting double crochet
Dc: double crochet
FPtr: front post treble crochet
FO: fasten off
M: stitch marker(s)
PM: place stitch marker
Prev: previous
Rem: remain(s)
Rep: repeat
RS: right side
Sl st: slip stitch
Sc: single crochet
Sk: skip
Sp: space
St(s): stitch(es)
St2tog: stitch 2 together
WS: wrong side
YO: yarn over
SPECIAL STITCHES & TECHNIQUES
CSDC: pull up a loop that is row height, holding loop in place and wrap yarn around hook (yarn over), insert hook in first st, YO, pull up a loop, [YO, pull through 2 loops] twice
FPtr: YO 2 times, insert hook from front to back to front around indicated st, YO, pull up a loop (4 loops on hook), [YO, pull through 2 loops] 3 times
St2tog: worked like a dc2tog
EXPERIENCE LEVEL
Intermediate
NOTES
- Pattern is written in US terms.
- Read entire pattern before beginning.
- The Kiera Crochet Bag is made in 5 parts: Body and First half of Triangle, Second half of Triangle, Continued Body and Sides, Seaming, and Finishing.
- A schematic can be found in the ad-free PDF.
Purchase the ad-free PDF from your favorite pattern shop


Don’t forget to join the Creations By Courtney Community for CALs, crochet tips, and yarnie fun.
INSTRUCTIONS
Body and First Half of Triangle
Ch 22
Row 1: Starting in 2nd ch from hook, sc in each st, turn. 21 sc
Row 2: CSDC in first st, dc in each st, turn. 21 dc
Row 3: Ch 1, sc in each st, turn. 21 dc
Row 4: CSDC in first st, *FPtr around next st 2 rows below, dc in next st, rep from * to end, turn. 10 FPtr, 11 dc
Row 5: Rep Row 3, turn.
Row 6: PM in 11th st, CSDC in first st, *dc in next st, FPtr around post 2 rows below, rep from * 3 more times, st2tog, leave rem sts unworked, turn. 4 FPtr, 5 dc, 1 st2tog, 10 sts
Row 7: Rep Row 3, turn. 10 sc
Row 8: CSDC in first st, *FPtr around first st 2 rows below, dc in next st, rep from * 2 more times, FPtr around next st 2 rows below, st2tog, turn. 4 FPtr, 4 dc, 1 st2tog, 9 sts
Row 9: Rep Row 3, turn. 9 sc
Row 10: CSDC in first st, *dc in next st, FPtr around post 2 rows below, rep from * 2 more times, st2tog, turn. 3 FPtr, 4 dc, 1 st2tog, 8 sts
Row 11: Rep Row 3, turn. 8 sc
Row 12: CSDC in first st, *FPtr around first st 2 rows below, dc in next st, rep from * 1 more time, FPtr around next st 2 rows below, st2tog, FO. 3 FPtr, 3 dc, 1 st2tog, 7 sts
Second Half of Triangle
Row 1: Attach yarn to 11th st, remove M; ch 1, st2tog, *Fptr around next st 2 rows below, dc in next st, rep from * 3 more times, dc in last st, turn. 1 st2tog, 4 Fptr, 5 dc; 10 sts
Row 2: Ch 1, sc in each st, turn. 10 sts
Row 3: Ch 1, st2tog, *Fptr around next st 2 rows below, dc in next st, rep from * 3 more times, turn. 1 st2tog, 4 Fptr, 4 dc; 9 sts
Row 4: Rep Row 2, turn. 9 sts
Row 5: Ch 1, st2tog, *Fptr around next st 2 rows below, dc in next st, rep from * 2 more times, dc in next st, turn. 1 st2tog, 3 Fptr, 4 dc; 8 sts
Row 6: Rep Row 2, turn. 8 sts
Row 7: Ch 1, st2tog, *Fptr around next st 2 rows below, dc in next st, rep from * 2 more times, turn. 1 st2tog, 3 Fptr, 3 dc; 7 sts
Body Continued
Row 1: Ch 1, sc in next 7 sts, 7 fsc, sc in next 7 sts, turn. 21 sc
Row 2: CSDC in first st, [dc in next st, Fptr around next st 2 rows below] 3 times, dc in next 7 sts, [Fptr around next st, dc in next st] 3 times, dc in last st, turn. 6 FPtr, 15 dc; 21 sts
Row 3: Ch 1, sc in each st, turn. 21 sc
Row 4: CSDC in first st, [FPtr around next st 2 rows below, dc in next st] 10 times, turn. 10 FPtr, 11 dc; 21 sts
Row 5: Rep Row 3, turn. 21 sc
Row 6: CSDC in first st, [dc in next st, FPtr around next st 2 rows below] 9 times, dc in last 2 sts, turn. 9 FPtr, 12 dc; 21 sts
Row 7: Rep Row 3, turn.
Rows 8-19: Rep [Rows 4-7] 3 times, ch 4 (extension for first side), turn.
Body and Sides
Row 1: Starting in 4th ch, CSDC, dc in next 3 chs, [dc in next st, FPtr around next st 2 rows below] 10 times, dc in next st, 4 fdc, turn. 10 FPtr, 19 dc, 29 sts
Row 2: Ch 1, sc in each st, turn. 29 sc
Row 3: CSDC in first st, dc in next 5 sts, [FPtr around next st 2 rows below, dc in next st] 9 times, dc in next 5 sts, turn. 9 FPtr, 20 dc; 29 sts
Row 4: Rep Row 2, turn.
Row 5: CSDC in first st, dc in next 4 sts, [FPtr around next st 2 rows below, dc in next st] 10 times, dc in next 4 sts, turn. 10 FPtr, 19 dc; 29 sts
Row 6: Ch 1, sc in first st, sc2tog, sc in next 23 sts, sc2tog, sc in last st, turn. 27 sc
Row 7: CSDC in first st, dc in next 4 sts, [FPtr around next st 2 rows below, dc in next st] 9 times, dc in next 4 sts, turn. 9 FPtr, 18 dc; 27 sts
Row 8: Rep Row 2, turn. 27 sc
Row 9: CSDC in first st, dc in next 3 sts, [FPtr around next st 2 rows below, dc in next st] 10 times, dc in next 3 sts, turn. 10 FPtr, 17 dc; 27 sts
Row 10: Ch 1, sc in first st, sc2tog, sc in next 21 sts, sc2tog, sc in last st, turn. 25 sc
Row 11: CSDC in first st, dc in next 3 sts, [FPtr around next st 2 rows below, dc in next st] 9 times, dc in next 3 sts, turn. 9 FPtr, 16 dc; 25 sts
Row 12: Ch 1, sc in first st, sc2tog, sc in next 19 sts, sc2tog, sc in last st, turn. 23 sc
Row 13: Ch 1, sl st in first st, slst2tog in flo, sc in next 17 sts, sc2tog, sc in last st, turn. 19 sc, 2 sl st
Finishing
- With the wrong side facing outward, fold the Side to line up sts, seam along bottom and up the Body.
- Attach one ring to top of Side.
- Rep steps 1-2 for second Side.
- Attach strap to rings.
- Optional, use a piece of crafting felt as base of magnetic buttons, then sew buttons onto purse.
You may enjoy these patterns too
Pin it for Later
Want to talk about yarn goodness, crochet tips, and exclusive weekly deals? Join my Facebook Group, Creations By Courtney Community.
If we’re not hanging out on social media yet, come check me out on Facebook, Instagram and Pinterest.
Join my newsletter for sneak peeks, crochet tips, and more. HERE
Use #CreationsByCourtney on social media when sharing your projects.
This pattern is not to be duplicated or resold, and not to be reproduced commercially. You may sell finished products on Etsy, at farmers markets, and craft fairs, but please credit Creations By Courtney as the pattern’s author.
2 Responses
Pretty.
I love the color of this purse and the pattern is beautiful. Blue is my favorite color.