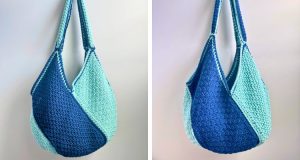
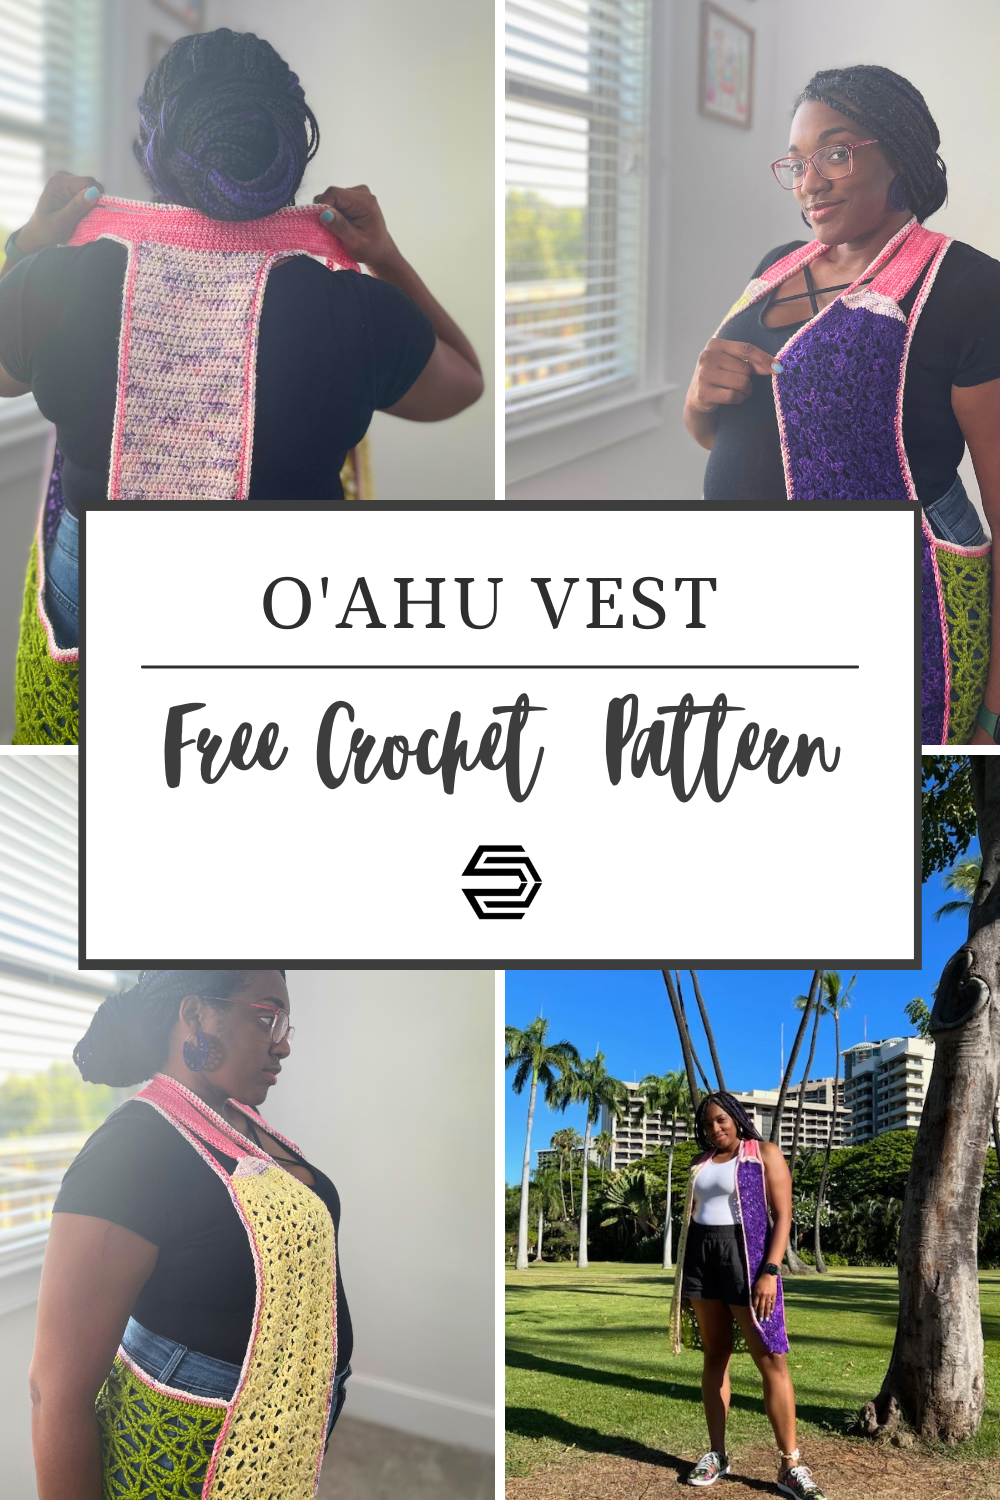
Welcome to the world of crochet fashion enthusiasts! If you’re on the lookout for the perfect addition to your wardrobe, we have something special in store for you. Say hello to the O’ahu Vest – a captivating crochet lace vest that’s bound to be your next must-have. This versatile lace vest is designed especially for women who appreciate the timeless elegance of a long crochet vest. Whether you’re a seasoned crocheter or just starting out, this crochet vest pattern is not only trendy but also beginner-friendly, making it accessible to everyone. Best of all, the pattern is free, and uses a DK weight yarn, ensuring you can elevate your style without breaking the bank!
The O’ahu Vest combines fashion and functionality. This long crochet duster offers a wonderful blend of style and comfort, making it an ideal choice for a wide range of occasions. The delicate lacework of this crochet vest adds a touch of sophistication to your outfit, whether you’re dressing up for a casual day out or a special evening event, especially in a single color. It’s a wardrobe staple that effortlessly transitions from day to night.
Our free crochet duster pattern for the O’ahu Vest is the perfect project for crafters of all skill levels. Crochet enthusiasts will find the step-by-step instructions both clear and easy to follow, while those new to the craft will appreciate the chance to learn and enhance their skill with easy sizing to create something beautiful. You’ll be amazed at how quickly you can complete this long crochet duster, and love wearing your own handmade creation.
So, if you’re ready to explore the world of crochet fashion with a stunning lace vest, look no further. The O’ahu Vest is here to elevate your style, and I can’t wait to guide you through the creation process. Get your hooks ready, gather your yarn, and let’s dive into the art of crochet fashion together!
Crochet Vest Inspiration
Can we talk about how a crochet project can easily transform into something different than it starts??
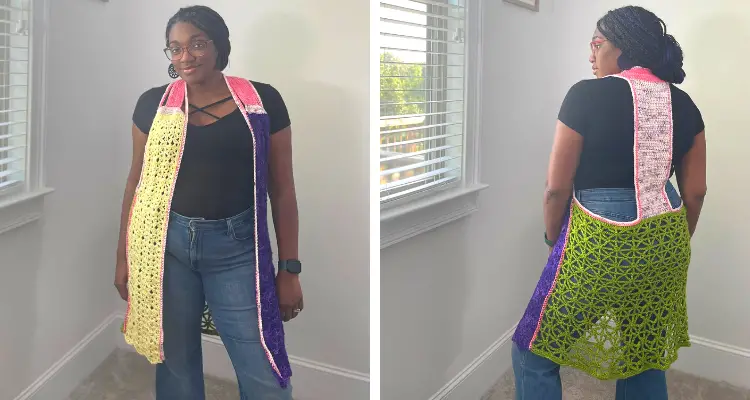
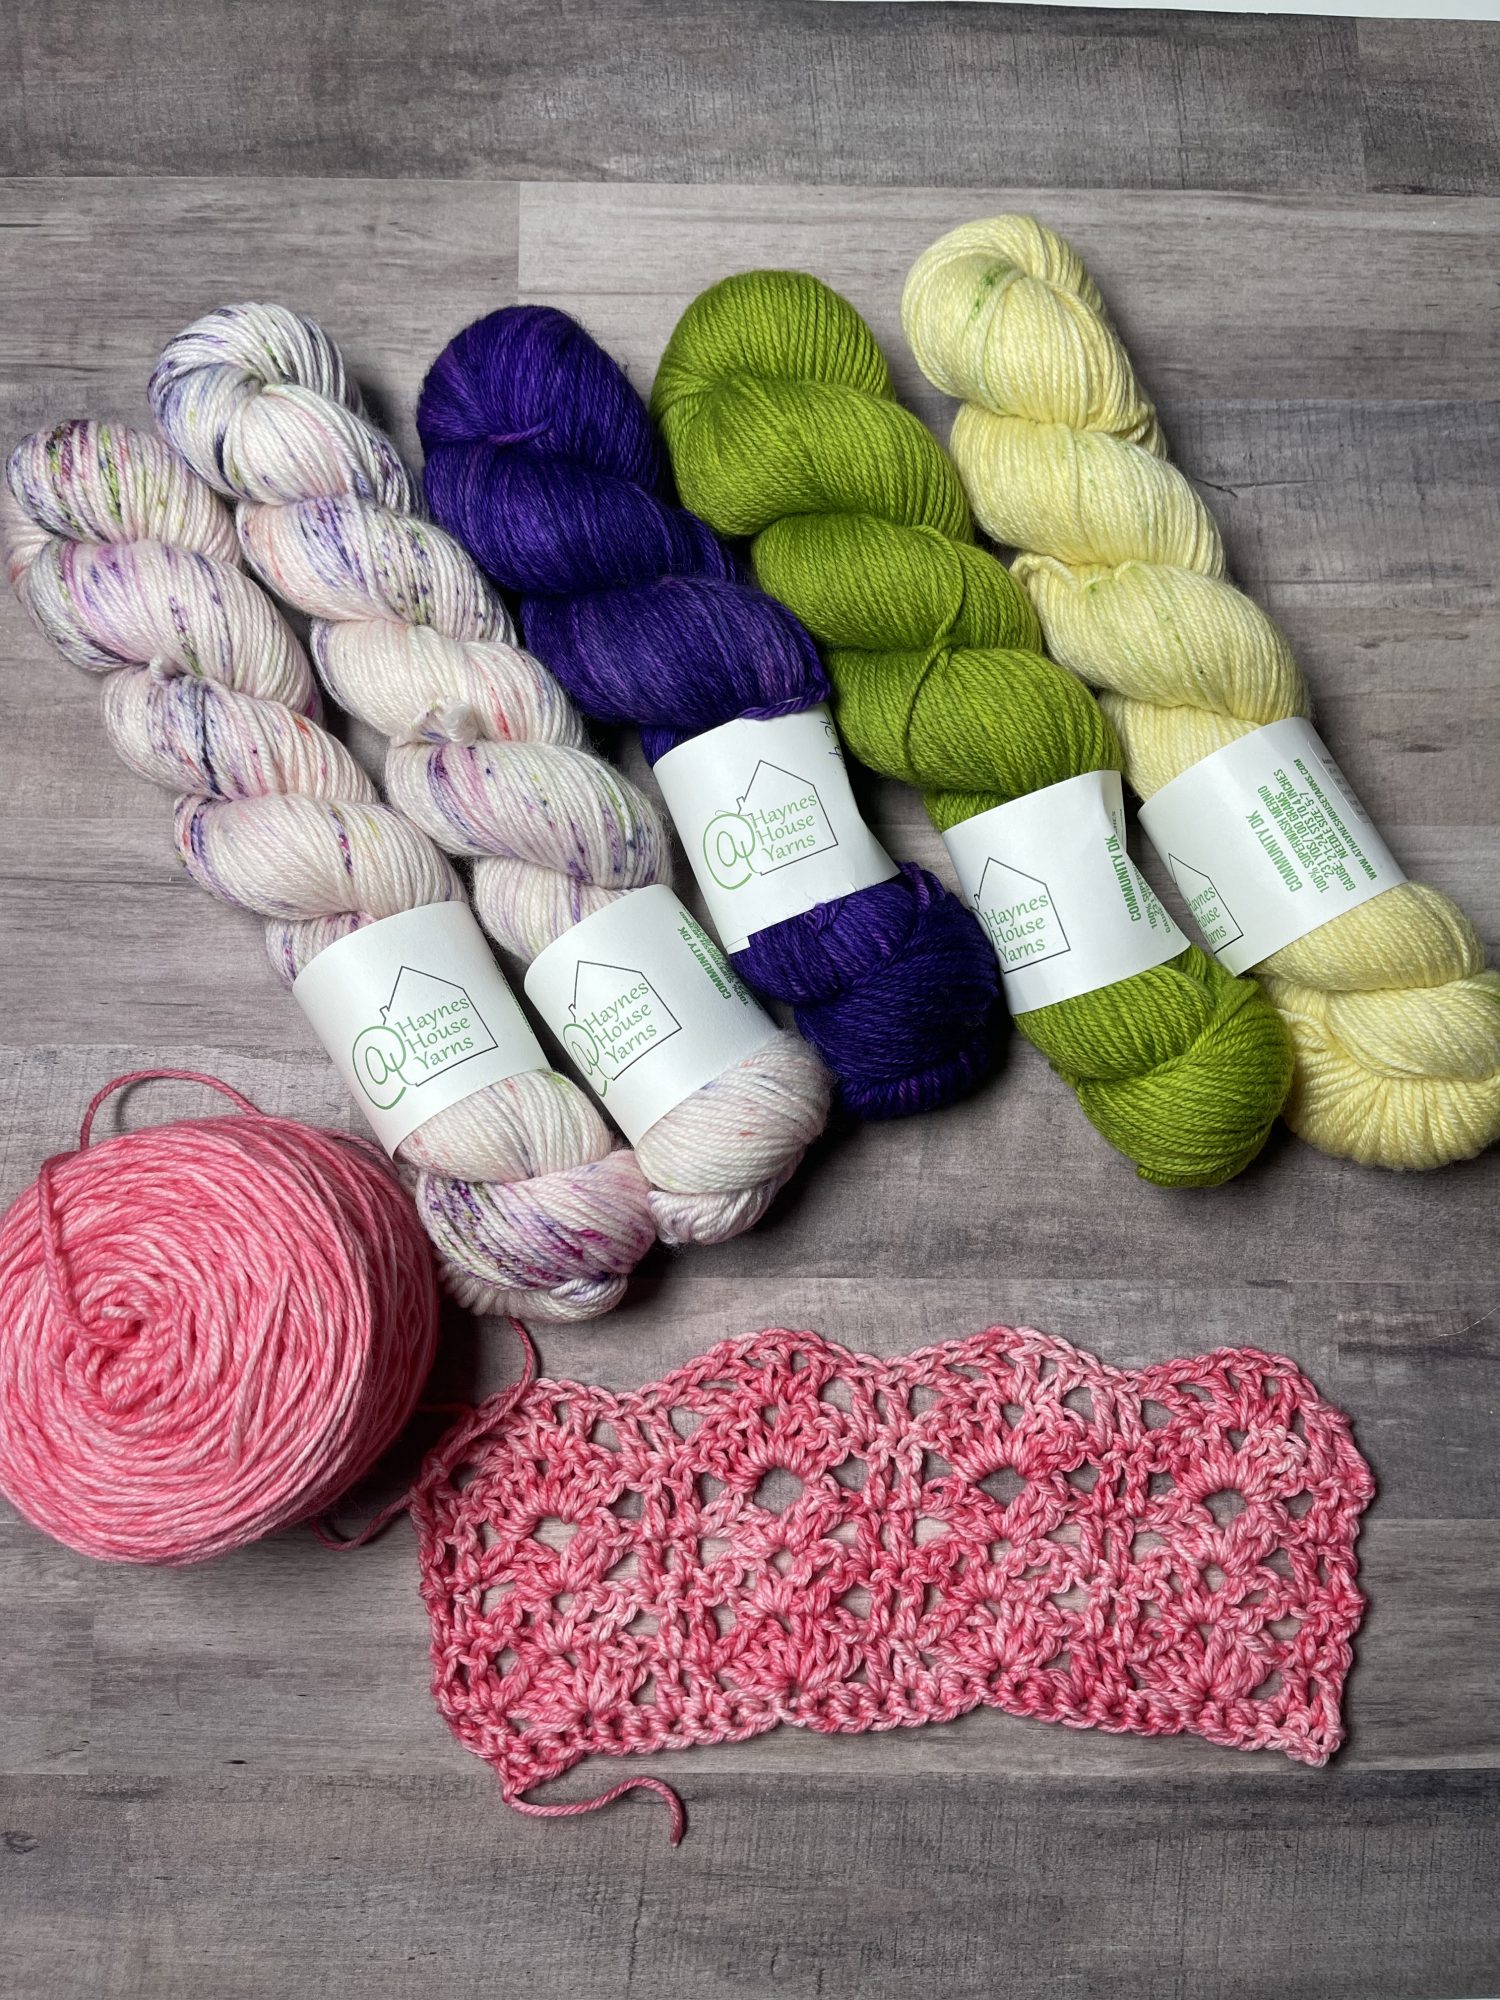
Magalie of Heart and Spirit ATL was having an At Hayne’s House Yarn trunk show on the other side of town. I wasn’t able to make the drive, but asked about a beautiful purple and white speckle yarn that she had shared on IG. That inquiry led to her sending me pictures of the complimentary colors since I had to have the purple, and I couldn’t decide on just two colors… I ended up with five colors….????
The yarn was destined to become a vest for warm weather, and was going to be a unique shape. As you can see that the shape is not that unique, but it is a racer back style, which says “Summertime!,” in my opinion.
Rather than the traditional crochet duster shape, long rectangles seamed together, I wanted to add some shaping without it being too complicated to compliment the wearer’s body frame.
To keep the shaping simple within the lace pattern, you’ll grab three different sized crochet hooks. Yep, that’s all that is needed to create shaping. ????
With a racer back crochet vest that is made in sections, you can mix and match sizing for the perfect draping over your body, particularly if you prefer the front to have more coverage.
Yarn
At Hayne’s House Yarn is a must-have for your yarn stash!! My love affair started with seeing Smells Like Y’all Minding Y’all Business, a beautiful variegated with speckles of purple, pink and green on a white base. The plan was to make a lovely accessory, but once the other colors were added, it had to become a garment.
Did you catch the name of the yarn?? All of the names are wonderful!
Magalie helped me choose (she is soooo good at pairing yarn): Jane Austen: Perfectly Amiable: Mr. Darcy (deep purple), Last to Fall (a bright green), Austen Lines: Who Will Blame Poor Jane? (yellow with green speckles), and Favorite Christmas Maybe (pink). These lovely colors are on the Community DK base of 100% superwash merino, which offers a put up of 231 yds/ 211.2 m per 3.5 oz/ 100 g for $29 each.
*Disclosure: This post may contain affiliate links to products that I use, and think you will enjoy using too. Should you decide to use any such link, I will earn a small commission at no cost to you. Thank you for supporting this small business.
ADD TO RAVELRY FAVORITES
MATERIALS
- At Haynes House Yarn Community DK, weight #3 (100% superwash merino, 231 yds/ 211.2 m, 3.5 oz/ 100 g)
- MC: Smells Like Y’all Minding Y’all Business (variegated) x 1 or 127 yds
- C1: Last to Fall (green) x 1 (1, 2, 2, 2)
- C2: Jane Austen: Perfectly Amiable: Mr. Darcy (purple) x 1 (1, 1, 1, 1)
- C3: Austen Lines: Who Will Blame Poor Jane? (Yellow) x 1 (1, 1, 1, 1)
- C4: Favorite Christmas Maybe (pink) x 1 (1, 1, 1, 1) or 77 yds
- Total yardage: 680 (725, 900, 1195, 1260) yds
- US G+ (4.5 mm) hook or hook to meet gauge
- US I (5.5 mm) hook
- US K (6.5 mm)
- Stitch Markers
- Scissors
- Yarn Needle
- Measuring Tape
- HOOK
- Scissors
- Yarn needle
- Stitch markers
- measuring tape
GAUGE
16 hdc x 12 rows = 4” x 4” [10 cm x 10 cm]
Approx 4 sc x 6 rows = 1” x 1” [2.5 cm x 2.5 cm]
With size 4.5mm hook, 2 shell repeats = 3.25” [8.3 cm], 7 rows = 4” [10 cm]
Fractal Lace with 5.5 mm hook, 3 repeats = 6.25” [16 cm], 5 rows = 4” [10 cm]
How to make Fractal Lace for gauge
Row 1: Ch 4 (counts as tr here and throughout) or CSTR in first st, ch 4, DTDtog beg in next st, *ch 7, DTDtog beg in same st as the 3rd leg of the prev DTDtog; Rep from * until 9 sts remain, ch 7, DTDtog, ch 4, tr in last st, turn.
Row 2: Ch 4 or CSTR in first st, sk 4 ch, (dtr, ch 3, tr, ch 3) in next st; starting in last st used, Dtr2tog (be sure to sk 7 ch btw the legs), *(ch 3, tr, ch 3) in same st as the 2nd leg of the prev Dtr2tog; starting in the last st used, Dtr2tog**; rep from * to ** on last rep and 5 sts remain, dtr in the same st as the 2nd leg of the last Dtr2tog made, sk 4 ch, tr in last st, turn.
Check out the tutorial for visual steps
FINISHED SIZE(S)
| To Fit Chest | Front Width | Lower Back Piece Width | Finished Length | |
| X-Small | 28 – 30” [76.2 cm] | 3.5” [9 cm] | 23” [58.4 cm] across the top | 37.25” [94.5 cm] |
| Small / Medium | 32 – 36” [86.4 cm] | 5” [13 cm] | 24.5” [62.2 cm] across the top | 37.25” [94.5 cm] |
| Large / X-Large | 40 – 42” [106.7 cm] | 7” [17.8 cm] | 28” [71 cm] across the top | 37.25” [94.5 cm] |
| 2X-Large / 3X-Large | 48 – 52” [116.8 cm] | 8.5” [21.6 cm] | 33” [83.8 cm] across the top | 37.25” [94.5 cm] |
| 4X-Large / 5X-Large | 56- 64” [127 cm] | 10” [25.4 cm] | 38” [96.5 cm] across the top | 37.25” [94.5 cm] |
PATTERN KEY
Beg: beginning
Btw: between
Ch: chain
Cnr: corner
CSDC: chainless starting double crochet
CSTR: chainless starting treble crochet
Dc: double crochet
Dtr: double treble crochet
Dtr2tog: double treble 2 together
DTDtog: double treble crochet, treble crochet, double treble crochet together
Fdc: foundation double crochet
Fsc: foundation single crochet
FO: fasten off
Hdc: half double crochet
M: stitch marker(s)
PM: place stitch markers
Prev: previous
Rem: remain(s)
Rep: repeat
RS: right side
Sl st: slip stitch
Sc: single crochet
Sc2tog: single crochet 2 together
Sk: skip
St(s): stitch(es)
Tr: treble crochet
WS: wrong side
YO: yarn over
SPECIAL STITCHES & TECHNIQUES
CSDC: pull up a loop that is row height, holding loop in place and wrap yarn around hook (yarn over), insert hook in first st, YO, pull up a loop, [YO, pull through 2 loops] twice
CSTR: Pull up a loop, wrap around hook twice (counts as YO twice), insert hook in first st, YO, pull up a loop, [YO, pull through 2 loops] 3 times
Dtr2tog: *YO 3 times, insert hook in indicated st, YO, pull up a loop (5 loops on hook), [YO, pull through 2 loops] 3 times**, sk 7 ch, rep from * to **, YO, pull through 3 loops
DTDtog: *YO 3 times, insert hook in indicated st, YO, pull up a loop (5 loops on hook), [YO, pull through 2 loops] 3 times**, YO 2 times, sk 3 ch, insert hook in next st, YO, pull up a loop (5 loops on hook), [YO, pull through 2 loops] 2 times (3 loops on hook), sk 3 ch; rep from * to **, YO, pull through 4 loops
EXPERIENCE LEVEL
Intermediate
NOTES
- Pattern is written in US terms.
- Read entire pattern before beginning.
- If one number is listed, it applies to all sizes.
- The O’ahu Vest is made in 8 parts: Back, Neck, First Front, Second Front, Attach Fronts, Lower Back, Attach Lower Back, and Edging.
- CSTR can be replaced with ch 4.
- CSDC can be replaced with ch 3.
- A dash – is used as a placeholder to indicate that the instructions do not apply to the size represented by a dash. For example, – (-, 2, 2, 2) means that you will not follow those instructions for Sizes X-small to Medium.
- Sample is a S/M and the model wears M/L.
Purchase the ad-free PDF from your favorite pattern shop


Don’t forget to join the Creations By Courtney Community for CALs, crochet tips, and yarnie fun.
INSTRUCTIONS
Back
With 4.5 mm hook and MC, Ch 21
Row 1: Starting in 2nd ch from hook, hdc in each ch across, turn. 20 hdc
Row 2: Ch 1, hdc in first st, hdc in each st, turn.
Next Rows: Rep Row 2 until 15.5 “[39.5 cm], FO.
Neck
Row 1 (RS): With 4.5 mm hook and C4, 26 (26, 26, 28, 28) fsc; working into Back, sc in next 20 sts, 26 (26, 26, 28, 28) fsc, turn. 72 (72, 72, 78, 78) sc
Rows 2-11: Sc in each st, turn. FO after Row 11.
First Front
Row 1: With 4.5 mm hook and C2, ch 17 (24, 31, 38, 45), turn.
Row 2: Starting in 2nd ch from hook, sc in each ch, turn. 16 (23, 30, 37, 44) sc
Row 3: Sc in each st, turn.
Row 4: CSDC in first st, dc in next st, *sk next 2 sts, [3 dc, ch 1, 3 dc] in next st, sk next 2 sts, dc in next 2 sts, rep from *, turn. 18 (26, 34, 42, 50) dc, 2 (3, 4, 5, 6) ch
Row 5: CSDC in first st, dc in next st, *sk next 2 sts, dc in next st, ch 1, [dc, ch 1, dc] in ch-1 sp, ch 1, dc in next st, sk next 2 sts, dc in next 2 sts, rep from *, turn. 14 (20, 26, 32, 38) dc, 6 (9, 12, 15, 18) ch
Row 6: CSDC in first st, dc in next st, *sk next 3 sts, [2 dc, ch 3, 2 dc] in next ch-1 sp, sk next 3 sts, dc in next 2 sts, rep from *, turn. 14 (20, 26, 32, 38) dc, 6 (9, 12, 15, 18) ch
Row 7: CSDC in first st, dc in next st, *sk next 2 sts, [3 dc, ch 1, 3 dc] in next ch-1 sp, sk next 2 sts, dc in next 2 sts, rep from *, turn. 18 (26, 34, 42, 50) dc, 2 (3, 4, 5, 6) ch
Rows 8-10: Rep Rows 5-7, turn.
Rows 11-19: With 5.5 mm hook, rep [Rows 5-7] 3 times, turn.
Next Rows: Rep Rows 5-7 until 30” [76.2 cm] or desired length, FO.
Second Front
Rep First Front in C3
Attach Fronts
Row 1: With MC and 4.5 mm hook, attach yarn to cnr of Front, sc in next 16 (23, 30, 37, 44) sts, turn.
Row 2: Ch 1, sc2tog 1 (1, 2, 2, 3) times, sc in each st until 2 (2, 4, 4, 6) sts rem, sc2tog 1 (1, 2, 2, 3) times, turn. 14 (21, 26, 33, 38) sc
Row 3: Ch 1, sc2tog 0 (1, 2, 2, 3) times, sc in each st until 0 (2, 4, 4, 6) sts rem, sc2tog 0 (1, 2, 2, 3) times, turn. 14 (19, 22, 29, 32) sc
Row 4: Ch 1, sc2tog 1 (1, 2, 2, 3) times, sc in each st until 2 (2, 4, 4, 6) sts rem, sc2tog 1 (1, 2, 2, 3) times, turn. 12 (17, 18, 25, 26) sc
Row 5: Ch 1, sc2tog 0 (1, 1, 2, 3) times, sc in each st until 0 (2, 2, 4, 6) sts rem, sc2tog 0 (1, 1, 2, 3) times, turn. 12 (15, 16, 21, 20) sc
Row 6: Ch 1, sc2tog 1 (1, 1, 2, 2) times, sc in each st until 2 (2, 2, 4, 4) sts rem, sc2tog 1 (1, 1, 2, 2) times, turn. 10 (13, 14, 17, 16) sc
STOP HERE FOR SIZE XS, FO
Row 7: Ch 1, sc2tog – (2, 1, 2, 1) times, sc in each st until – (2, 2, 4, 2) sts rem, sc2tog – (1, 1, 2, 1) times, turn. – (10, 12, 13, 14) sc
STOP HERE FOR SIZE S/M, FO
Row 8: Ch 1, sc2tog – (-, 1, 2, 1) times, sc in each st until – (-, 2, 2, 2) sts rem, sc2tog – (-, 1, 1, 1) times, turn. – (–, 10, 10, 12) sc
STOP HERE FOR SIZE L/XL AND SIZE 2X/ 3X, FO
Row 9: Ch 1, sc2tog – (-, -, -, 1) times, sc in each st until – (-, -, -, 2) sts rem, sc2tog – (-, -, -, 1) times, FO. – (–, –, –, 10) sc
REP FOR SECOND FRONT
Lower Back
Try on Vest and set Fronts in preferred location, use tape measure and place along bottom of Back to line up with Fronts, PM along the outside of each Front. Note measurement between the 2M while wearing to start Back.
Row 1: With 5.5 mm hook and C1, 35 (43, 51, 59, 67) fsc, sc in next 20 sts, 35 (43, 51, 59, 67) fsc, turn. 90 (106, 122, 138, 154) sc
Row 2: Sc in each st, turn.
Row 3: Ch 4 (counts as tr here and throughout) or CSTR in first st, ch 4, DTDtog beg in next st, *ch 7, DTDtog beg in same st as the 3rd leg of the prev DTDtog; rep from * 11 (13, 15, 17, 19) times until 9 sts remain, ch 7, DTDtog, ch 4, tr in the same st as the 3rd leg of the prev DTDtog, turn. 91 (107, 123, 139, 155) sts
Row 4: Ch 4 or CSTR in first st, sk 4 ch, (dtr, ch 3, tr, ch 3) in next st; starting in last st used, Dtr2tog (be sure to sk 7 ch btw the legs), *(ch 3, tr, ch 3) in same st as the 2nd leg of the prev Dtr2tog; starting in the last st used, Dtr2tog**; rep from * to ** on last rep and 5 sts remain, dtr in the same st as the 2nd leg of the last Dtr2tog made, sk 4 ch, tr in last st, turn. 91 (107, 123, 139, 155) sts
Rows 5-10: Rep Rows 3-4, turn.
Rows 11-20: With 6.5 hook, rep Rows 3-4, turn.
Note: Make additional or fewer rows for the last row of the Lower Back to match the last row of the Front.
Last 2 Rows: Ch 1, sc in each st, turn. FO after last row
Seaming and Edging
- Attach bottom cnr of Lower Back to coordinating cnr of each front, 2 M placed. Using C4 and 5.5 mm hook, attach in one lower cnr, ch 1, sc evenly between both fabrics to M on Front.
- Using a 4.5 mm hook, continuing along Lower Back Row 1 to cnr at Back, sc in each st, turn cnr (1 sc before and after the cnr), sc evenly up the side of Back.
- Once at the Neck, 30 (30, 30, 34, 34)fsc, attach to Front with sc, 3 sc evenly along Rows 1-3 of Front; using 5.5 mm hook, sc evenly down side of Front until seam, sl st to join, FO.
- Rep on second side.
- Using a 5.5 mm hook and attach C4 to Front bottom cnr, sc evenly up the other side of the Front, 30 (30, 30, 34, 34)fsc, attach to Neck with sc, sc in each st across, 30 (30, 30, 34, 34)fsc, attach to second Front with sc, sc evenly down the side of Front to cnr, FO C4 and change to MC.
- Ch 1, sc in each st along Fronts, FO.
- Attach MC in any st along Lower Back, sc in each st around, sl st to join, FO. Rep on the other side.
Finishing
Steam or spray block, if needed.
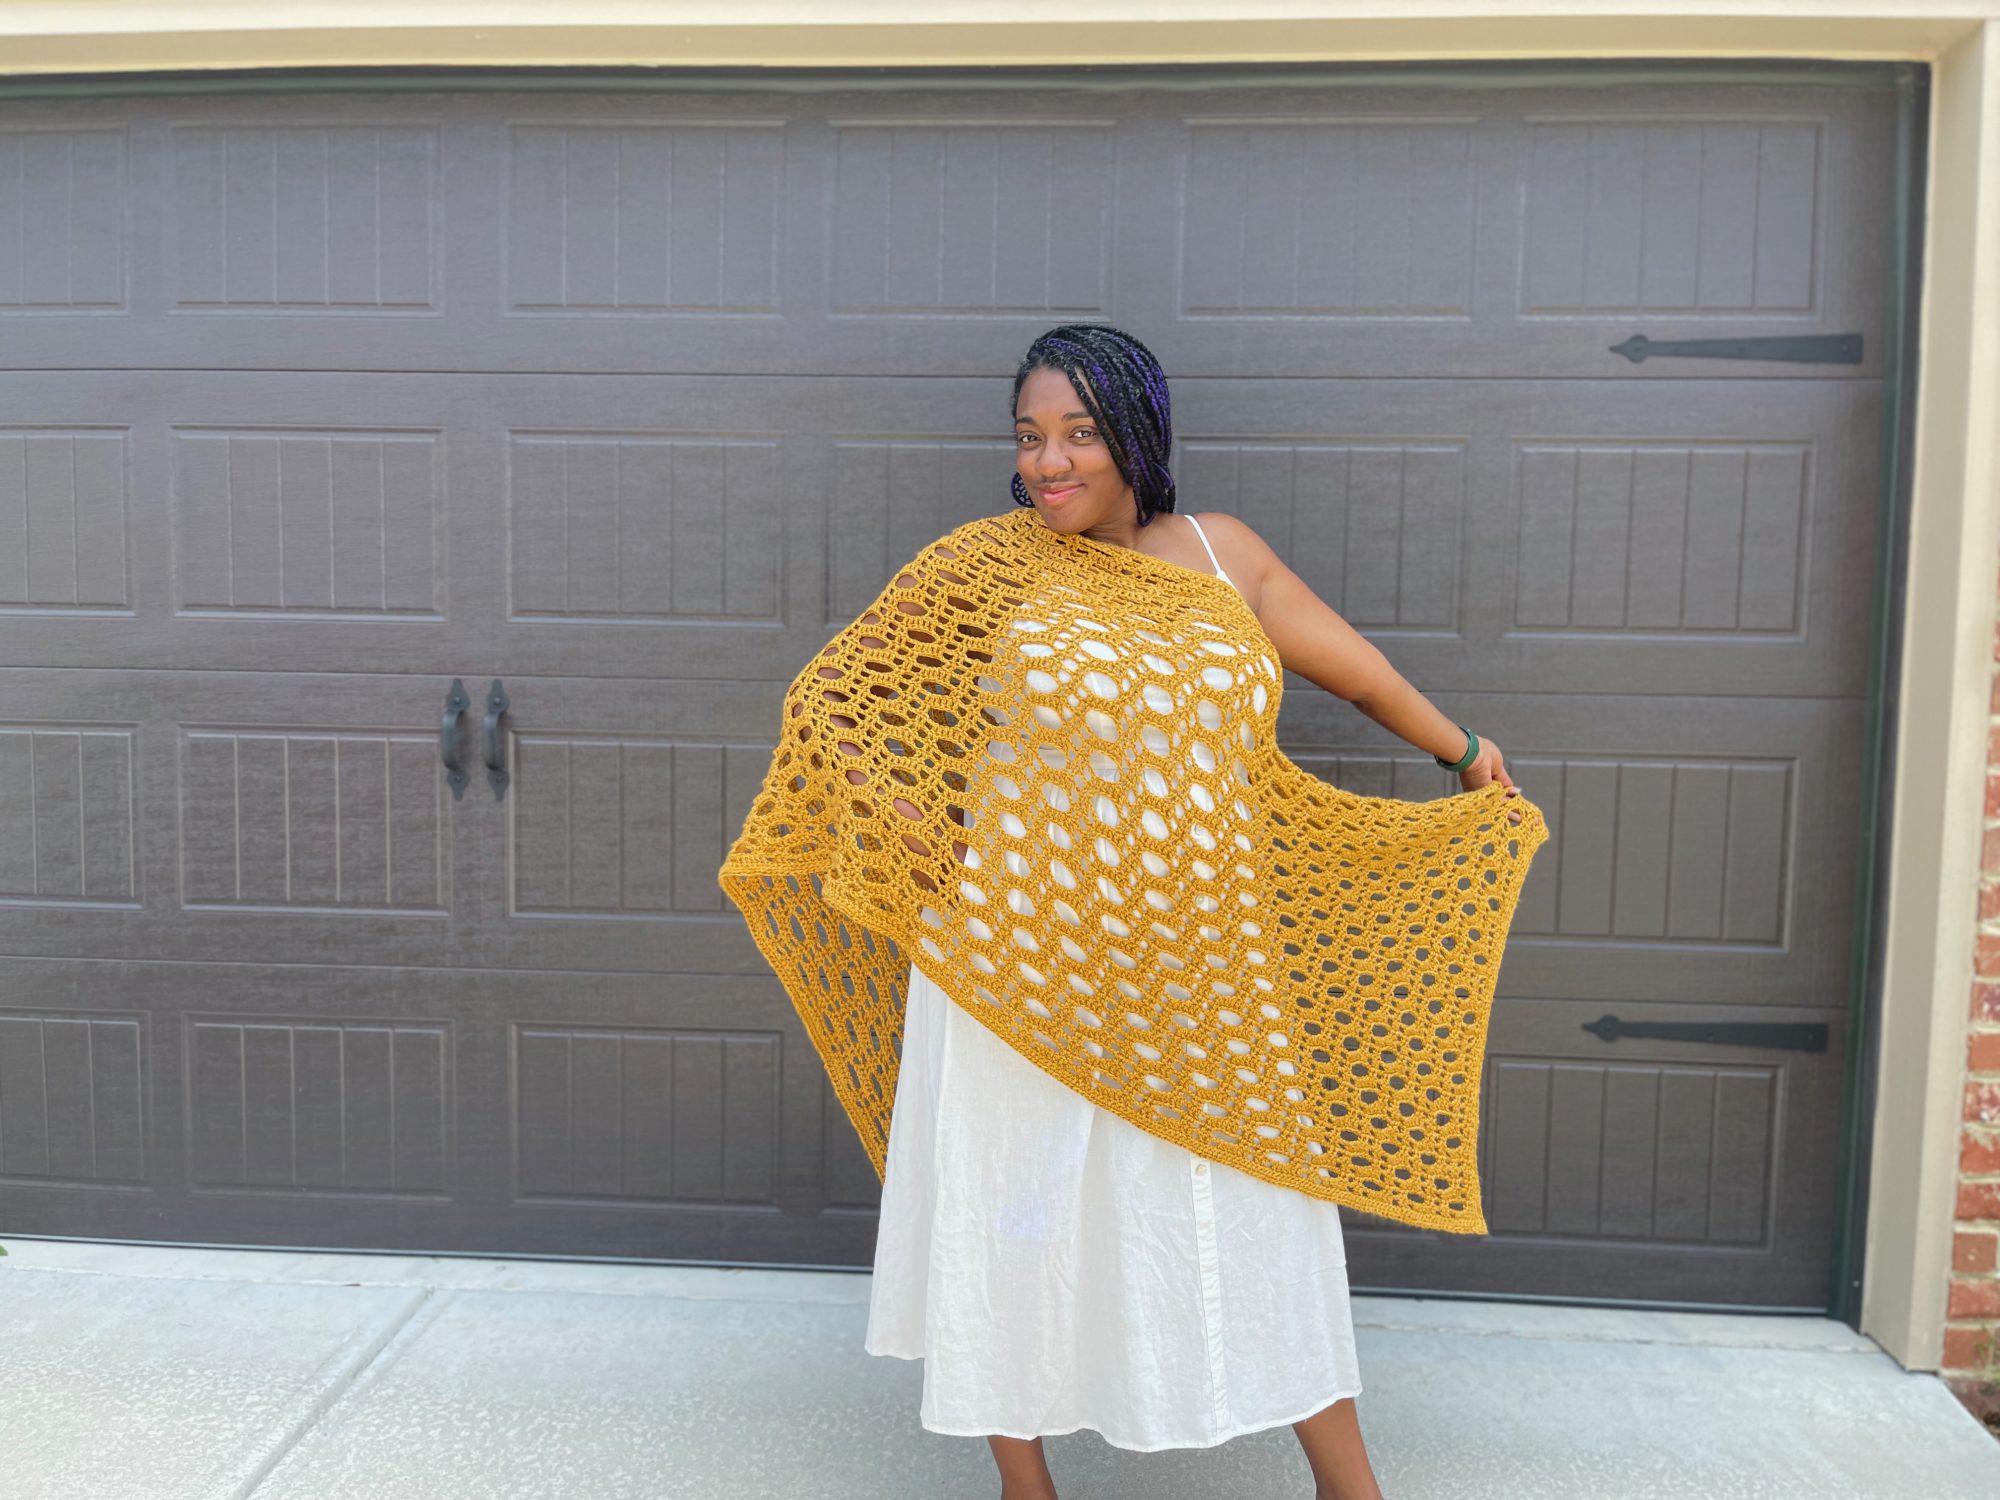
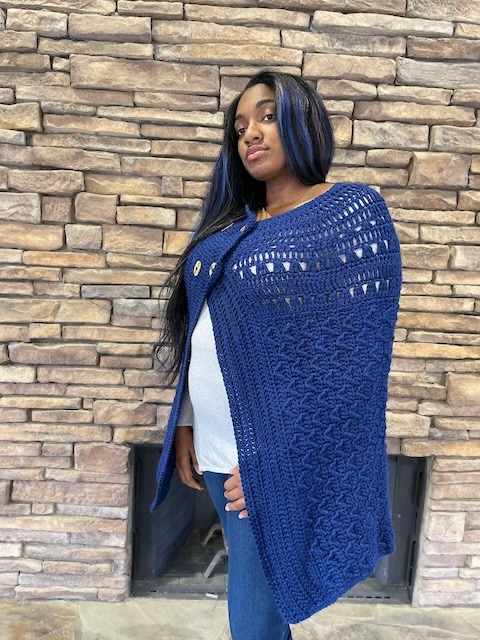
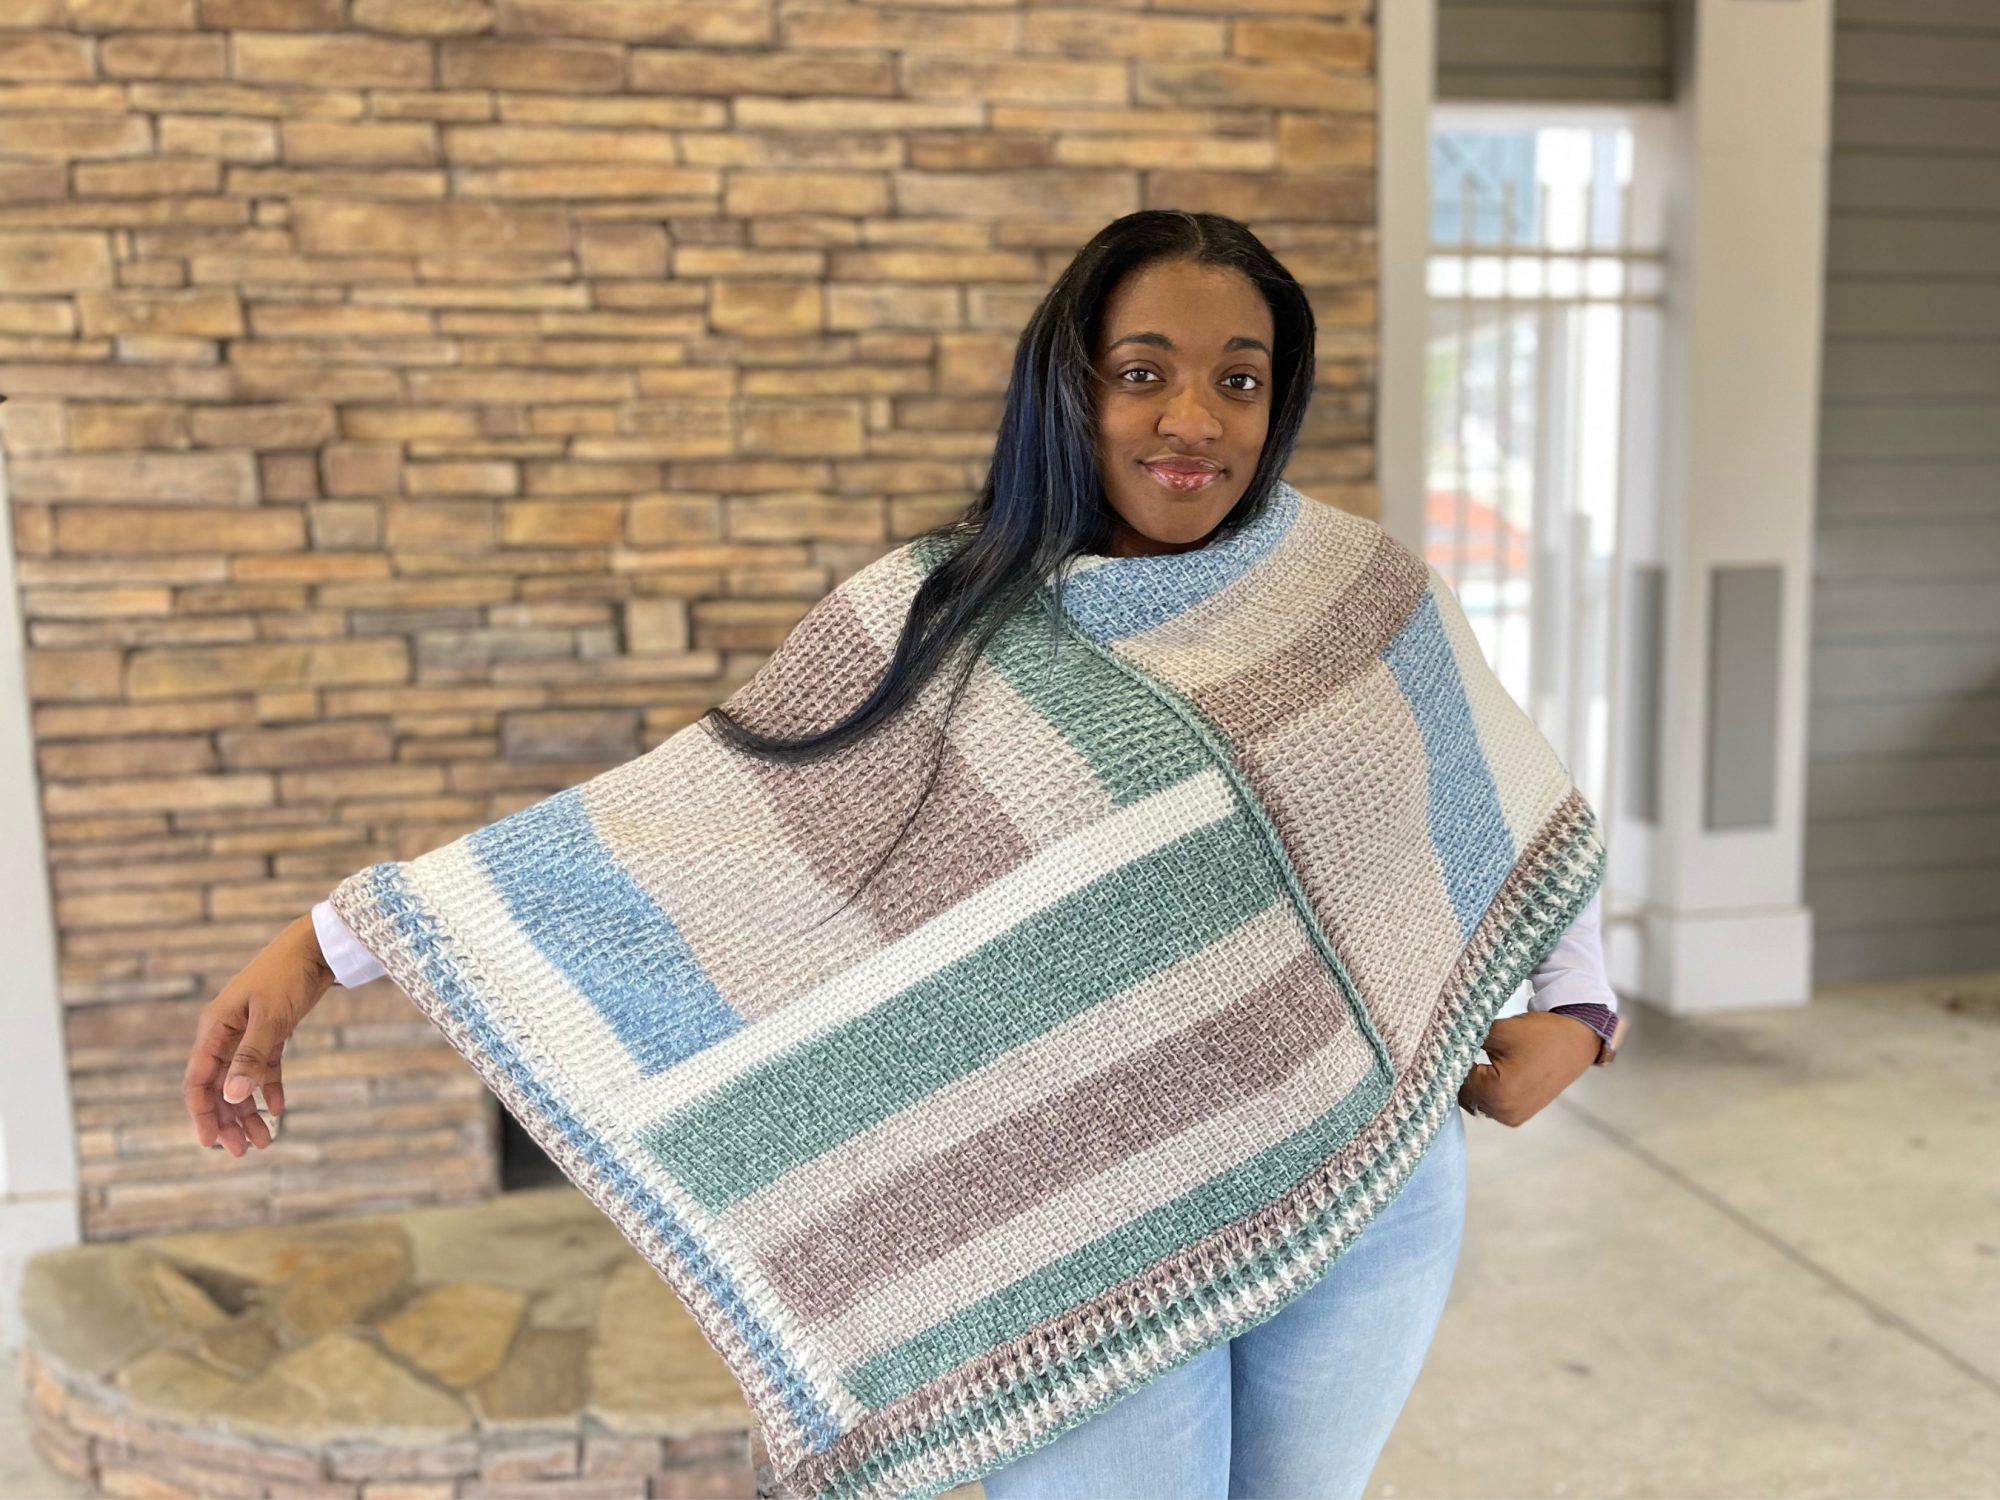
You may enjoy these patterns too
Pin it for Later
Want to talk about yarn goodness, crochet tips, and exclusive weekly deals? Join my Facebook Group, Creations By Courtney Community.
If we’re not hanging out on social media yet, come check me out on Facebook, Instagram and Pinterest.
Join my newsletter for sneak peeks, crochet tips, and more. HERE
Use #CreationsByCourtney on social media when sharing your projects.
This pattern is not to be duplicated or resold, and not to be reproduced commercially. You may sell finished products on Etsy, at farmers markets, and craft fairs, but please credit Creations By Courtney as the pattern’s author.