Welcome to another crochet stitch tutorial, the crimp stitch, with Creations by Courtney!
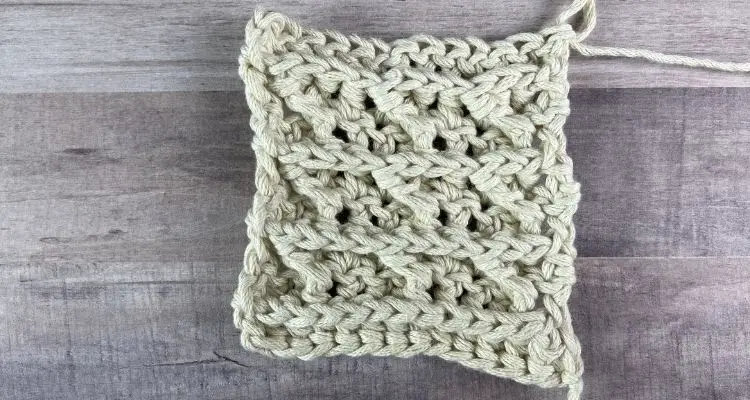
The crimp stitch is fun and easy to make plus it creates wonderful texture on both sides of the fabric!
The texture is created from a combination of double crochet and front post double crochet stitches.
Don’t you just love the variety of looks that can be created with the most commonly used crochet stitches? I do!
Since I prefer to work with foundation stitches, information is provided for two options when making the crimp stitch, a starting chain and a foundation row. I also prefer to use a Chainless starting double crochet to begin each row to create a neater edge, but it can always be substituted with chain 3.
Multiples needed for the stitch
For the crimp stitch, you will need to create a chain that is a multiple of 4+3. This means pick any number that can be divided by 4 and then add three more chains. The three extra chains represents the first double crochet stitch.
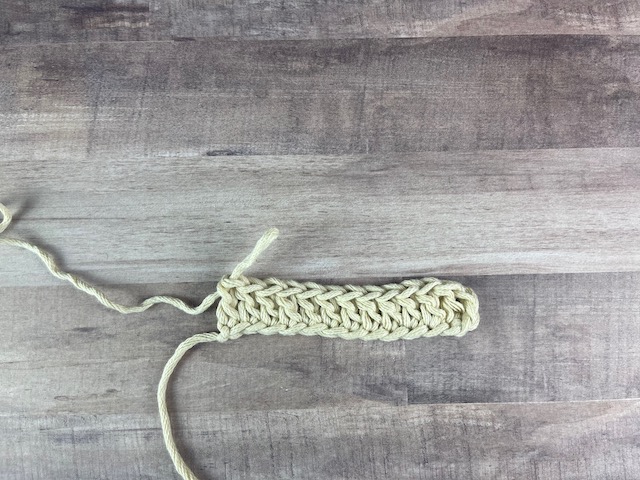
If you like to start projects with a row of foundation double crochet stitches, then you will need to create a row that is a multiple of 4+1.
Techniques and Abbreviations Used:
ch: chain
Dc: double crochet
Fpdc: front post double crochet
RS: right side
st: stitch(es)
WS: wrong side
YO: yarn over
CSDC: pull up a loop to height of row, holding loop in place and wrap yarn around hook (yarn over), insert hook in first st, YO, pull up a loop, [YO, pull through 2 loops] twice
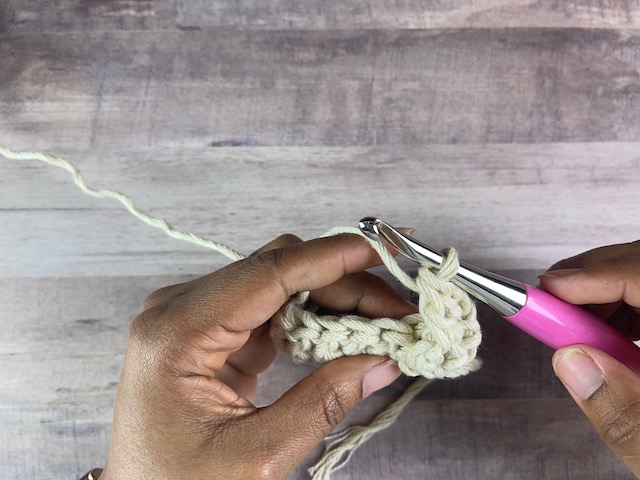
Fpdc: YO, insert hook from front to back to front around the post of the indicated st, YO, pull up a loop, [YO, pull through 2 loops] twice
Materials Used
Wool and the Gang XL Cotton
Hook: Furls Crochet Odyssey, size K (6.50 mm)
You can use any light colors yarn and appropriate sized hook to practice the crimp stitch.
Let’s get to stitching!
We’re going to go through making the crimp stitch step by step, and after you’ve checked out each step, I have included written instructions in standard crochet language. (It never hurts to stay up with our pattern reading skills. 😉)
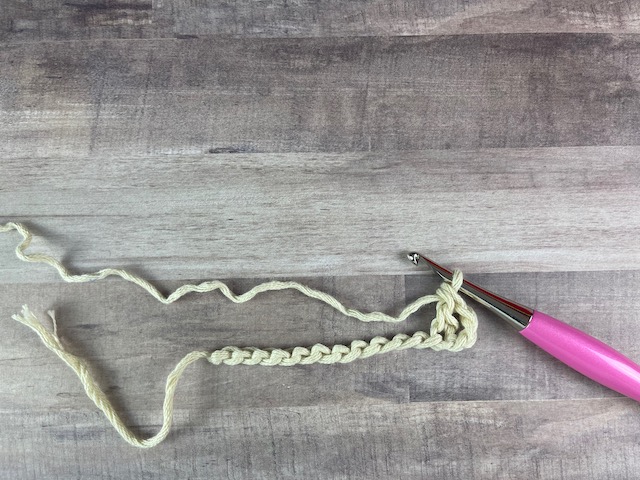
- Make a chain of 15
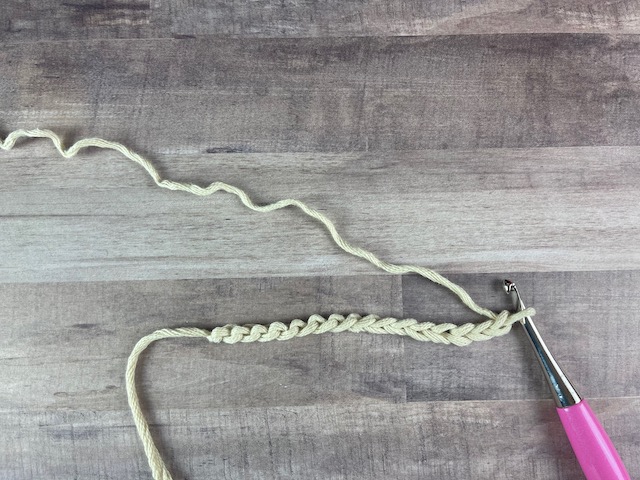
2. Working in the 4th chain from the hook, make a double crochet, and then double crochet in each chain to the end, turn. This will be a right side row.
3. Ch 3 (counts as a dc here and throughout), work fpdc around next dc and around each dc until 1 st remains, dc in last st, turn
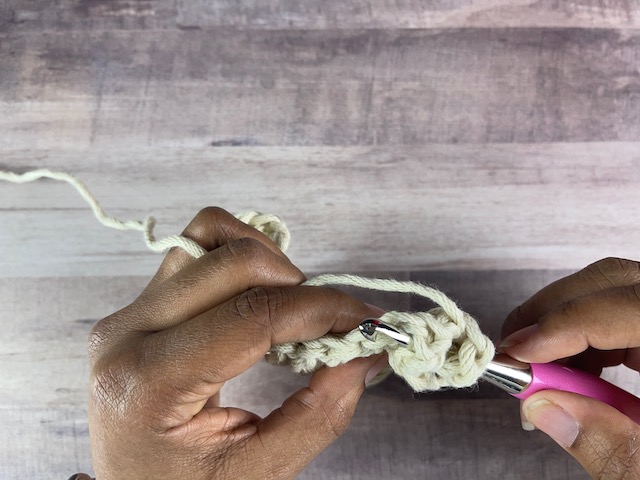
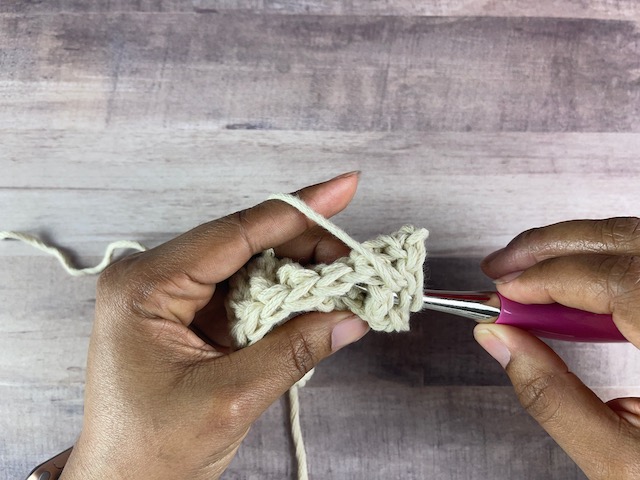
4. Ch 3, skip next st, dc in next 2 sts, working in front of 2 dc just made, fpdc around the sk st, dc in next st.
5. Repeat to the end of the row: sk next dc, dc in next 2 sts, working in front of 2 dc just made, fpdc around the sk st, dc in next st, turn.
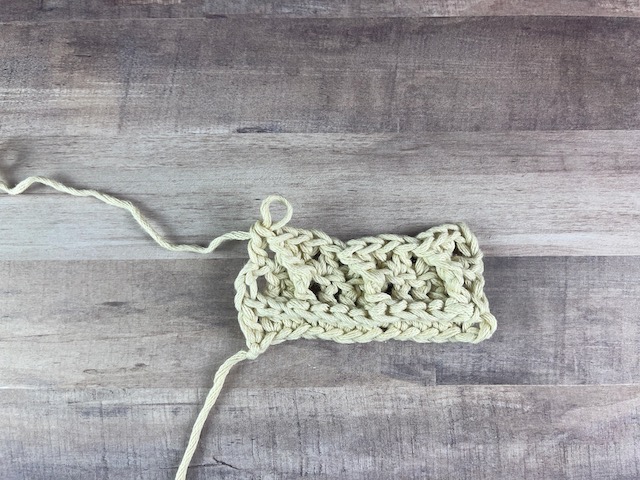
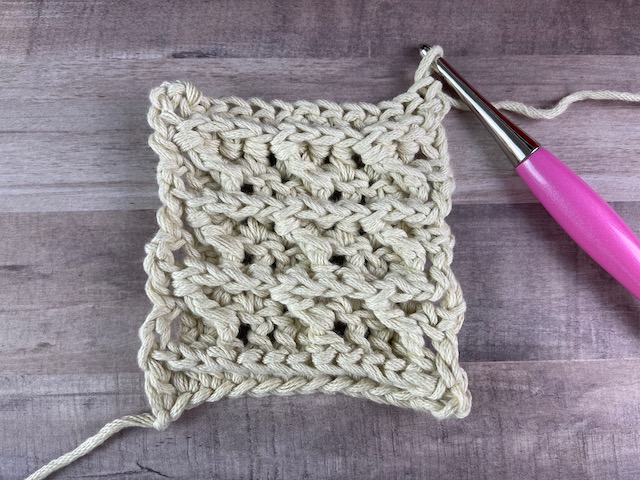
6. Repeat Steps 3-5 until desired length.
Want to learn more crochet stitches?
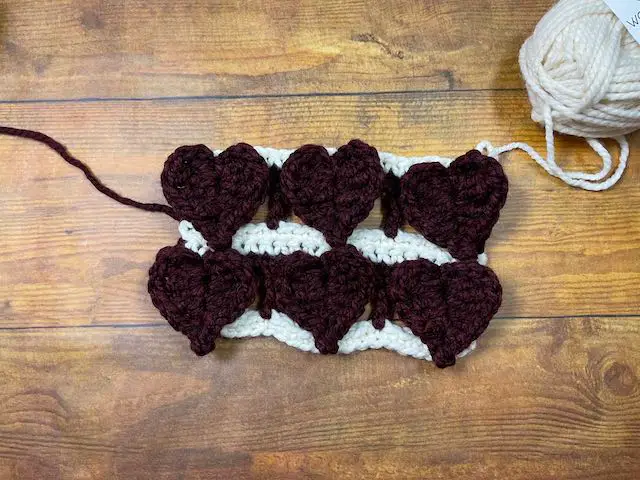
Crochet Heart in a row 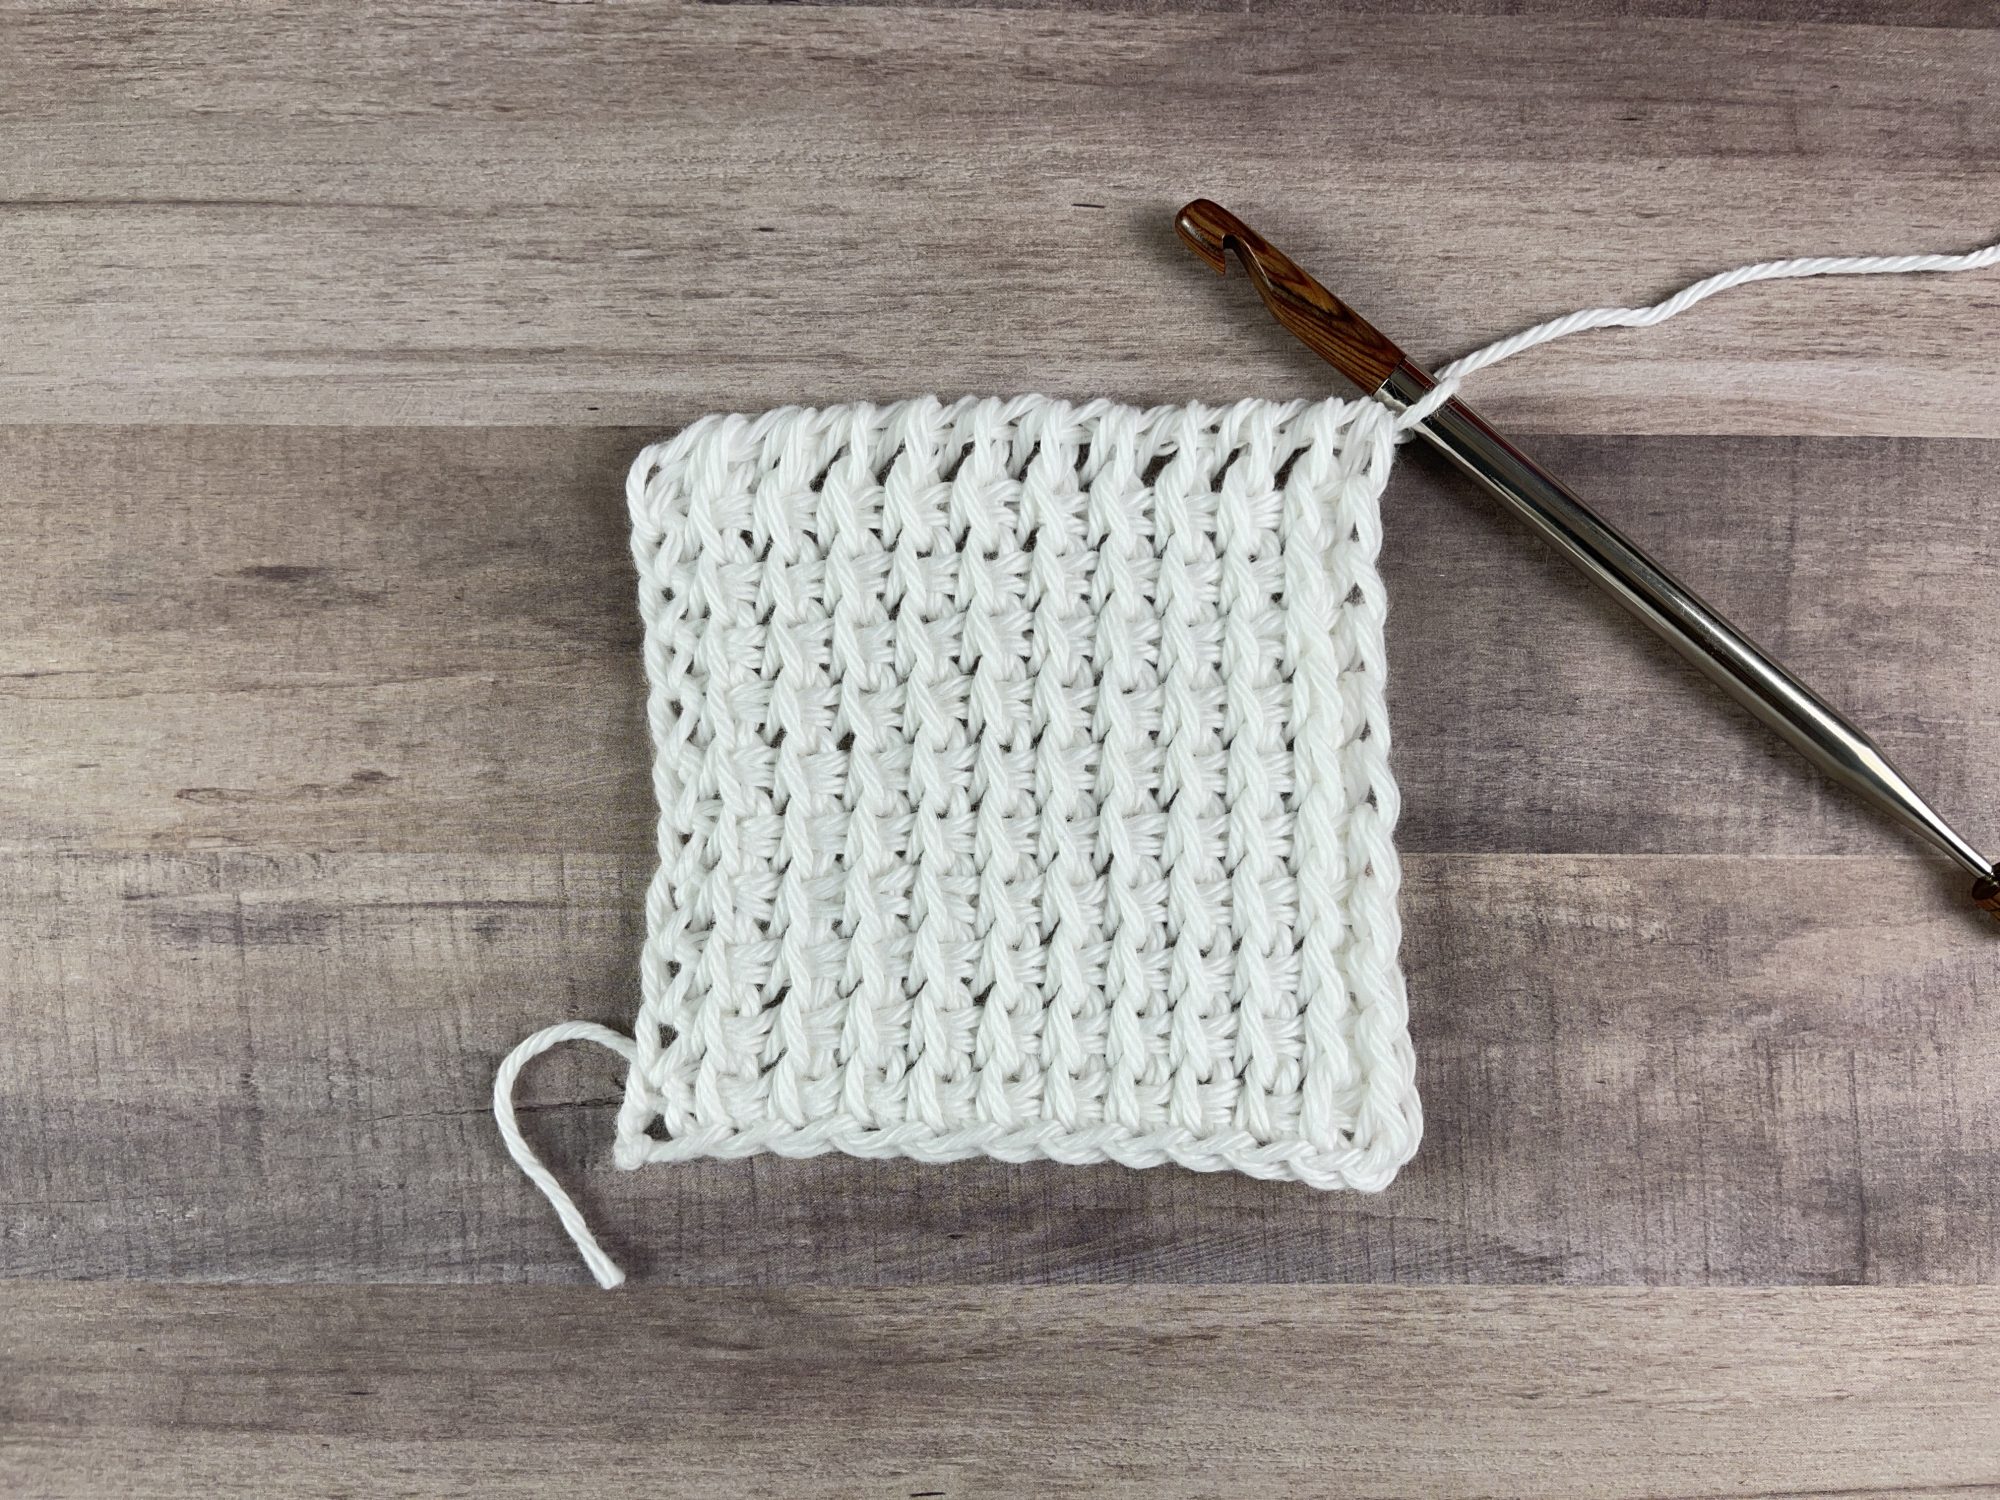
Tunisian Half Double Crochet 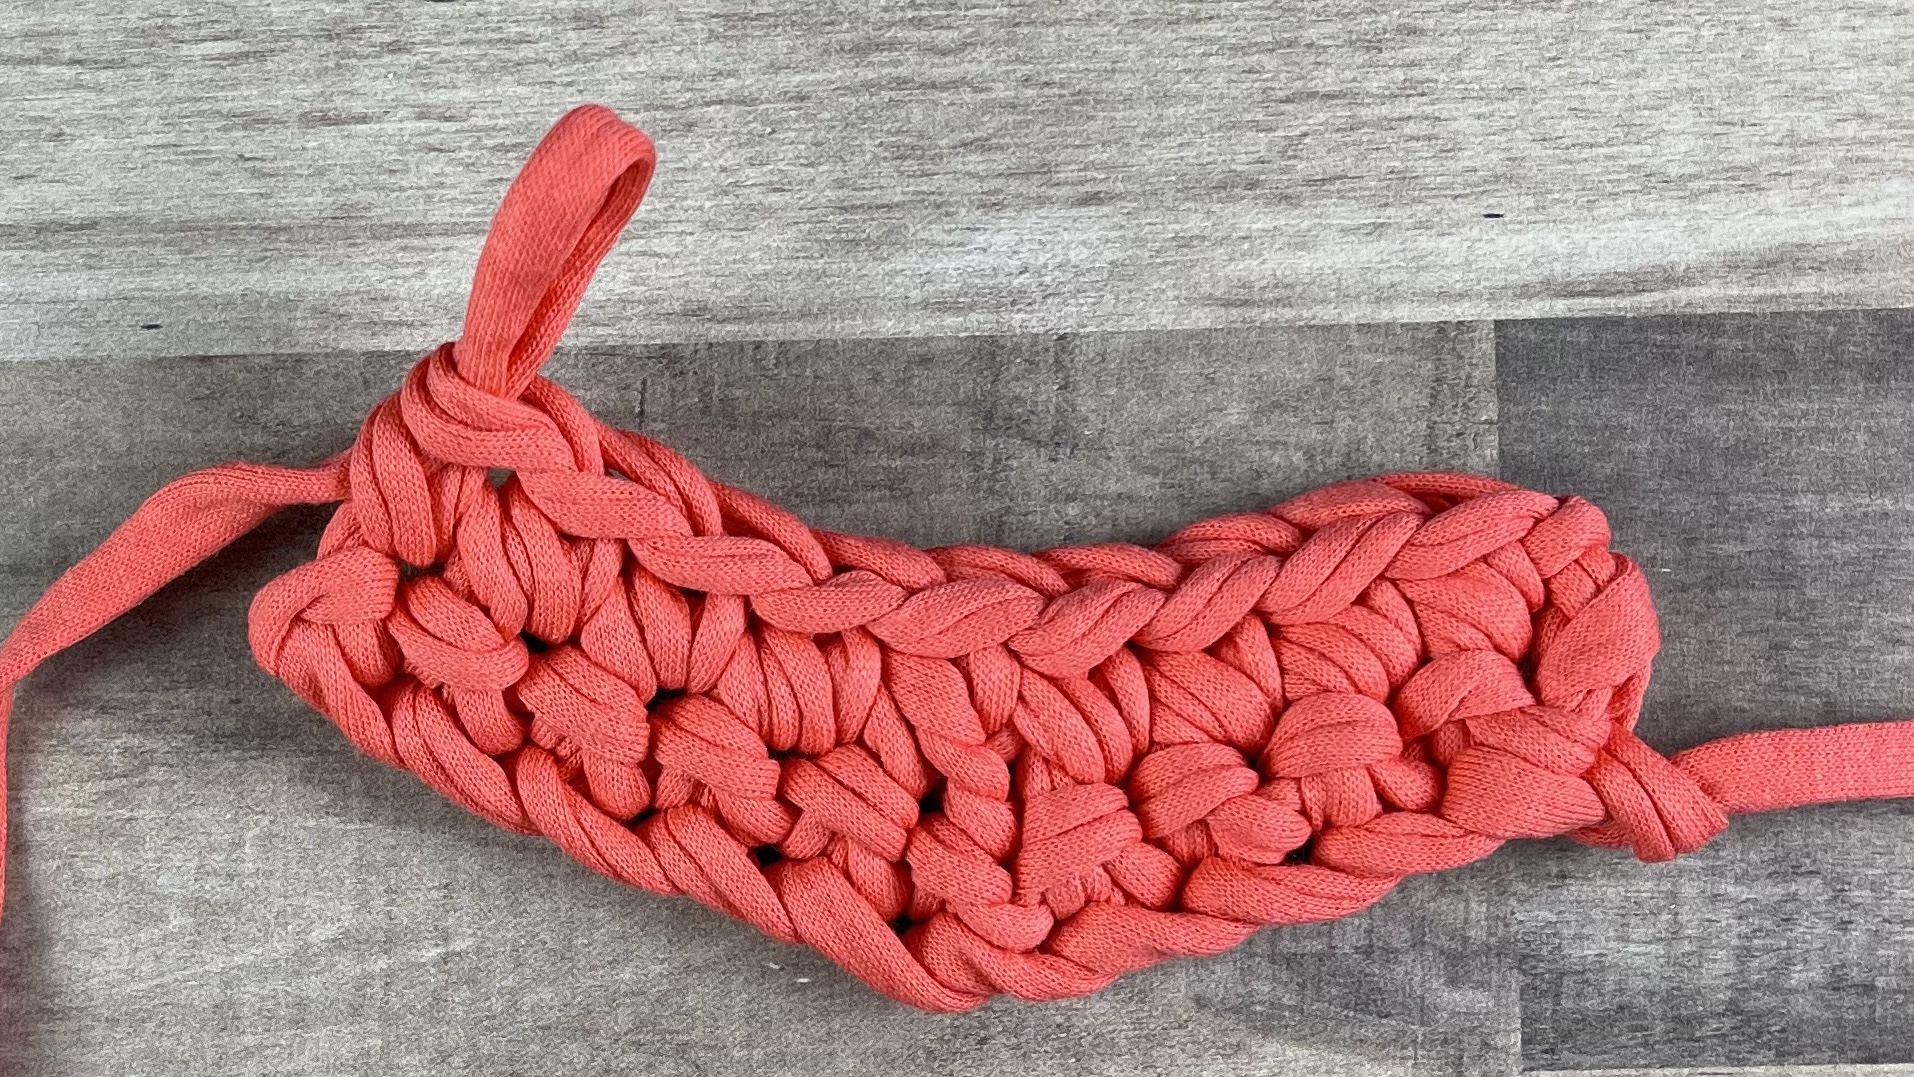
Invisible Single Crochet 2 Together
Written Instructions in standard crochet terms.
Ch 15, turn
Row 1 (RS): Dc in 4th ch from hook (the sk ch 3 counts as a dc), dc in each ch to end, turn – 13 dc
Row 2 (WS): Ch 3 (counts as dc here and throughout), fpdc around the next st, fpdc around each st until 1 st remains, dc in last st, turn – 2 dc, 11 fpdc
Row 3: Ch 3, *sk next st, dc in next 2 sts, working in front of 2 dc just made, fpdc around the sk st, dc in next st; rep * from to end, turn – 10 dc, 3 fpdc
Rows 4-8: Repeat [Rows 2-3] 2 times, then make Row 2
Want to make it with a Chainless starting double crochet (CSDC)?
Row 1 (RS): 13 fdc, turn
Row 2: CSDC in first st, fpdc around the next st, fpdc around each st until 1 st remains, dc in last st, turn – 2 dc, 11 fpdc
Row 3: CSDC in first st, * sk next dc, dc in next 2 sts, working in front of 2 dc just made, fpdc around sk st, dc in next st; rep from * to end, turn – 10 dc, 3 fpdc
Row 4-8: Repeat [Row 2-3] 2 times, then make Row 2
Tips
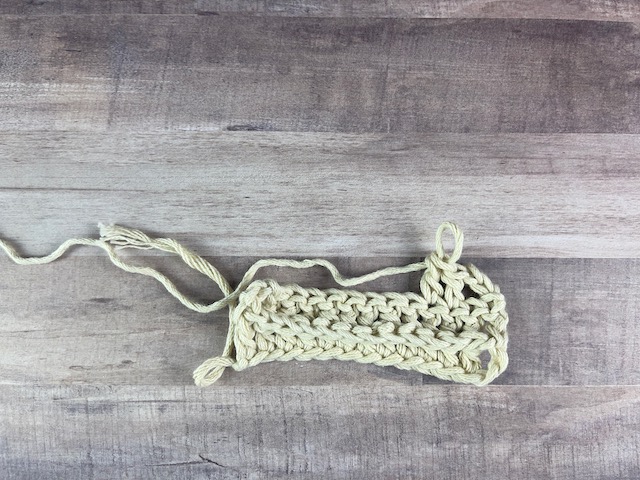
- Due to the nature of the fpdc on the right side rows, the fabric can curl and scrunch inward. Go up a hook size if it begins curling, or add an edging around the entire piece.
- It can help to place a stitch marker on Row 1 to mark the right side of the fabric.
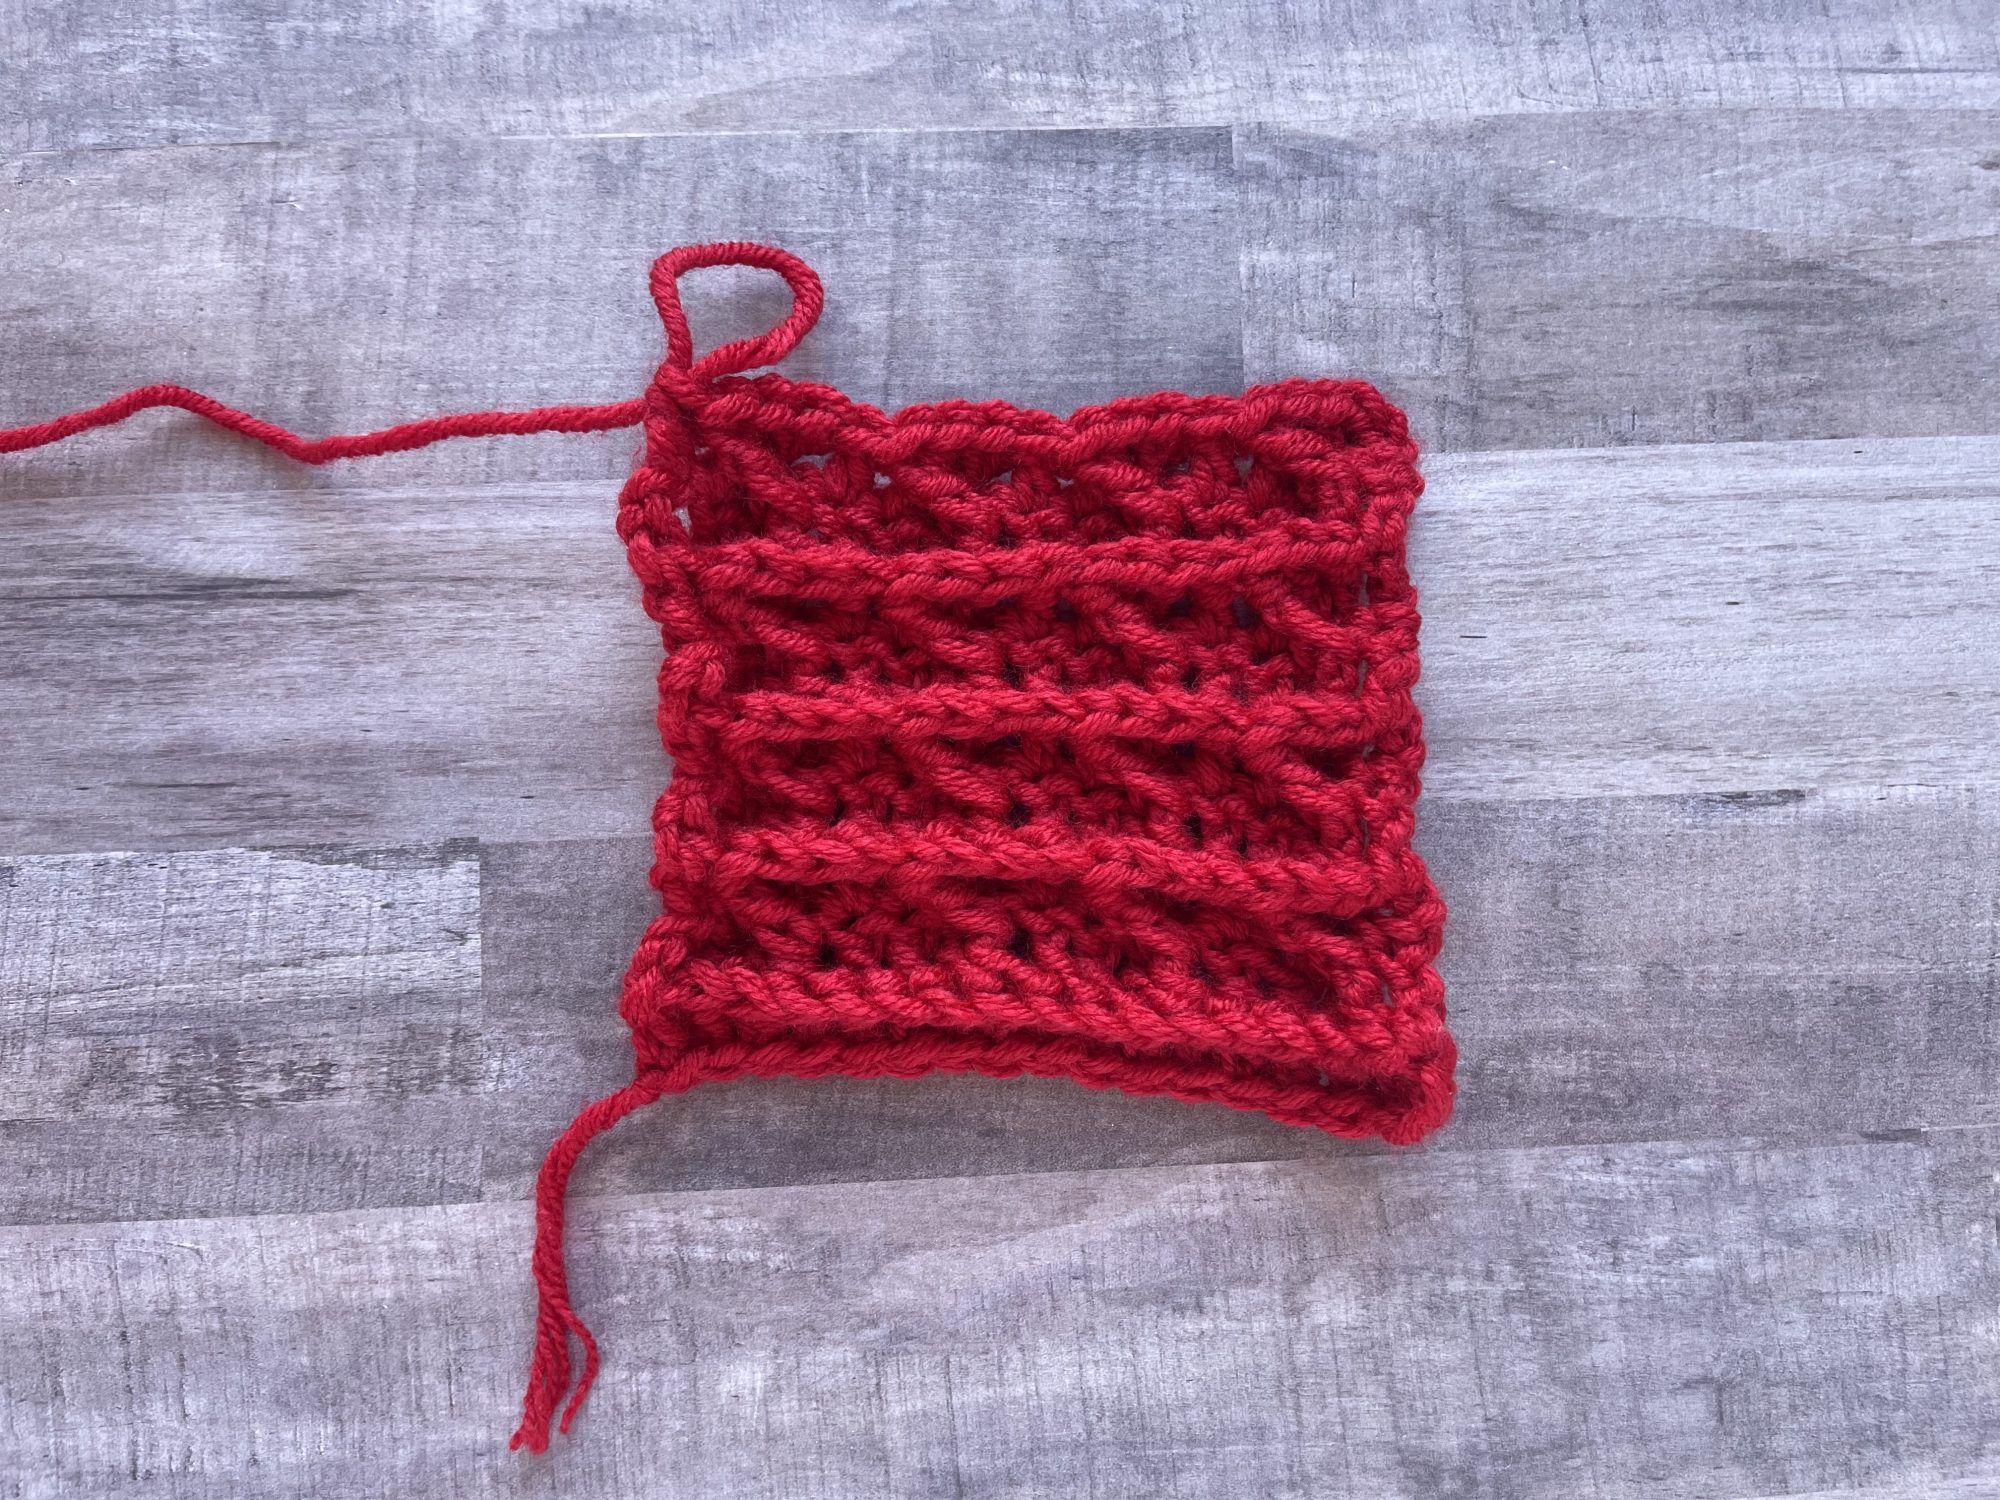
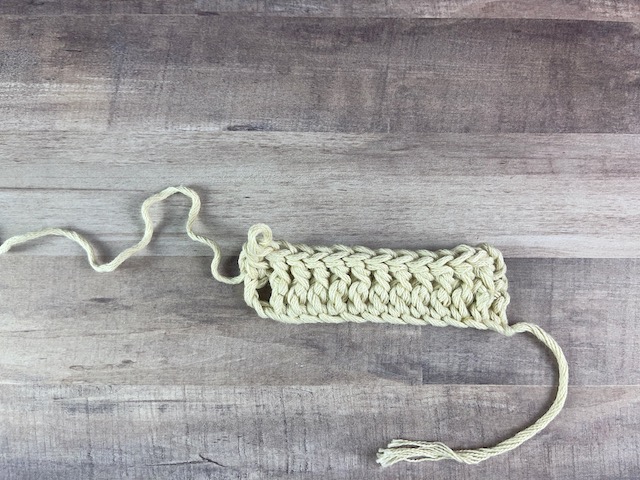
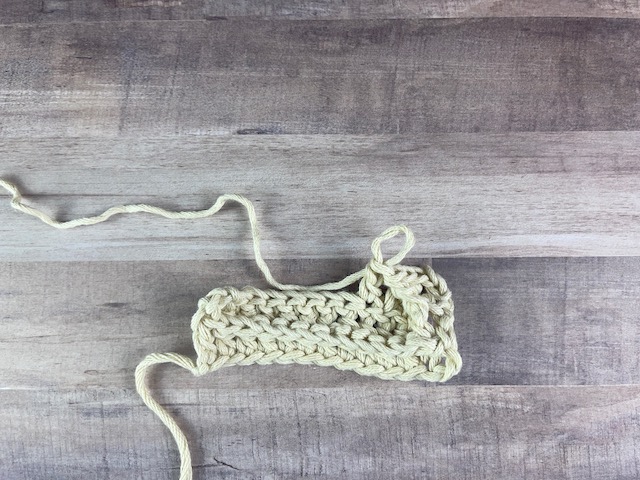
Right Side 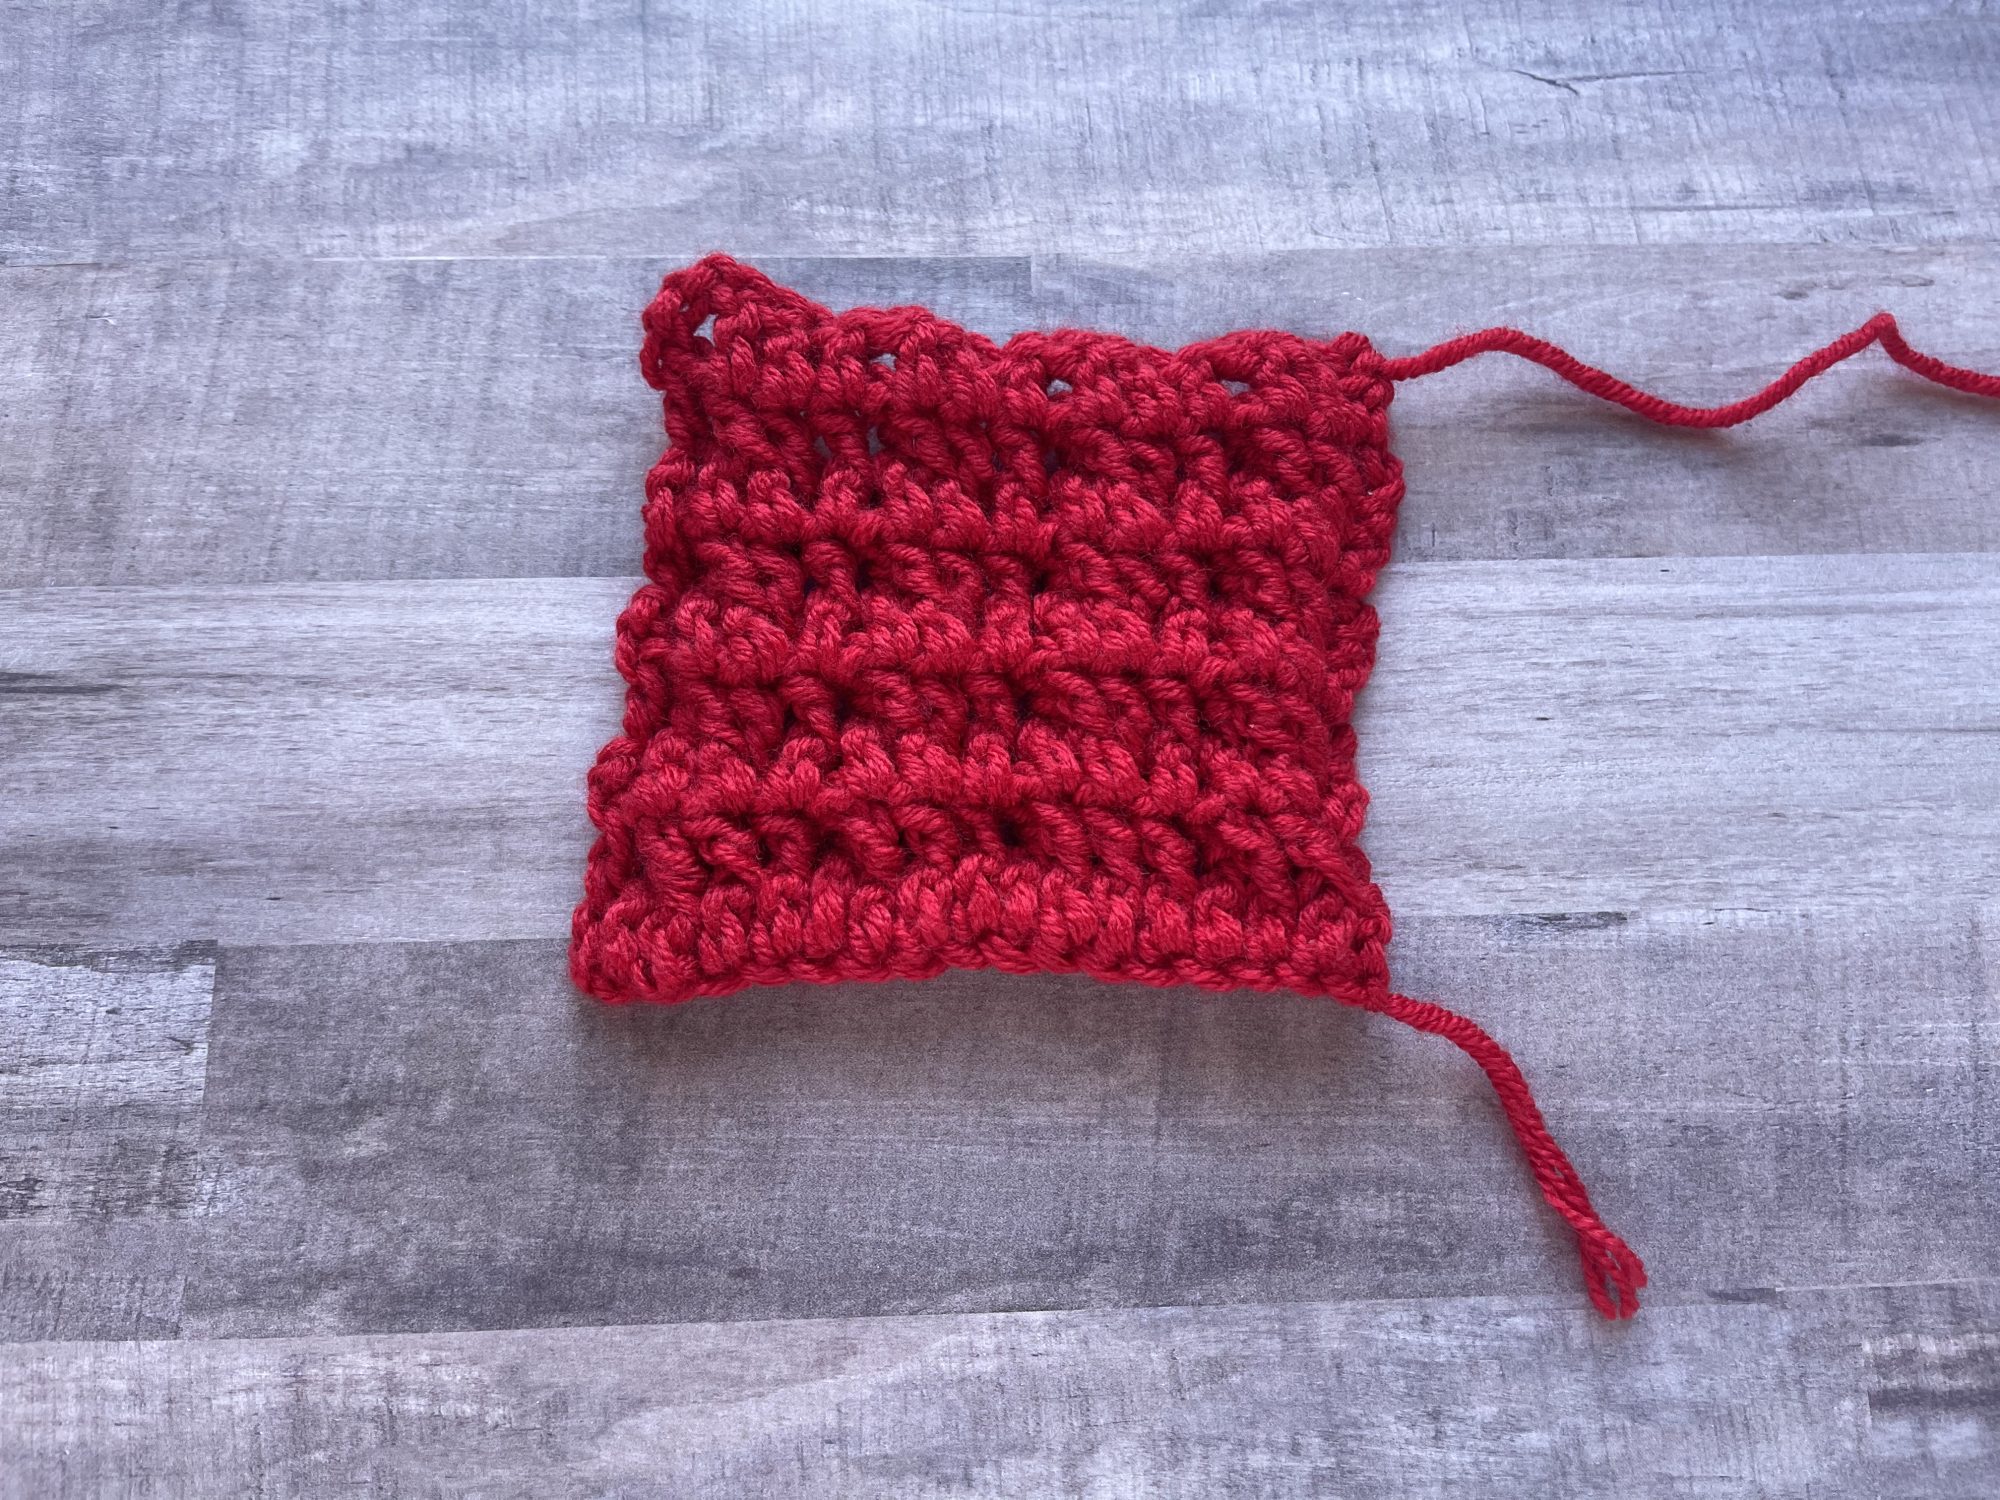
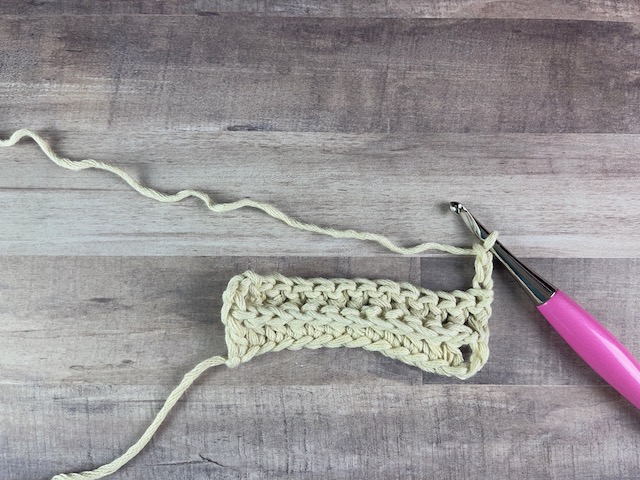
Wrong Side
Pin it for Later

Want to talk about yarn goodness, crochet tips, and exclusive weekly deals? Join my Facebook Group, Creations By Courtney Community.
If we’re not hanging out on social media yet, come check me out on Facebook, Instagram and Pinterest.
Join my newsletter for sneak peeks, crochet tips, and more. HERE
Use #CreationsByCourtney on social media when sharing your projects.
This tutorial is not to be duplicated or resold, and not to be reproduced commercially. You may use this stitch to create original products for personal use or to sell finished products on Etsy, at farmers markets, and craft fairs, but please credit Creations By Courtney for the tutorial.



5 Responses
Many thanks for your tutorials!
Well , easy to follow written pattern and to have the photos, in order to check if you are correct, is an absolute breath of fresh air, in learning new stitches prior to embarking on new projects!
Take care of yourself xx
You’re so welcome! It’s a pleasure to show other crocheters how to make a variety of stitches.
I enjoyed learning this stitch from you. Thanks for the clear instructions. You are an excellent teacher.
Thank you so much for the compliment, Amy!