Craft Tip Time
Hiya! This is the first #crafttip, where I provide a tip that you may or may not know, on washing your cherished handmade items.
So you have a blanket that Grandma or Mom made when you were born, and you want to pass it to your child or grandchild, but it’s been in a chest in the attic or basement for years and smells like mothballs ( yuck!). What do you do??
You’re first thought may be to very carefully hand wash the blanket in the tub or a clean, large kitchen sink with Woolite or your favorite delicate detergent, such as Wrapture.
If you’re like me with a busy schedule and little ones to keep track of, hand washing is not always practical, so the washing machine is the best option.
*We are a participant in the Amazon Services LLC Associates Program, an affiliate advertising program designed to provide a means for us to earn fees by linking to Amazon.com and affiliated sites.
How to safely wash your cherished handmade blanket
Supplies:
- Your favorite detergent
- Large laundry garment bag
- Your cherished handmade blanket
- washing machine
- large towels
- Flat surface for drying
You may be asking why do you need a laundry sweater bag?? It will protect the blanket from any additional damage or felting if it rubs against other objects during washing, and prevent the edging or any loose pieces from getting caught during the tumbling of the wash cycle.
Place your blanket in the garment bag, and then place it in the washing machine. Select hand wash in a cold water wash and rinse, no or low spin cycle, add the detergent for delicates, and push start!
When the washing machine is done, remove your blanket from the washer and garment bag. Lay the blanket between two towels, and get to rolling! Rolling out the excess water will help it dry quicker, and prevents any damage that could result from wringing the water out.
Once you’re done rolling out the excess water, lay your blanket on a flat surface to dry. If you have an unused bed, you can lay the blanket across a bed, or my favorite, use antimicrobial floor mat pieces. The pieces are great to lay out for different sized and shaped blankets, and other handmade projects.
Allow your blanket to air dry! Viola! Done!
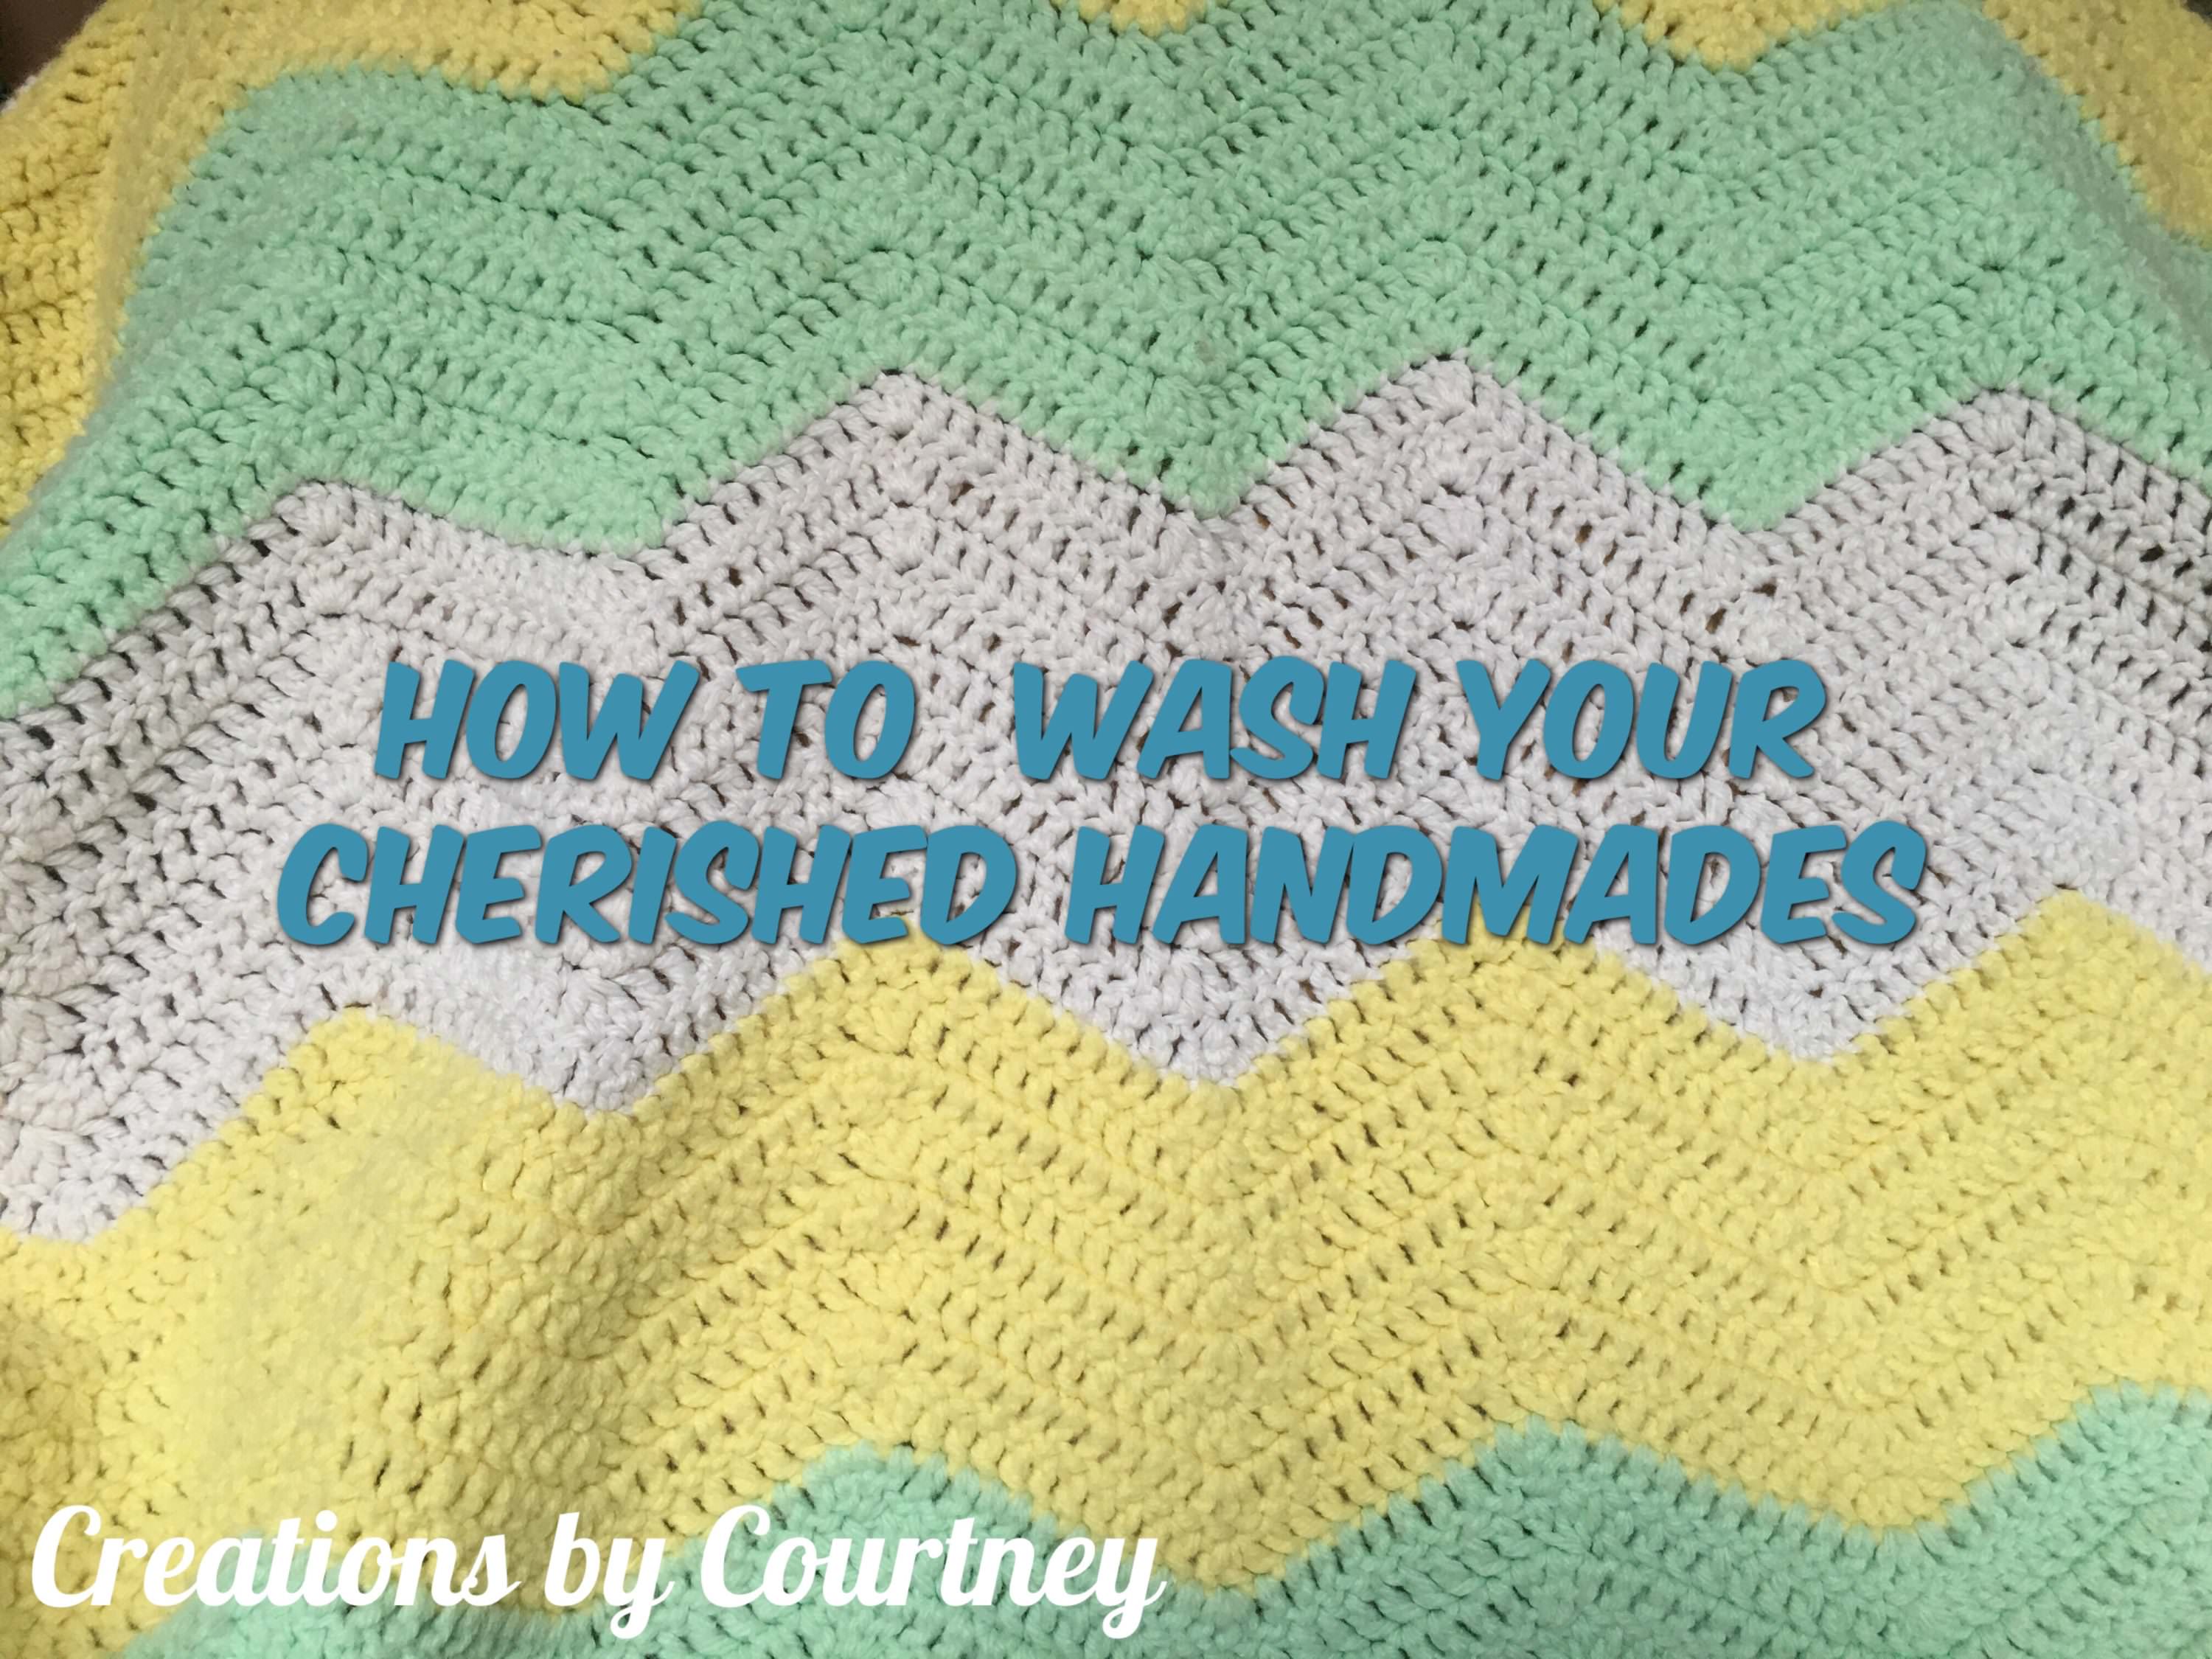
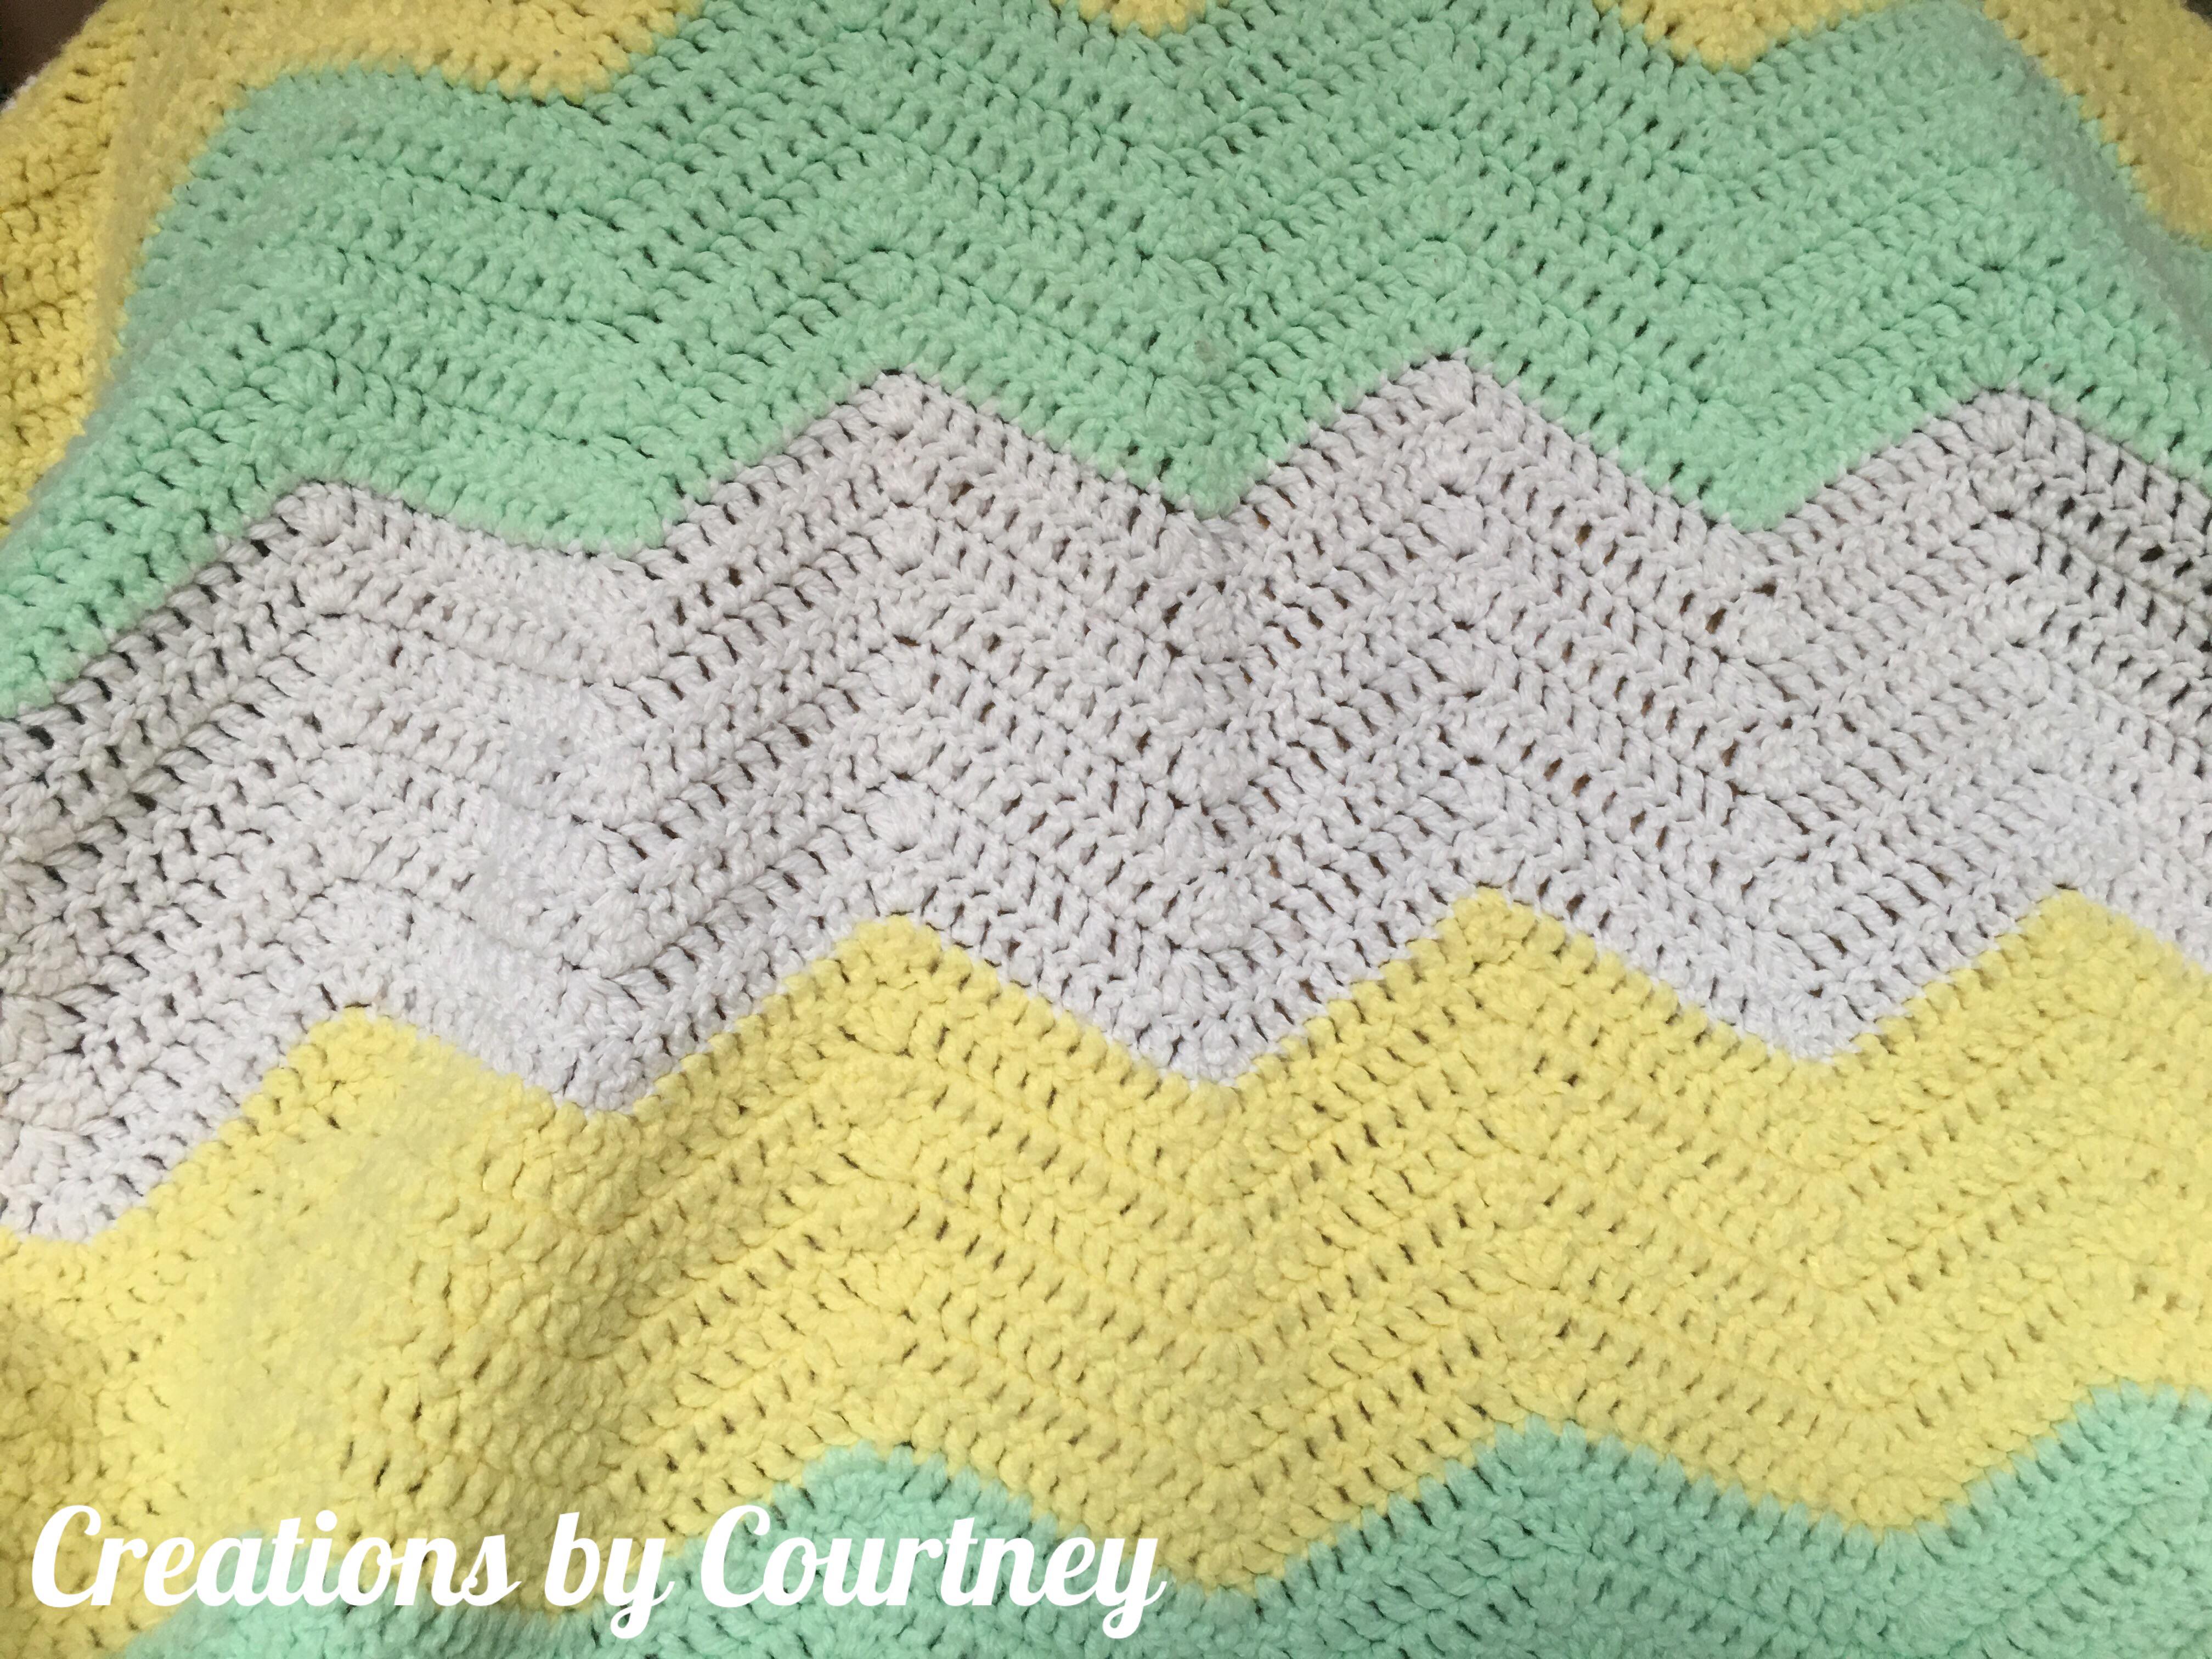
P.S. That’s one of my baby blankets that my mother made for me. It has held up really well over the years, and I can now share it with my little ones. 🙂
If you found this tip helpful, share it with your friends and add it to Pinterest.
Be sure to keep up with Creations By Courtney adventures in crafting and life on Instagram, Facebook. Current and new designs can be found on Ravelry.


2 Responses
Thank you for your tips. I didn’t realize that you shouldn’t put them in the dryer.
You’re welcome! Some items can go in the dryer, if it’s anti-pill acrylic. Over time the dryer could create fuzzy balls on some items. It’s better to be safe with your hard work 🙂