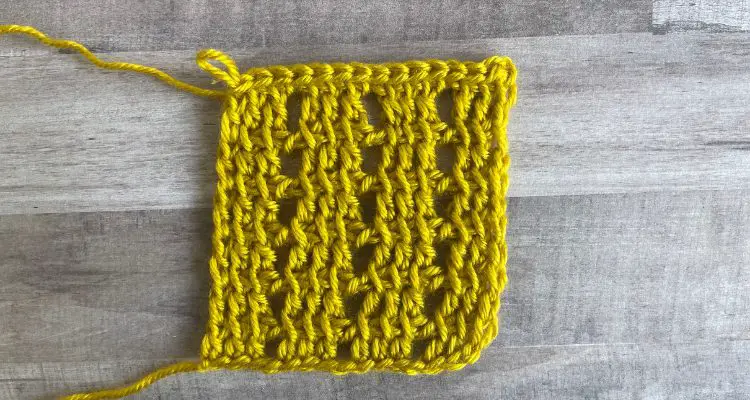
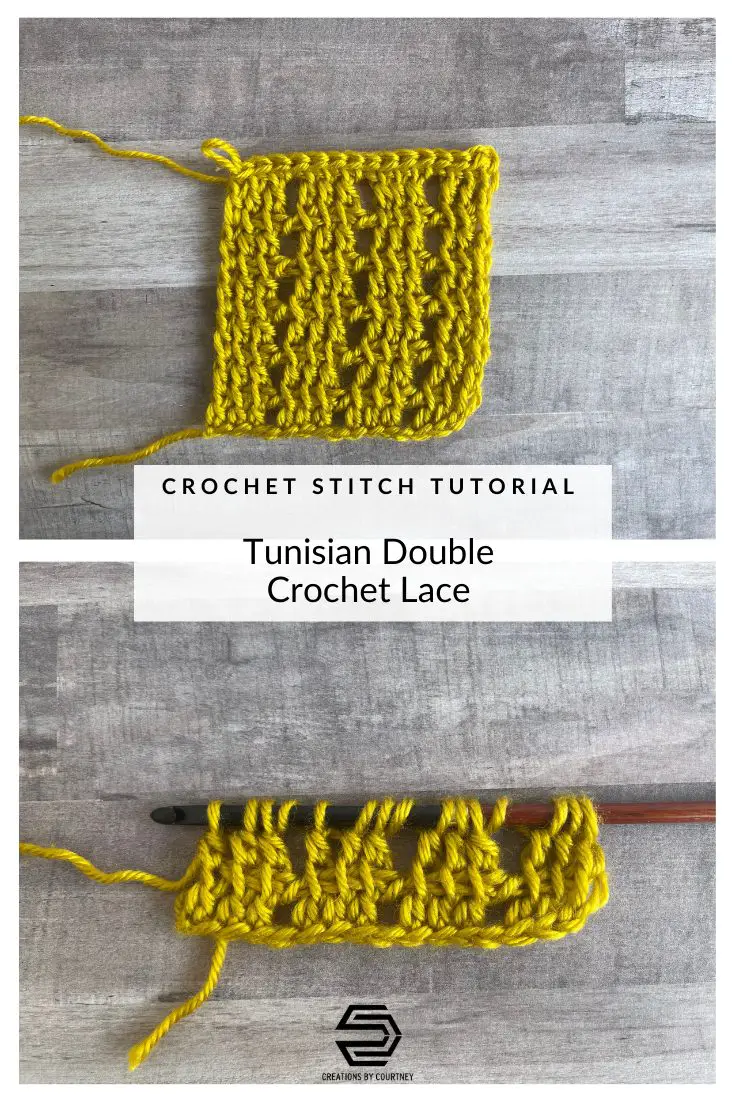
Meet the Tunisian Double Crochet Lace!
This is a simple tunisian crochet lace that was inspired by a tunisian simple stitch lace. I’ve been in the tunisian train for the past year in spurts, and when I stumbled on the tunisian simple stitch version, I had to tweak it.
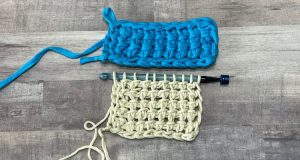
Also, I played with worsted weight and DK weight yarn to figure out which yarn would let the stitch shine. This is a stitch that works with any weight yarn, and I have plans for at least two more designs with this stitch before I’m distracted by another crochet stitch. 🙂 I love that this stitch is not a yarn eater! You will be shocked at what you can make with a “little” bit of yarn. Tunisian crochet tends to be a yarn eater like an all single crochet project. I’ve got you covered for some stash busting.
Like some of my recent tutorials, I had to figure out the stitch multiple so this could be used for any size project.I love that this is a short multiple, which will be shared below.
If you have made a tunisian double crochet or tunisian double stitch, then the tunisian double crochet lace will be easy peasy! The lace is formed by creating an extra yarn over that functions like a chain one space in traditional crochet.
Below you’ll find written instructions in pattern format, step by step instructions with pictures, and a video to cover how you learn.
Multiples needed for the stitch
The Tunisian Double Crochet Lace requires a multiple of 4+3. This creates groups of 3 tunisian double crochet with a yarn over between each group.
*It is important to note that the first stitch of each forward pass is called an extended tunisian stitch (tes), and counts as the first stitch when counting the total number of stitches per row. Tes just refers to making a chain 1 at the beginning of the row which makes 2 total chains at the edge.
Techniques and Abbreviations Used:
Beg: beginning
Btw: between
Ch: chain
FO: fasten off
Fsc: foundation single crochet
FwdP: forward pass
M: stitch marker
Prev: previous
Rep: repeat
RetP: return pass
Sl st: slip stitch
St(s): stitch(es)
Sk: skip
Tdc: tunisian double crochet
Tes: tunisian extended stitch
WS: wrong side
YO: yarn over
Tdc: YO, insert hook in indicated ch or from right to left under the next vertical bar, YO, pull up a loop (3 loops on hook), YO, pull through 2 loops
Tes: ch 1
RetP: YO, pull through 1 loop (ch 1 made), *YO, pull through 2 loops; rep from * across the row
Supplies Used:
I grabbed a skein of Furls Crochet Wander Yarn in Canary. Yellow is such a fun color! I chose my Furls Crochet Padauk and Ebony Tunisian Hook, which has a nice balance for a 16 inch straight hook.
You can use any weight yarn with a straight hook that is the recommended size or larger. The tunisian double crochet or tunisian double stitch does not curl like some of the other tunisian stitches. Also, this stitch lends to be looser than the tunsian simple stitch, so you don’t have to go up in hook size to meet gauge.
Written Instructions
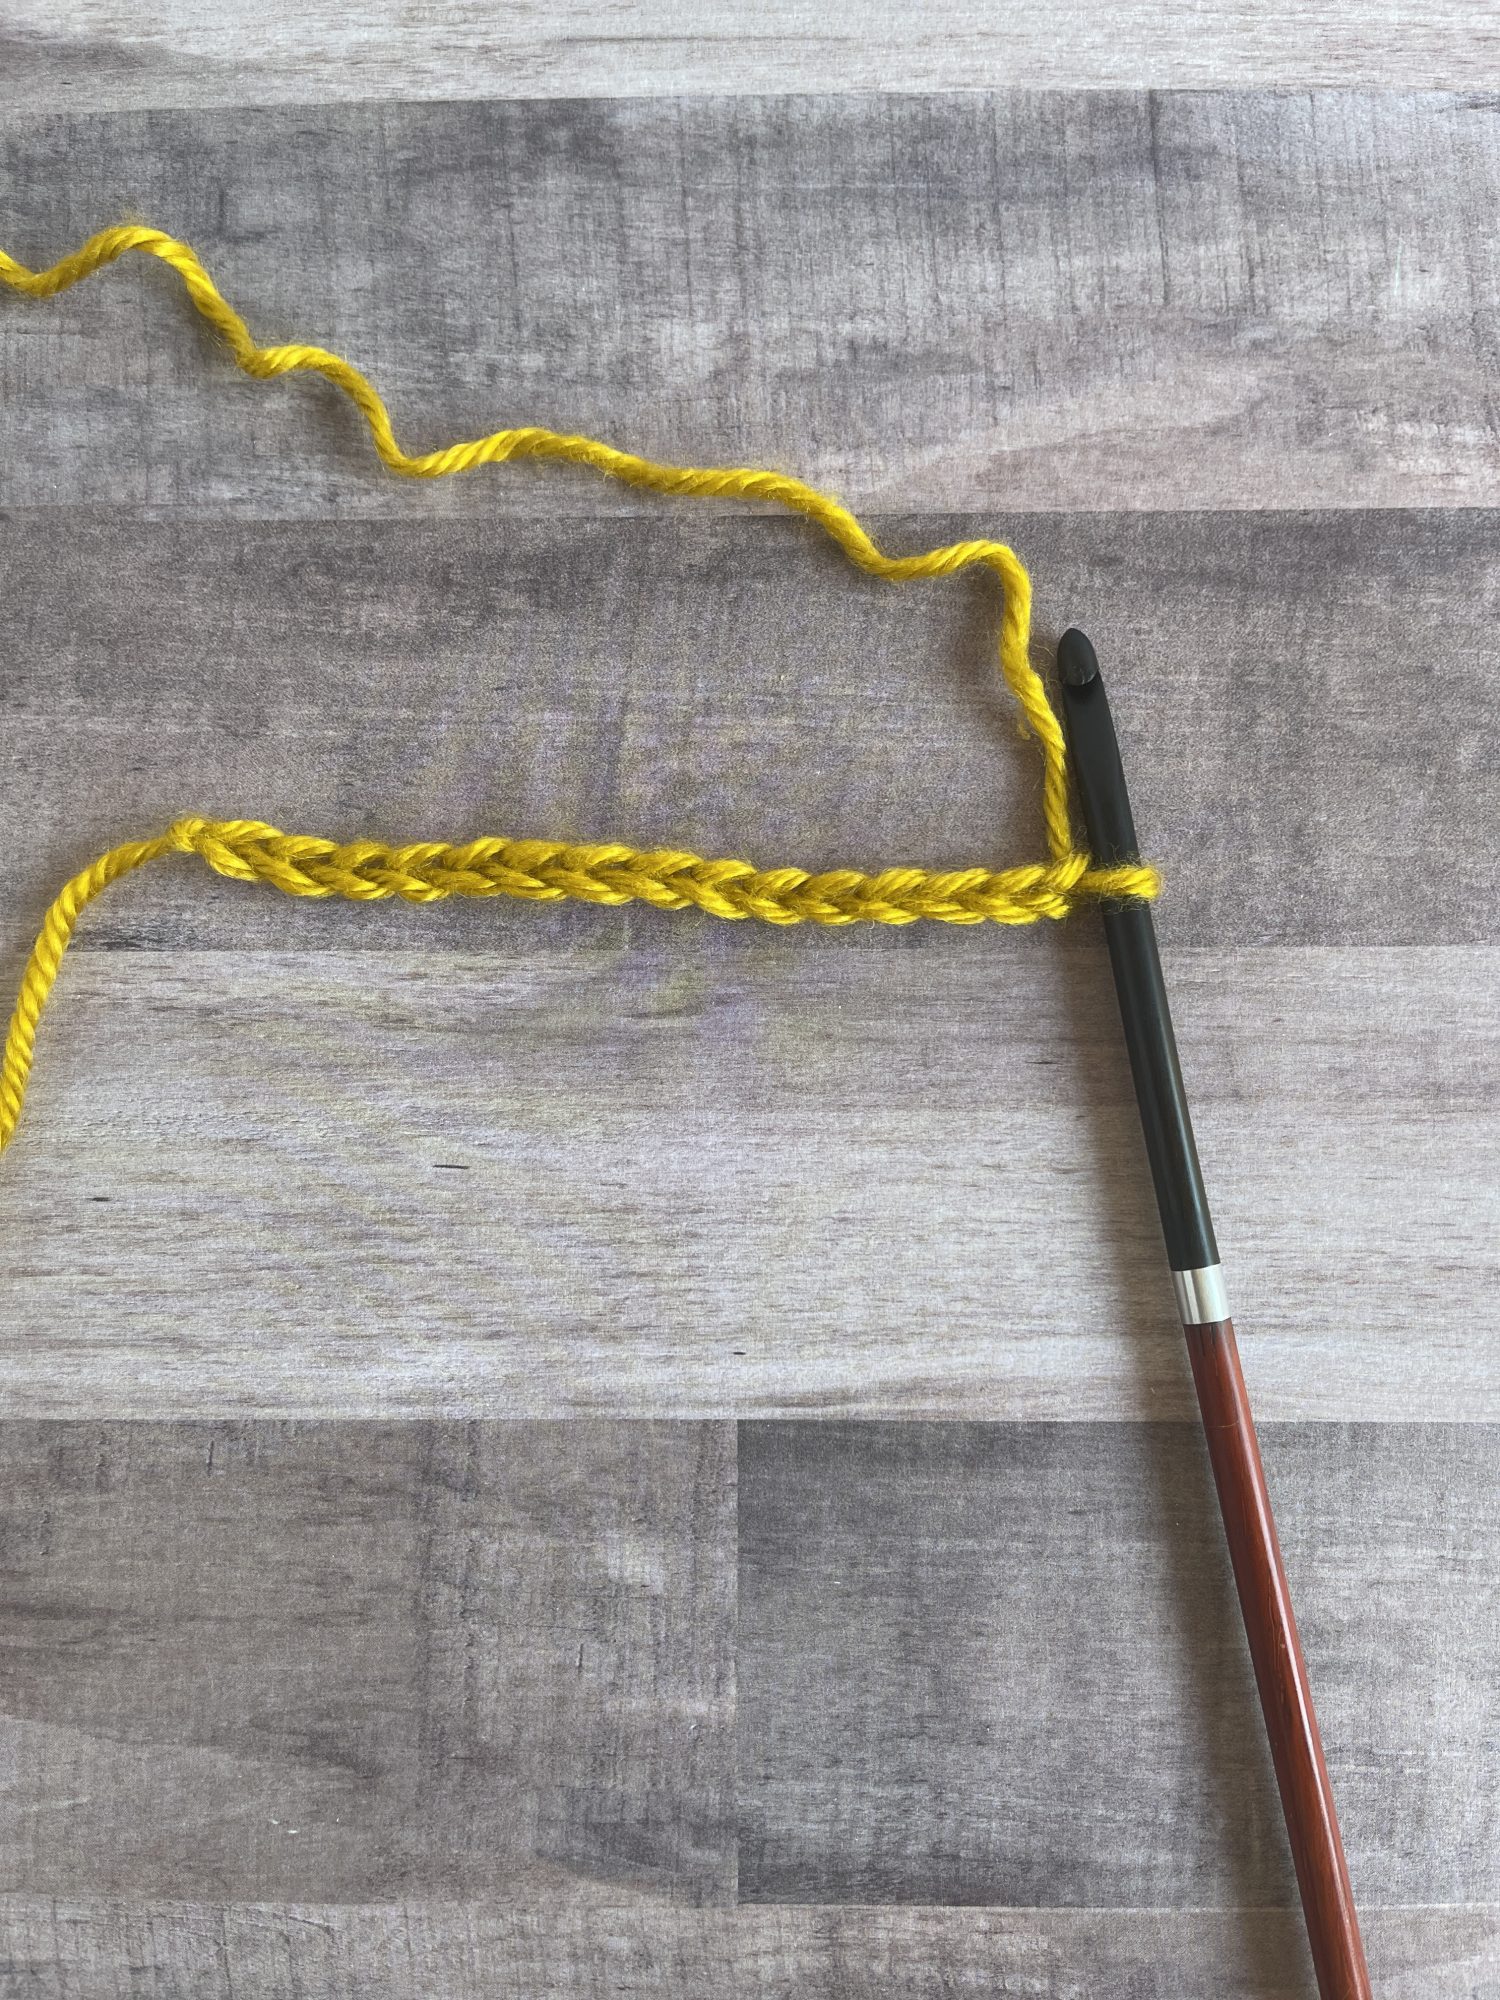
Ch 15 or a multiple of 4+3
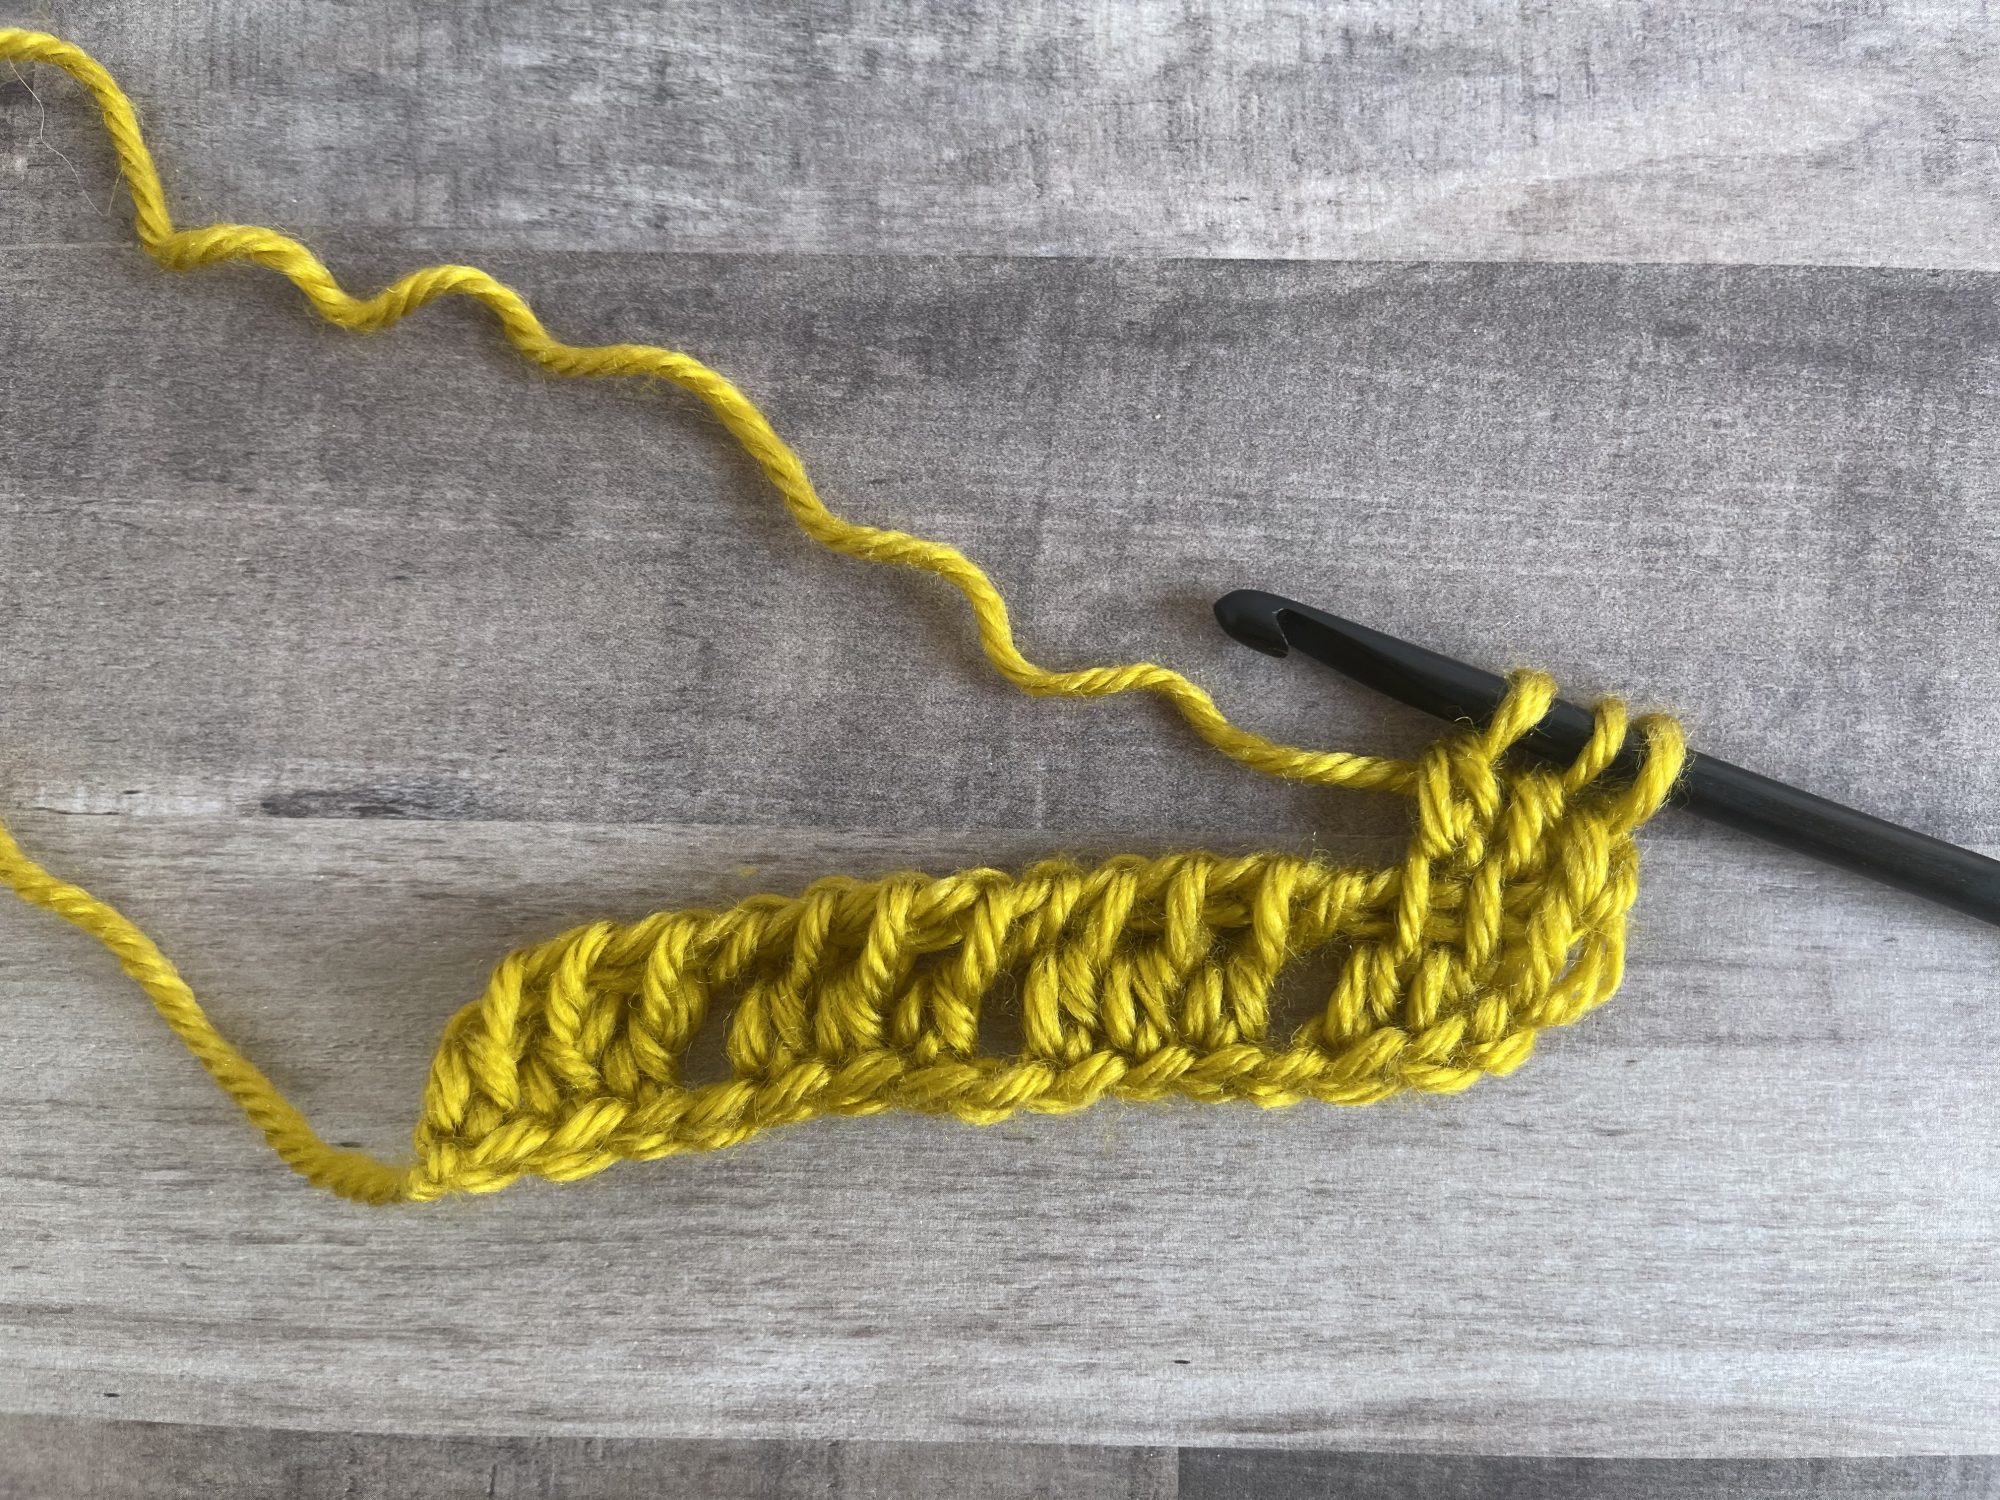
Row 1 FwdP: Starting in the 2nd ch from hook (this counts as a tes), tdc, tdc in next st, *YO, sk next st, tdc in next 3 sts; rep from * to end. RetP – 15 loops on hook
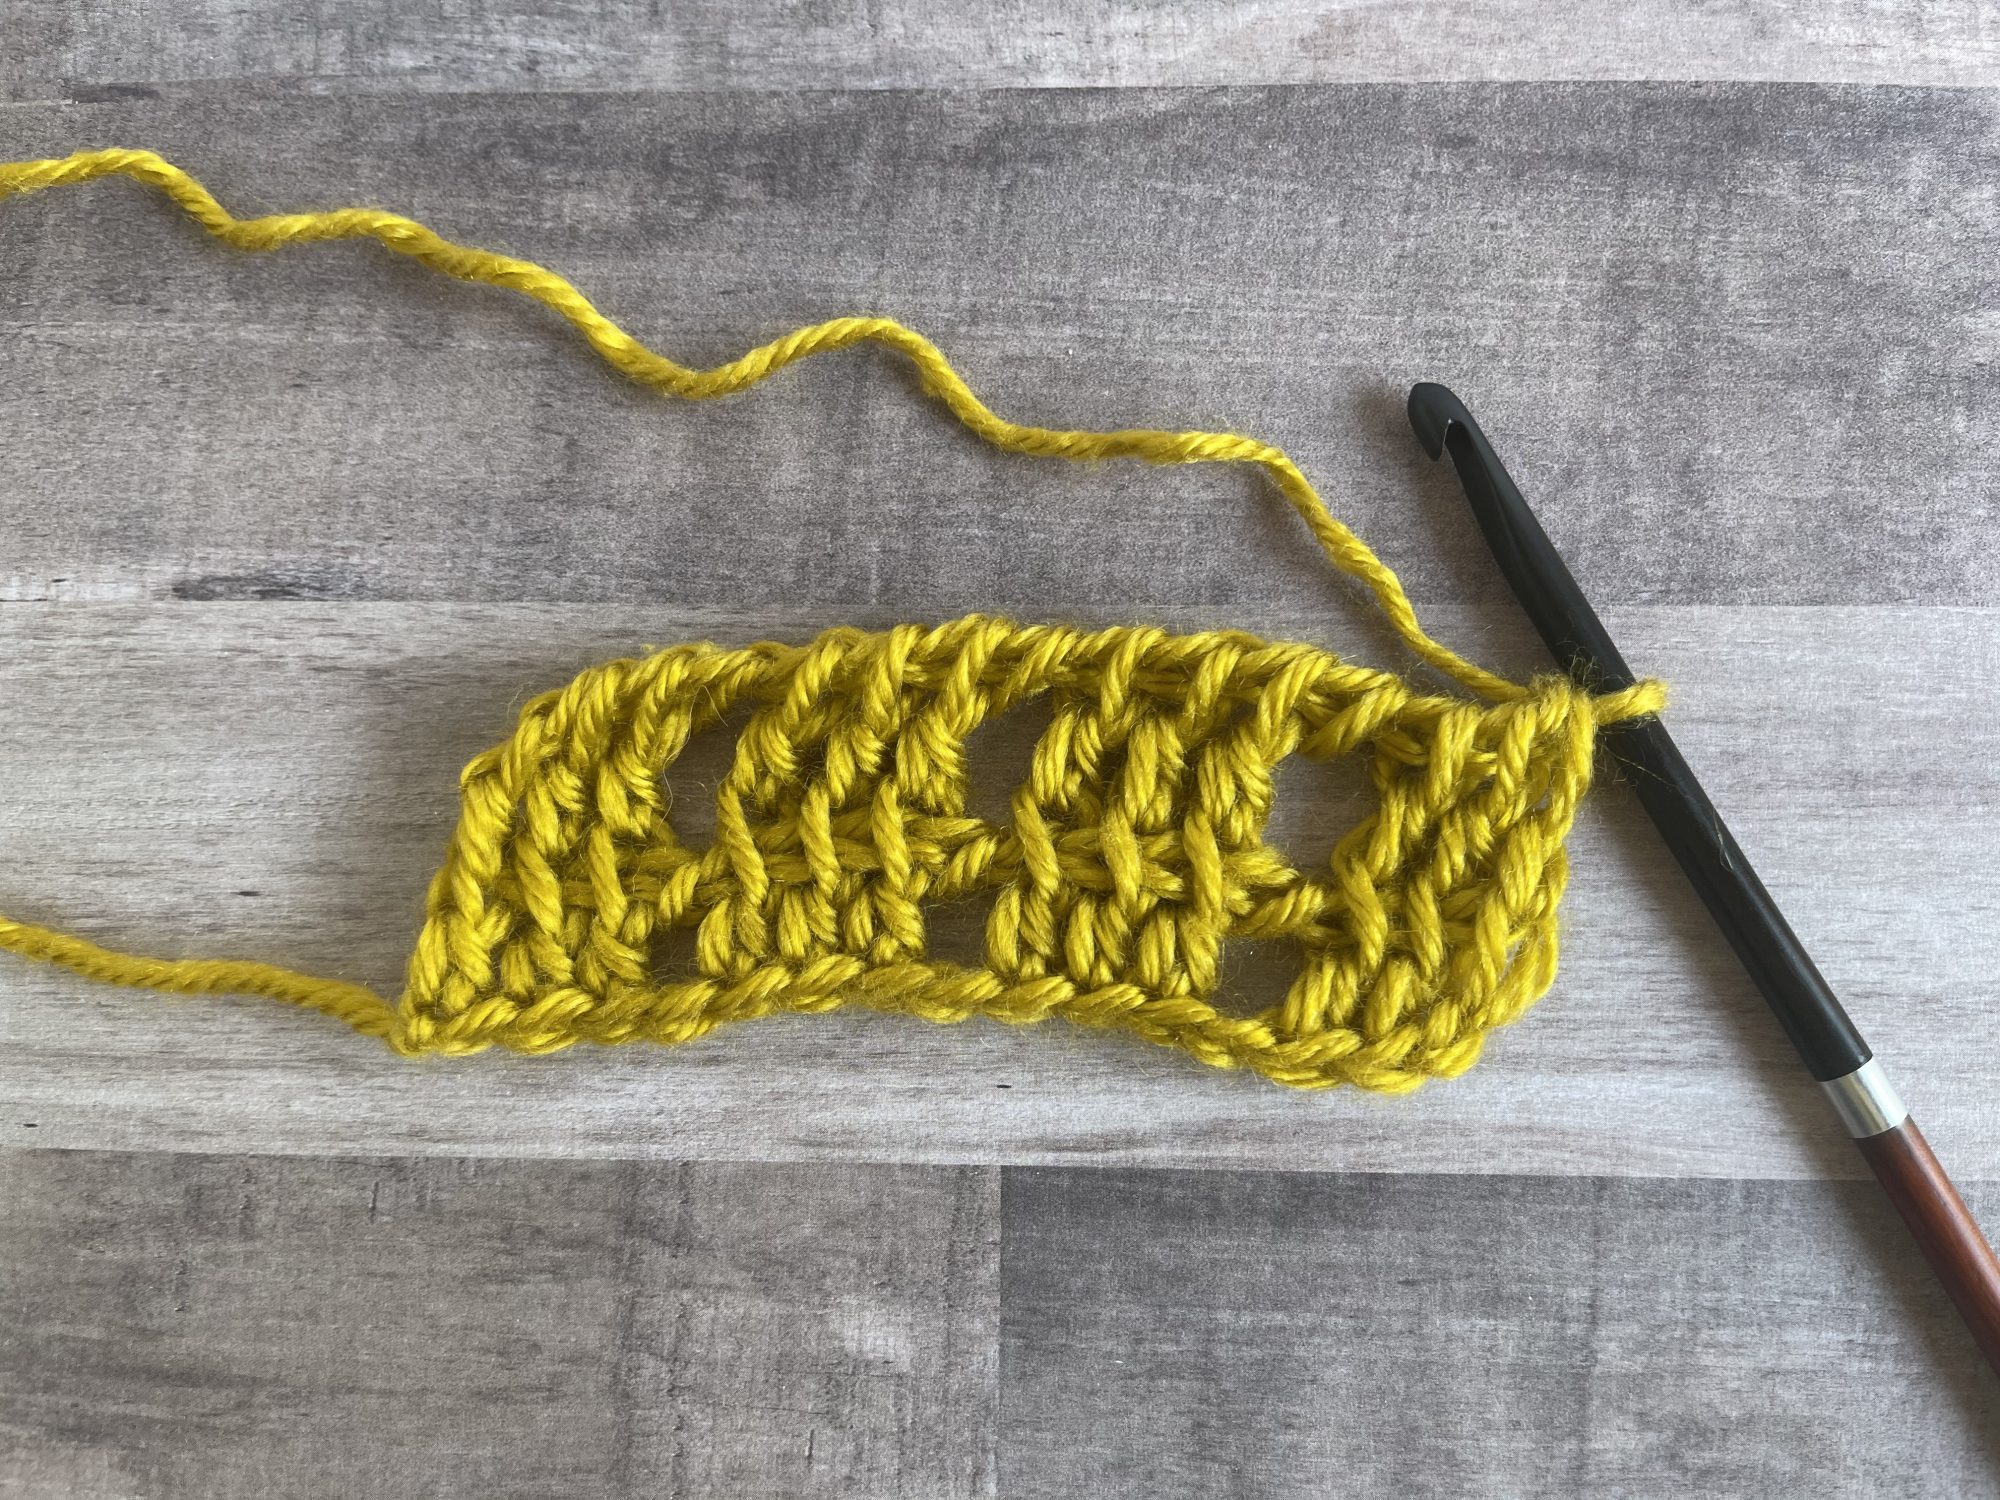
Row 1 RetP: Ch 1 (YO, pull through 1 loop), *YO, pull through 2 loops; rep from * to end. DO NOT TURN – 12 tdc, 3 YO
Row 2 FwdP: Tes, sk first vertical bar, tdc in next 2 sts,*YO, sk next st, tdc in next 3 sts; rep from * to end
Row 2 RetP: Ch 1, *YO, pull through 2 loops; rep from * to end. DO NOT TURN
Next Rows: Rep Row 2 FwdP and RetP until desired length
Bind off: Ch 1, *insert hook under vertical and horizontal bar, sl st; rep from * to end, FO
Now let’s go step-by-step
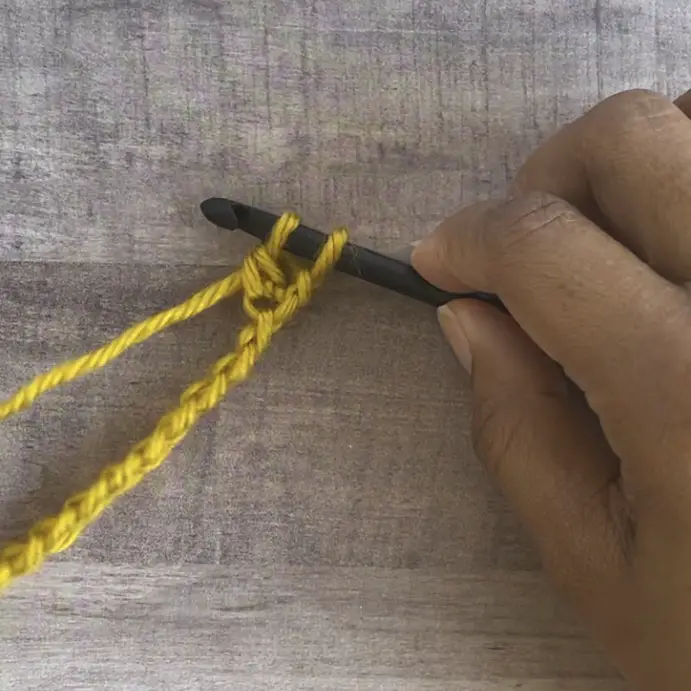
- Ch 15
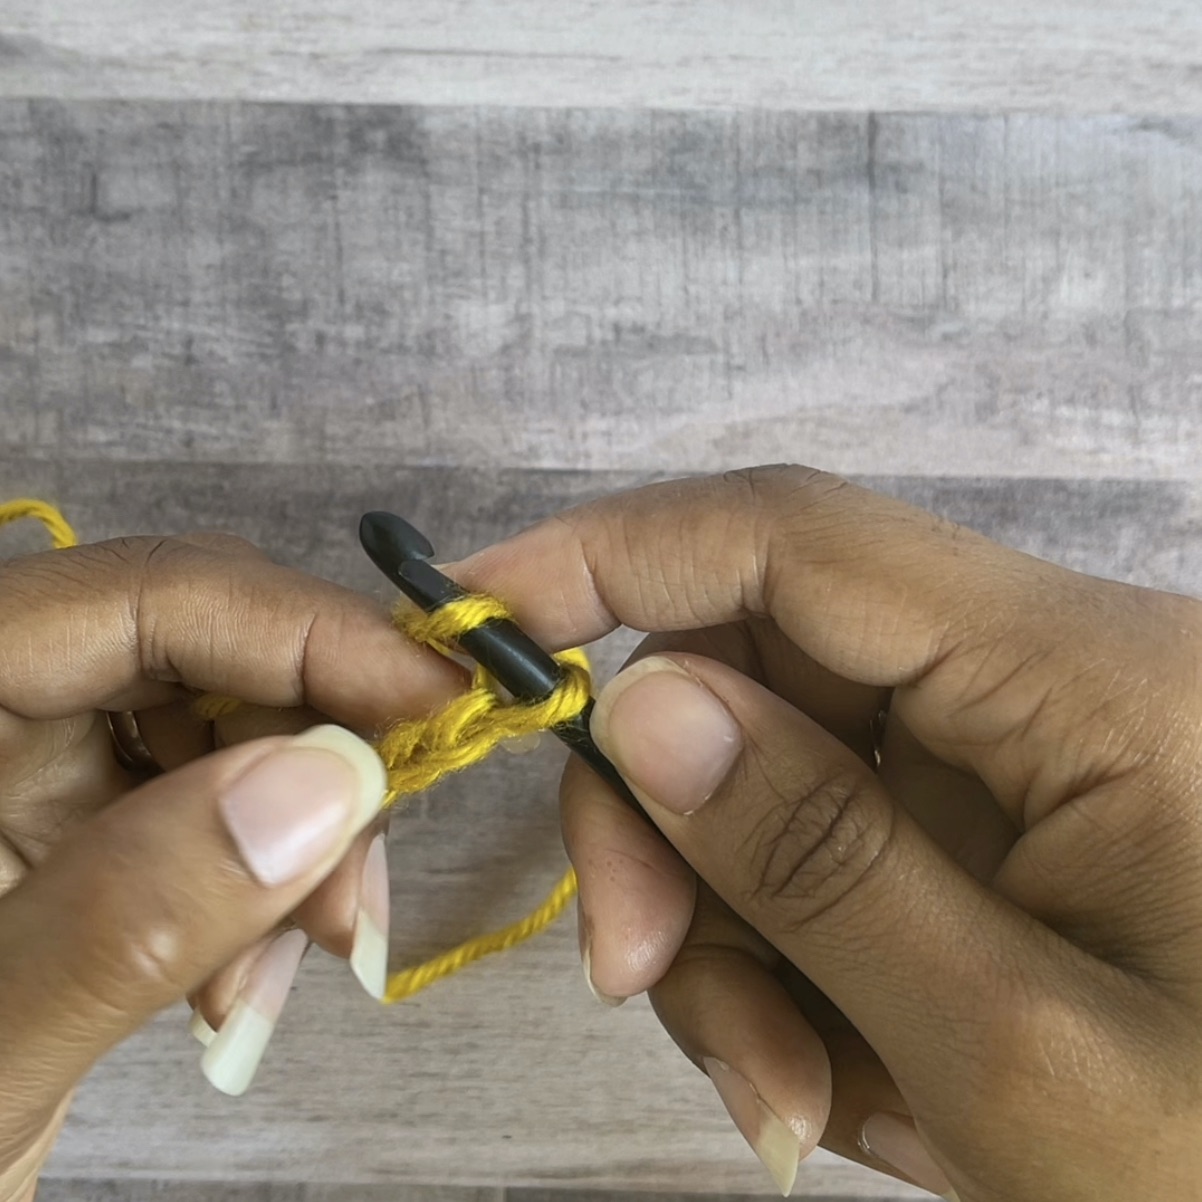
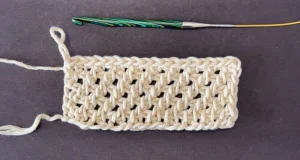
2. Beg in 2nd ch from hook (ch on hook and sk ch count as tes), YO, insert hook in st, YO, pull up a loop, YO, pull through 2 loops (tdc made), tdc in next st
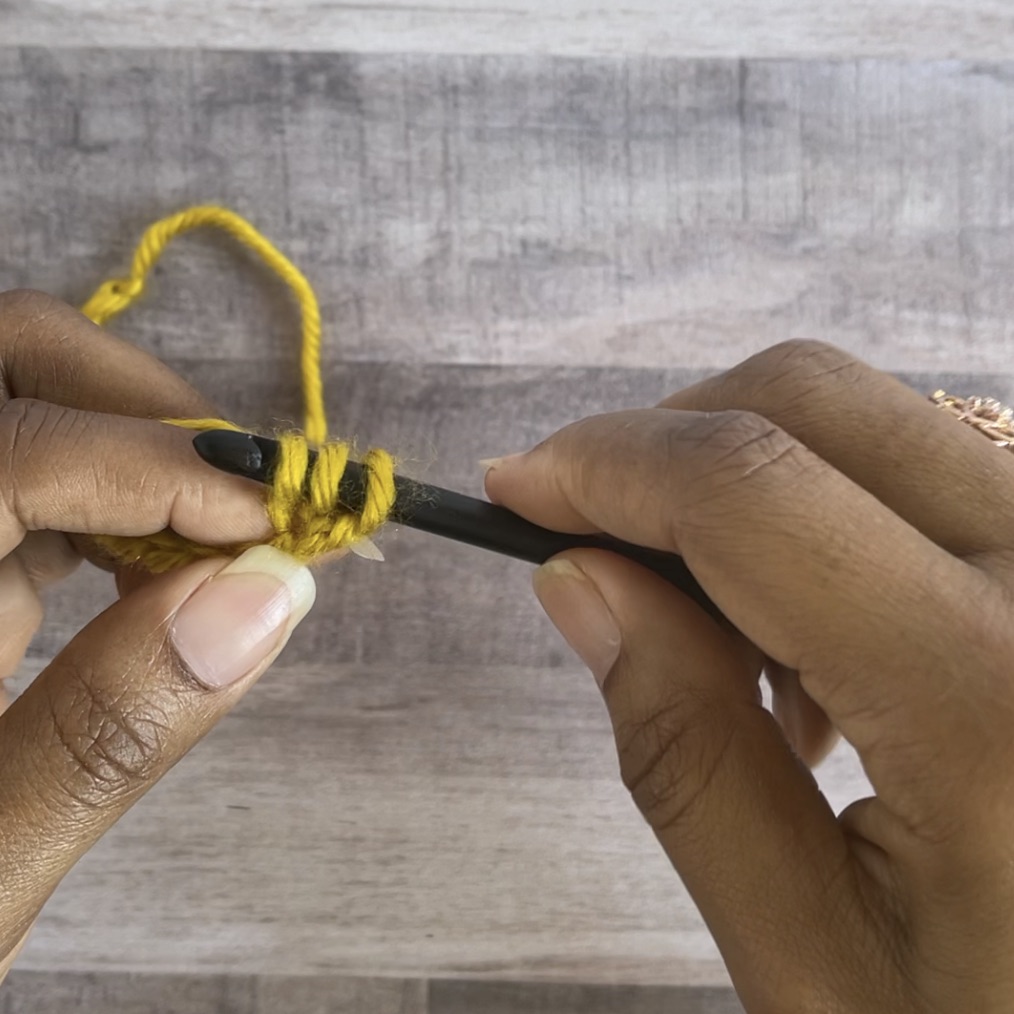
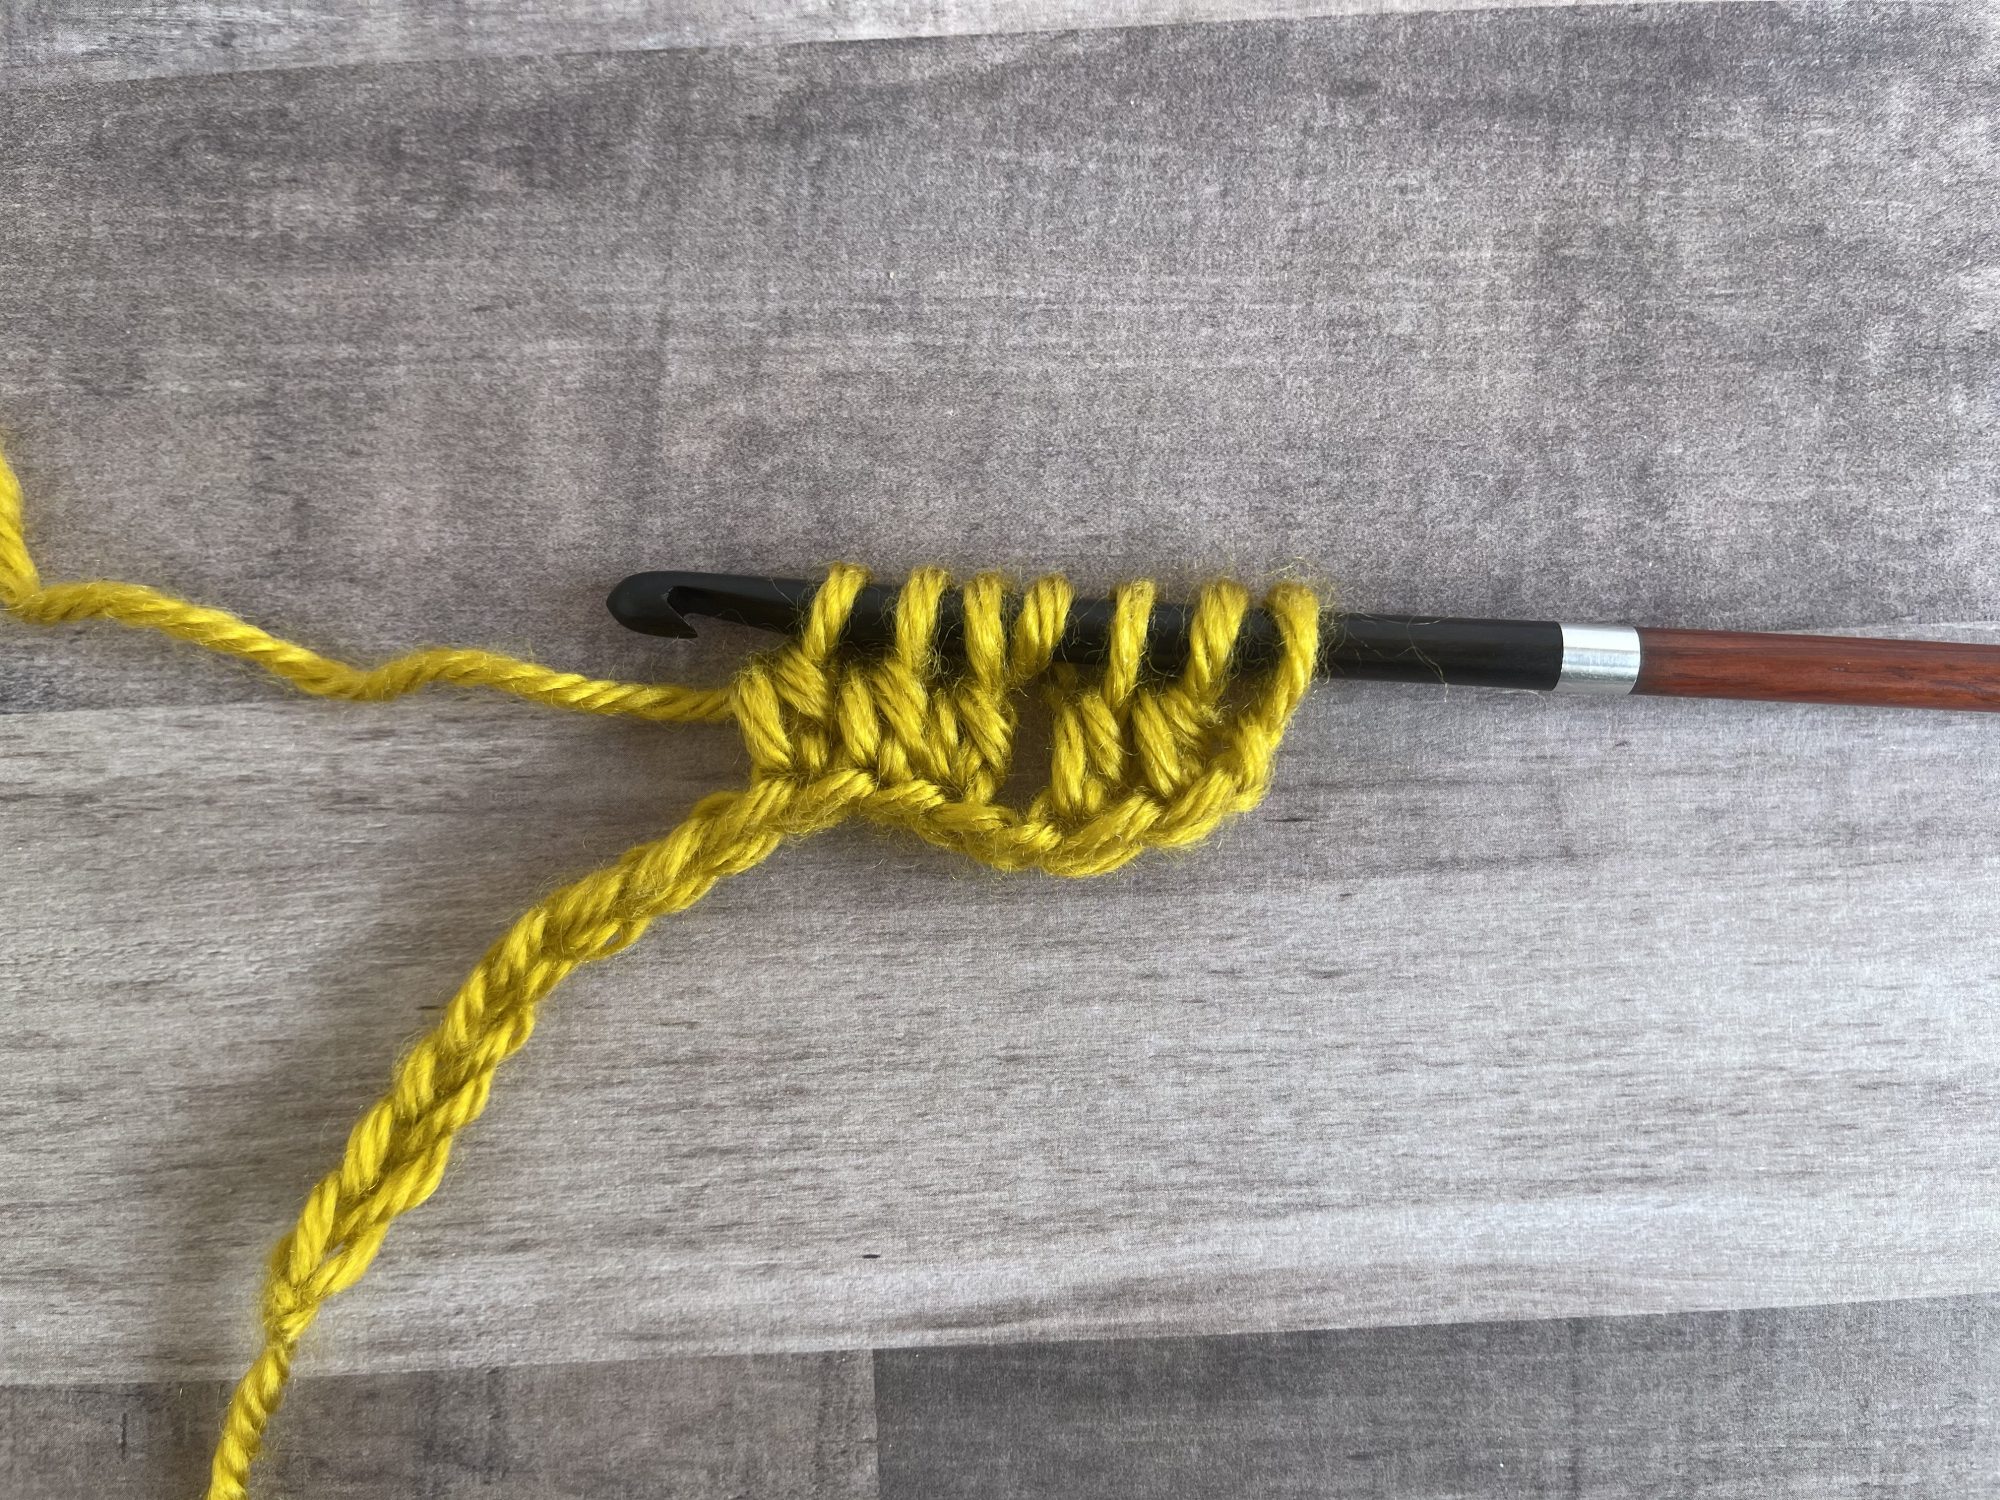
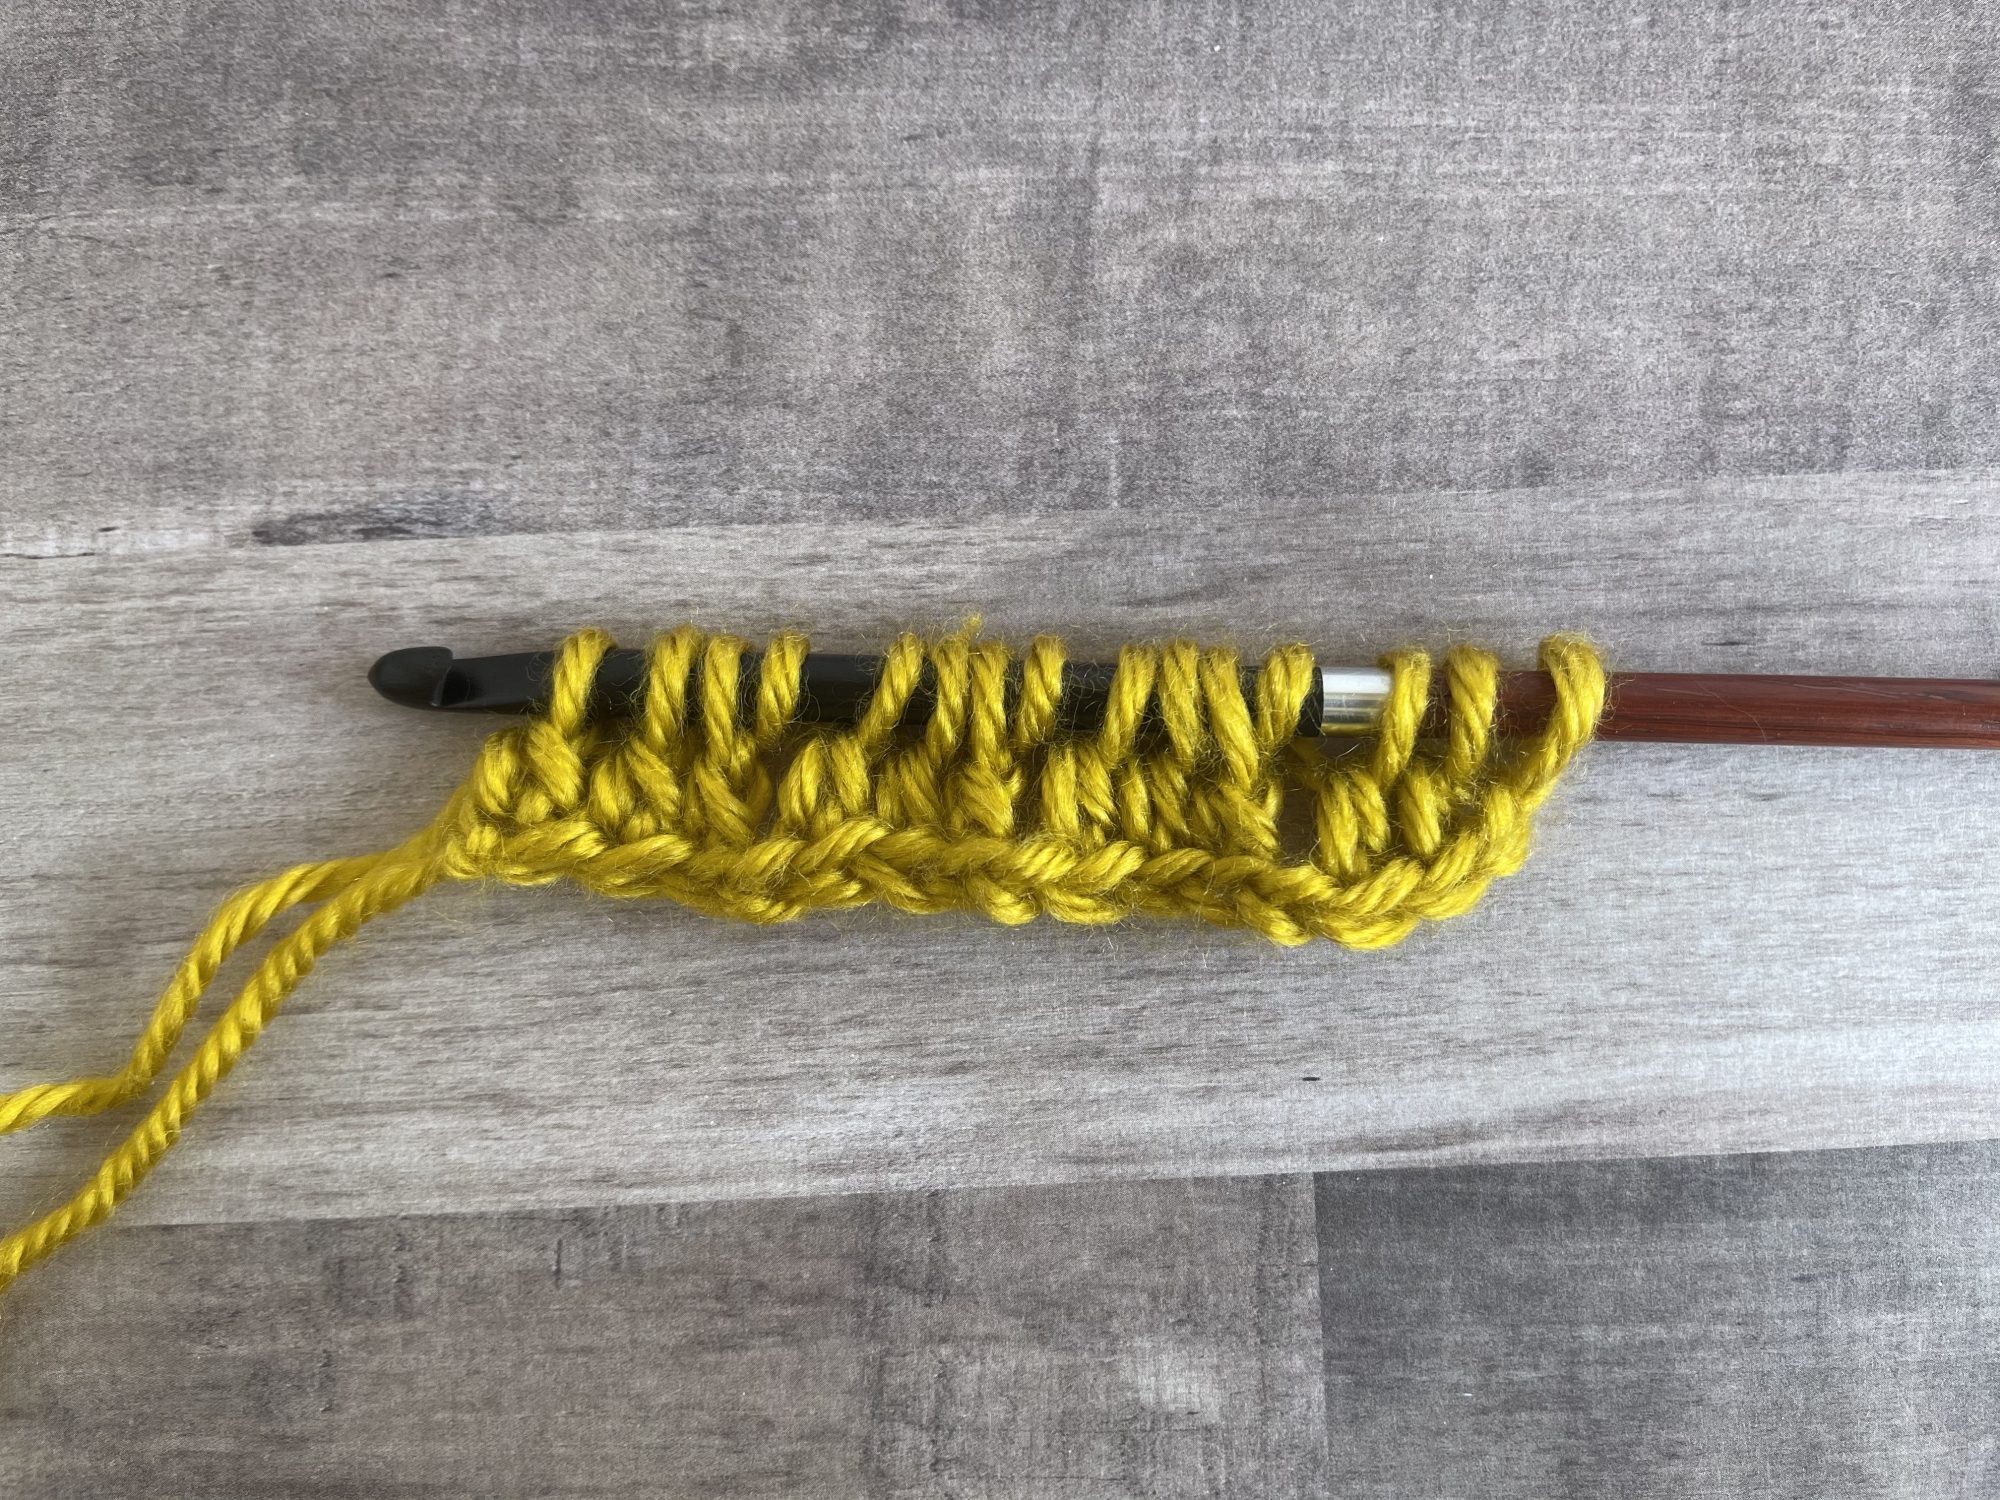
3. *YO, sk next st, tdc in next 3 sts
4. Rep from * to end
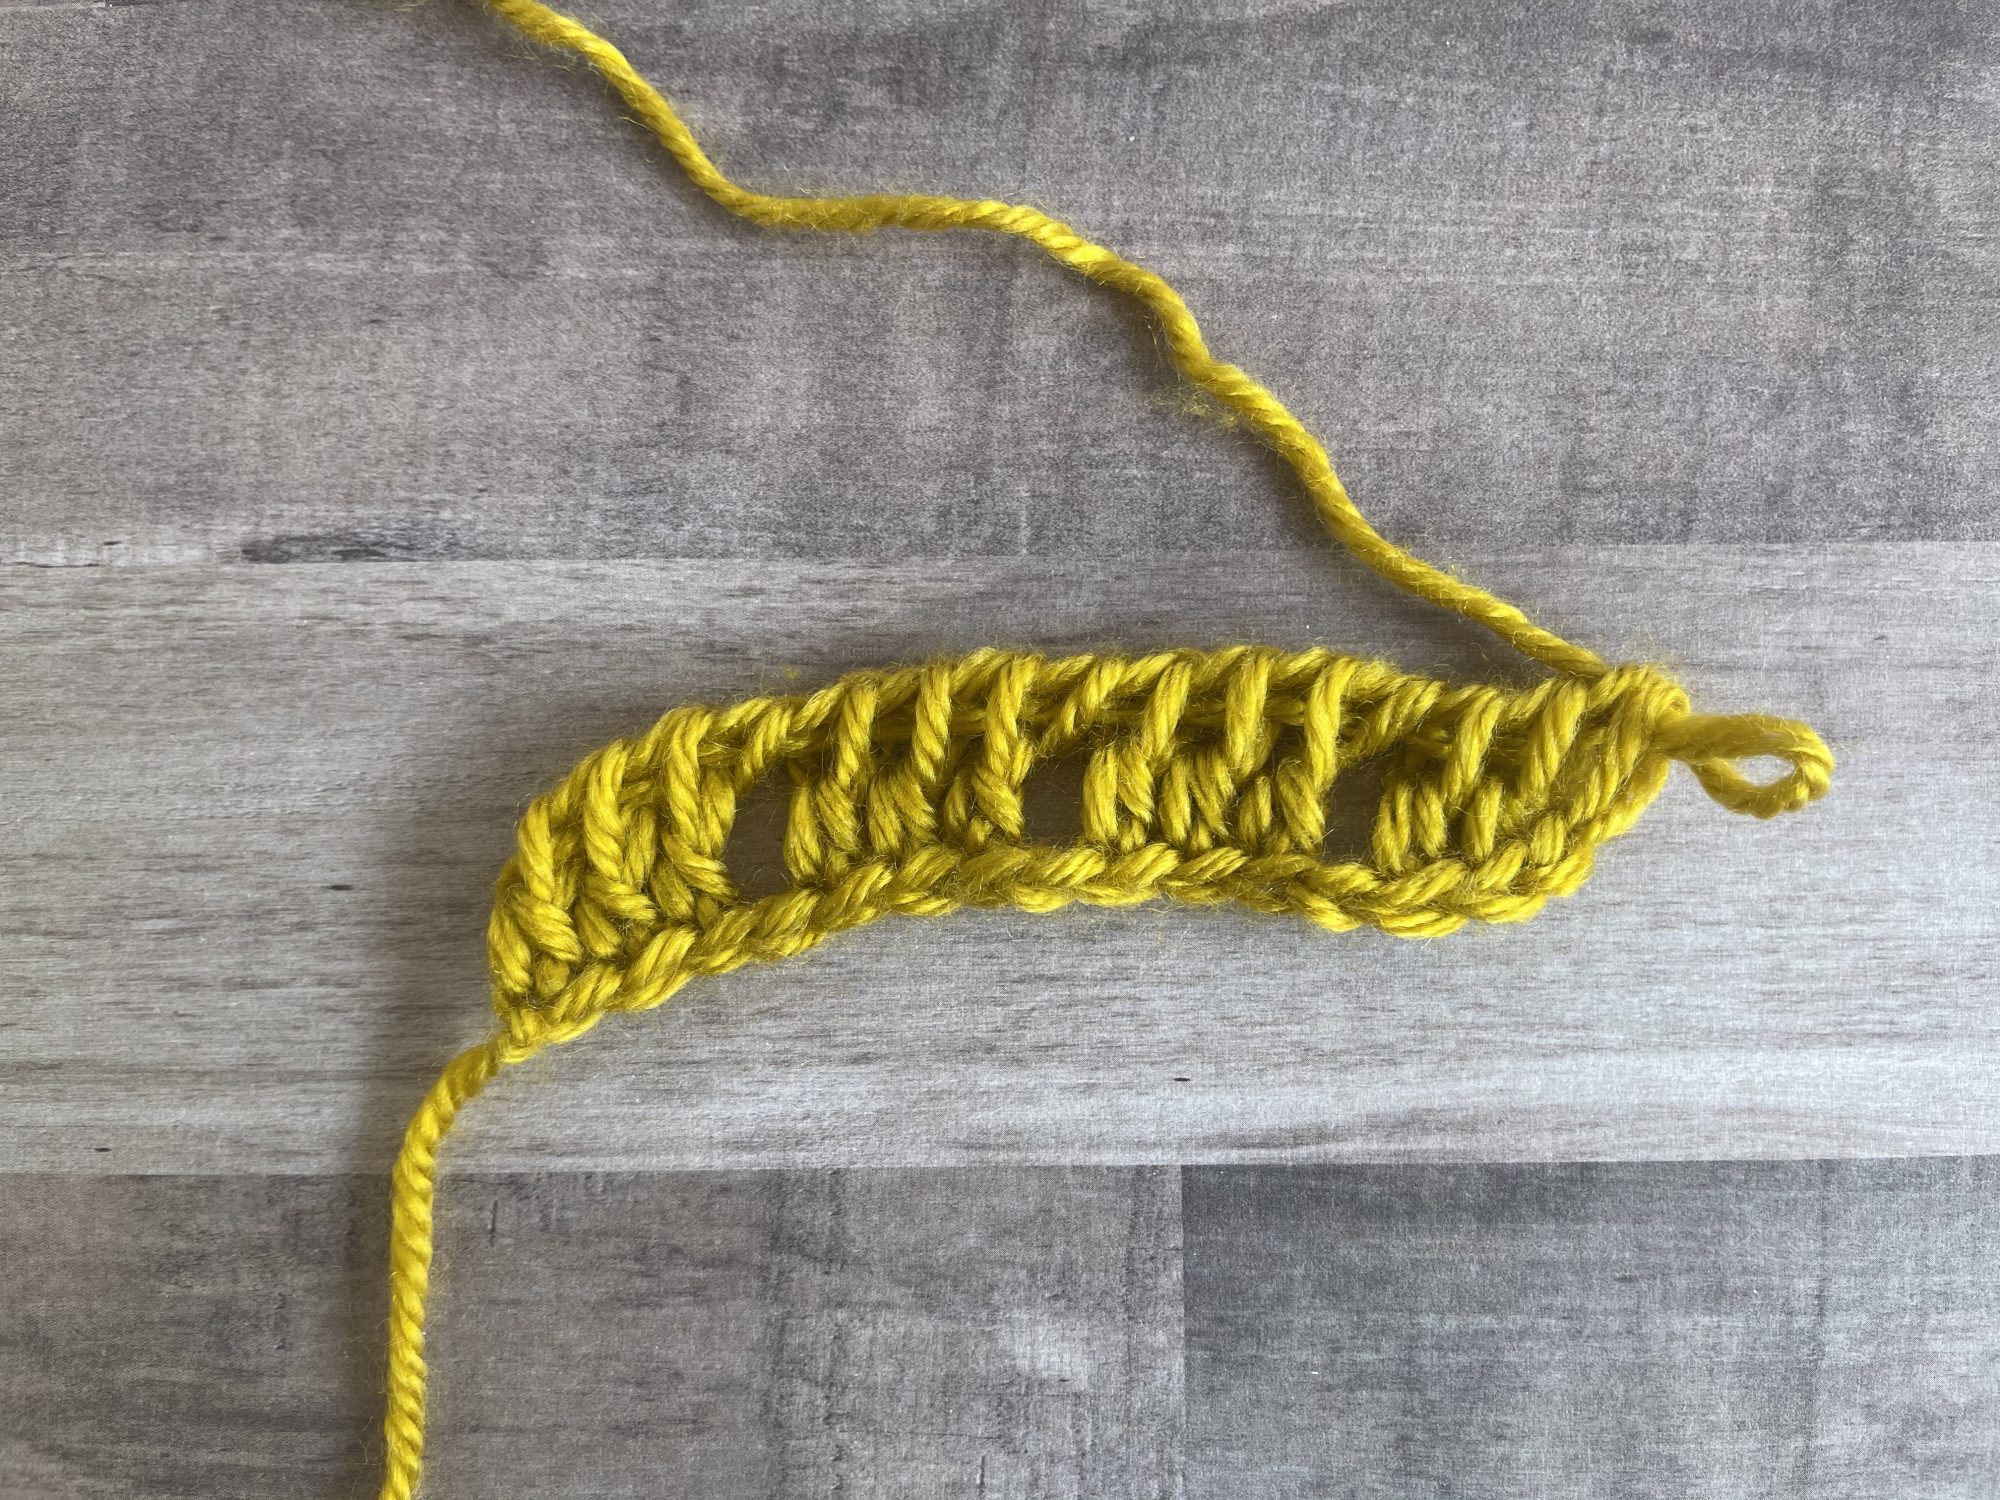
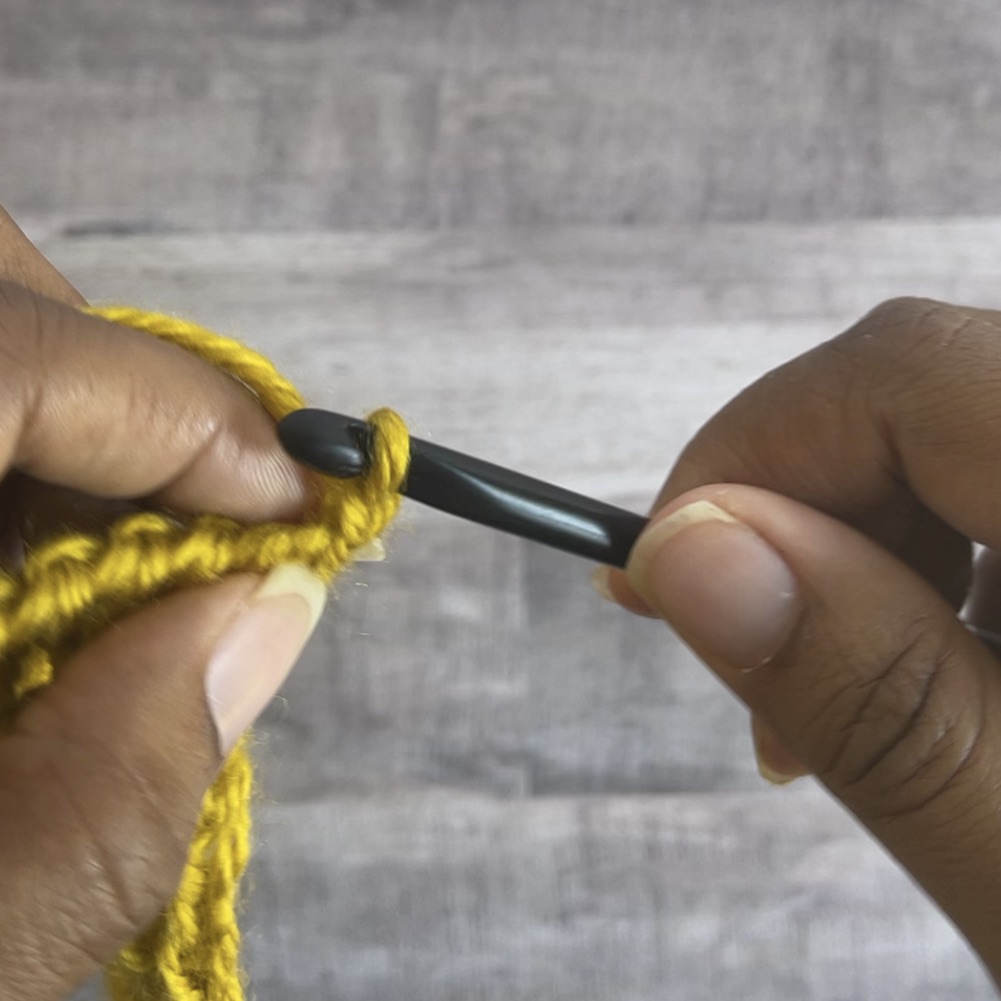
5. RetP: Ch 1 (YO, pull through 1 loop), *YO, pull through 2 loops; rep from * to end
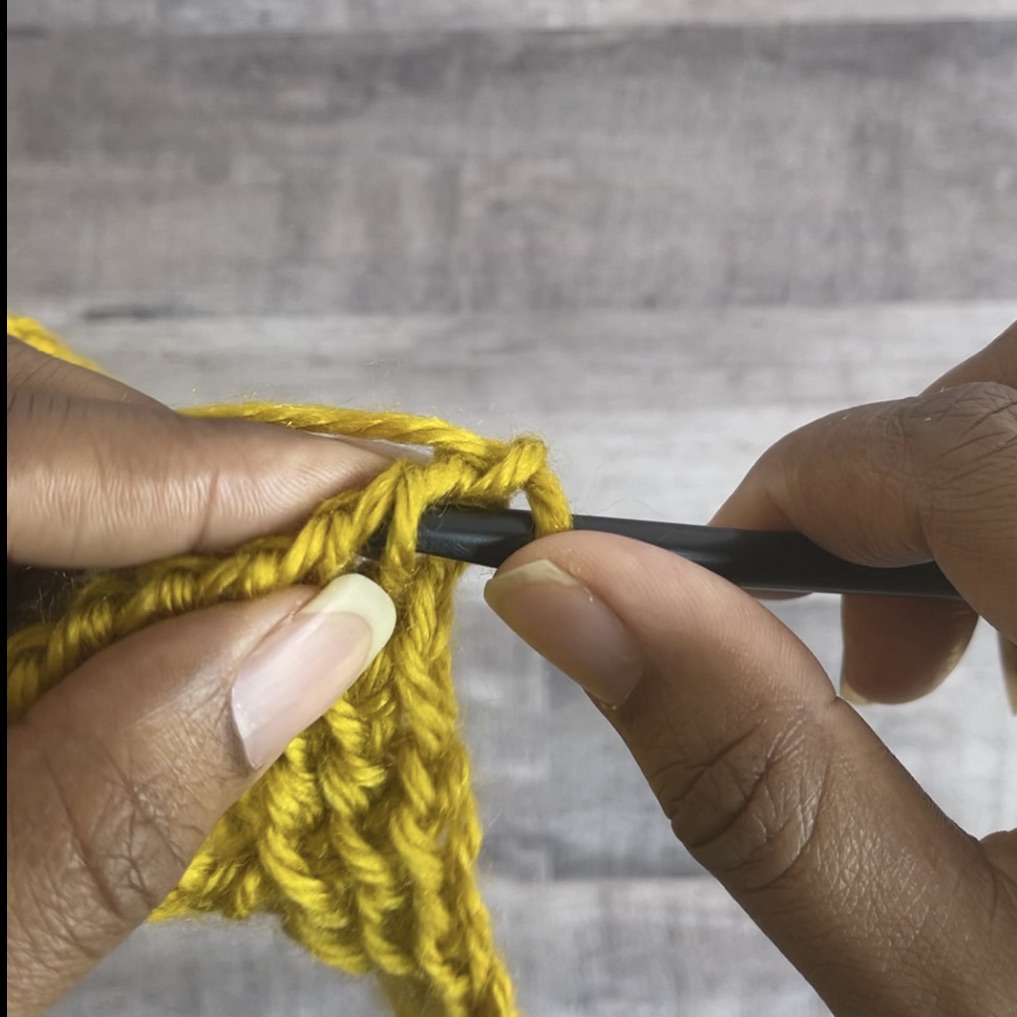
6. Tes or ch 1, YO, insert hook from right to left under 2nd vertical bar, YO, pull up a loop, YO, pull through 2 loops (tdc made), tdc in next st
7. *YO, sk next st, tdc in next 3 sts
8. Rep from * to end. Always work under 2 loops when making the last st

9. Rep Steps 6-8 until desired length
10. Bind off: Ch 1, sl st across (insert hook under vertical bar and horizontal bar
11. Sk 4 ch, tr in last st, turn

Wanna see that in video?
Tips
Always start the first tdc in the 2nd ch from the hook. If you start in the 3rd ch, there will not be enough ch left to maintain the pattern (groups of 3 tdc)
There will be 2 YO made when skipping one stitch. The first YO counts as a chain space, and the second YO is part of the tdc.
If following a tunisian pattern, the tdc may also be referred as tds (tunisian double stitch).
There is a natural lean to the fabric created, but is easily corrected with an edging or seaming the ends together.
Pin it
Want to talk about yarn goodness, crochet tips, and exclusive weekly deals? Join my Facebook Group, Creations By Courtney Community.
If we’re not hanging out on social media yet, come check me out on Facebook, Instagram and Pinterest.
Join my newsletter for sneak peeks, crochet tips, and more. HERE
Use #CreationsByCourtney on social media when sharing your projects.
This tutorial is not to be duplicated or resold, and not to be reproduced commercially. You may use this stitch to create original products for personal use or to sell finished products on Etsy, at farmers markets, and craft fairs, but please credit Creations By Courtney for the tutorial.

3 Responses