Meet Linked Triple Treble Crochet!
Linked stitches take some getting used to, but offer great versatility in crochet because they create a solid fabric. Due to the lack of spaces between stitches, the fabric can be stiff, especially if using worsted weight or heavier yarns. When using a light weight yarn, it actually has nice drape.
In the vast world of the internet, surprisingly, I could not find a tutorial for the linked triple treble crochet stitch. I wanted to make sure that I was starting with the right number of chains, as well as creating something tall enough to match the row height of another crochet fabric. I was considering making something in the round and mixing lace with linked stitches, but changed my mind.
In the adventure of putting this together, I reviewed Kim Guzman’s tutorials and learned an obvious point, that linked stitches are short rows of tunisian crochet. 🤯 Yep, think about tunisian simple stitch and you’re basically making tiny rows of it when creating linked stitches.
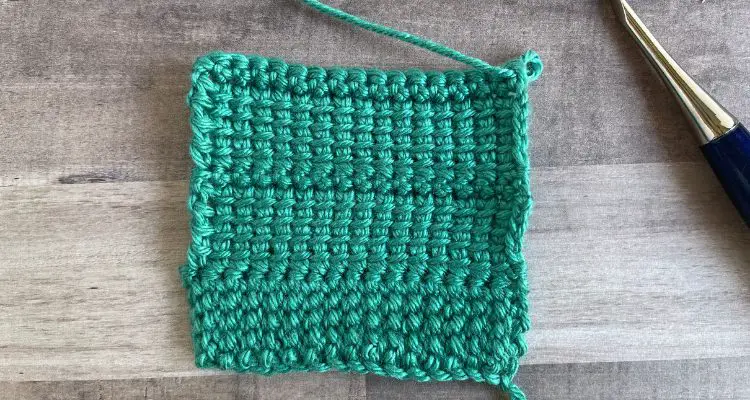
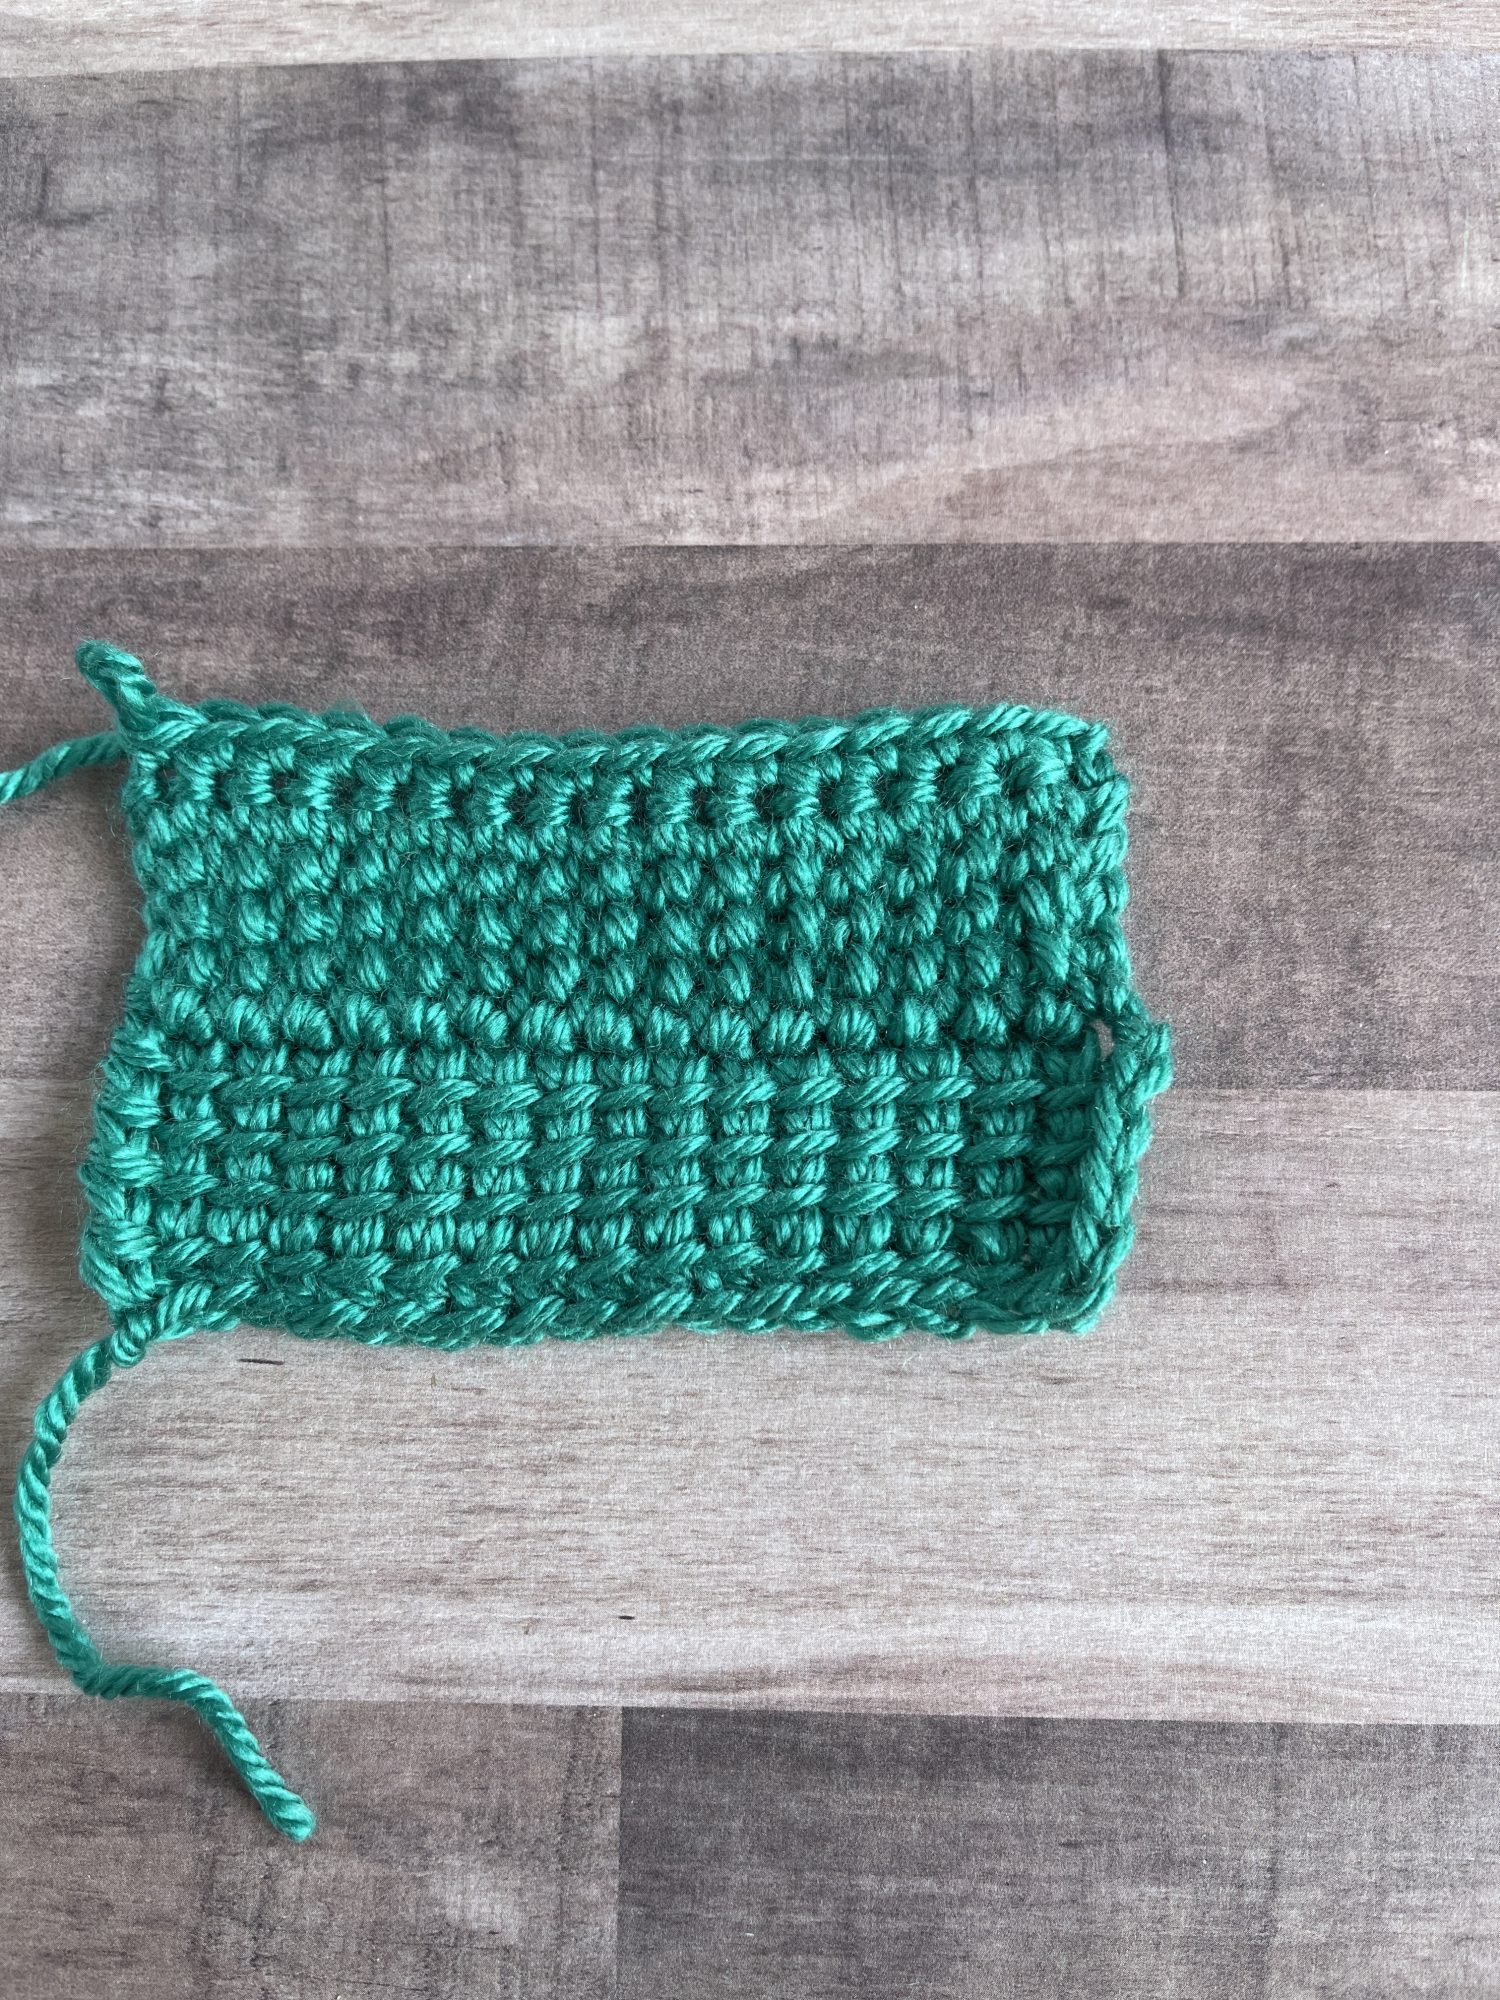
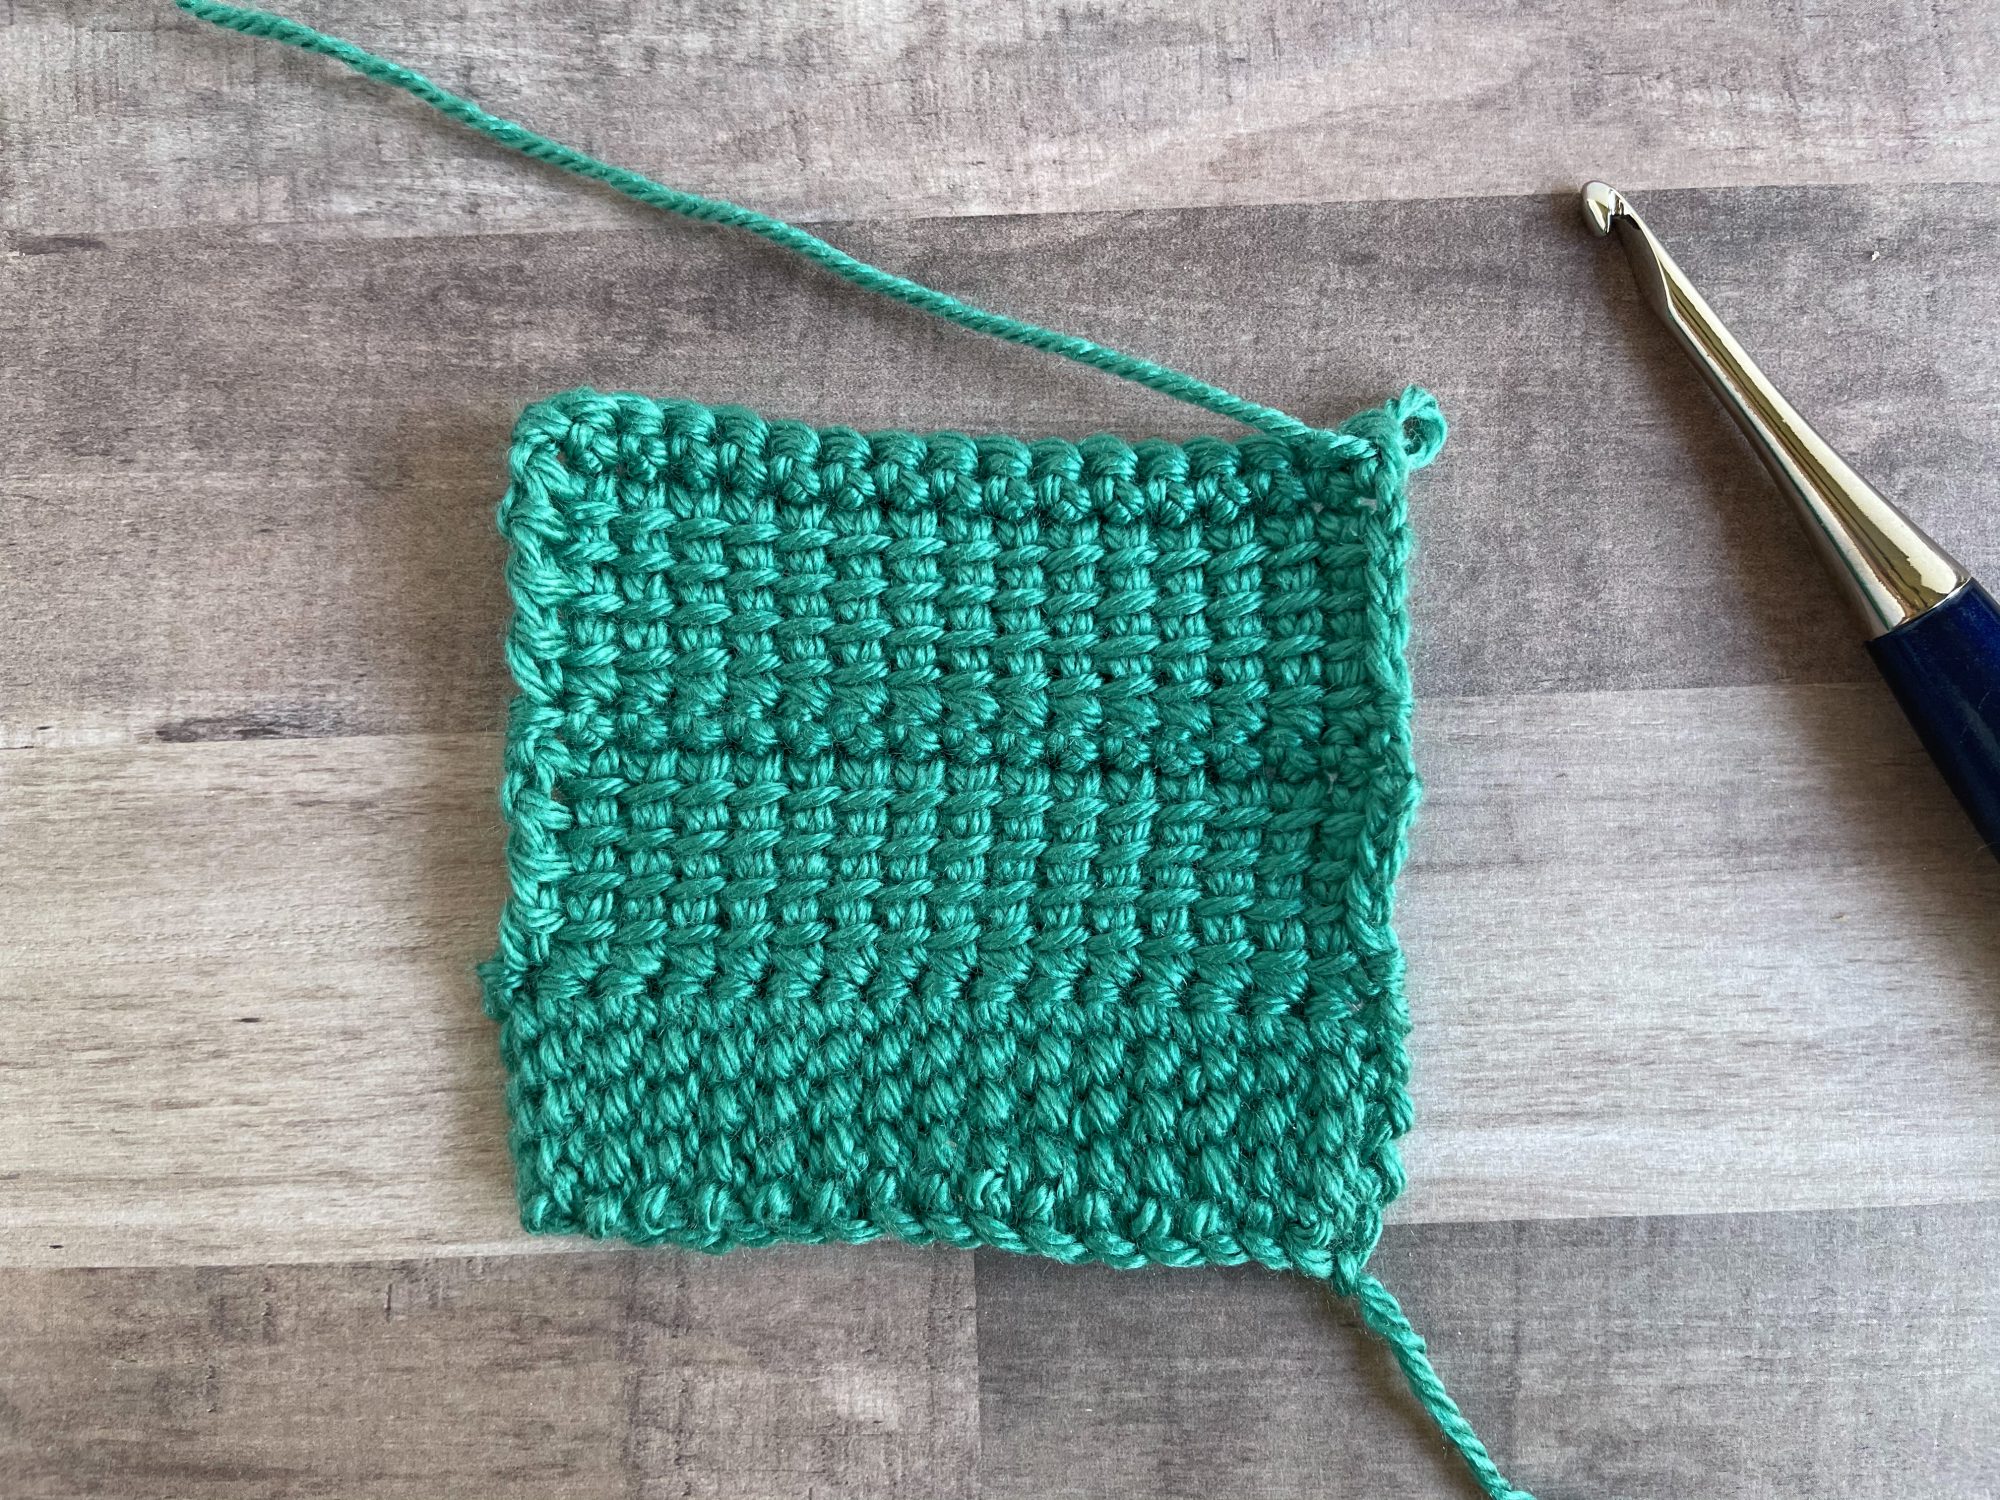
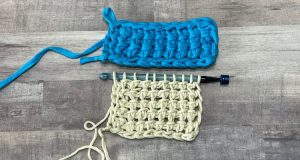
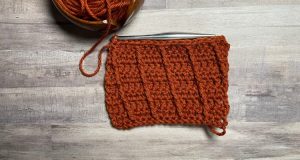
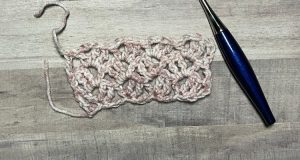
The linked triple treble crochet stitch, like all linked stitches, has distinct right and wrong sides. The right side looks like a vertical row of tunisian simple stitch, or stacked single crochets, whereas the wrong side looks like purl stitches in knit.
If you want to show off the right side only, it helps to work a row of single crochet after each row of linked triple treble stitches.
Let’s get to the fun!
Multiples needed for the stitch
You can make any length of chain for the linked triple treble crochet stitches. If you want a particular number of stitches, don’t forget to add six chains for the height of the first linked triple treble, or you’ll find yourself at the end of the first row with fewer stitches.
Techniques and Abbreviations Used:
Beg-ltrtr: beginning linked triple treble crochet
Ch: chain
FO: fasten off
Rep: repeat
Sc: single crochet
St(s): stitch(es)
Sk: skip
YO: yarn over
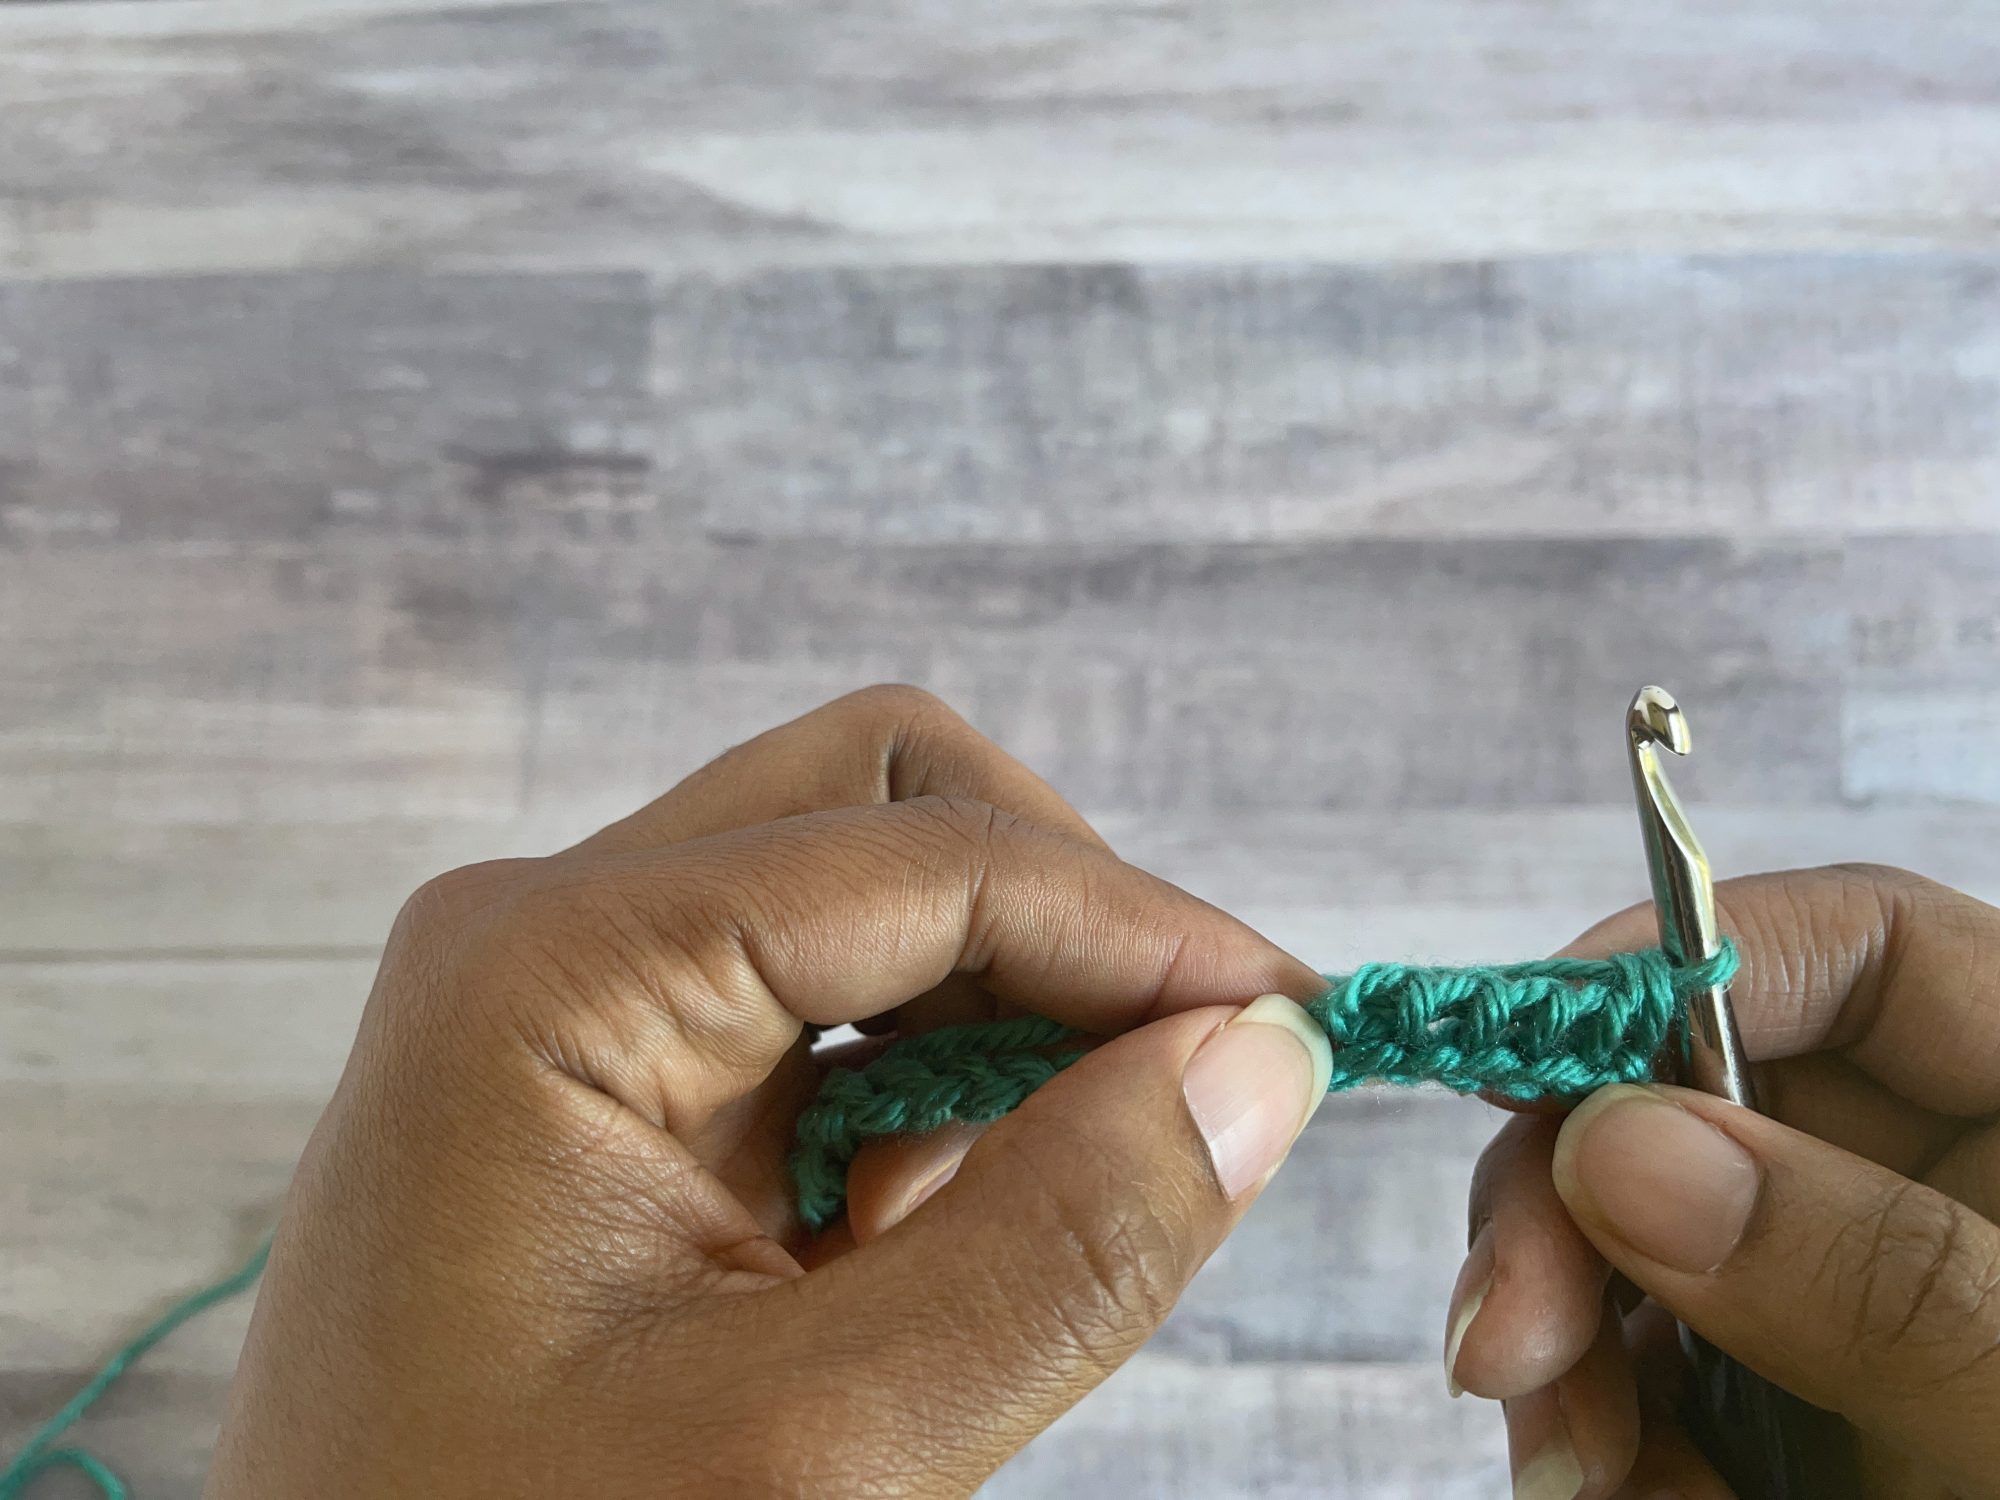
Beg-ltrtr: Ch 5, starting in 2nd ch from hook, insert hook, YO and pull up a loop, [insert hook in next ch, YO and pull up a loop] 3 times (5 loops on hook), insert hook in first st, YO and pull up a loop (6 loops on hook), [YO, pull through 2 loops] 5 times
Ltrtr: insert hook under first horizontal bar, YO, pull up a loop, [insert hook under next horizontal bar, YO, pull up a loop] 3 times (5 loops), insert hook in next st, YO, pull up a loop (6 loops on hook), [YO, pull through 2 loops] 5 times
Supplies Used:
I grabbed a skein of Red Heart Soft and my navy Furls Odyssey in a size I-9.
You can use any weight yarn with a recommended hook size or larger. A larger hook can prevent the fabric from being too stiff.
Written Instructions
Ch 21
Row 1: Beg-ltrtr, ltrtr in each st to end, turn
Row 2: Rep Row 1
OR
Row 2: sc in each st, turnTo show only right side of ltrtr, complete a row of sc, turn
Row 3: Rep Row 1
Continue to rep last 2 rows until desired length
Now let’s go step-by-step
- Ch 21
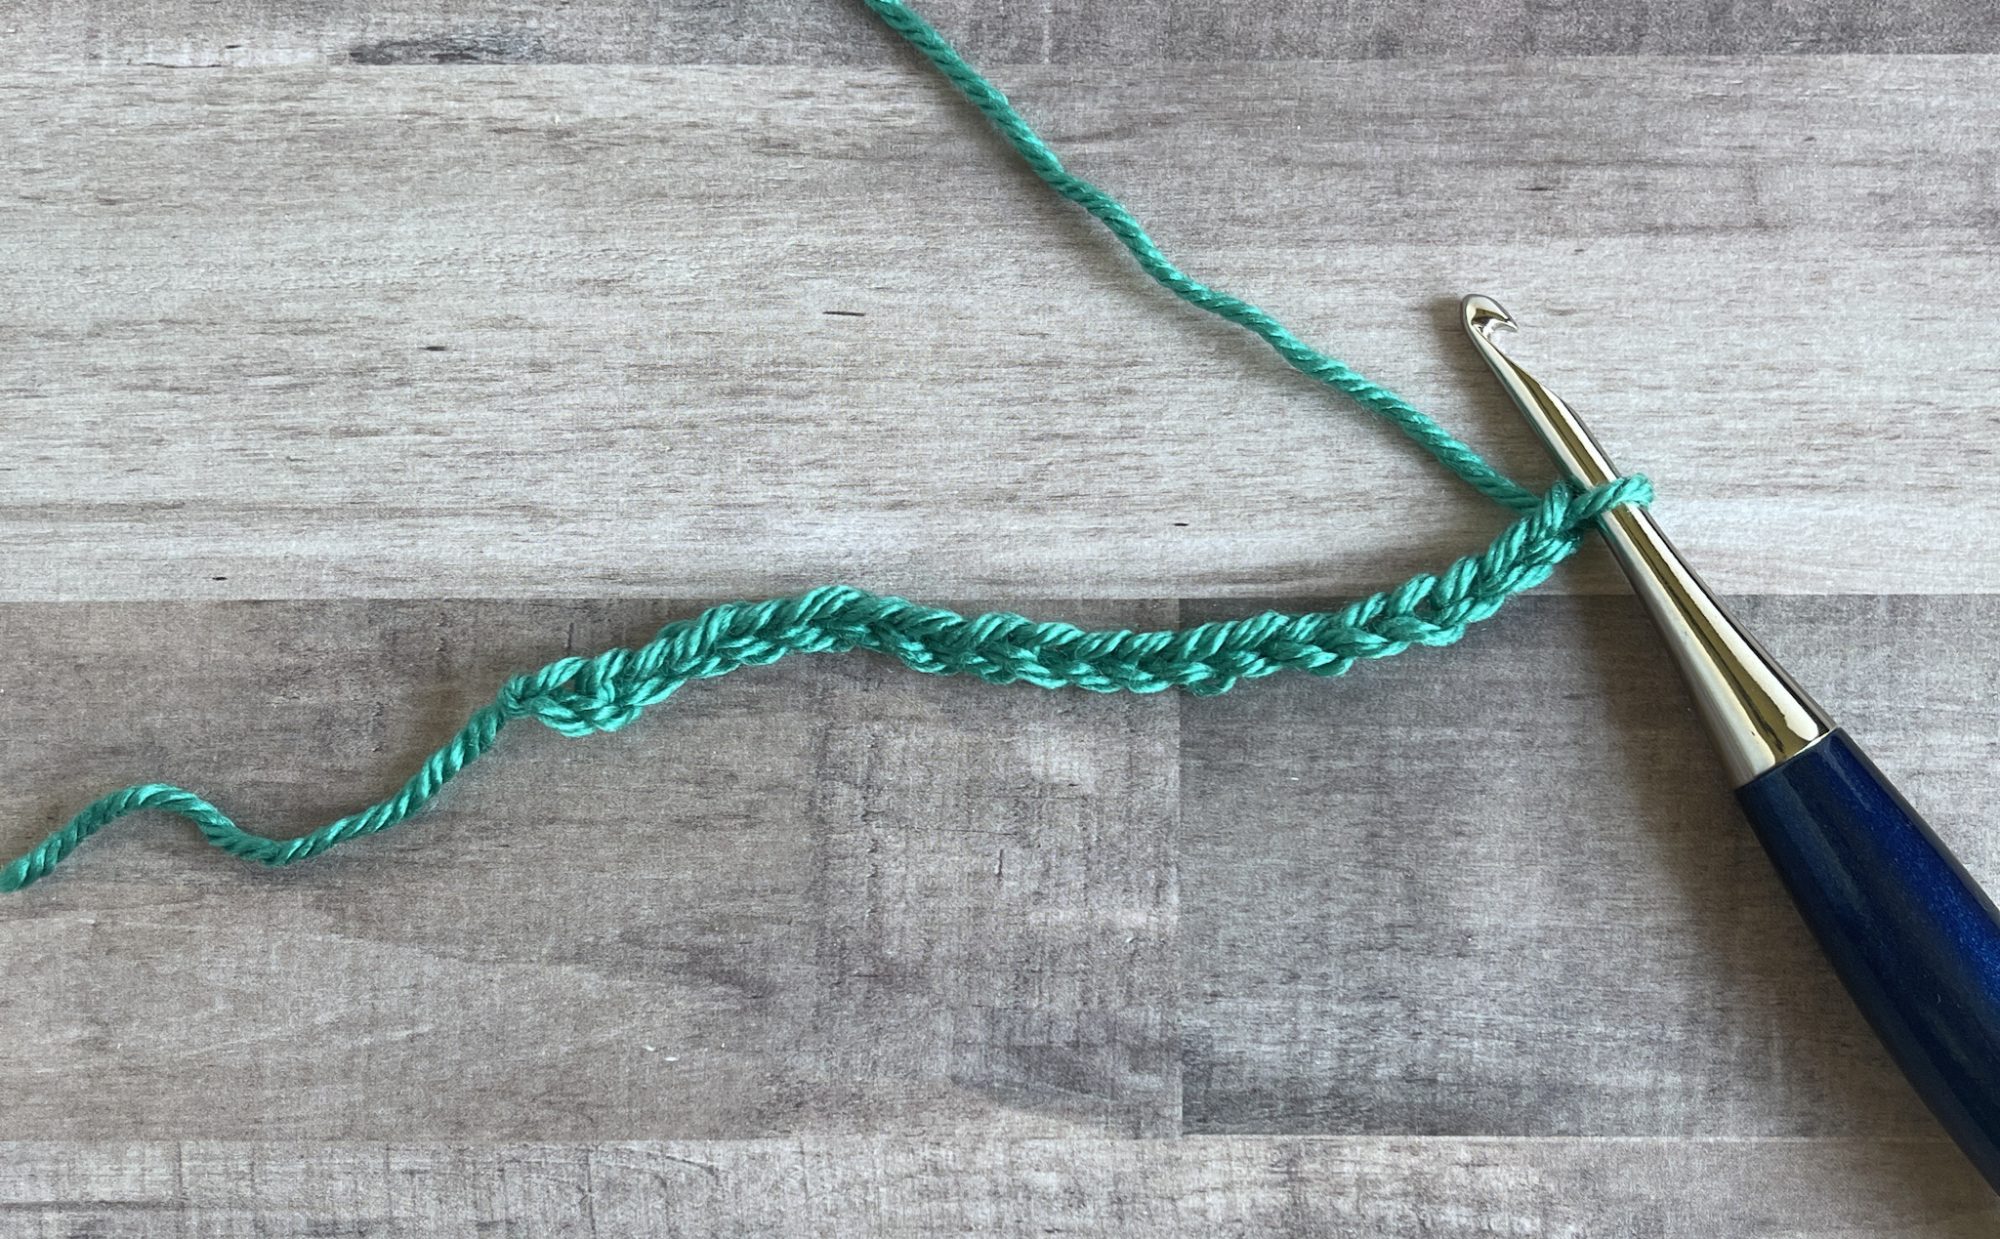
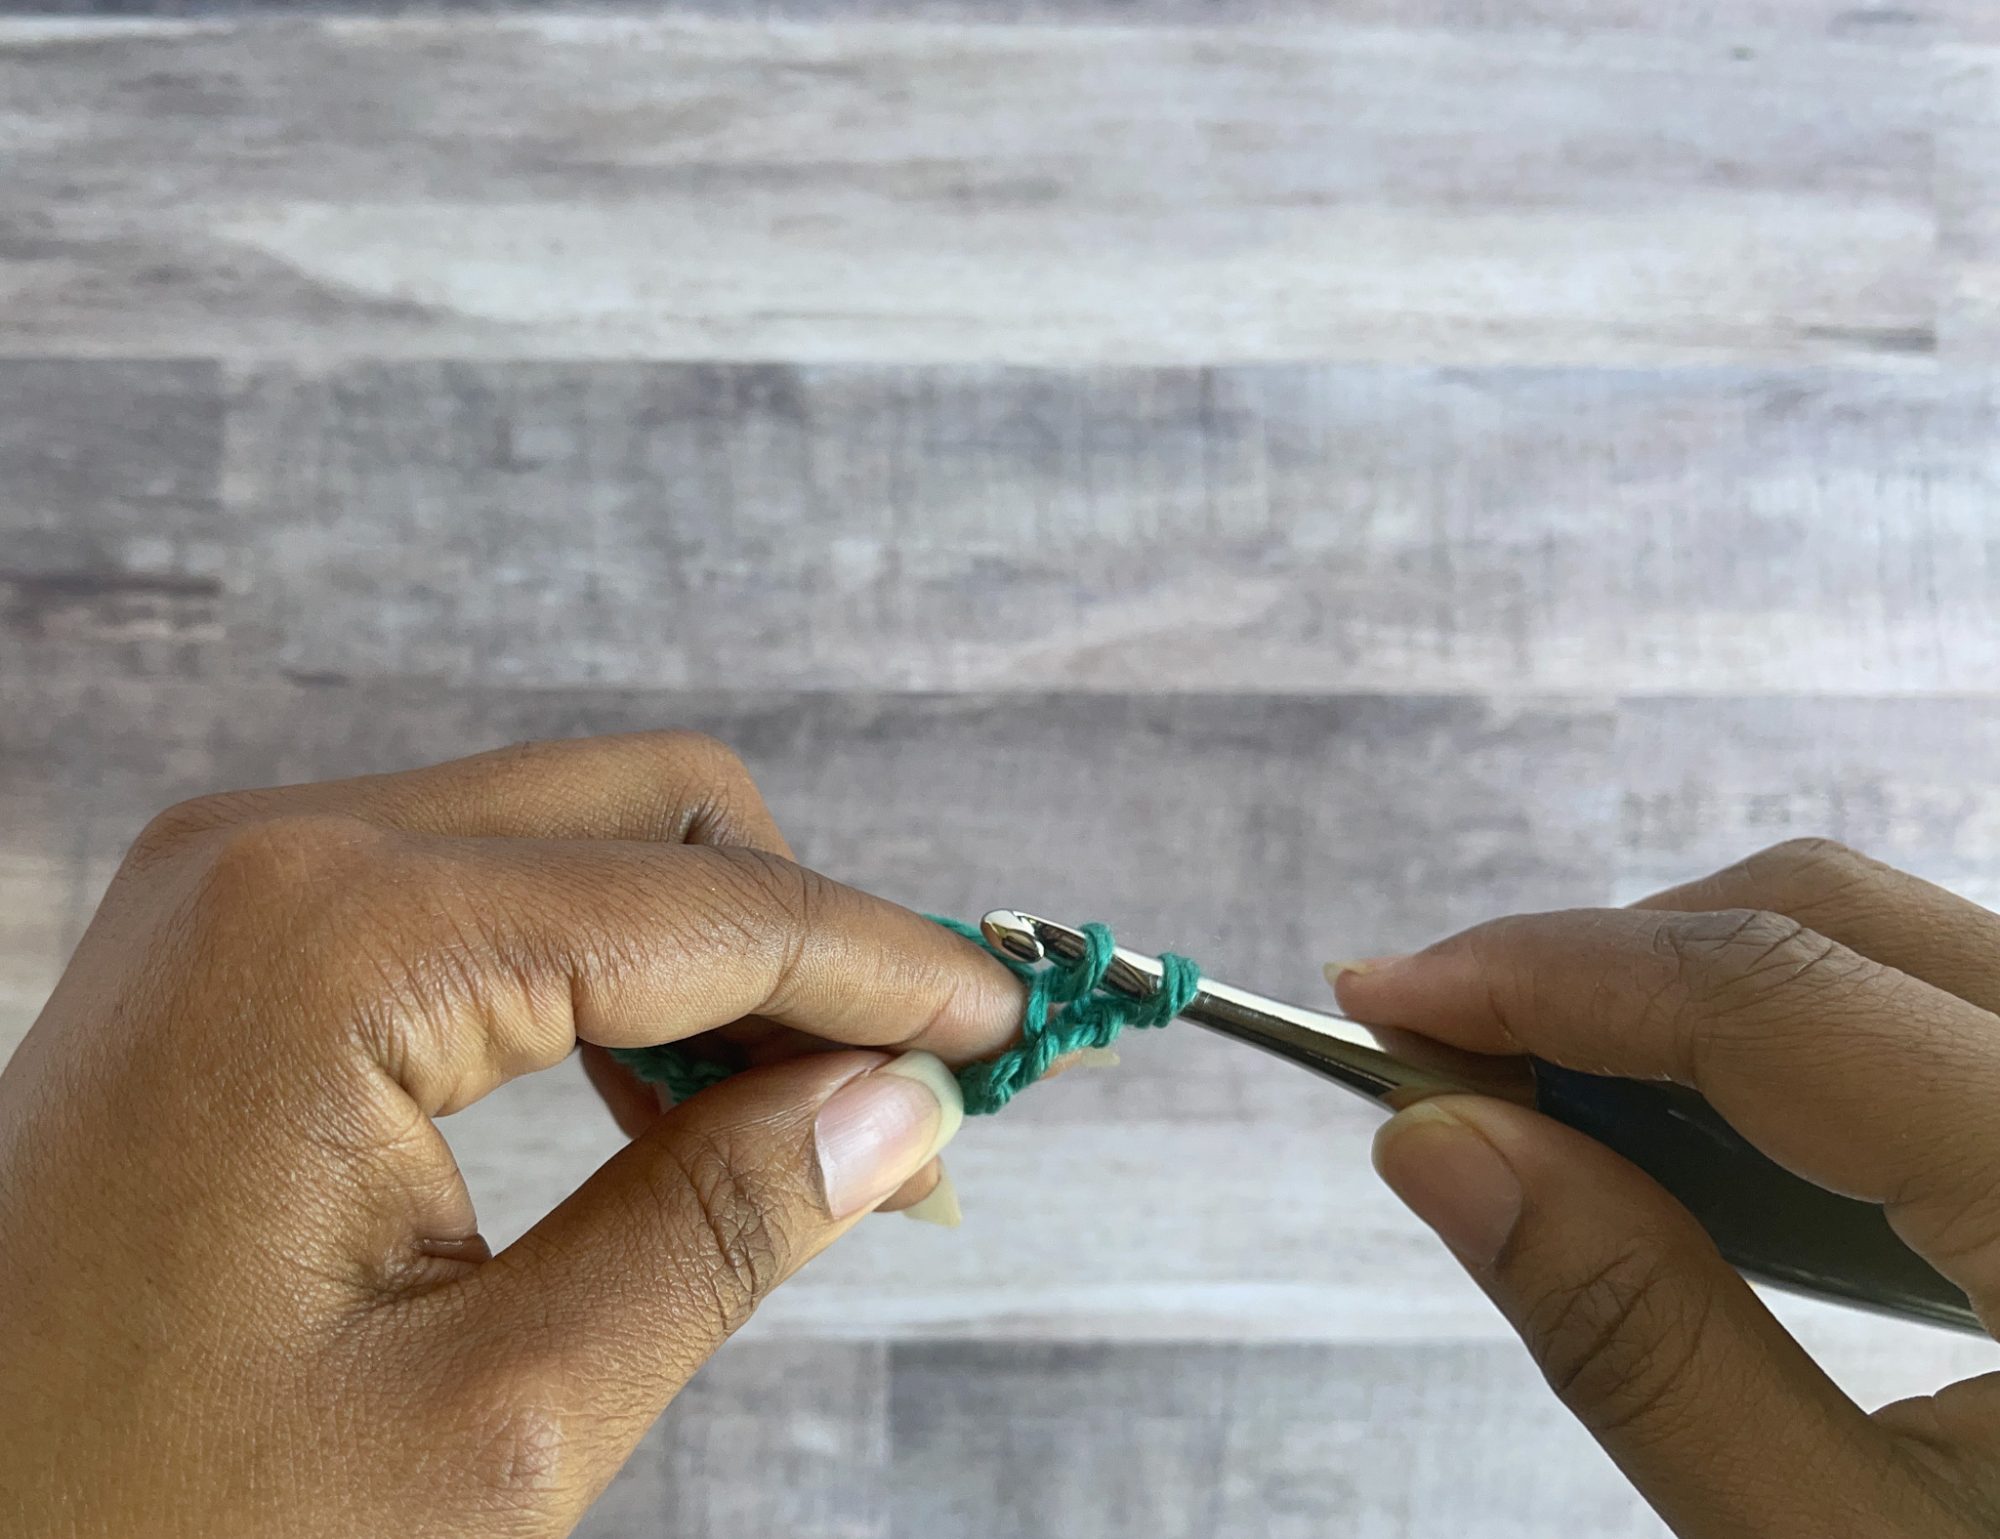
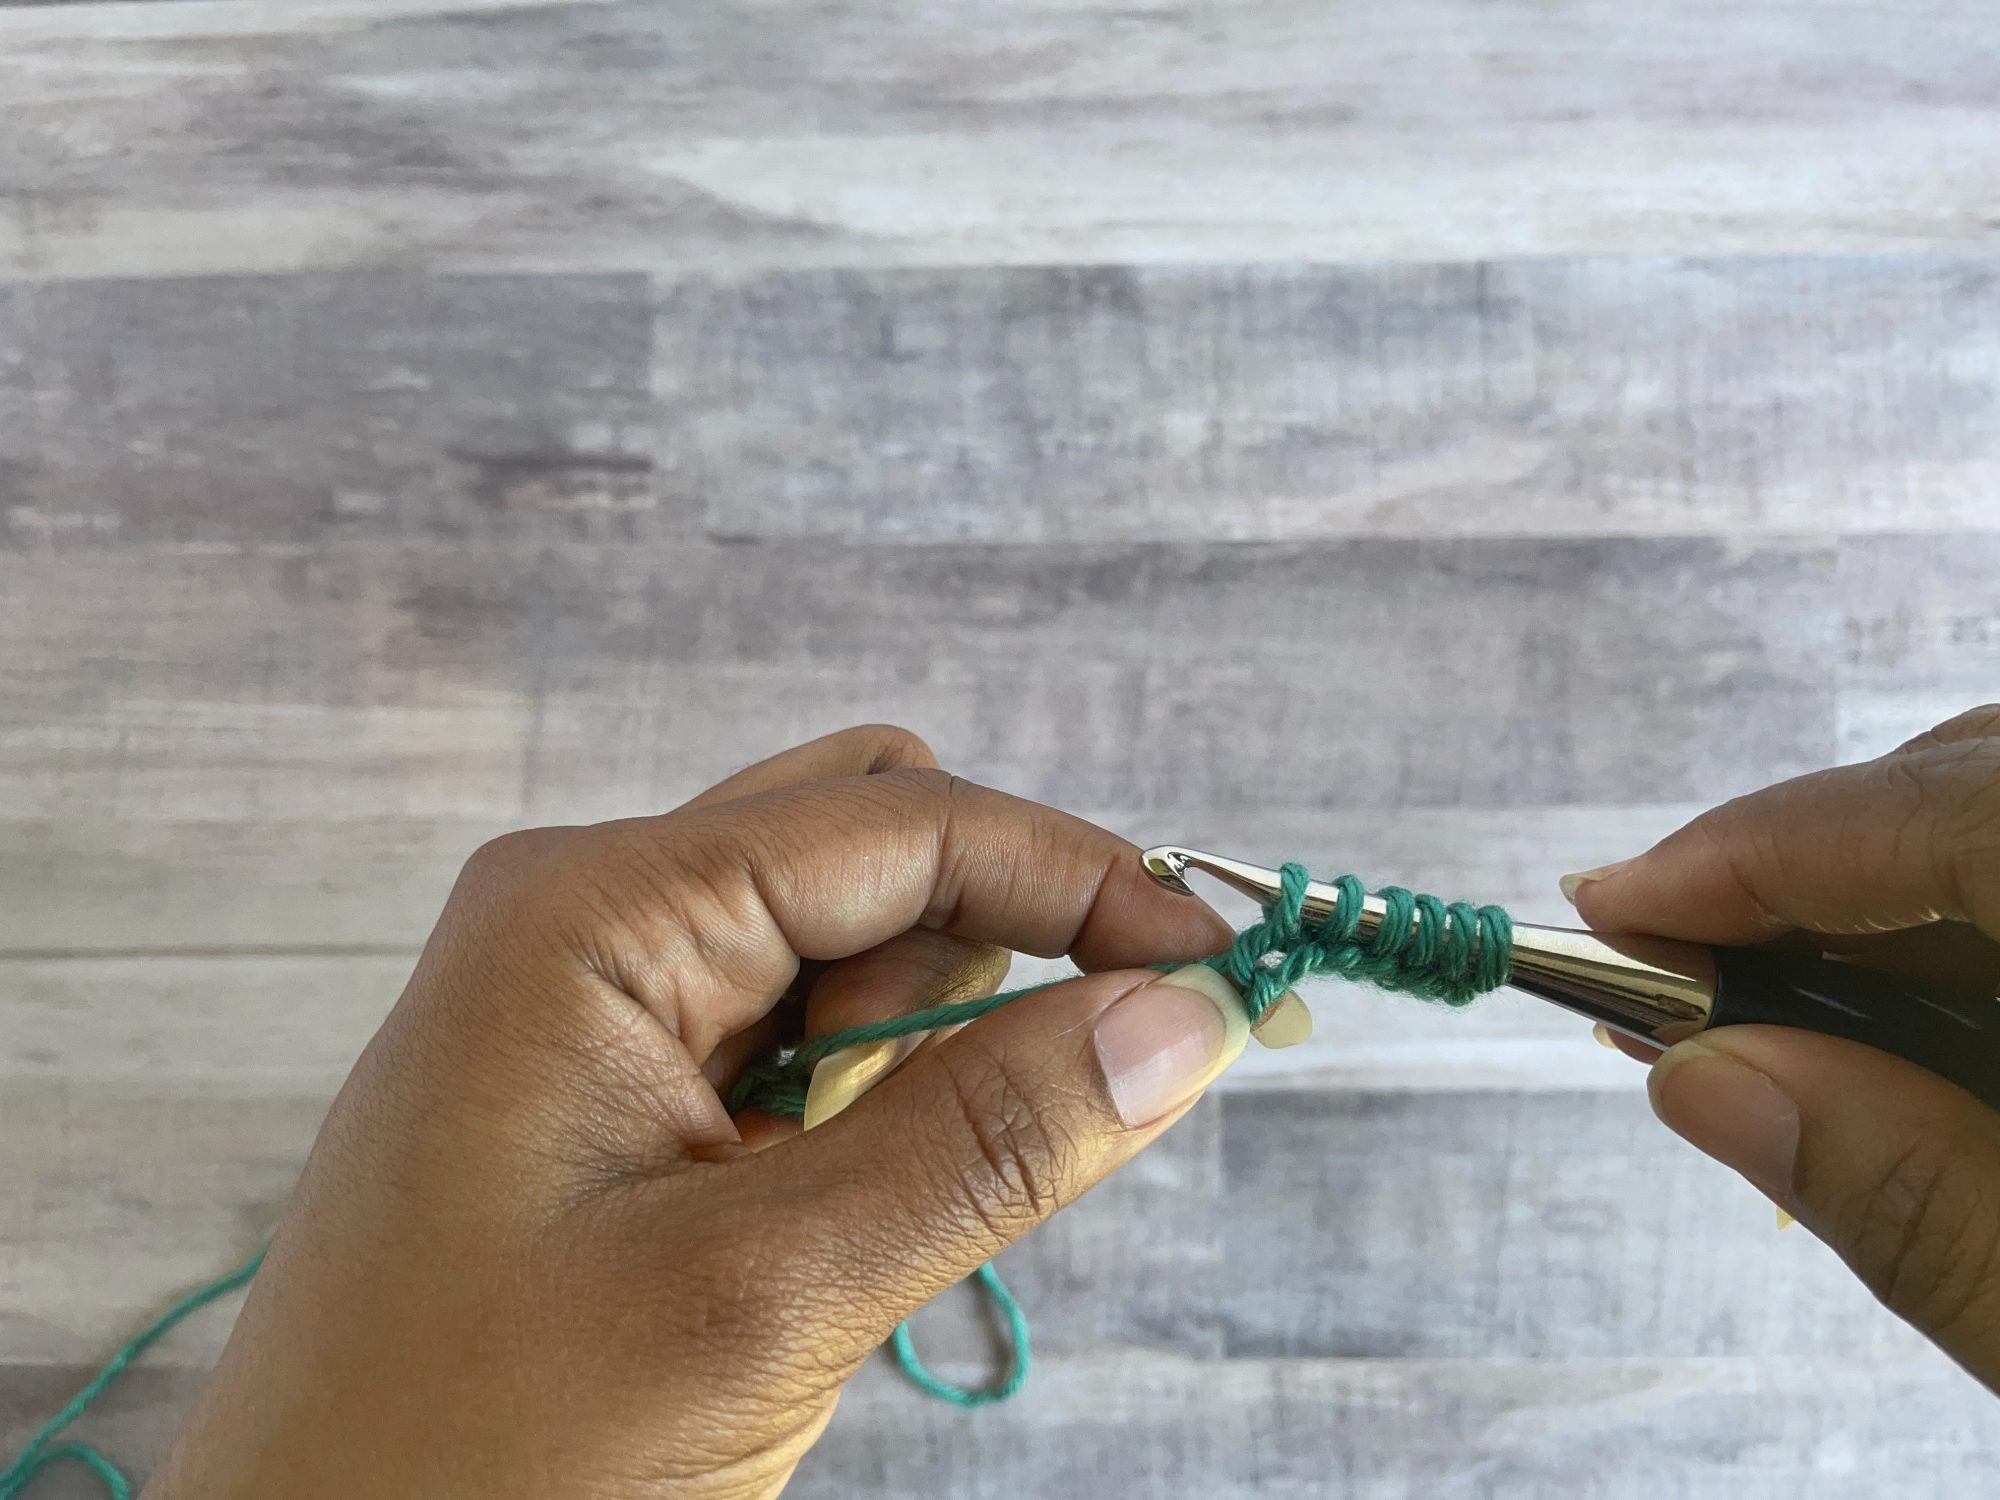
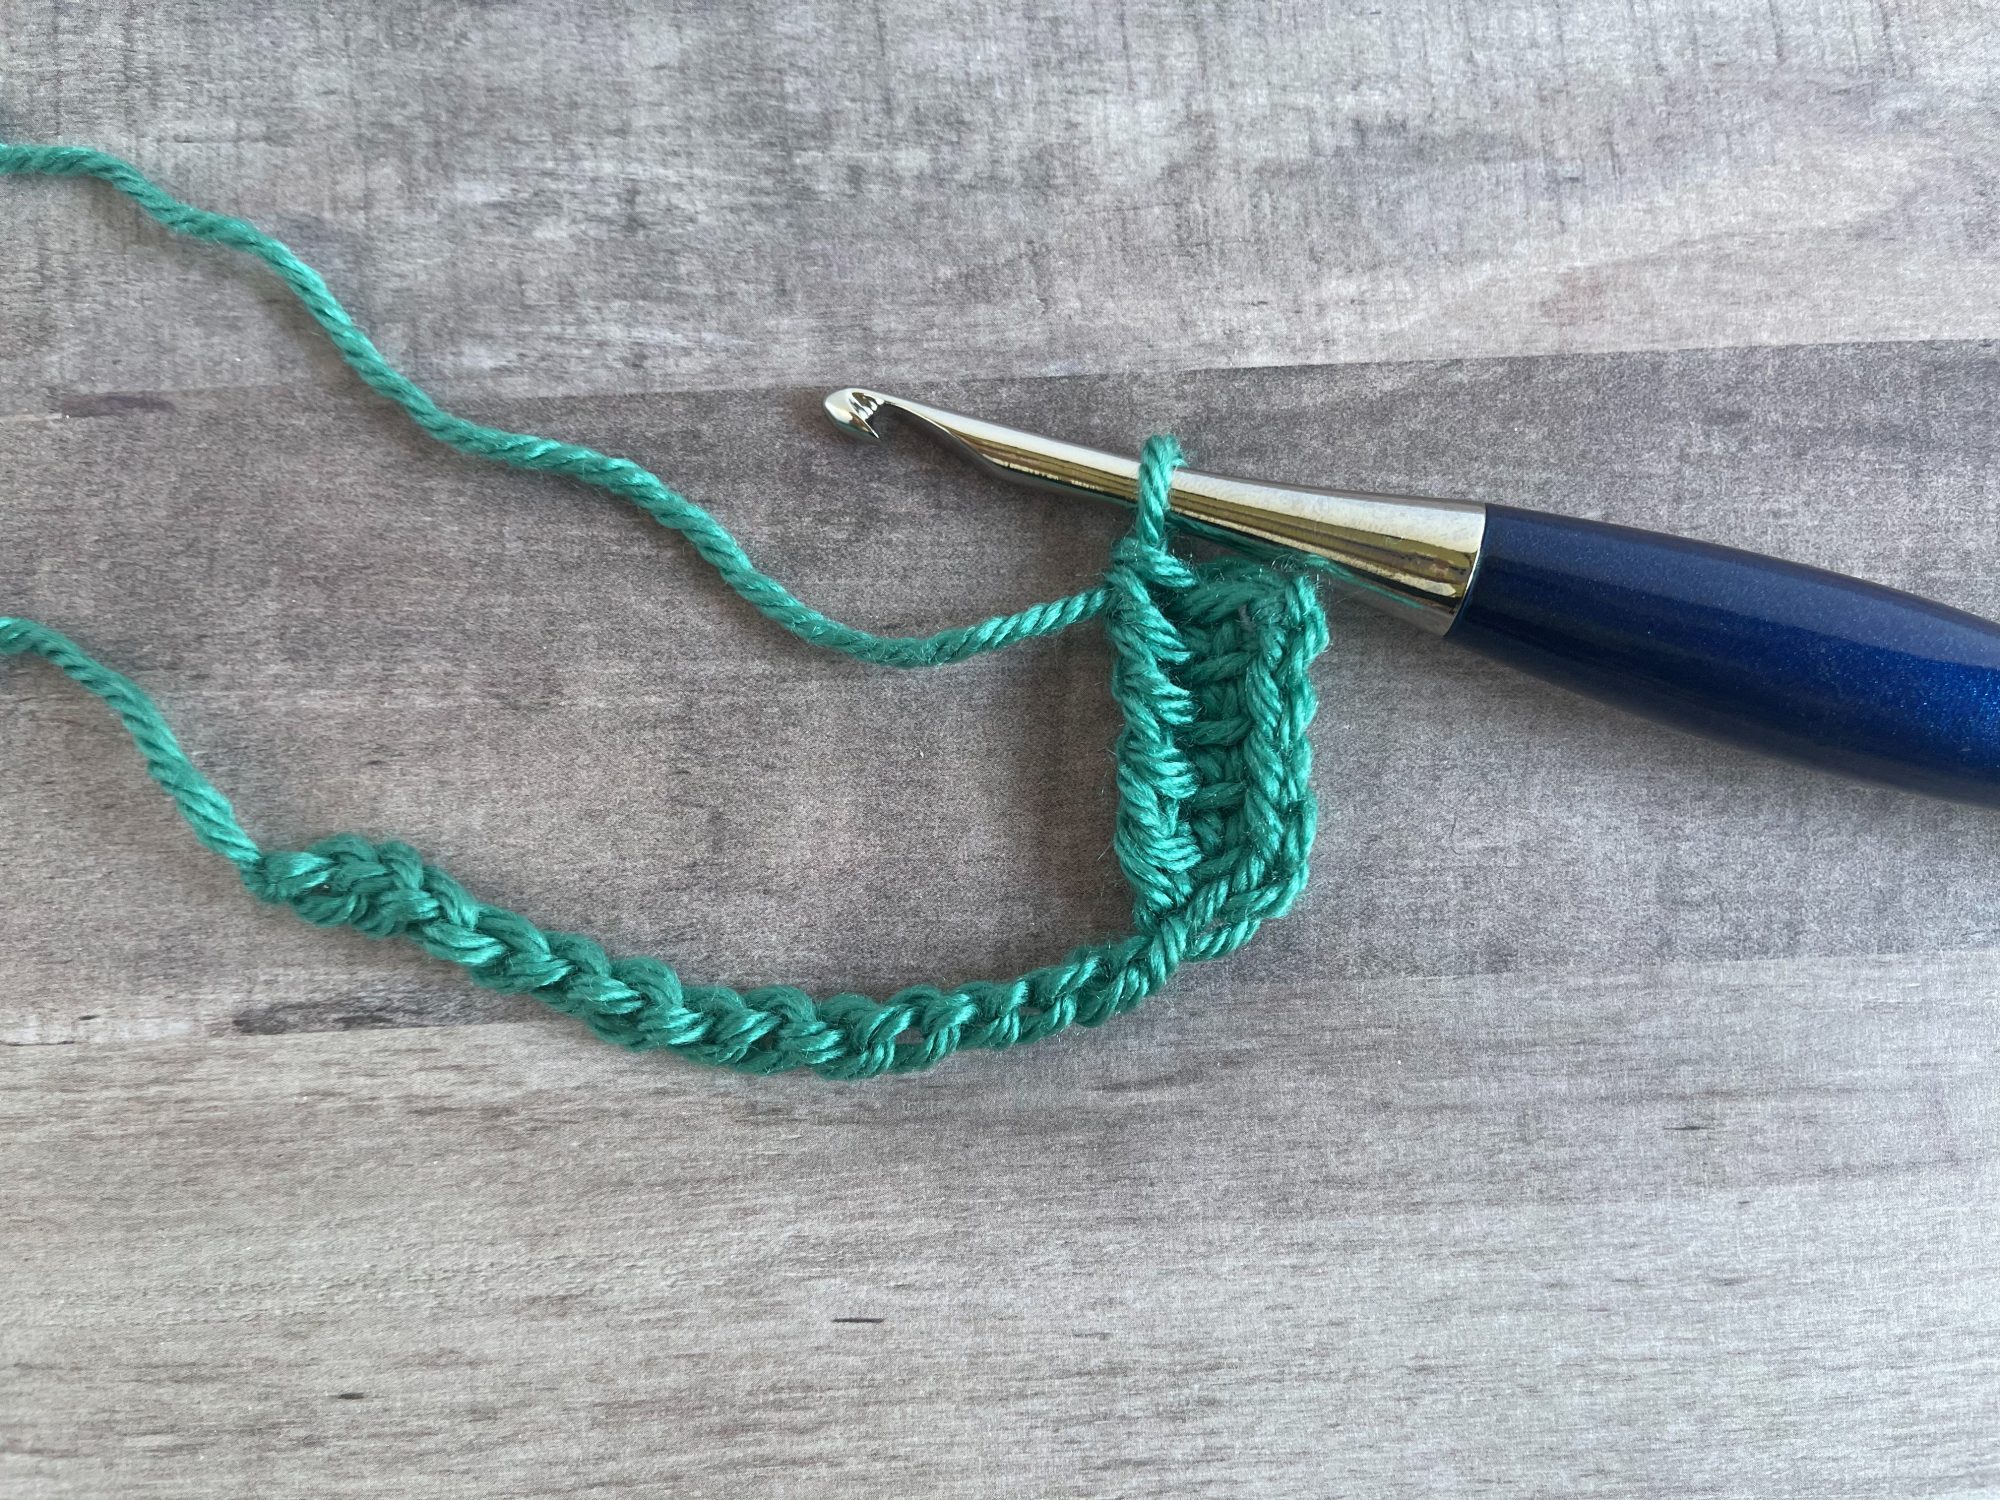
2. Begin in 2nd ch from hook, [insert hook in next st, YO, pull up a loop] 5 times (6 loops on hook), [YO, pull through 2 loops] 5 times. Beg-ltrtr made
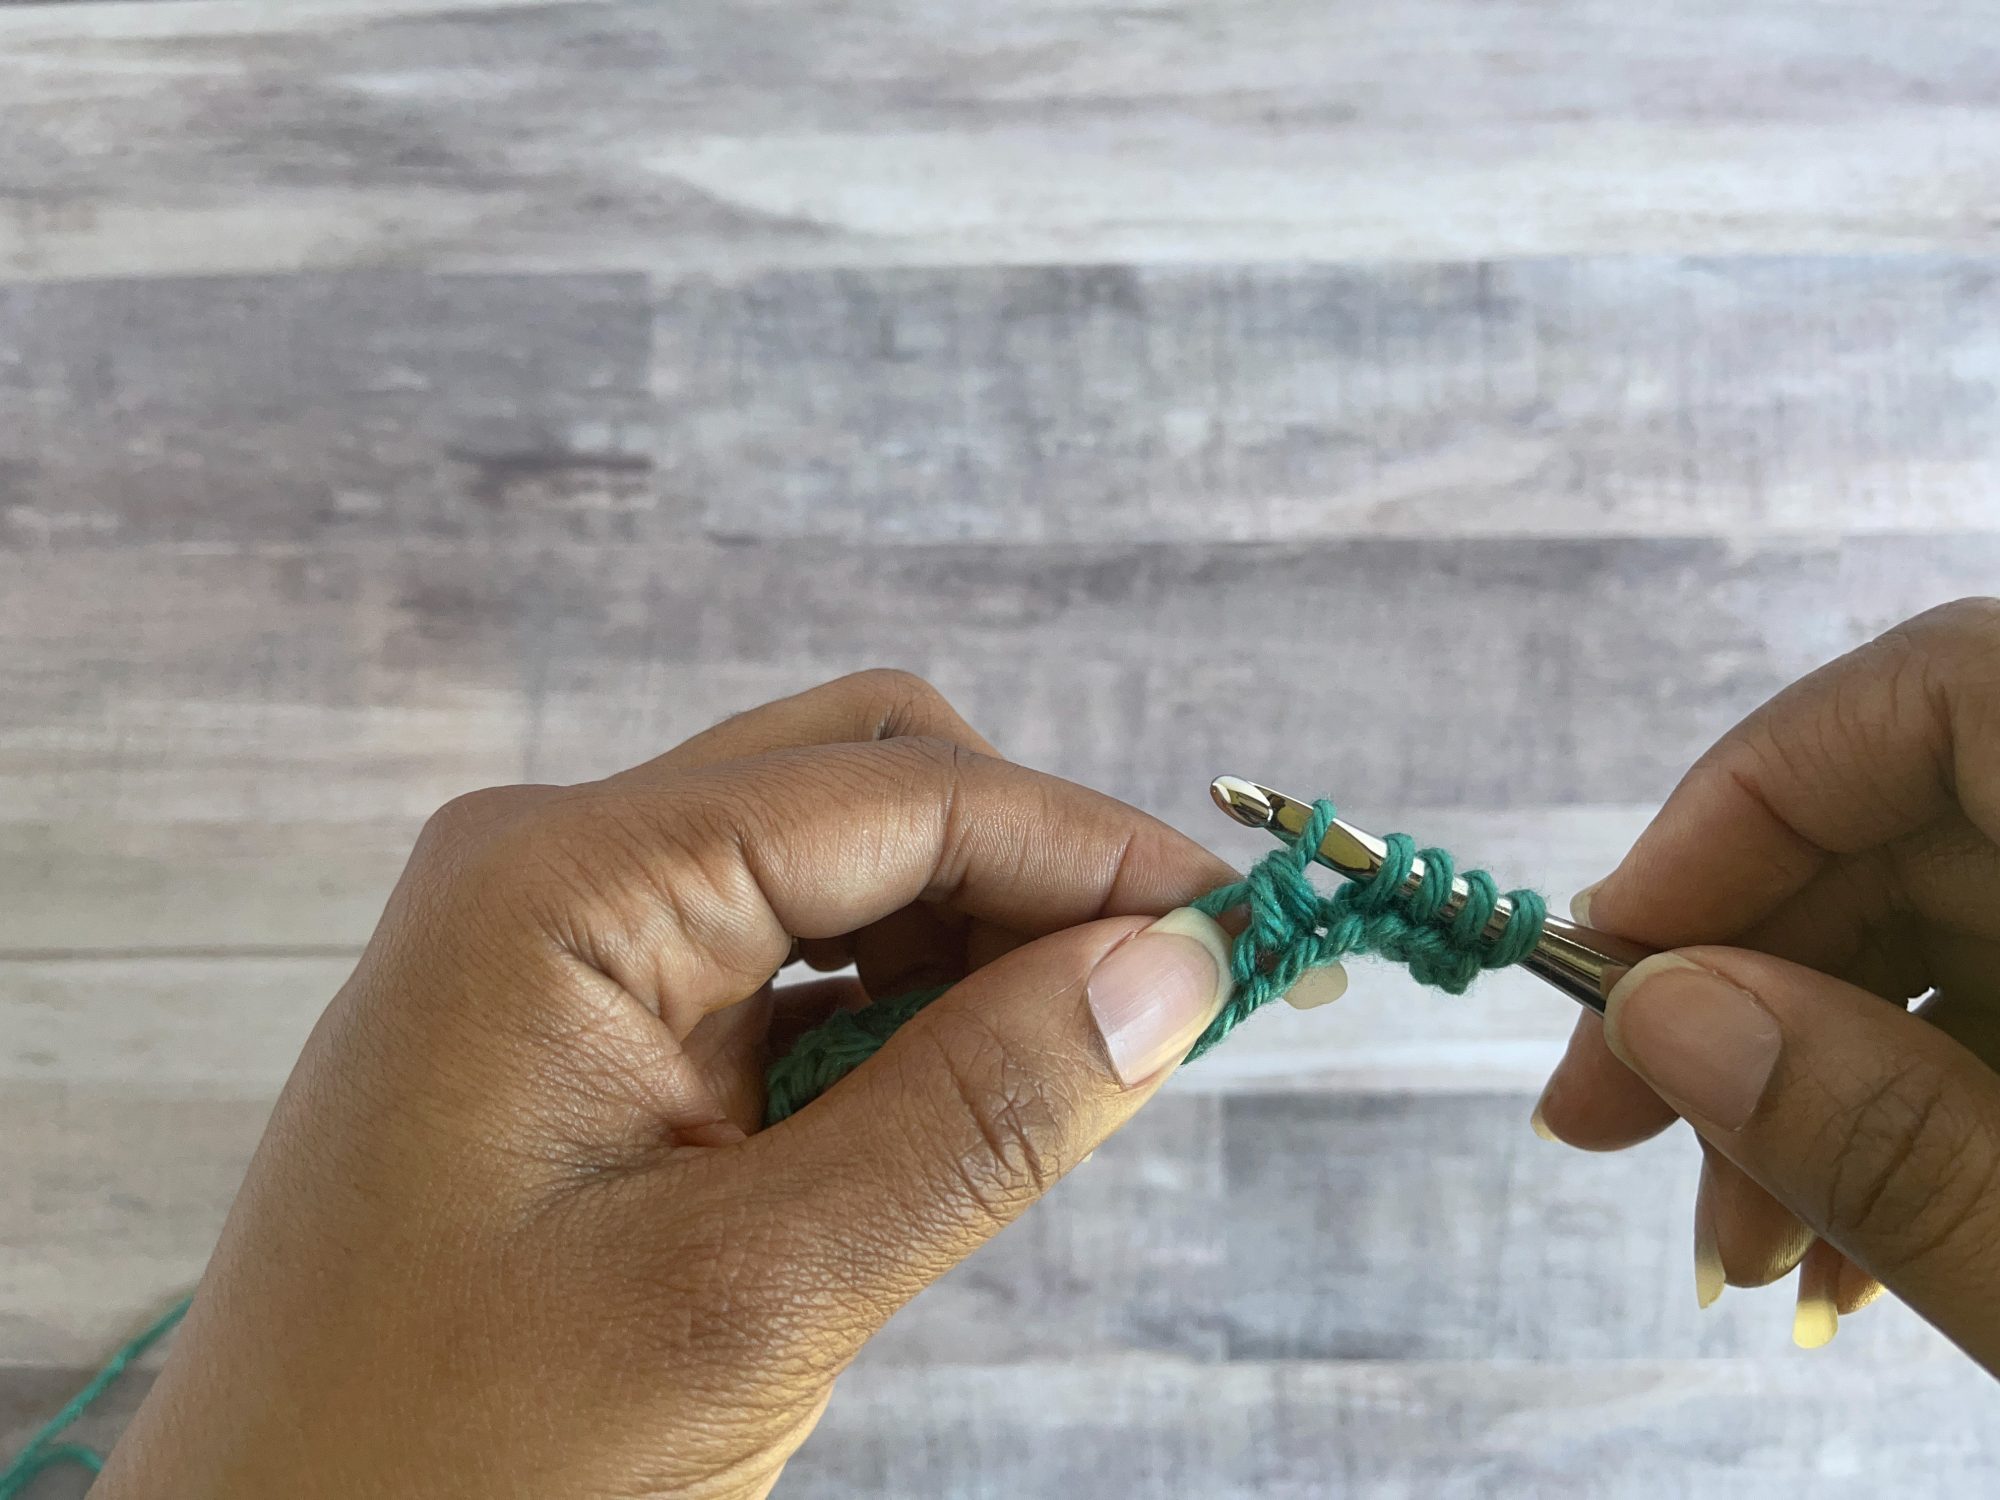
3. Insert hook under first horizontal bar, YO, pull up a loop, [insert hook under next horizontal bar, YO, pull up a loop] 3 times (5 loops on hook), insert hook in next ch, YO, pull up a loop (6 loops on hook), [YO, pull through 2 loops] 5 times
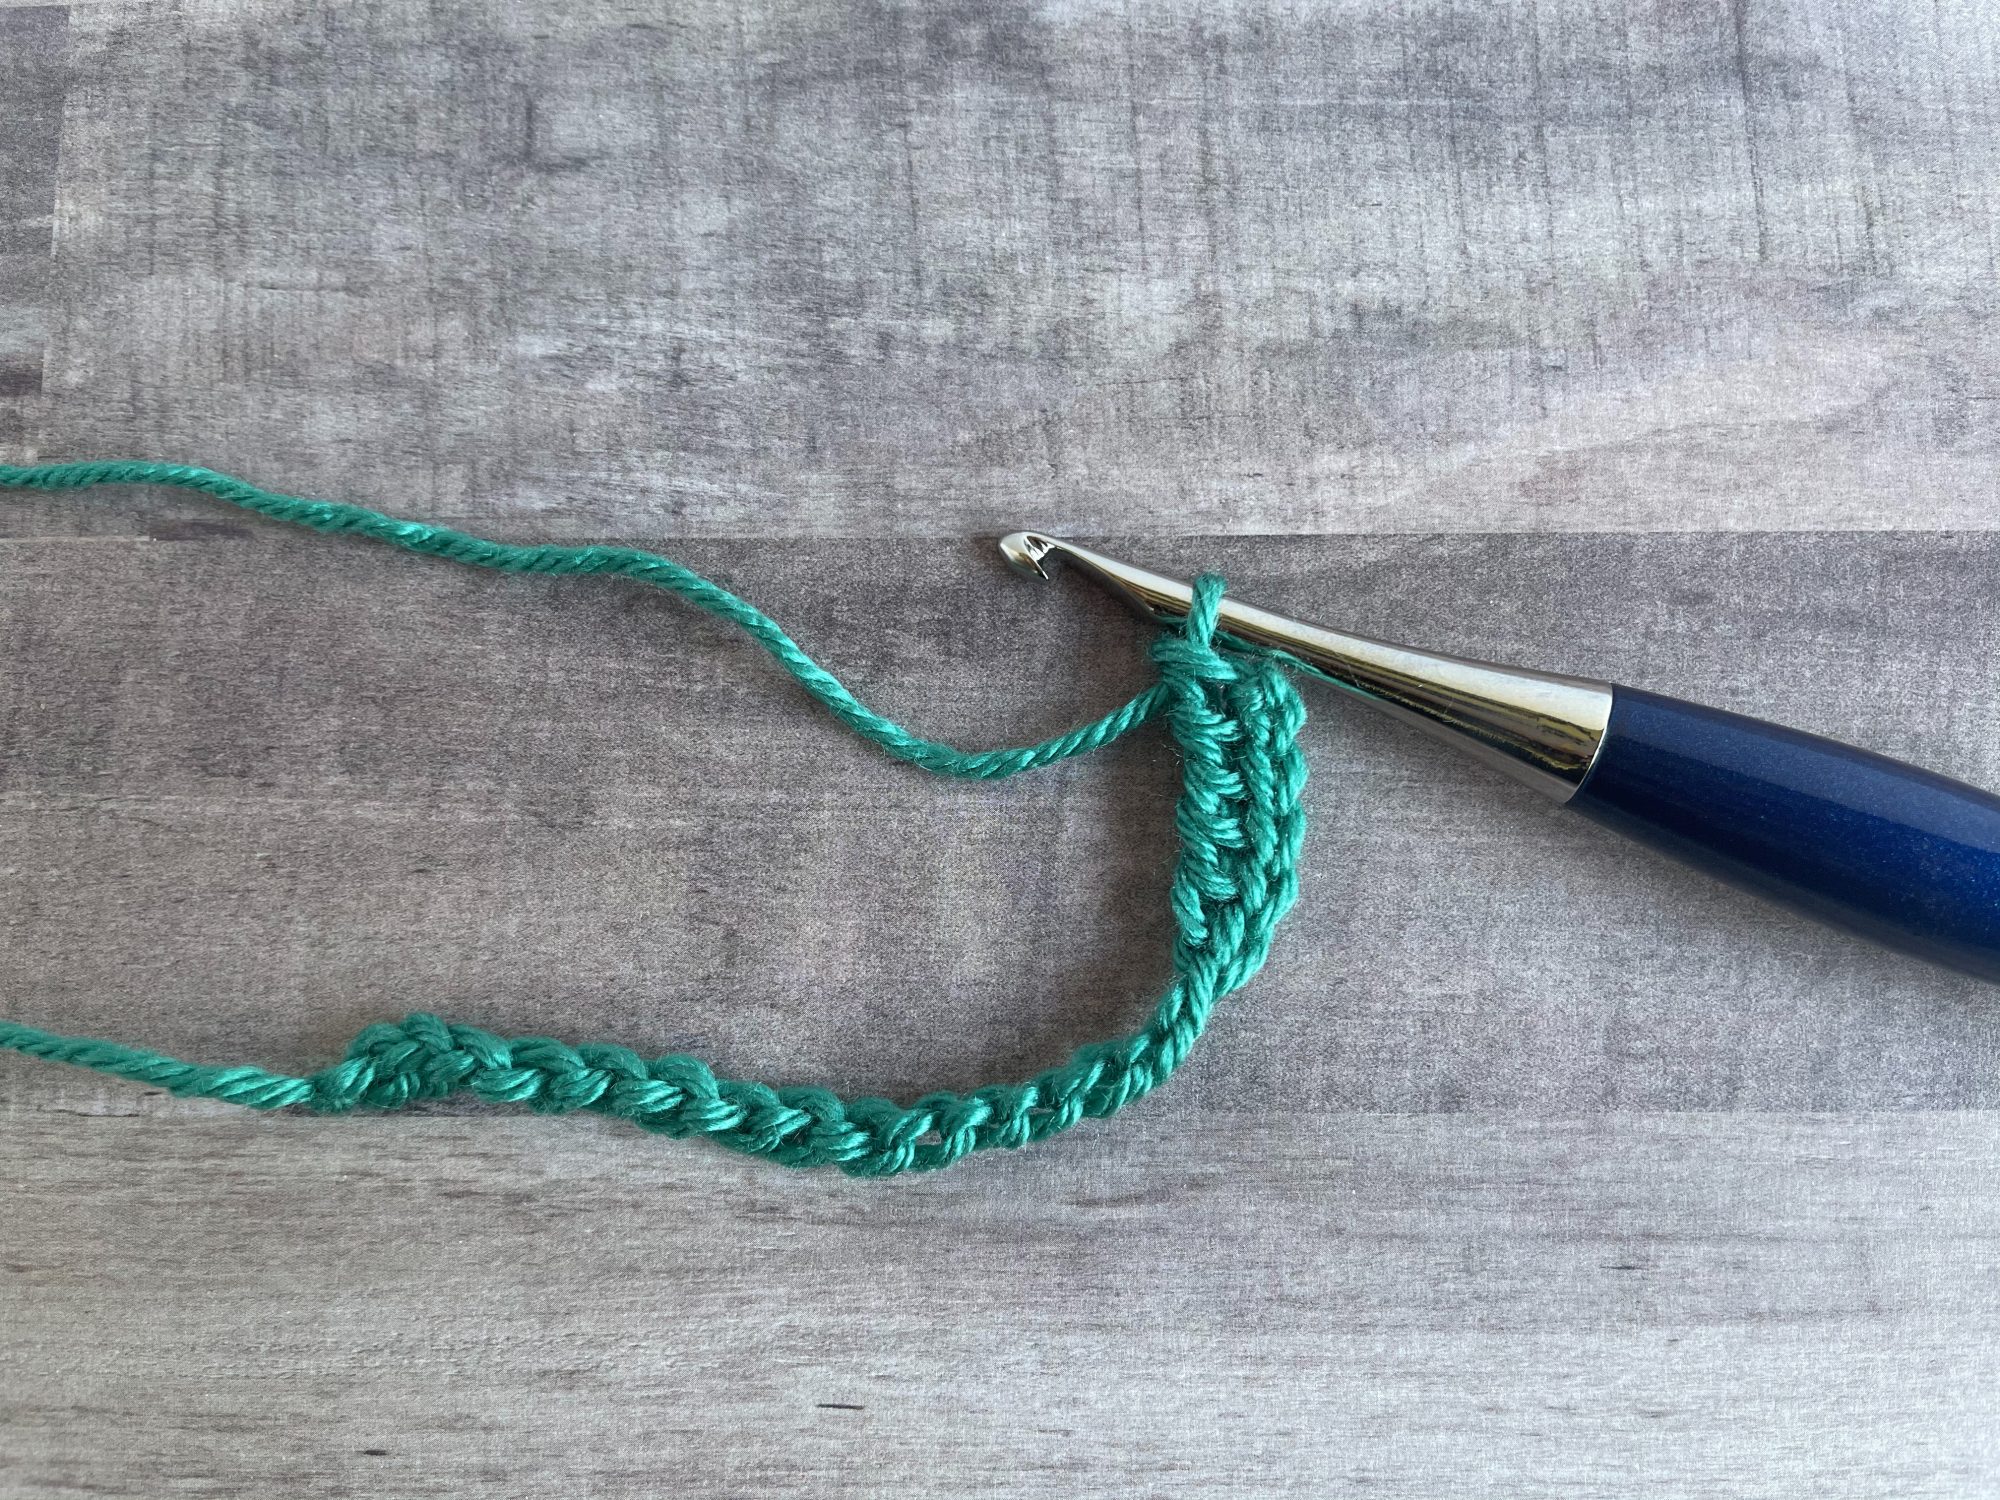
4. Rep Step 3 across picking up one ch with each ltrtr, turn; 16 ltrtr made
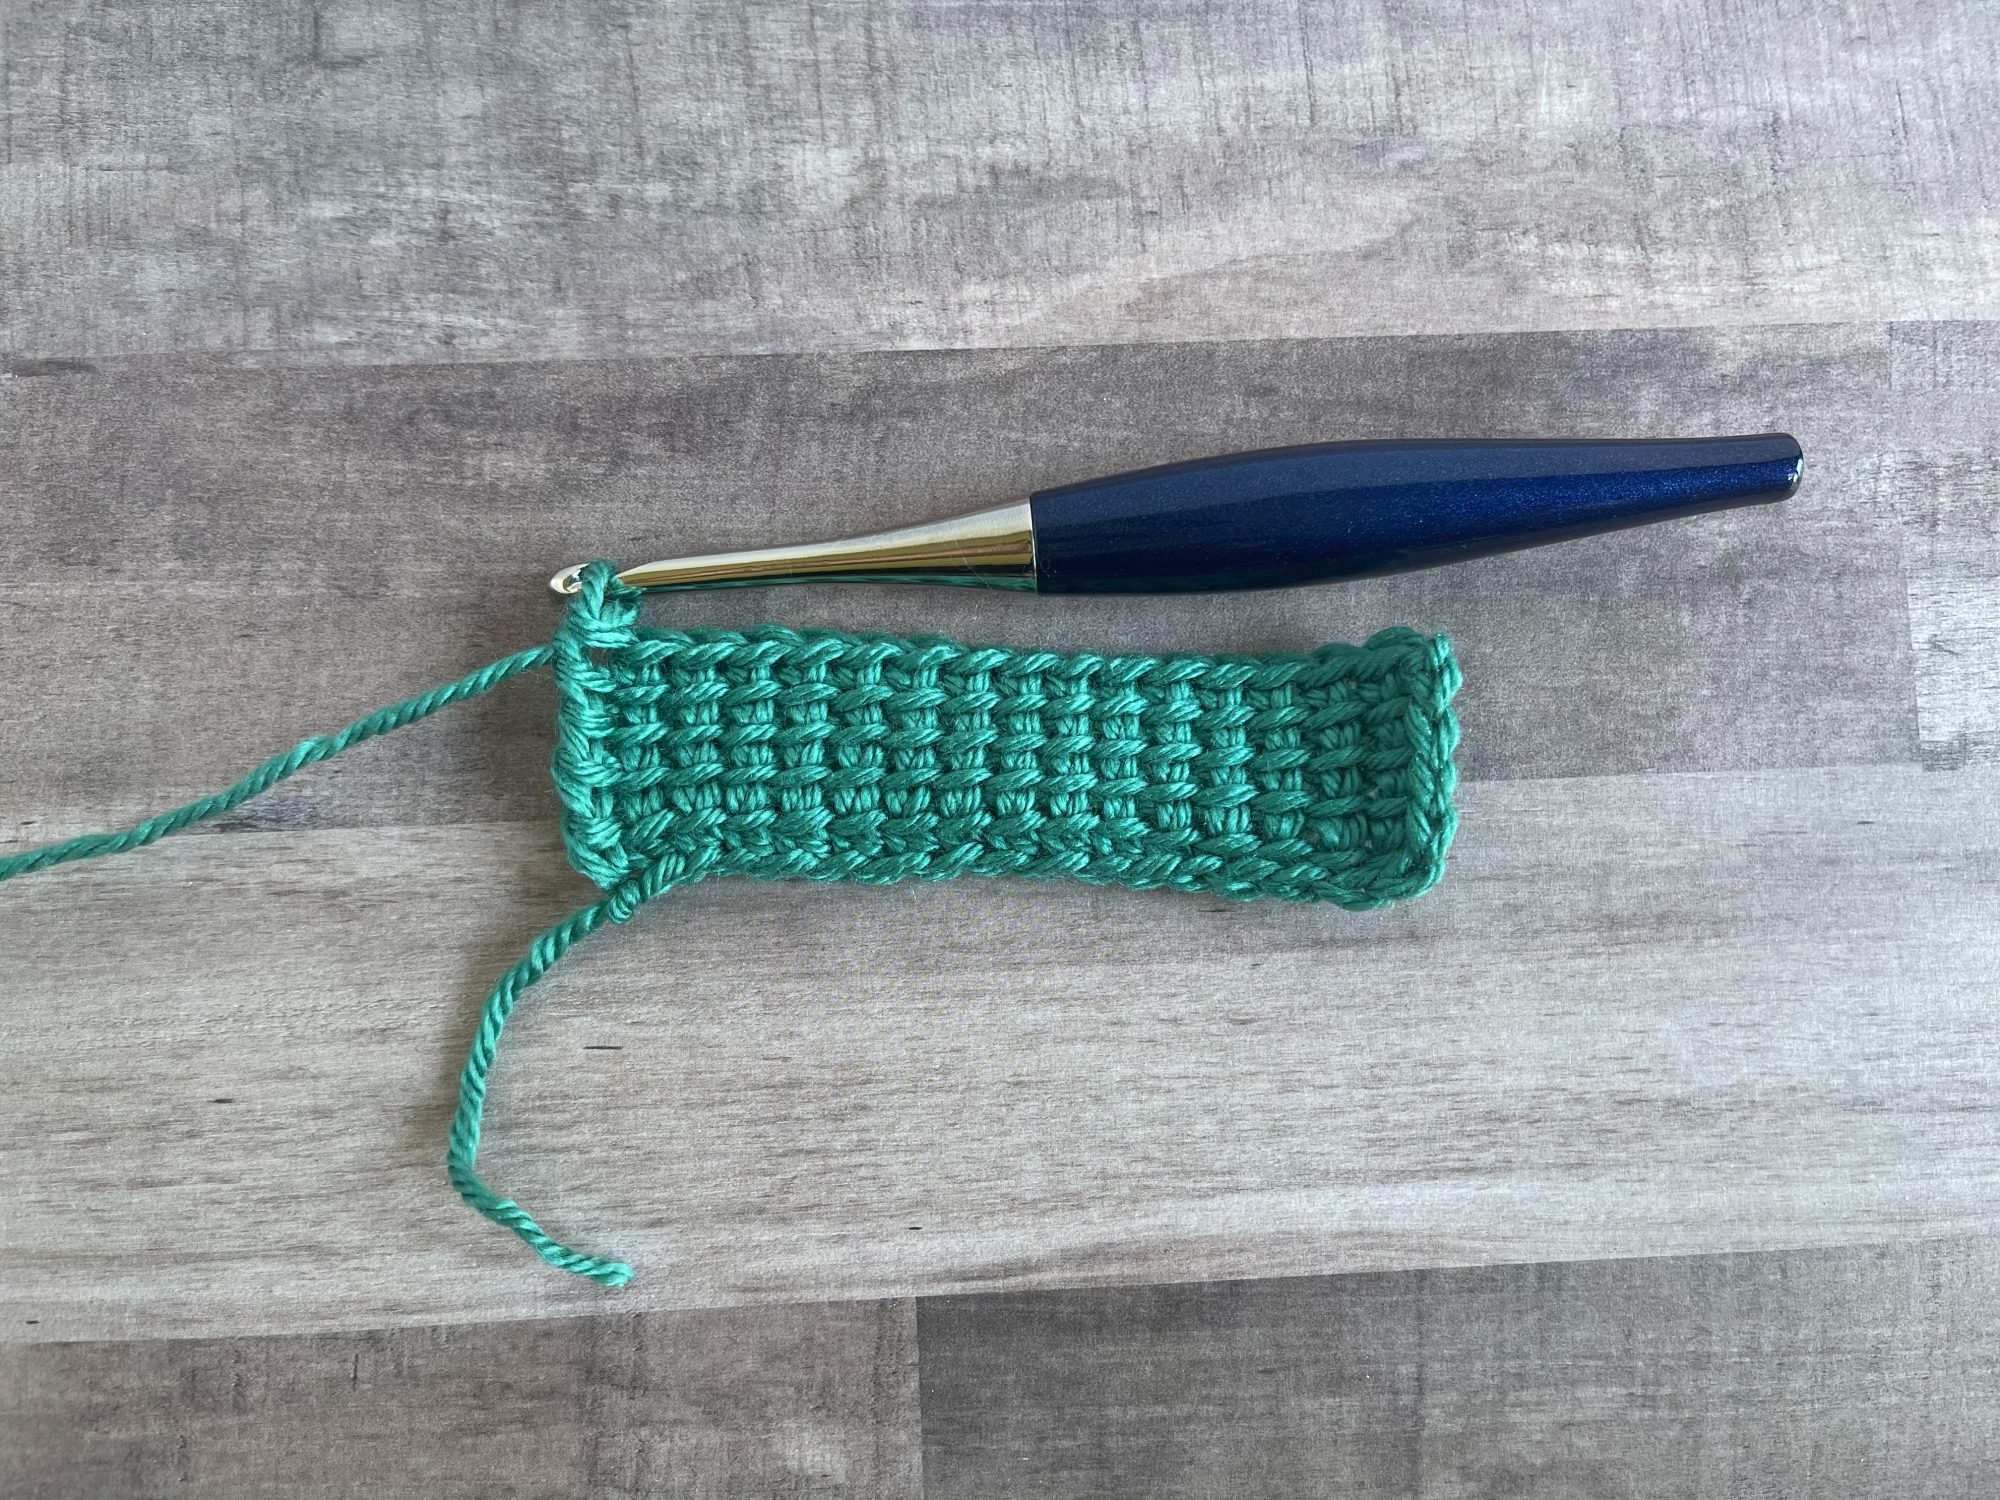
5. To show only right side of ltrtr, complete a row of sc, turn
6. Rep Steps 2-3
7. Continue to Rep stepsuntil desired length
Wanna see that in video?
Tips
You can make the beg-ltrtr appear neater by making ch 4 and start in the 1st ch from the hook. This can be a challenge since the loop on the hook may pull the 1st ch tight, so hold it in place while inserting the hook.
There is a natural curl that occurs when making linked stitches, just like Tunisian simple stitch. The use of a larger hook will reduce the amount of curling.
Pin it
Want to talk about yarn goodness, crochet tips, and exclusive weekly deals? Join my Facebook Group, Creations By Courtney Community.
If we’re not hanging out on social media yet, come check me out on Facebook, Instagram and Pinterest.
Join my newsletter for sneak peeks, crochet tips, and more. HERE
Use #CreationsByCourtney on social media when sharing your projects.
This tutorial is not to be duplicated or resold, and not to be reproduced commercially. You may use this stitch to create original products for personal use or to sell finished products on Etsy, at farmers markets, and craft fairs, but please credit Creations By Courtney for the tutorial.

10 Responses
This is amazing! By your description of it being still, I bet this would make a great basket! Thank you for such detailed instructions.
A basket would be a great idea with this stitch, especially if using thicker yarn.
Thankyou for this tutorial, quite unusual like tunisian simple stitch in places
It’s exactly like Tunisian simple stitch but worked in lots and lots of rows.
I have been crocheting for 40+ years and love learning new stitches. Have never seen this before. Thanks for the tutorial.
Gosh, I take that as a huge compliment to have shared something new to you! That’s amazing that you’ve been crocheting for that long. I hope to crochet just as long plus more.
Thank you. I used this stitch in a square I made once and wanted to use it again it but have forgotten how to do it. This tutorial is really useful.
I’m so glad that this tutorial was timely! I’m sure it was a great square, Janelle!