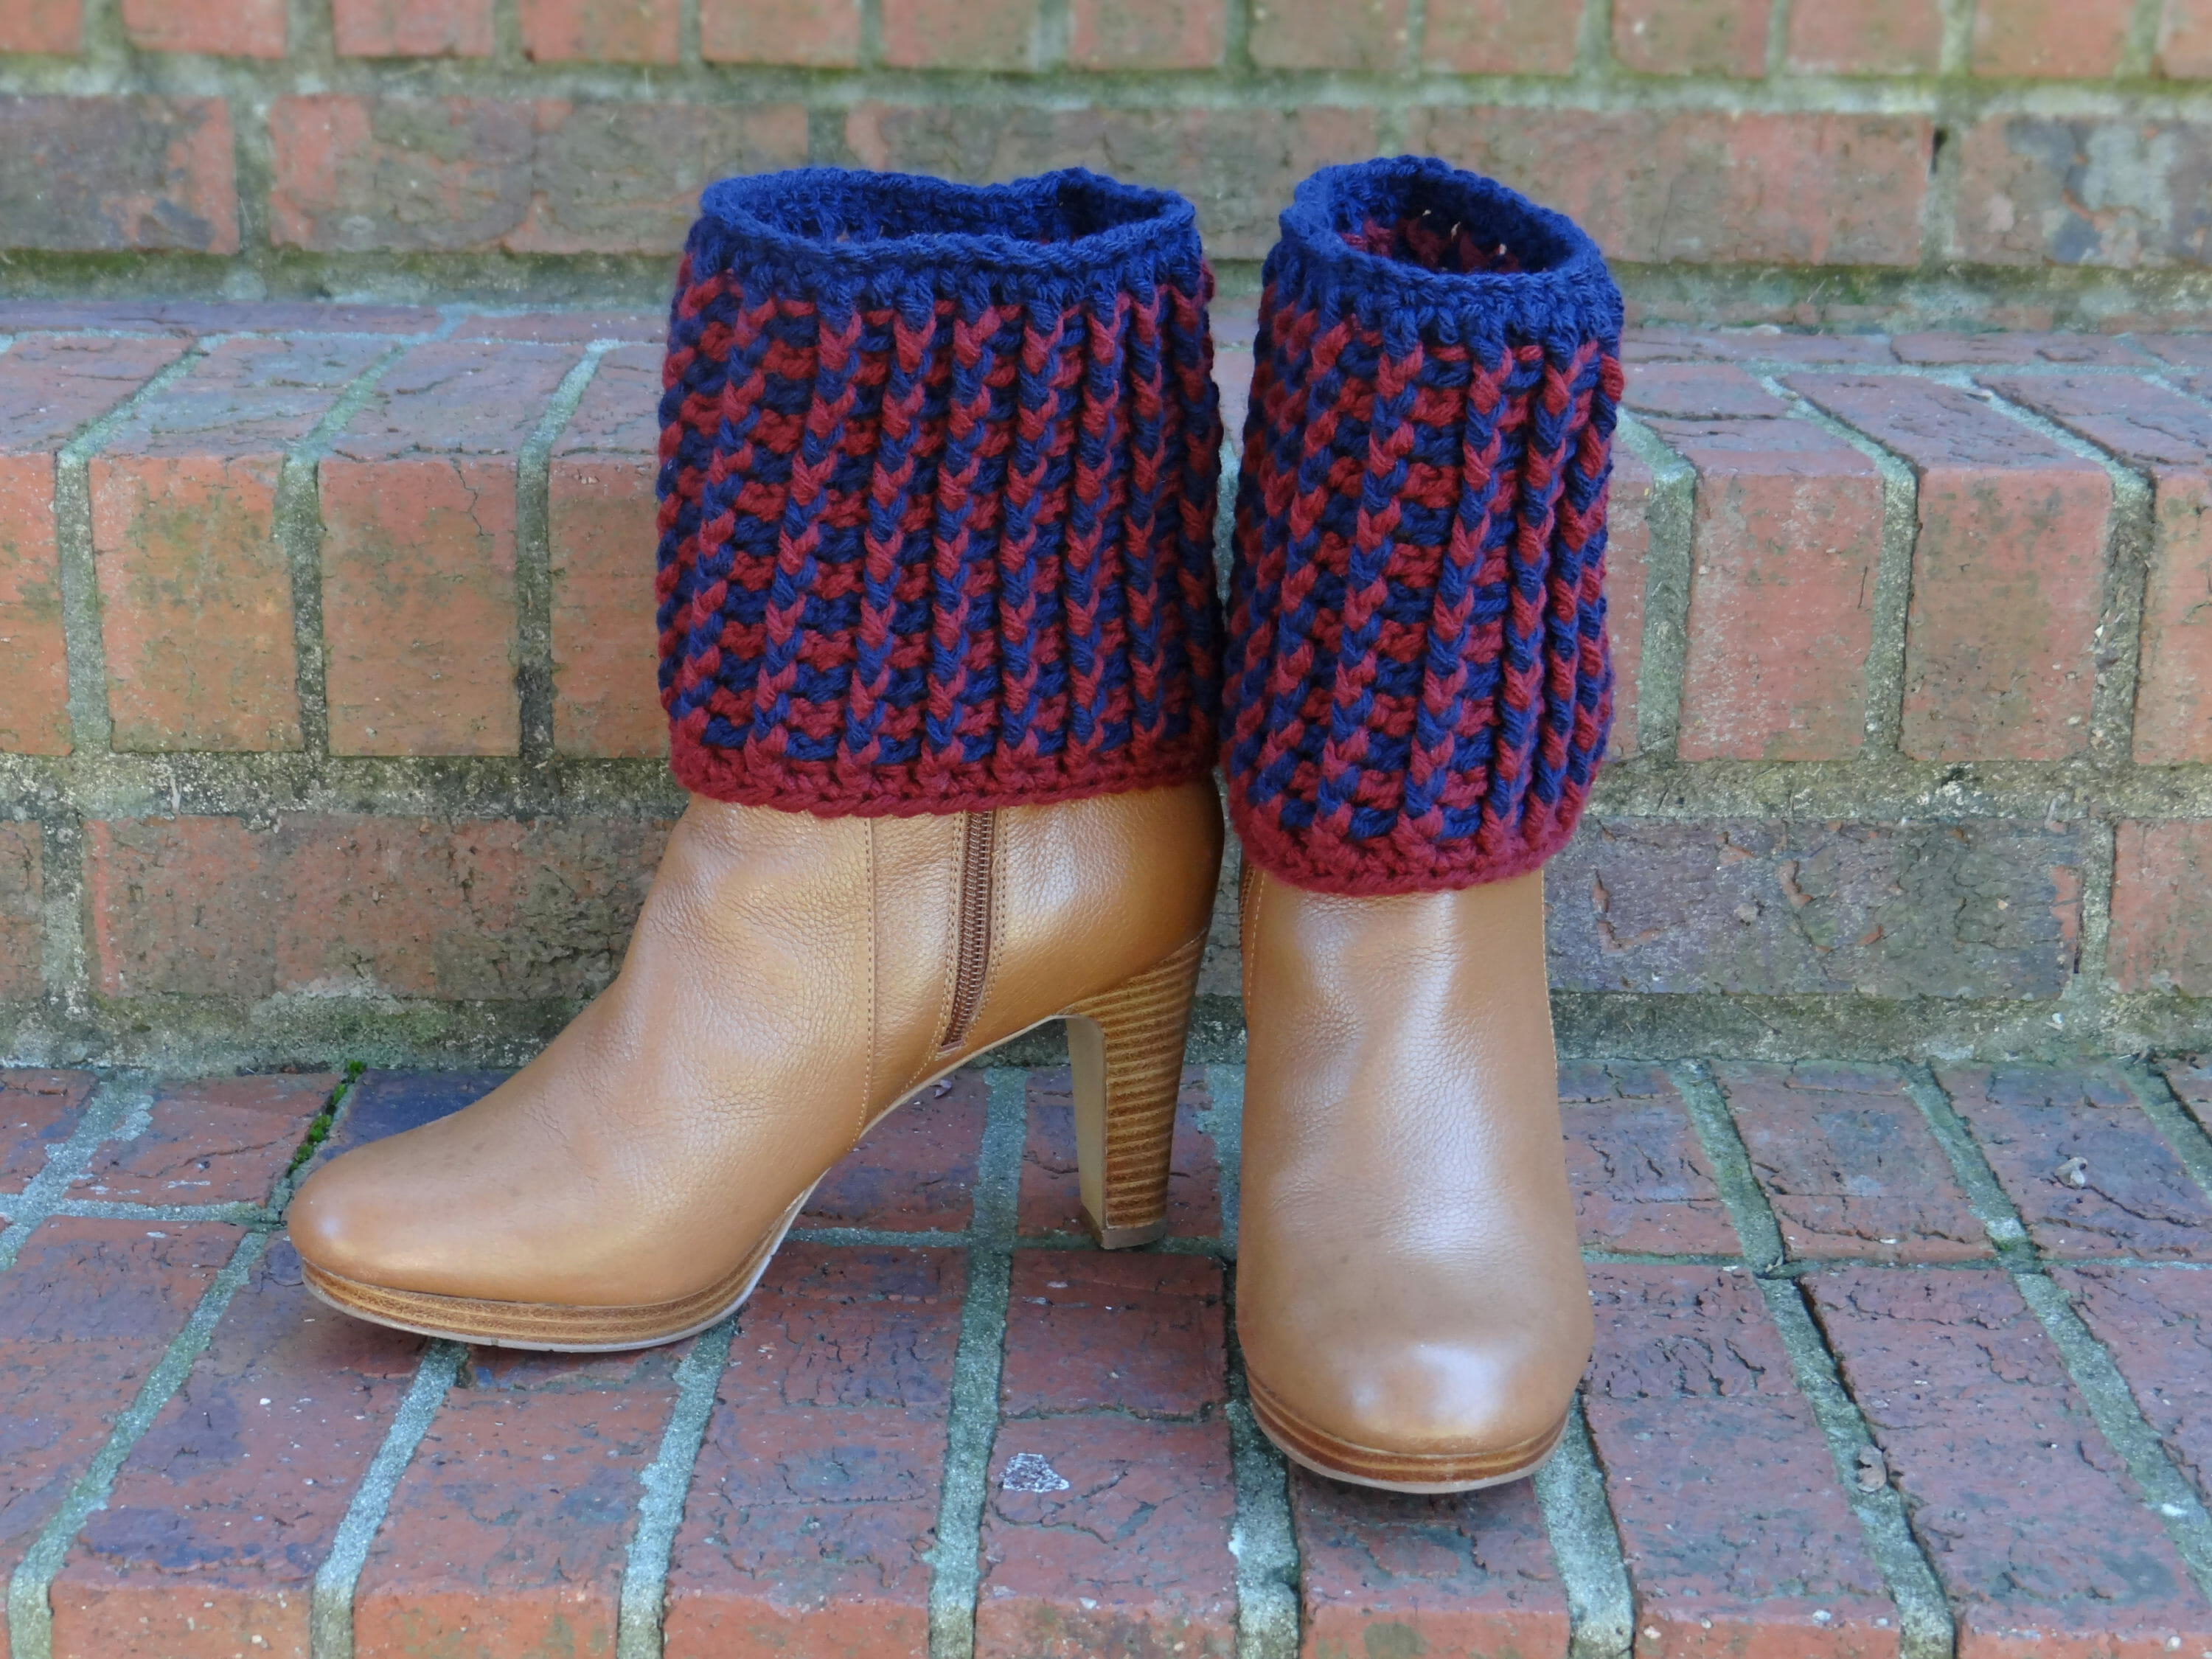
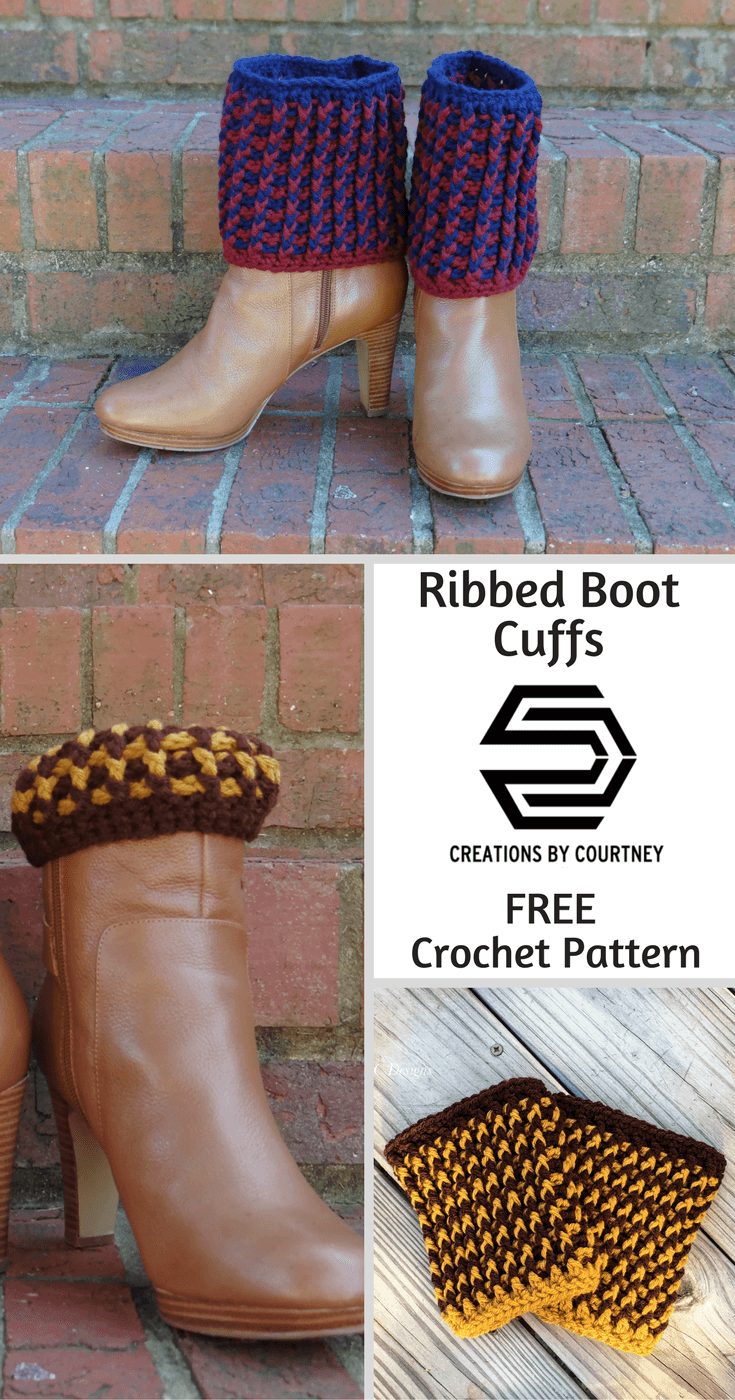
The ribbed boot cuffs crochet pattern was started about three years ago when I was focused on selling completed crochet items rather than pattern designing. After seeing several different styles in various retail stores, I decided that I should design a pair to offer in my online shop. Also, Michaels’ Loop and Thread Impeccable Yarn was relatively new to the stores, and I had to give it a try.
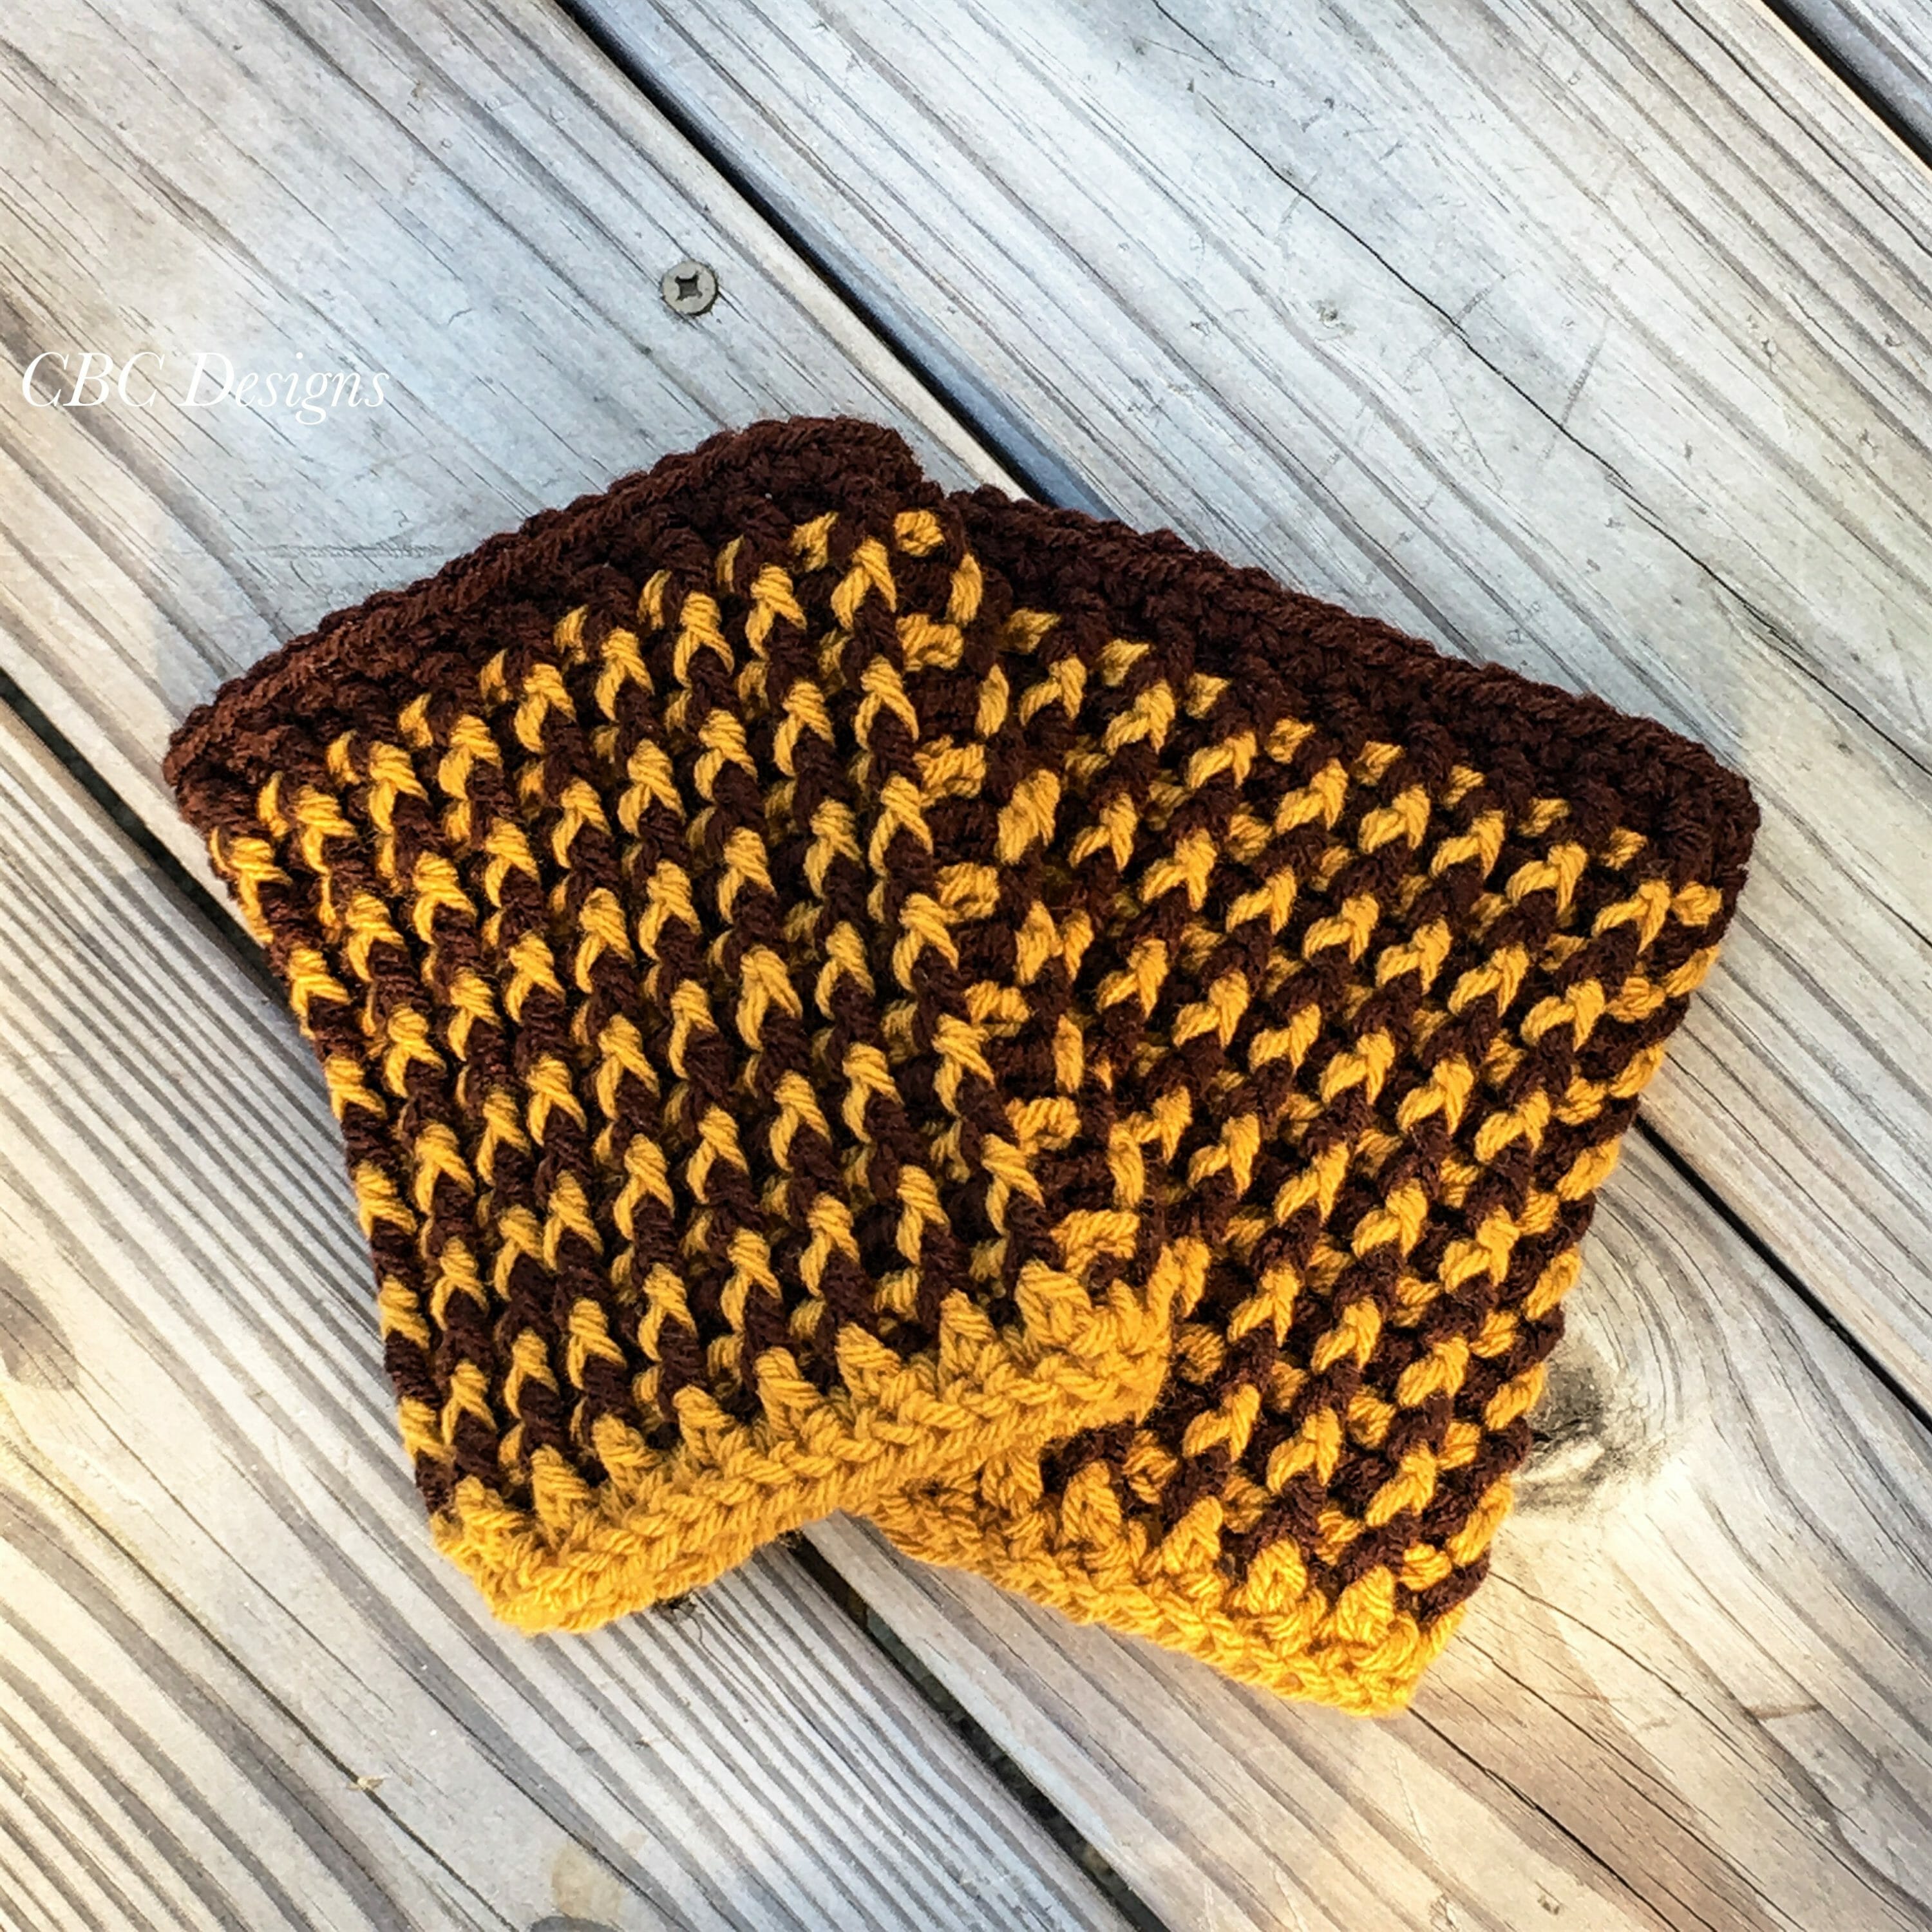
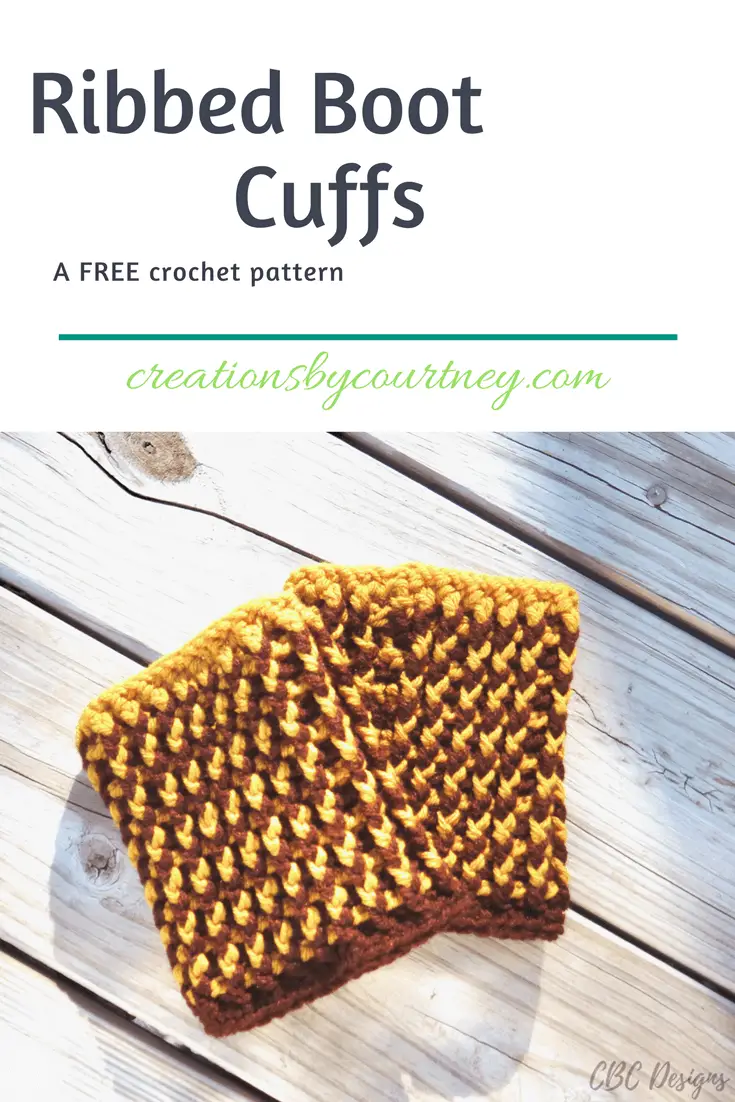
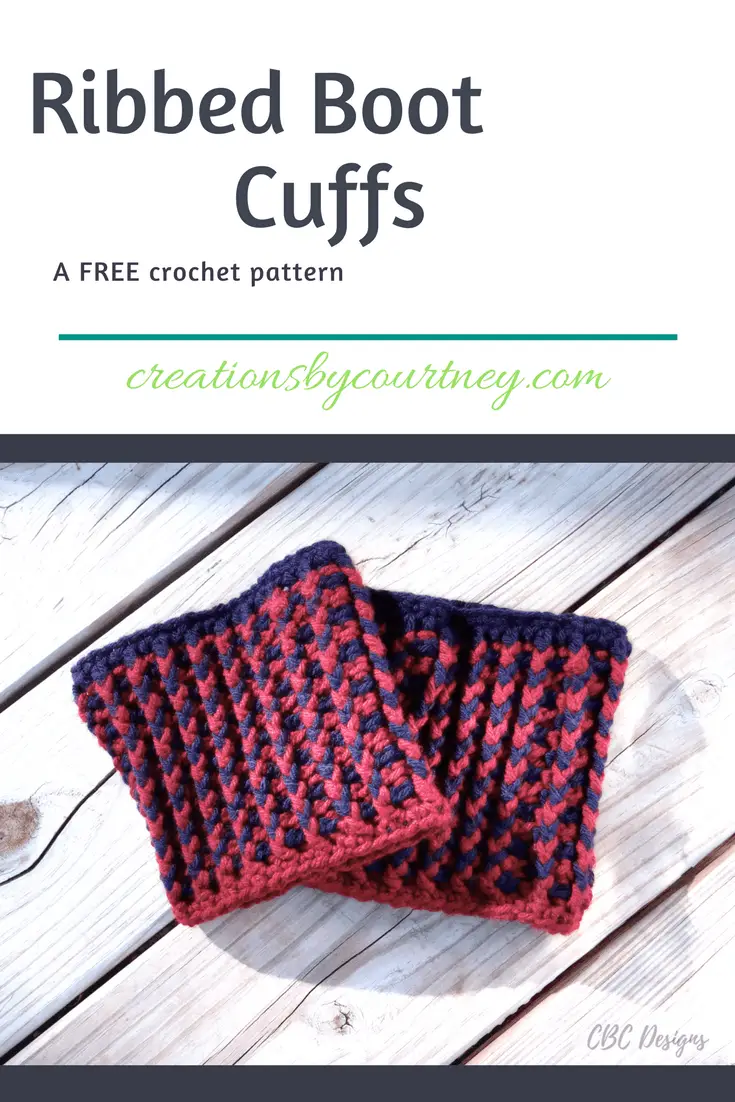
I had never made a pair of boot cuffs, so this was a chance to crochet something different. I often enjoy texture stitches that create depth and stretch that is easy to make, but looks complicated. I chose favorite autumn colors to make two pairs to match the items I most often wear during the fall and winter.
I look forward to seeing your Ribbed Boot Cuffs with your favorite boots in the ‘gram and FB. 🙂
Ribbed Boot Cuffs
-By Creations By Courtney-
Difficulty: Advanced beginner
Materials Needed:
hook: K-10.5
Yarn: 93 yards (1.5 oz ) each of worsted weight in Color A and Color B, or 186 yards (3 oz) of worsted weight in one color
scissors
needle
Stitches Used:
- ch: chain
- sc: single crochet
- slst: slip stitch
- hdc: half double crochet
- fsc: foundation single crochet
- st(s): stitch(es)
- bpd: backpost double crochet
- fpdc: frontpost double crochet
Additional Terms
first-dc: first double crochet
- At the beginning of the round, single crochet in the first stitch, ch 2. This replaces chain 3 at the beginning of the round to minimize the appearance of a gap when joining the round.
Gauge: 15 stitches x 11 rows = 4 in x 4 in (10 cm x 10 cm)
Measurements: 11.5 in (28.5 cm) circumference without stretching x 6 in (15 cm) tall; this boot cuff is stretchy and will comfortably fit most legs.
Additional Notes:
- When changing colors, do not cut yarn between rows, but rather carry yarn up at the join. This reduces the tails to be weaved in at the end.
- You will alternate yarn colors each row.
- The tail of beginning foundation single crochet will be used to join the bottom of the first row.
- First-dc can be substituted with ch 3
- A helpful tutorial for the invisible join: http://www.lookatwhatimade.net/crafts/yarn/crochet/crochet-tutorials/crochet-invisible-join-vs-slip-stitch-join/
Would you prefer an ad-free PDF? Grab a copy today from My Shop or Ravelry.
Pattern:
Make 2
Round 1: With Color A, leaving a tail long enough to use for joining the bottom of the ring), 38 fsc, slst to join in ring. Be careful to not twist the first row.
Round 2: First-dc, dc in each st around, changing to Color B in last st, slst to join in top of ch-2.
Round 3: Ch 2 (does not count as stitch), bpdc around the first st, *fpdc around next st, bpdc around next stitch. Repeat from * around, change to Color A in last st, sl st to join in top of ch-2.
Round 4: Ch 2, bpdc around first st, *fpdc around next st, bpdc around next st. Repeat from * around, change to B in last st, sl st to join.
Rows 5-15: Repeat rows 3-4, alternating colors each row, ending with Color B.
Round 16: Ch 1, sc in first st, sc in each st around, fasten off. Use the invisible join and weave in the tail.
Thank you for your support. ♥ You can pick up my latest free and premium patterns by visiting my website: https://www.creationsbycourtney.com/cbc-designs
Additionally, I invite you to sign-up for my email newsletter, and follow me on social media, for more crochet/yarny goodness!:
Newsletter:http://eepurl.com/cJh_2j
Facebook:https://www.facebook.com/creationsbycourtneyllc
Pinterest:https://www.pinterest.com/cbycourtney
Instagram:http://www.instagram.com/creationsbycourtneyllc
Ravelry:http://www.ravelry.com/designers/courtney-w-of-creations-by-courtney
 SaveSave
SaveSave
SaveSave
SaveSave
SaveSave
SaveSaveSaveSave

