Happy Fall, and holiday making season! Meet the Ashley Cozy Hat!
This is the third design using the half double cluster and faux fur thick & quick. It works up quickly with a bulky weight yarn.
When I find a stitch pattern I really like, I tend to make several designs with it like a mini collection. Also, with the opportunity to participate in 24 Days of Quickies with Marly Bird and Friends (so excited!), I wanted to make something that could be made in a day or evening after work, and works as a last minute gift. You’re welcome! 😆
Be sure to scroll until you find the picture of Marly to get the details on how to grab a copy of the Ashley Cozy Hat.
Yarn
The Ashley Cozy Hat is made with Red Heart Soft Essentials, which is a soft, bulky acrylic with a sheen. This was my first time working with this yarn, and it was a dream. To be honest, I’m not sure how it ended up in my stash, but I had two skeins and used less than one to make an adult small size. Soft Essentials is a generous skein of 131 yards, which is enough to make the adult large too!
I also used Lion Brand Faux Fur Thick & Quick. I chose this because it’s soooo soft, still on trend, and it gives you a touch of fancy and cozy, especially for a bulky crochet hat. I love that although one skein is only 24 yards, it’s more than enough to create an edging on a crochet project like a hat, gloves or a cowl.
Hat Style
I’ve made a lot of hats over the last 20 years of crocheting, like many crocheters, but this one is my first time creating a brim that can be worn in different ways.
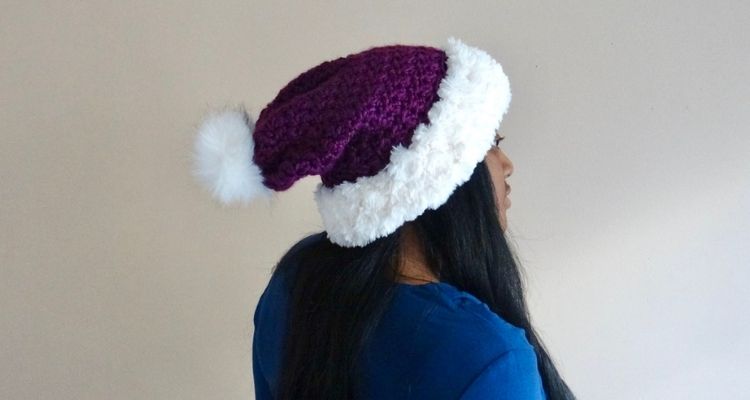
Rather than making a hat with a permanent folded brim, I decided to make this hat flat and then work in the round for the brim that can be flipped different ways. With this method, you can fold the brim up to be worn on the outside, keep it straight for a slight slouch look to the hat, or fold it inside, like a double-brim hat, for extra warmth around the ears.
I really think you’ll love creating different looks with one hat. Plus there are so many faux fur yarn color options in the fiber world that there are limitless options for color combinations. I think a gray or beige faux fur with navy would be great for any guys in your life.
I was thinking of making this hat in one size, then I added two more sizes, and two of my crochet besties convinced me to add a larger size. The adult large is perfect for men or anyone wanting a looser fit.
Check out these designs too
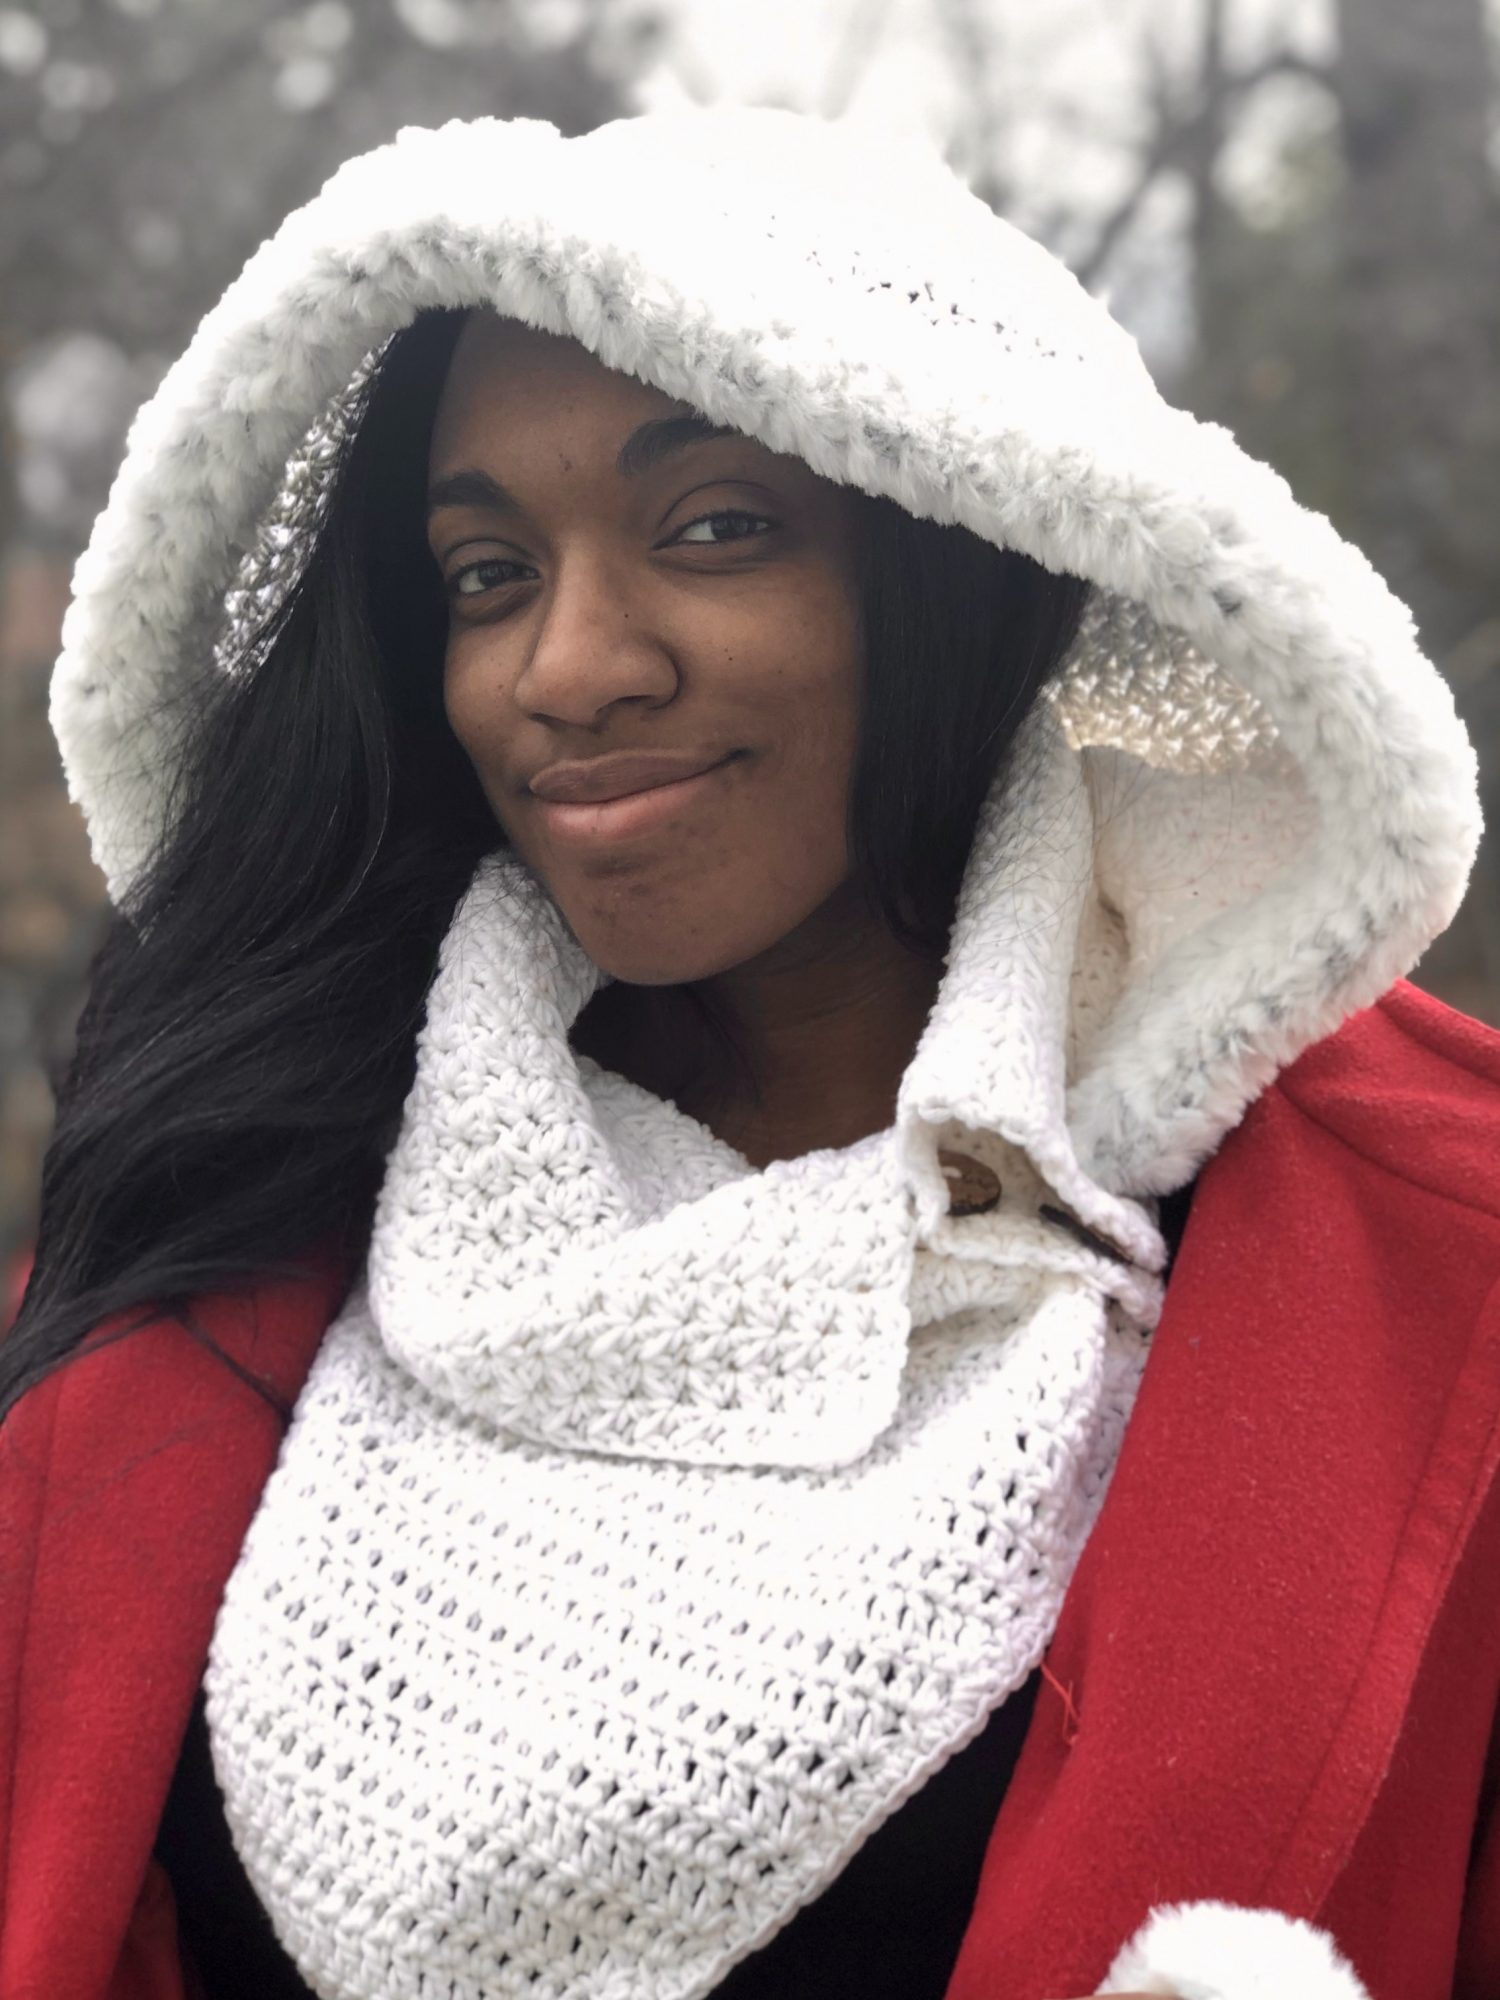
Ashley Hooded Cowl 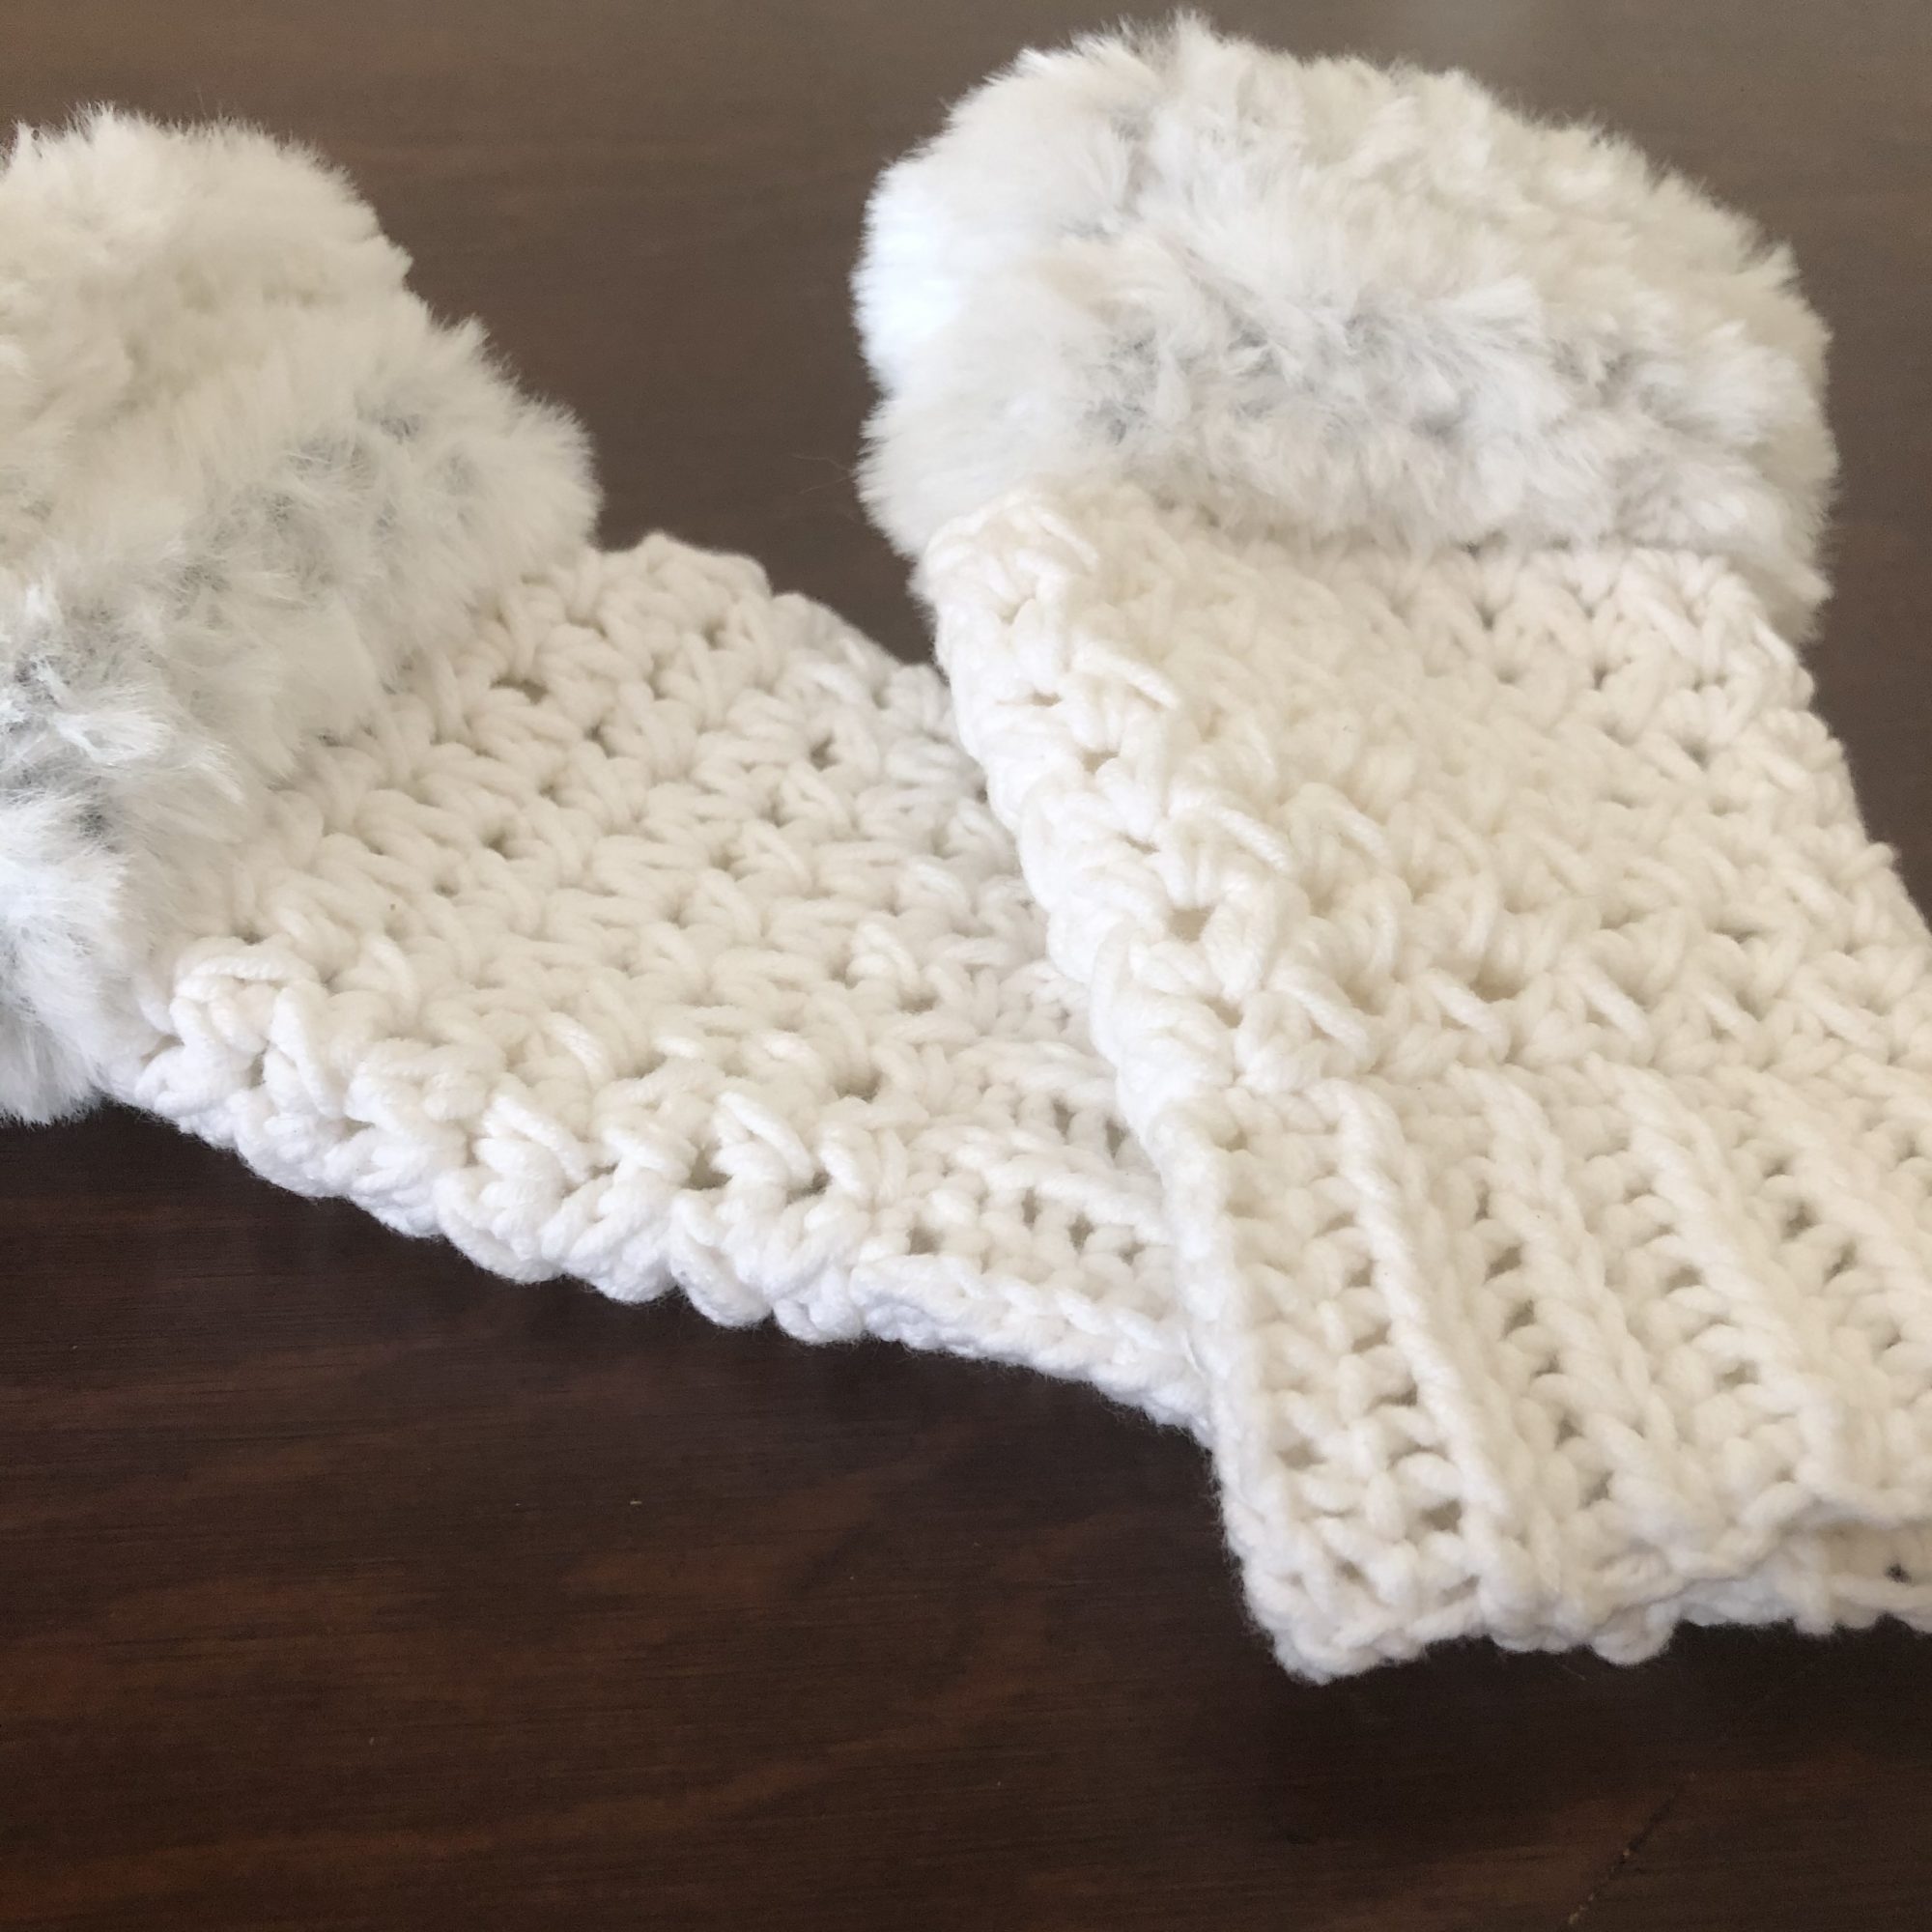
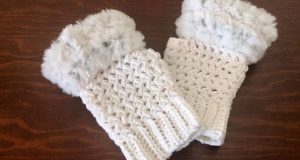
Ashley Faux Fur Mitts
*Disclosure: This post may contain affiliate links to products that I use, and think you will enjoy using too. Should you decide to use any such link, I will earn a small commission at no cost to you. Thank you for supporting this small business.
Add to Ravelry Queue
MATERIALS
- Red Heart Soft Essentials, weight #5 yarn (100% acrylic; 131 yds/ 120 m; 5 oz/ 141 g skein): Sangria, 1 skein
- Other great bulky yarn options: Lion Brand Hue & Me, Schachenmayr Bravo Quick & Easy, Mary Maxim Titan, Cascade Yarns Anthem Chunky
- Lion Brand Go for Faux Thick & Quick, weight #7 yarn (100% polyester; 24 yds/ 22 m; 4.2 oz/ 120 g): Baked Alaska, 1 skein
- Hook Furls Crochet Odyssey US L/7.00 mm or size needed to meet gauge
- Hook US 15.00 mm or size to work with the faux fur
- Scissors
- Yarn needle
- 1 stitch marker
- Measuring tape
GAUGE
6 hdc-cl = 4 in. [10 cm], 8 rows = 4 in. [10 cm]
SIZES
All measurements are before seaming
- CHILD: 15.75 in. (40 cm) wide x 7.75 in. (20 cm) tall
- TEEN: 16.5 in. (42 cm) wide x 8.25 in. (21 cm) tall
- ADULT: 18.25 in. (45 cm) wide x 8.75 in. (22.5 cm) tall
- ADULT LARGE: 20 in. (50.8 cm) x 8.75 in. (22.5 cm) tall
PATTERN KEY
- Ch: chain
- hdc: half double crochet
- hdc-cl: half double crochet cluster
- FO: fasten off
- fsc: foundation single crochet
- L-ch: long chain
- sc: single crochet
- sl st: slip stitch
- st(s): stitch(es)
- sk: skip
- YO: yarn over
SPECIAL STITCHES & TECHNIQUES
- Hdc-cl: YO, insert hook into same st as last st made (or first st of the row), YO, pull up a loop (3 loops on hook), YO (4 loops on hook), sk 1 st, insert hook in next st, YO, pull up a loop (5 loops on hook), YO, pull through all 5 loops, ch 1
- Next row: L-ch, hdc-cl in same st as sl st and next ch-1 sp; remaining hdc-cl are worked in same ch-1 sp as last st made and the next ch-1 sp
- TUTORIAL: https://bearrye.com/tuesday-tutorials/tutorial-tuesday-half-double-crochet-cluster.html
- L-ch: Pull up a loop to height of row, ch 1, proceed with st in pattern
EXPERIENCE LEVEL
Easy
NOTES
- Pattern is written US terms.
- Read the entire pattern before beginning.
- Hat is worked flat in turned rows.
- This hat is made in 2 parts: Body and Edging.
- The edging is worked in turned rounds.
- If one number is listed, it applies to all sizes.
- When working with the faux fur, it helps to use your fingers to find the space of the next st for placing your hook.
- By flipping the edging up, you can shorten the hat for a more snug fit; leave the edging straight for a slouchy look; or flip inside for extra warmth.
Make Crochet Garments Fit
Signup for the newsletter to get cheat sheet for what measurements you need for making crochet garments.
Thank you!
You have successfully joined our subscriber list.
Grab an ad-free PDF of the Ashley Cozy Hat from your favorite pattern site!
INSTRUCTIONS
Body: Child (Teen, Adult, Large Adult)
Row 1: Fsc 52 (56, 60, 64), turn
Row 2: L-ch, hdc-cl starting in first st, hdc-cl across until one st remains, last hdc-cl, turn – 26 (28, 30, 32) clusters
Row 3: L-ch, hdc in first ch-1 sp, ch 1 (counts as first cluster), hdc-cl in each ch-1 sp across, last hdc-cl worked in last ch-1 and hdc, turn – 26 (28, 30, 32) clusters
Row 4 – 15 (16, 17, 17): Repeat Row 3, turn- 26 (28, 30, 32) clusters
Edging
Round 1: Folding hat in half, sl st (counts as a stitch for Teen and Adult sizes only ) to join first and last hdc-cl, ch 5 (counts as hdc + ch 3 here and throughout), sk next 2 sts, hdc in next st, *ch 3, sk next 2 sts, hdc in next st; repeat from * around until 2 sts remain, ch 3, sk remaining sts, sl st to join in 2nd ch, FO with long tail for seaming – 69 (74, 80, 84) sts
Round 2: With larger hook and Faux Fur, attach faux fur around first hdc with a ch 1 and working over tail, sc around each ch-3, remove hook from loop, insert hook through one loop of first sc and pull loop through (counts as sl st here and throughout edging)- 17 (18, 20, 21) sc
Round 3: Sc in each st around, sl st to join
STOP HERE FOR CHILD SIZE
Round 4: Repeat Round 3, FO
Finishing
- Use the long tail to seam the side of the hat; weave through Row 1 and cinch the first row to close the hat. Leave a hole wide enough to snugly fit the cord lock.
- Weave in ends and trim excess.
- Place cord lock on the tail of the Pom, and insert in hole at top of hat; pull cord lock tight on tail of pom and hat to secure.
Pin it for Later
24 Days of Quickies with Marly Bird & Friends
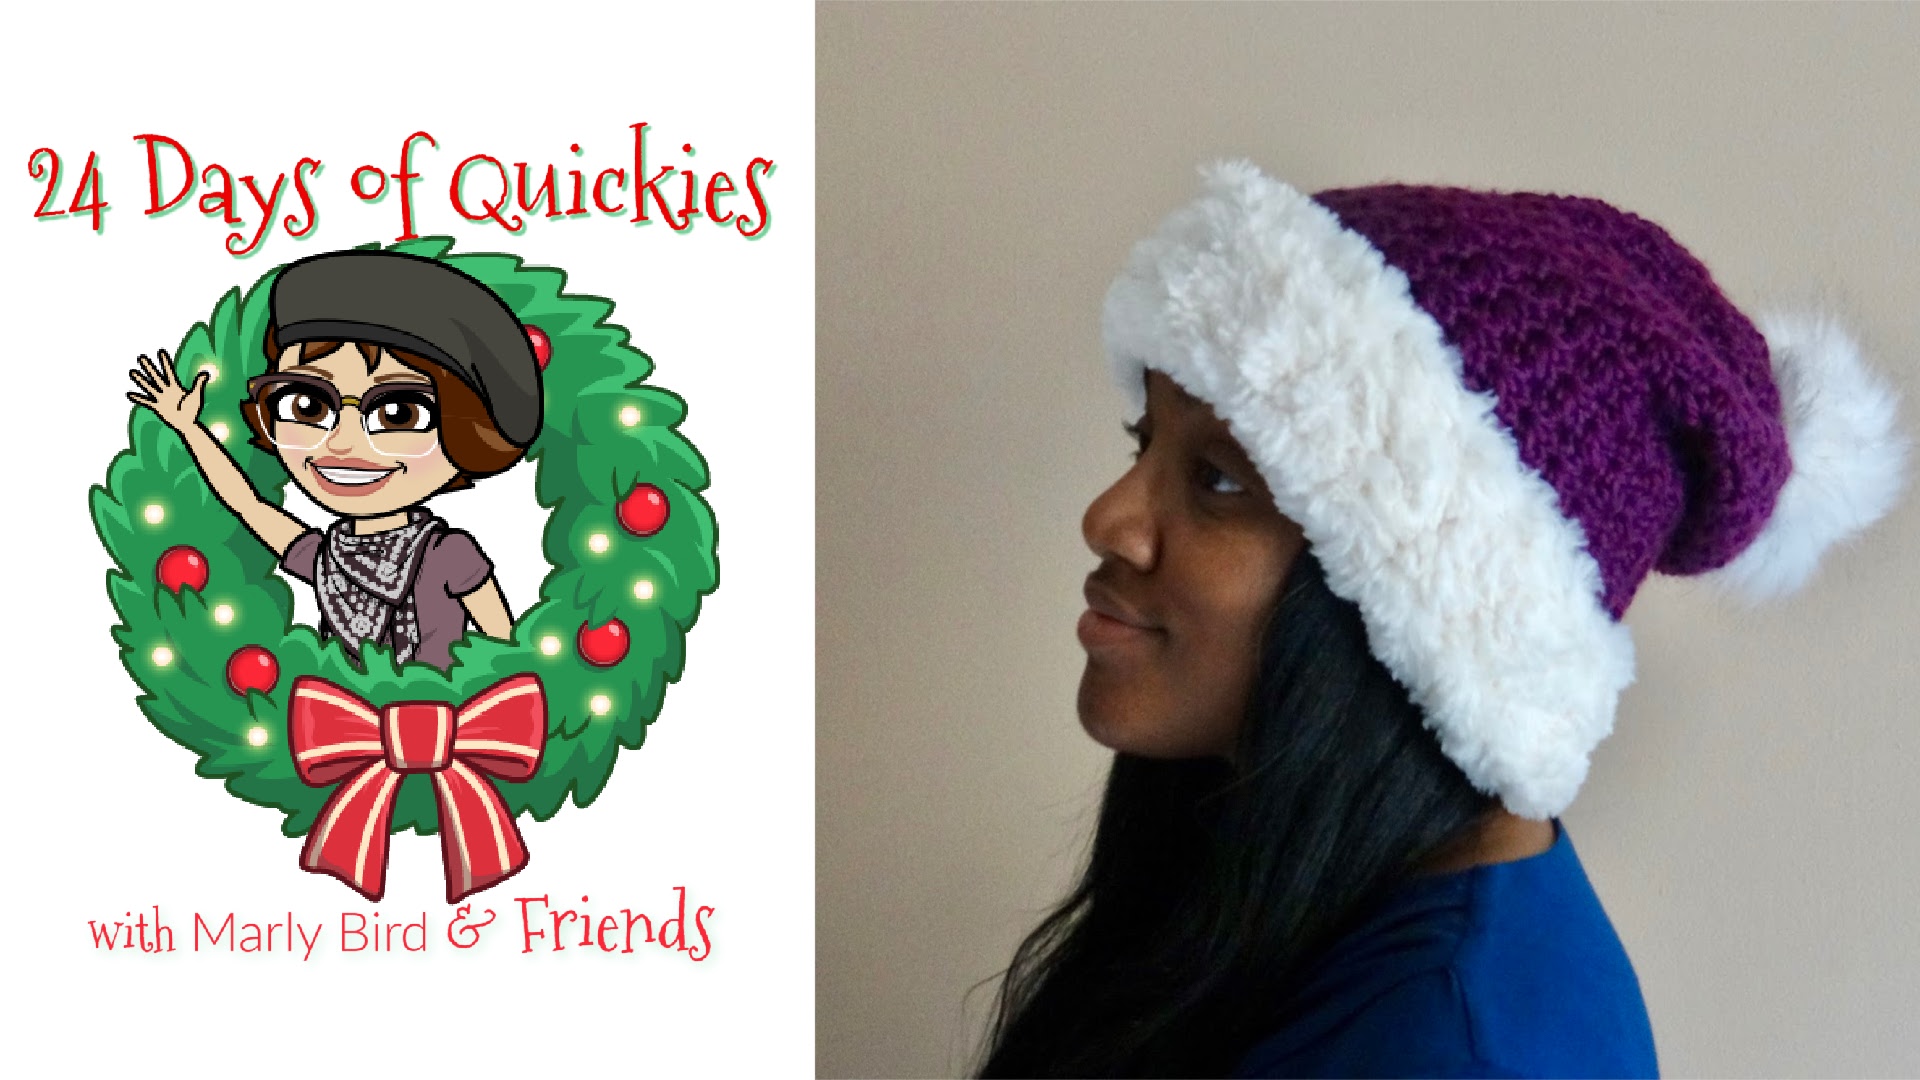
I’m one of three featured designers today, December 19, 2020 in 24 Days of Quickies with Marly Bird & Friends. Don’t forget to enter the code MARLY2020 to grab your copy before 10AM EST on December 20, 2020. Don’t forget to check out all 3 patterns each day until December 24, 2020!
If we’re not hanging out on social media yet, come check me out on Facebook, Instagram and Pinterest.
Want to talk about yarn goodness, crochet tips, and exclusive weekly deals? Join my Facebook Group, Creations By Courtney Community.
Join my newsletter for sneak peeks, crochet tips, and more. HERE
Please use #CreationsByCourtney on social media when sharing your projects.
This pattern is not to be duplicated or resold, and not to be reproduced commercially. You may sell finished products on Etsy, at farmers markets, and craft fairs, but please credit Creations By Courtney as the pattern’s author.




11 Responses
Beautiful hat! Thanks for the pattern & Joining Marly Bird!
Thank you, Cindy! You’re welcome! I look forward to seeing your finished hat. Please use #creationsbycourtney when sharing your finished hat. Happy Holidays!
I love this. So many possibilities. Thank you.
You’re welcome, Donna! I look forward to seeing your finished hat(s). It really does work up that fast that you could make a few this weekend. Happy Holidays!
Courtney, thank you so much for the Ashley Cozy Hat pattern!
You’re welcome, Michelle! Happy holidays!
I love this hat! So cute and thank you for sharing it
I’m so glad that you love it! Please use #creationsbycourtney when sharing your finished hat.