Have you been to south Florida? It’s a great vacation destination to relax with warm temps and cool breezes, when it doesn’t randomly rain. Also a place of great inspiration, such as this latest free crochet hat pattern.
My husband is from Miami, so at least once a year, we take a family trip down to visit our extended family. A great part of the trip is being able to spend quality with my husband by leaving the kids with grandma. Raise of hands for those that take any chance to let the kids have quality time with a grandparent!
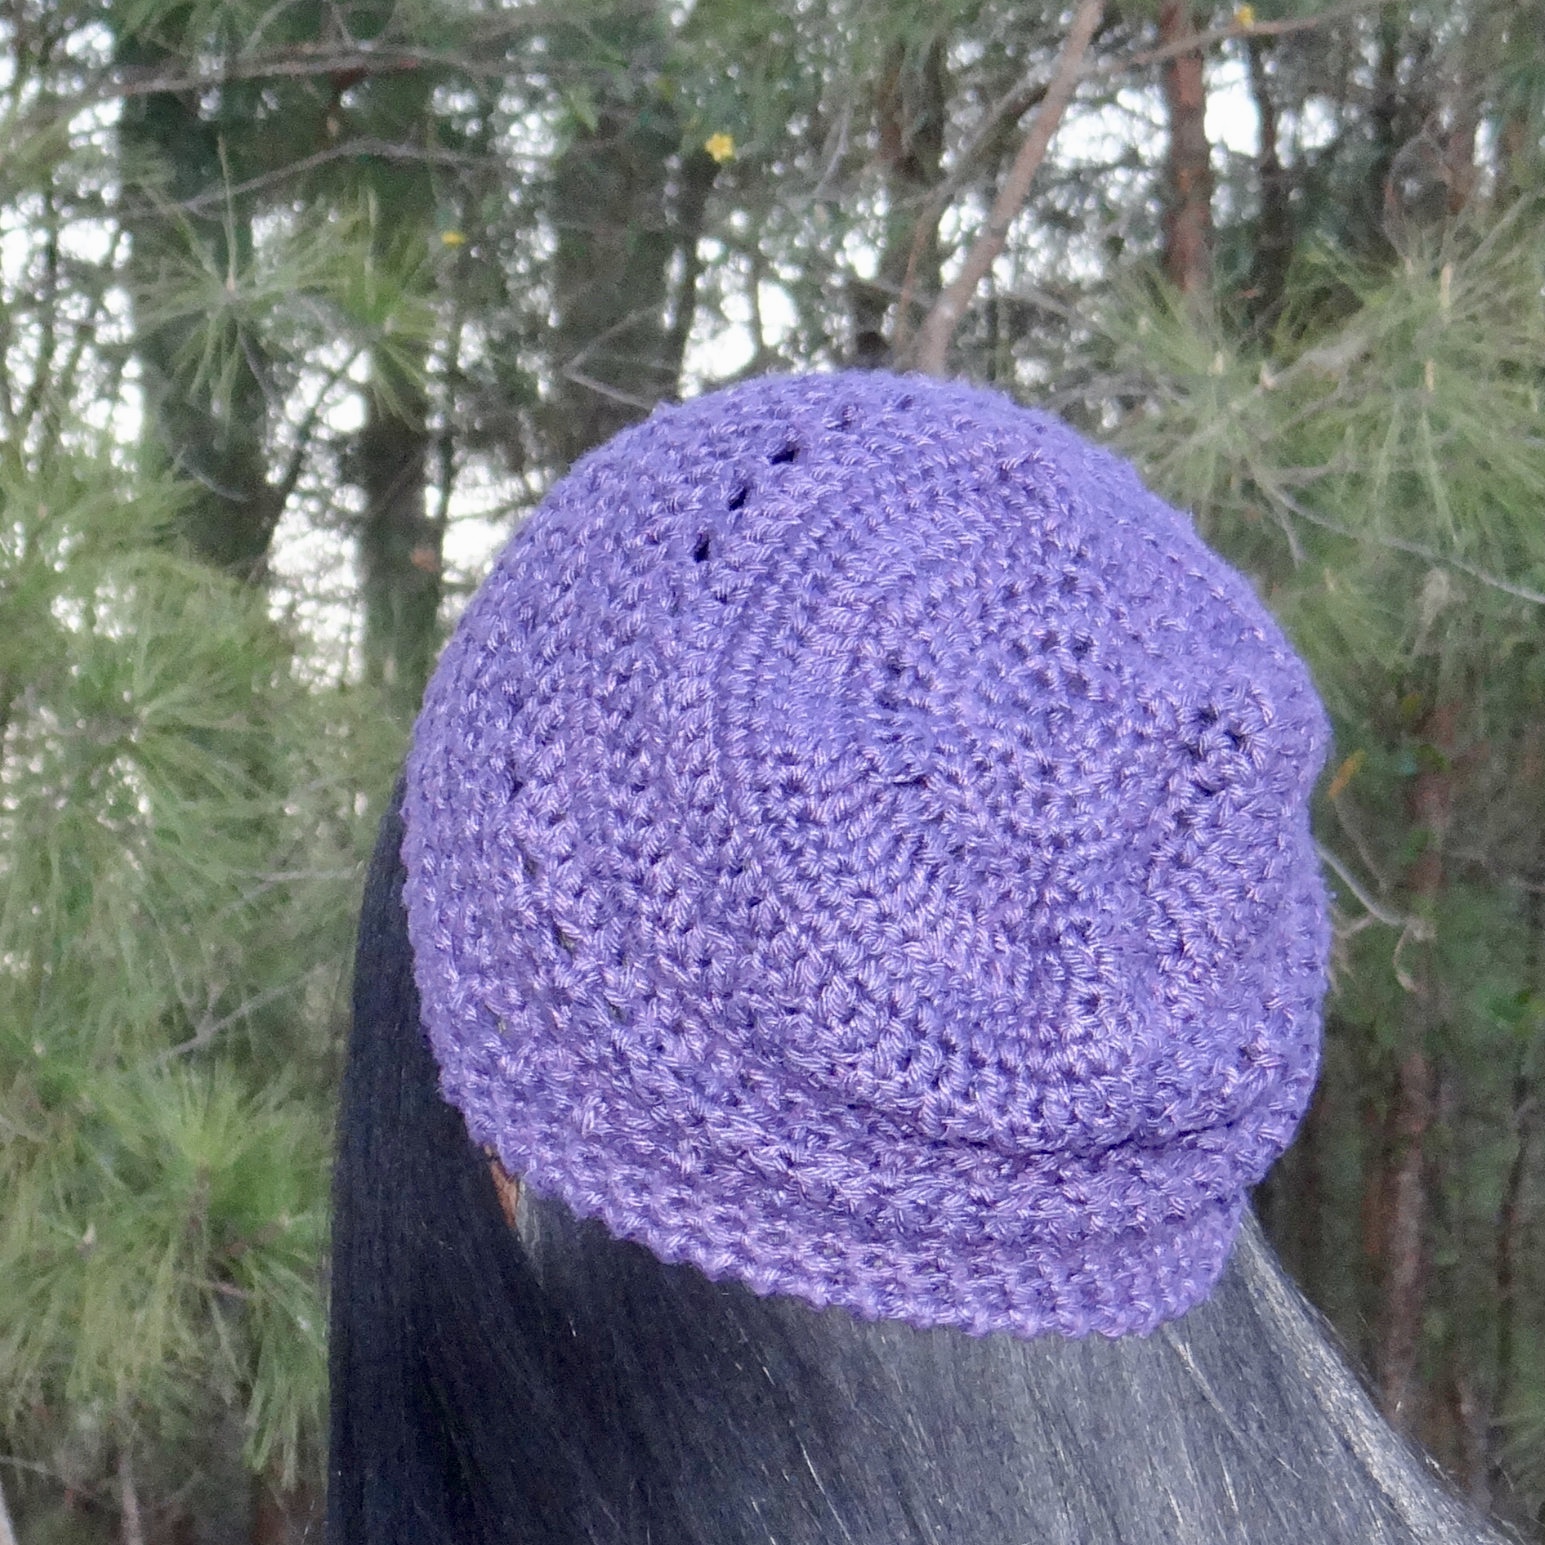
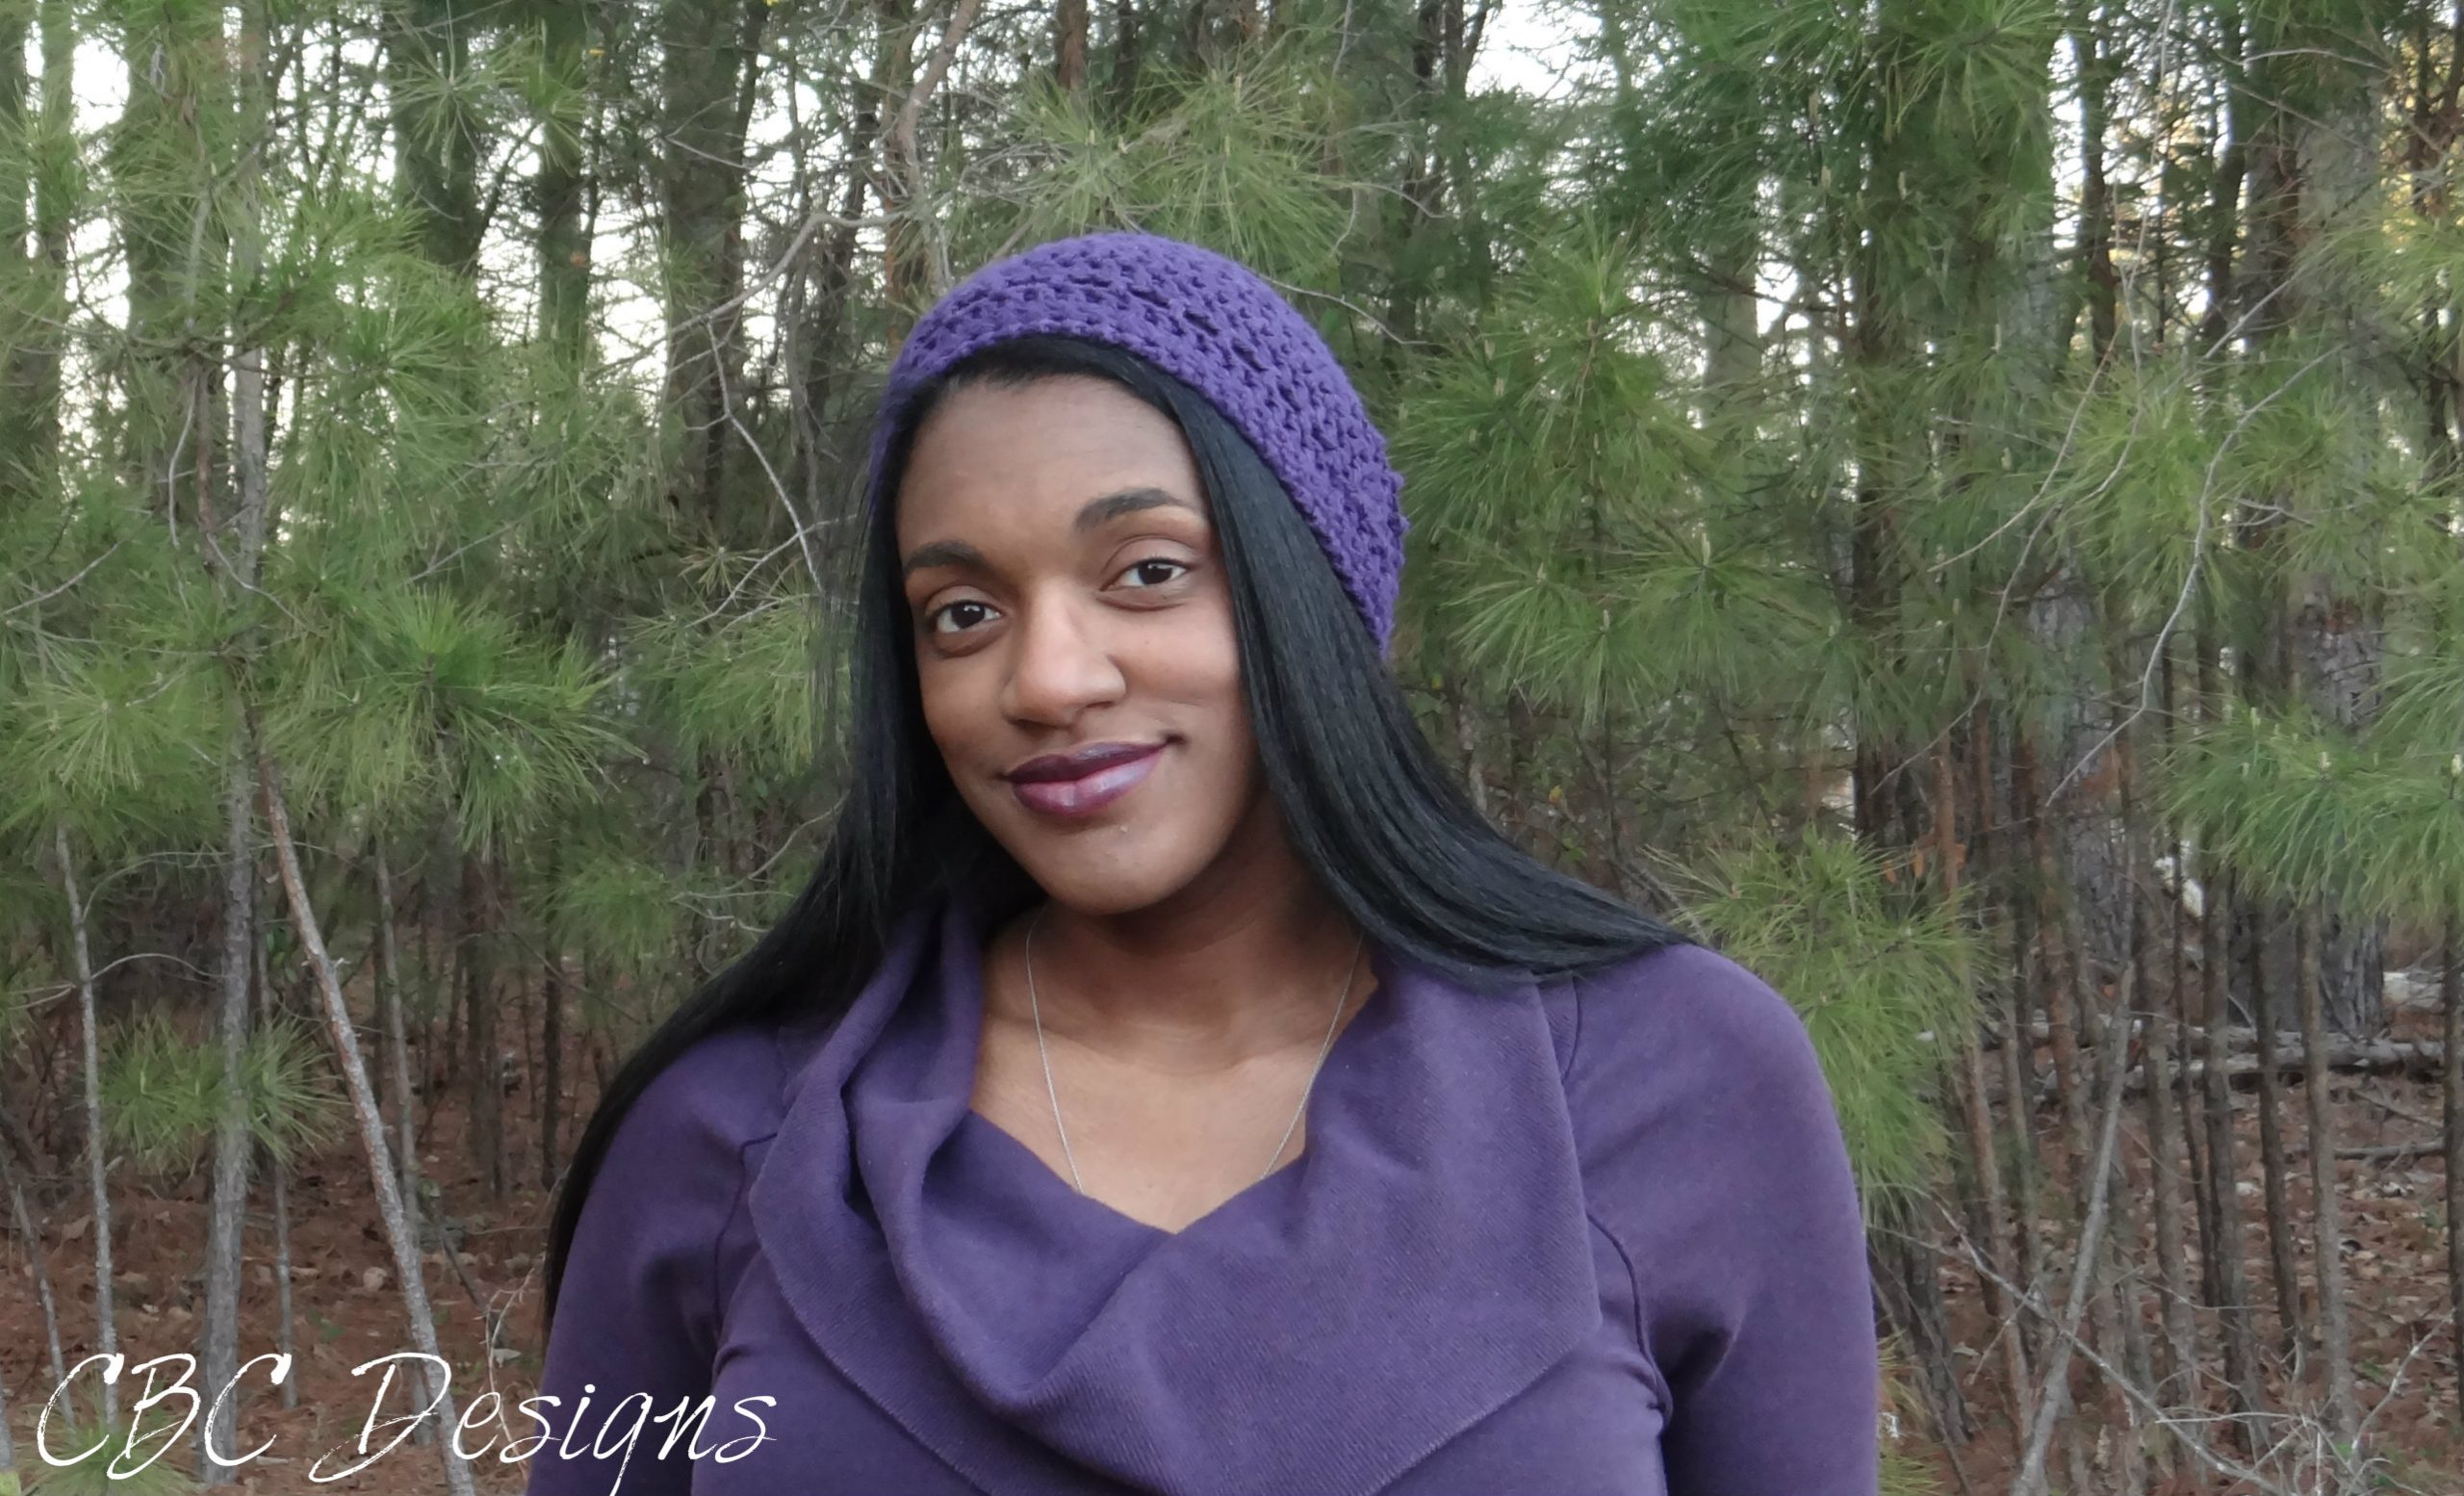
As we traveled along through Ft. Lauderdale, we rode along Las Olas Boulevard at sunset. It was an amazing view of red and orange light casting over the water and sandy beaches. I had a skein of Hobby Lobby’s Yarn Bee Hint of Silk in royal purple (my fav color!) with me, and I was inspired by the evening’s sunset. Accordingly, this design was named the Las Olas Hat. For those that don’t know Spanish, Las Olas means waves.
I know, I know, you’re expecting a hat made in the classic ripple. But when you have one skein and want to make a hat, you pick a simple stitch. I did make a cowl collar in waves to match, but that’s for sharing another day 😉
And if you haven’t tried Hint of Silk, you must! It’s so soft and great for hats to avoid the dreaded pulled hair. For those with natural hair, this is an added benefit because you twist out will stay neat without knots that can happen with a wool or some acrylic yarns.
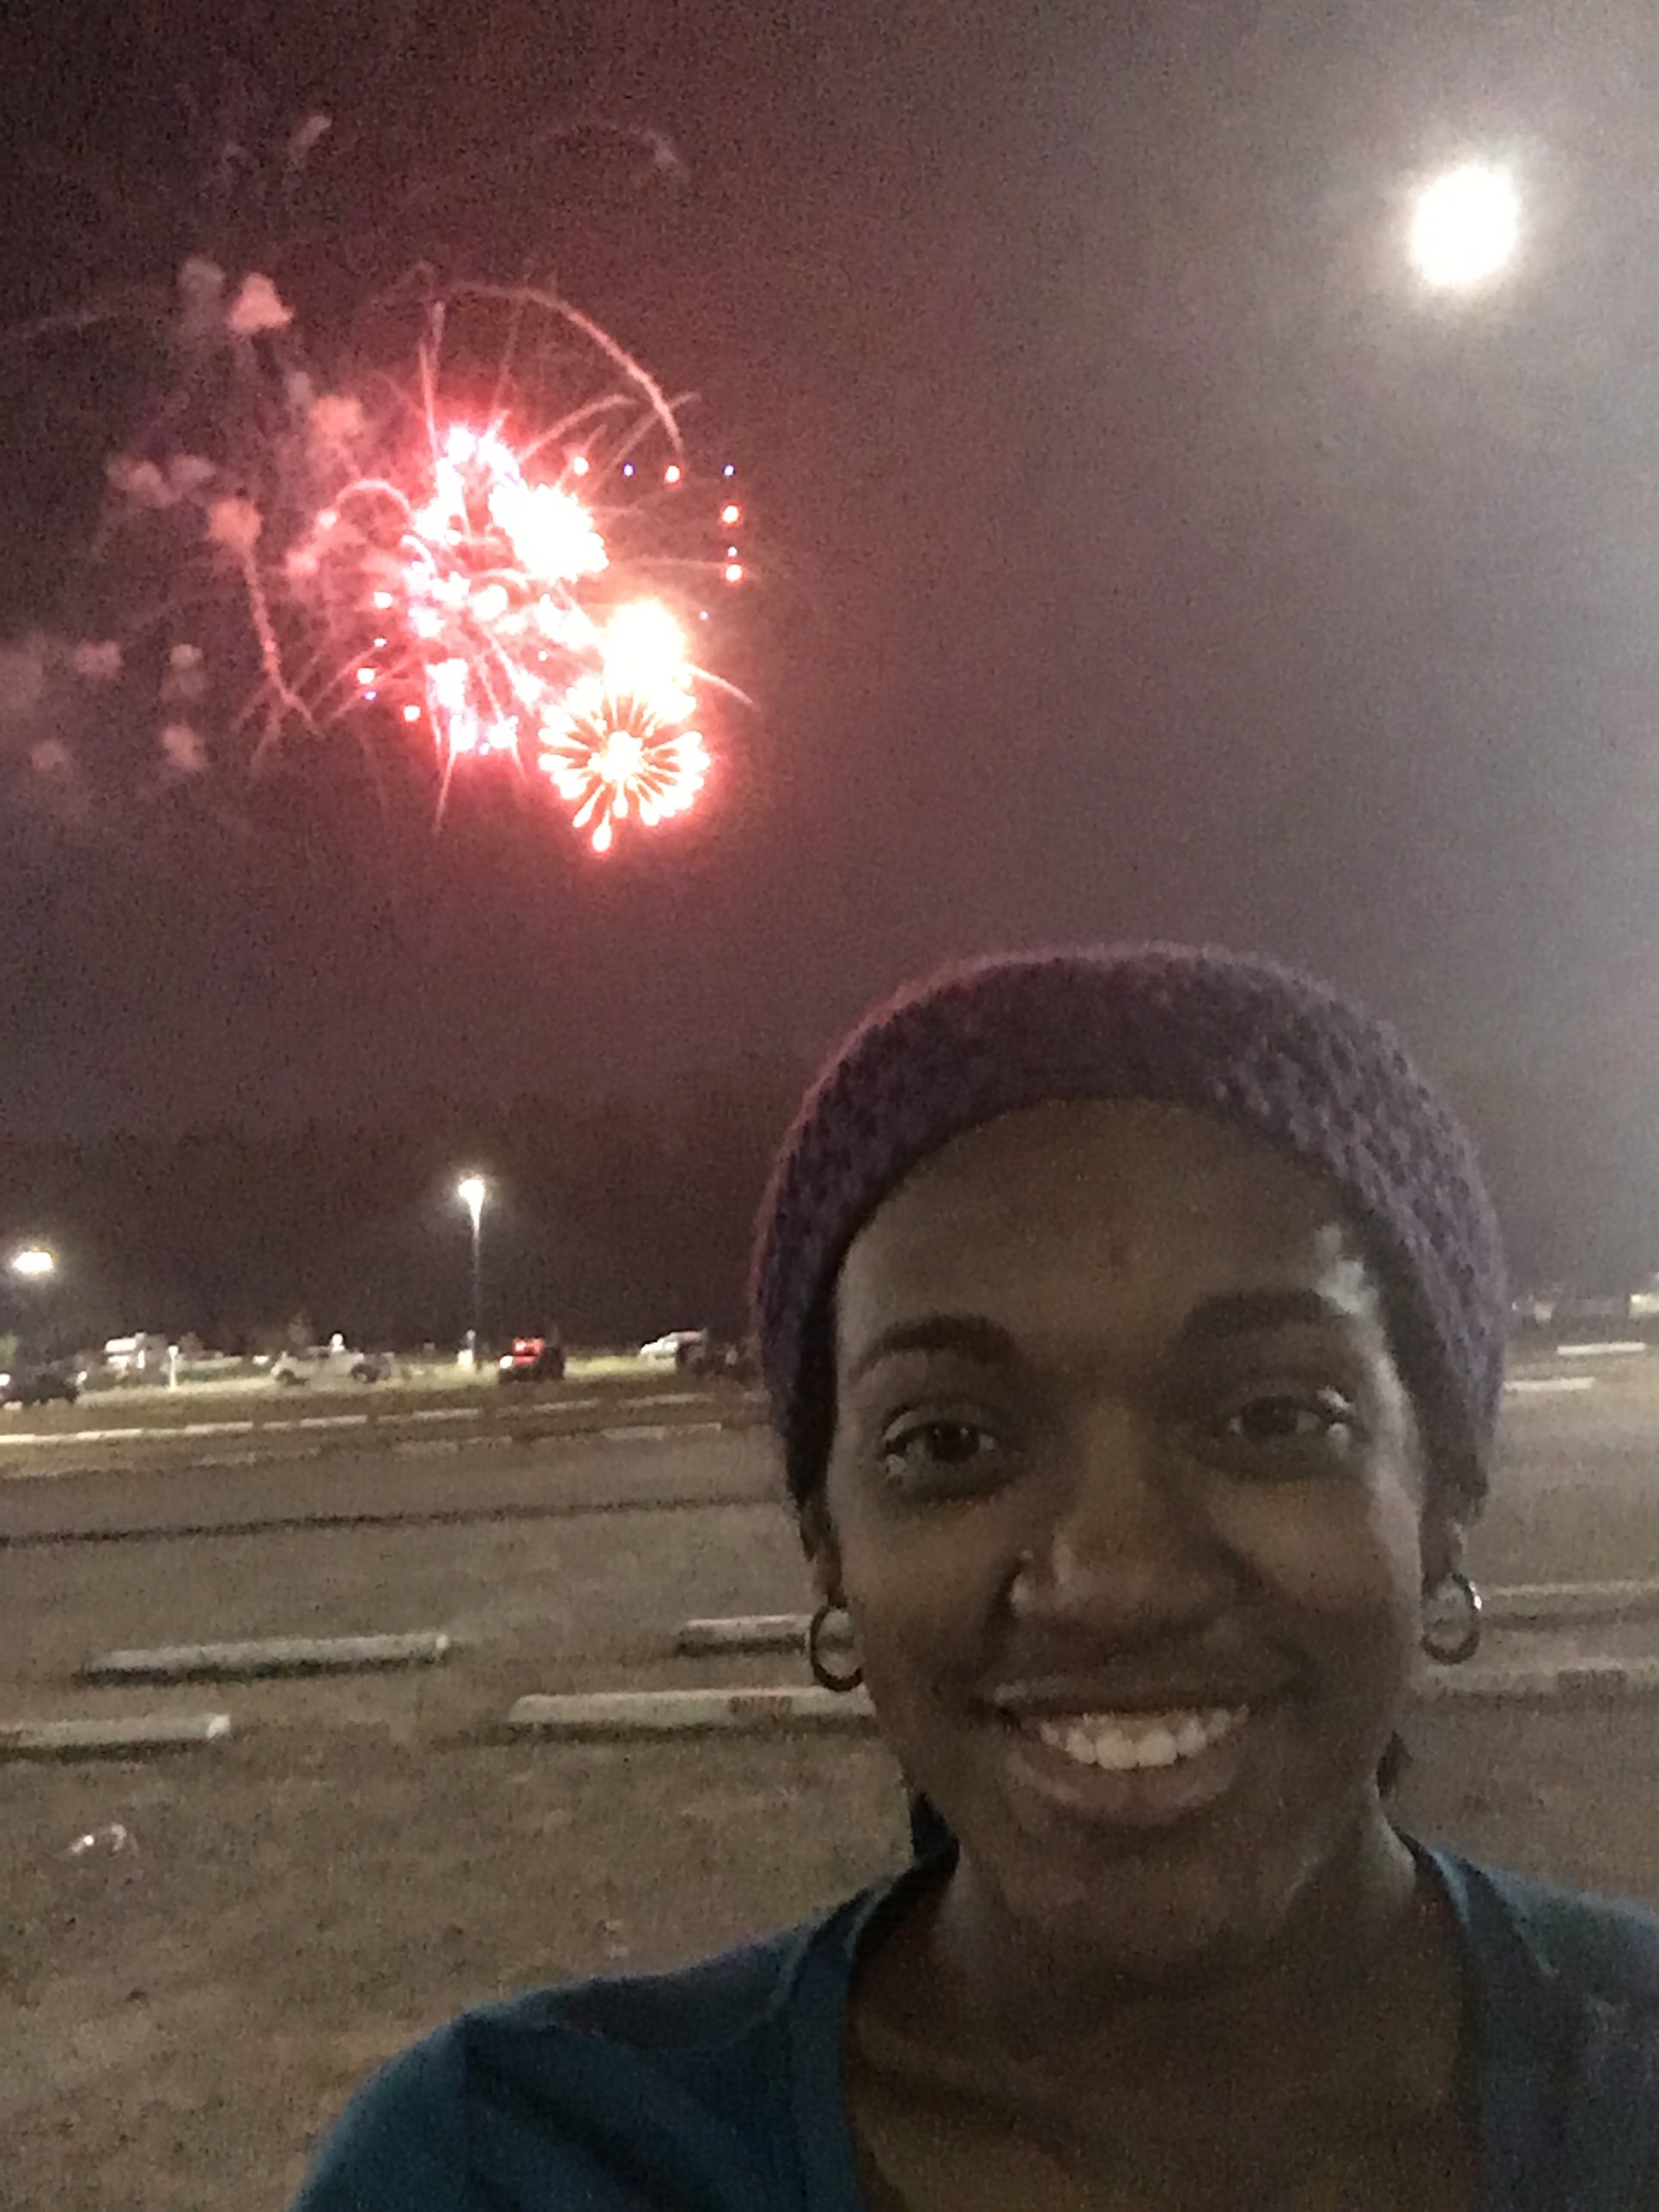 This is me wearing my Las Olas Hat at the NC State Fair this past October, which was hiding two French braids (mom hair, anyone?)
As always, you can purchase an easy to download PDF version of this pattern at
Ravelry
Now on to the free crochet hat pattern!
Las Olas Hat
A pattern by Creations By Courtney
Materials
- Yarn Bee Hint of Silk (85% bamboo, 15% silk), 3oz (85g), 130yds (119m), or any blended worsted weight yarn; yarn needle
- Hook: size 5.5mm (I/9), 6.00mm (J/10), or sizes needed to obtain gauge
- Scissors
- Yarn Needle
Gauge
7 dc x 4 rows = 2” (5 cm) x 2″ (5 cm) across dc rows and not the sc.
To Make a gauge swatch with smaller hook
- 15 Fsc, turn
- First-dc, dc in each st, turn
- Repeat row 2 two times
- First-dc, *ch 1, sk 1, dc. Repeat from * to end, turn
- First-dc, *dc in ch-1space, dc in next st. Repeat from * to end.
- Measure swatch to check gauge. Change to a smaller or larger hook as needed.
- The pattern ensures that only one skein is needed, but if you choose a different yarn, you may have different results; adjust the hook size as necessary.
Finished Measurements
9” (23 cm) L x approx. 21”(53.5 cm) circumference
Notes
- Pattern is written US terms
- Read the entire pattern before beginning
- Hat is worked from the bottom up
- The first-dc can be substituted with ch 3
- Pattern includes three options for finishing the hat, two create the cinched look of a bottom up hat, and the third option creates a flat closing similar to top down hats.
- Elk Studio Handcrafted Crochet Designs has an awesome video tutorial for cinching a hat closed: http://www.elkstudiohandcraftedcrochetdesigns.com/closing-the-hole-in-a-beanie/
Pattern Key:
ch: chain
sc: single crochet
dc: double crochet
fsc: foundation single crochet
sc2tog: single crochet 2 together
sk: skip
slst: slip stitch
st(s): stitch(es)
first-dc: first double crochet
Special Stitches:
First-dc: sc without ch 1 in first st after turning, ch 2
Here for the Summer Stitch Along?
The event is over now but enjoy 50 crochet patterns! Don’t forget to use #summerstitchalong when sharing your finished projects.
Check out the other patterns!
Instructions
Round 1: With larger hook, fsc 63, slst to join to create a circle without twisting the chain, turn.
Rounds 2-3: ch 1, sc in each st, (sc2tog in last 2 sts of round 3 only), slst to join, turn. (62 sc)
Round 4: Change to smaller hook, first-dc, dc in each st, slst to join, turn (62 dc)
Round 5: first-dc, *ch 1, sk next st, dc in next st. Repeat from * to end, slst to first-dc to join, turn. (31 dc, 31 ch-1)
Round 6: first-dc, *dc in ch-1 space, dc in next st. Repeat from * to end. Sl st to join, turn. (62 dc)
Rounds 7-8: first-dc, dc in each st around, slst to join, turn. (62 dc)
Rounds 9-16: Repeat Rounds 5-8 twice (Jump below starting with Round 17 for the flat closing)
Round 17: Repeat Round 5
Round 18: Repeat Round 6
Round 19: ch 1, *sc, sc2tog. Repeat from * around, slst to join. Fasten off leaving an 8” tail for sewing the hat closed. STOP HERE FOR CINCHED CLOSING
Cinched Finishing:
- Using a large-eye needle, thread the long tail, flip hat to wrong side, and fold the hat in half and pull tail through center; fold in half again and weave through the center. Continue to fold in half and bring the folds into center and weave through to secure the center and create the top of the hat. Once all folds are gathered, pull tight, knot to secure, and weave in end.
- Using a tail 6-8” long, thread yarn needle and weave under both loops of first stitch, *skip next stitch, weave under both loops of next stitch. Repeat from * around to last stitch, turn hat inside out, and pull tight. Weave through the center a few times, then finish off.
For Flat Closing:
Round 17: first-dc, *sk next st, dc in next st. Repeat from * around, sk last st, slst to join, turn. (31 dc)
Round 18: Ch 1, sc in each st, slst to join, turn (31 sc)
Round 19: Ch 1, sc in first st, *sc2tog across remaining sts, slst to join, DO NOT TURN (16 sc)
Round 20: Ch 1, sc2tog around, slst to join. (8 sc)
Round 21: Ch 1, sc2tog around, slst to join. Cut a tail to close any small remaining gap, and weave in the end. (4sc)
I look forward to seeing your completed projects on the ‘Gram and use #CBCDesigns so that everyone can admire your work.
Thank you for your support! ♥ You can pick up my latest free and paid patterns by visiting my website: https://www.creationsbycourtney.com/cbc-designs
Additionally, I invite you to sign-up for my email newsletter,
and follow me on social media for more crochet and yarnie goodness!
Newsletter: http://eepurl.com/cJh_2j
Facebook: https://www.facebook.com/creationsbycourtneyllc
Pinterest: https://www.pinterest.com/cbycourtney
Instagram: http://www.instagram.com/creationsbycourtneyllc
Ravelry: http://www.ravelry.com/designers/courtney-w-of-creations-by-courtney
LoveCrafts: https://www.lovecrafts.com/en-us/user/maker/97898432-96f5-49c0-b998-1e283e729686
SaveSave
SaveSave


16 Responses
I could not refrain from commenting. Perfectly written!|
Hi, I just purchased this pattern, because the picture of the back is what i liked. But the pattern does a different back. I Dont like the back gathered look. are there different direction for the round look on the back. If there is can I get that pattern, cause it is what i thought it would be. that is what it shoes on the purchase page. ty
Hi Tamera. Thank you for your support. I updated the pattern after seeing your question this morning. You should’ve have received the notification through Ravelry. Let me know is there is any other questions.
The lavender is perfect!!!
Thank you, Lee!
I would do this hat in red, I think that would be really pretty.
Red was one of my favorite colors for years. I made a red version of this hat, and my mom “took it” since it’s her favorite color. 🙂
I want to find orchid or turquoise yarn to make one of these! I love your style!
Both of those colors would be gorgeous for a hat! If you have a Hobby Lobby near you, I think that have a turquoise in the same yarn I used for this hat. I probably have a skein in my stash somewhere in turquoise too. LOL