*Disclosure: This post may contain affiliate links to products that I use, and think you will enjoy using too. Should you decide to use any such link, I will earn a small commission at no cost to you. Thank you for supporting this small business.
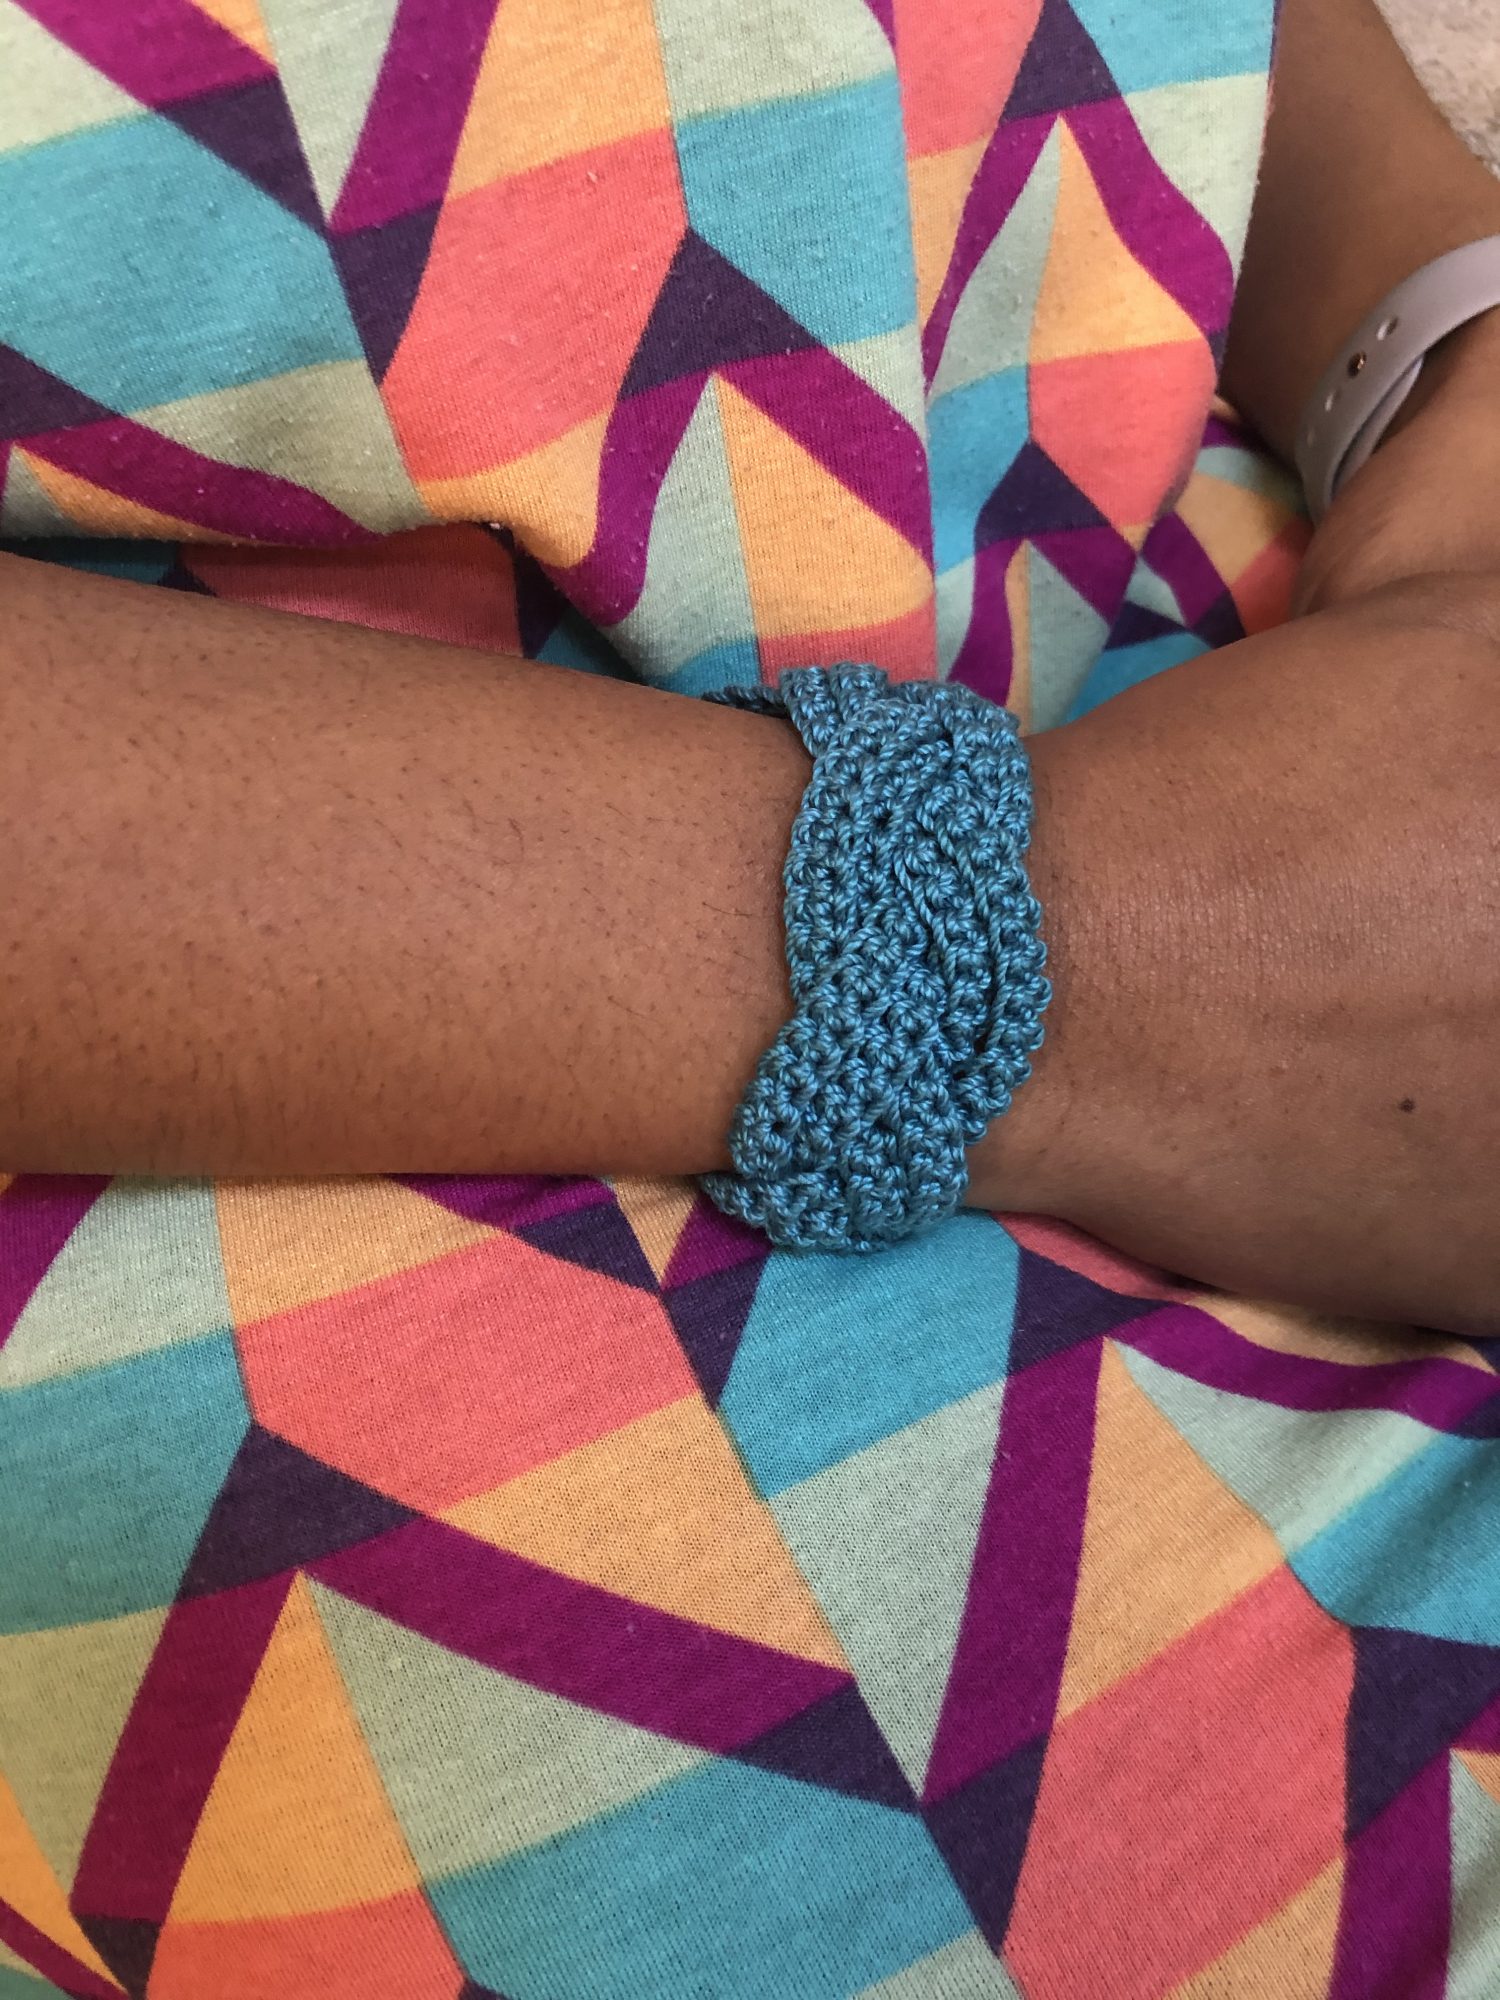
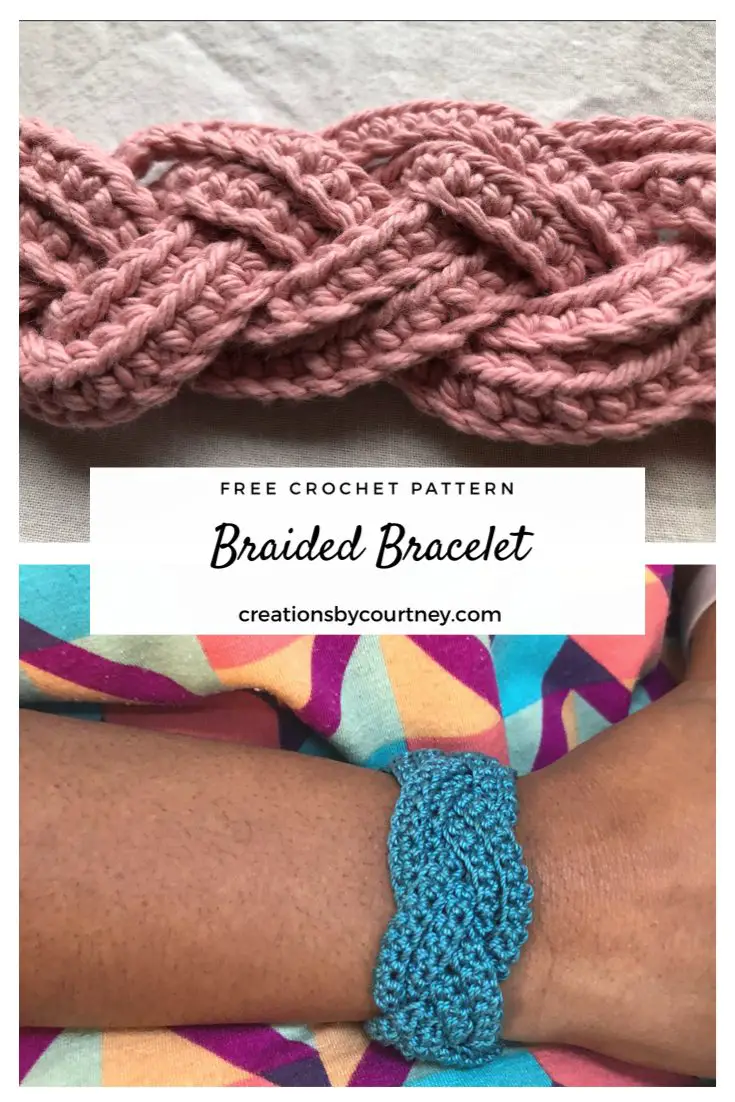
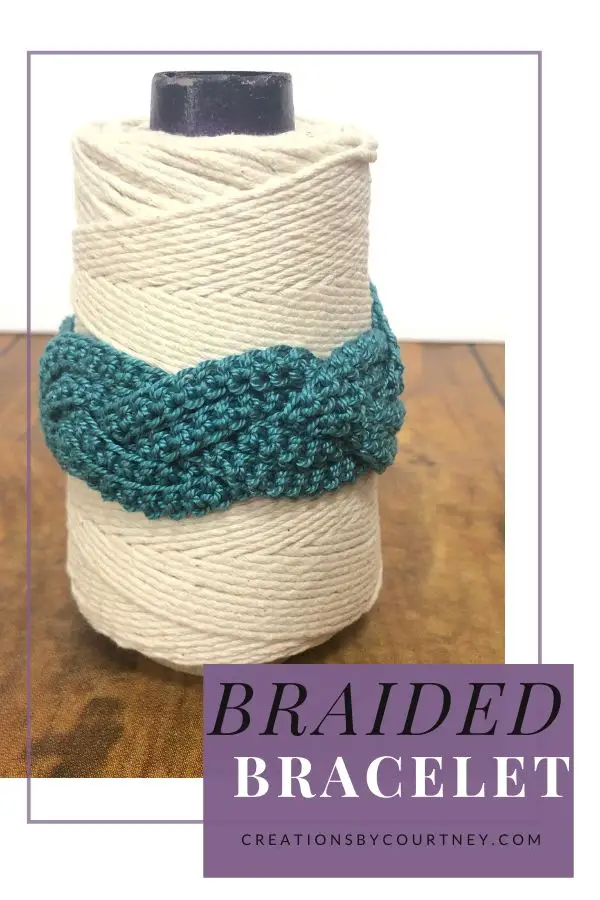
The Braided Bracelet crochet pattern is an oldie that has been updated with new pictures from myself and pattern testers!
The Braided Bracelet is one of my very first designs, like the X Bangle, which started this blog in 2017. 🙂
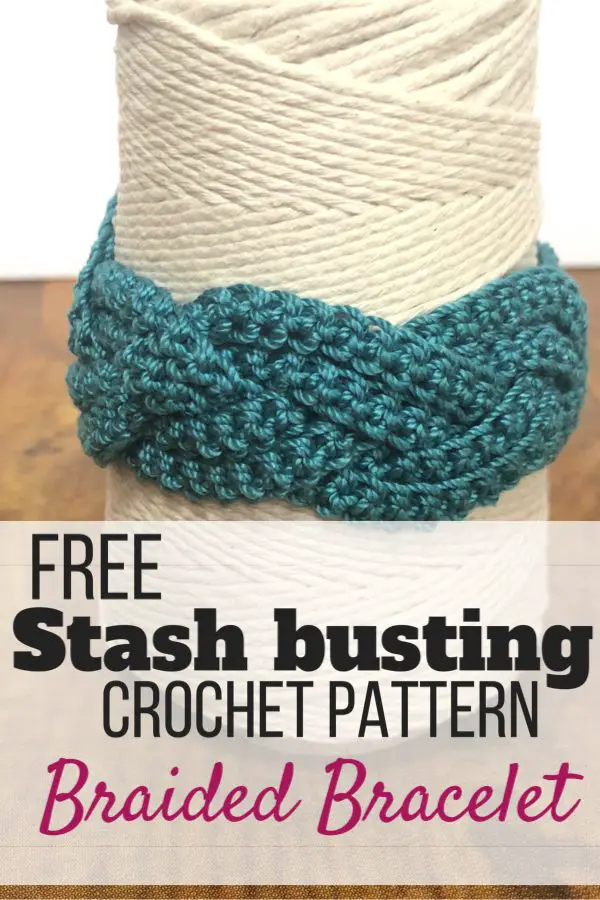
I used Cotton thread, size 3, which is the same thickness as a fingering weight, so you can be creative using the thread that we all have in our stashes.
Don’t have any thread or fingering weight yarn, you can substitute any weight yarn to create a piece long enough to wear as a headband or necklace. 😉
The Braided Bracelet crochet pattern was tested by Courtney F., Dwanyé W., Gaylene O., and Nina G.
You can check out their amazing bracelets here.
Add to Ravelry Queue
Materials
- Aunt Lydia’s Fashion Crochet Thread, Size 3 (100% Cotton; 150 yds/ 137 m; 1.76 oz/ 50 g skein): Teal
- Hook Furls Odyssey US D/3.25mm
- Steel Hook Sz 10/1.30mm, or small enough to fit through button shank
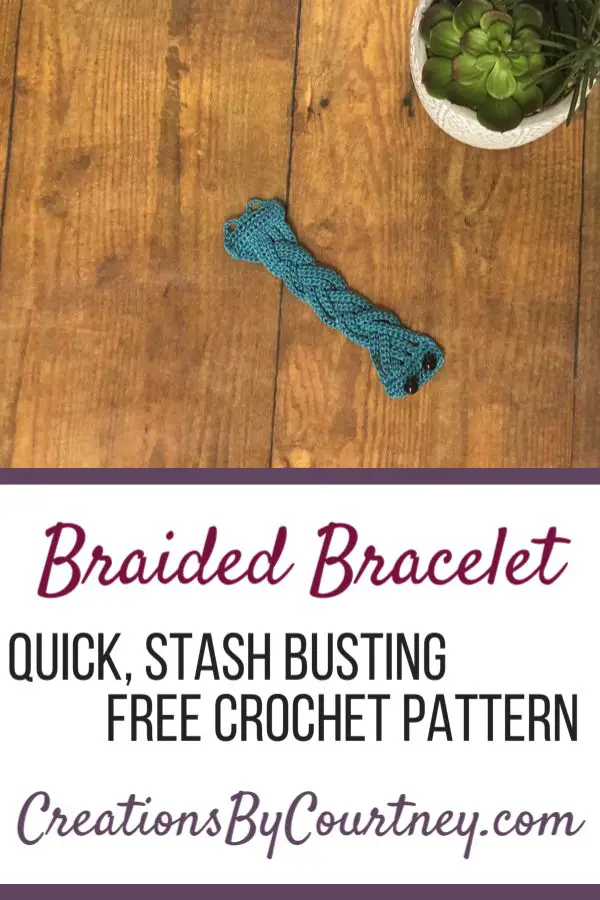
- ½ inch shank buttons, 2
- Scissors
- Yarn Needle
- Straight safety pin
- Measuring Tape
GAUGE
6 sc = 1”, 5 pattern rows = 1”
SIZES
- Small: 6.5”
- Medium: 7.5”
- Large: 8.5”
PATTERN KEY
- Ch: chain
- sl st: slip stitch
- sc: single crochet
- st(s): stitch(es)
- sk: skip
- sp: space
- YO: yarn over
- RS: right side
SPECIAL STITCHES & TECHNIQUES
- Attach button with sc: Insert hook through indicated st, YO and pull up a tall loop (2 loops on hook), remove hook from both loops, use smaller hook to pull tall loop through shank of button, put larger hook through both loops again, YO, pull through 2 loops.
EXPERIENCE LEVEL
Easy
NOTES
- Pattern is written US terms.
- Read the entire pattern before beginning.
- Pattern is made in 3 sections: First Band, Strands, Button Loops, Braid, Second Band
- Six strands are created in the same manner in two rows.
- Strands are braided prior to making the second band.
- Use the safety pin to hold the ends of the braid.
Grab the PDF below ⬇️
INSTRUCTIONS:
First Band
Ch 13
Row 1: Sc into second ch from hook, sc into each ch across, turn – 12 sc
Row 2-3: Ch 1, sc in each st across, turn. Do not fasten off.
Strands
Strand 1: Ch 40 (46, 52), sc in second ch from hook, sc in each ch across until you reach the band; sk first st of band, sl st in next 2 sts of the band – 39 (45, 51) sts
Strand 2-5: Ch 40 (46, 52), sc in second ch from hook, sc in each ch across until you reach the band; sl st in next 2 sts of the band – 39 (45, 51) sts
Strand 6: Ch 40 (46, 52), sc in second ch from hook, sc in each ch across to band,. Do not fasten off – 39 (45, 51) sts
Button Loops:
Row 1: Continuing from Strand 6, sl st in each row end to corner, rotate piece, ch 1, sc in first st, sc in next 2 sts, ch 4, sk next st, sc in next 4 sts, ch 4, sk next st, sc in last 3 sts; rotate piece, sl st in row ends of band, fasten off – 6 sl st; 10 sts; 8 ch
Braid
- Lay bracelet on a flat surface and tape down, pin or place under a weight so that it doesn’t move.
- Dividing the strands into 3 groups of 2, take the outside strands on the right side, cross it over to the center.
- Take the outside strands on the left side and cross it over to the center.
- Repeat last 2 steps with the strands that are on the right or left until you reach the end.
- Keep strands flat and untwisted.
- Use the safety pin to hold the end of braid as flat as possible and to prevent it from unraveling.
Second Band
Note: Choose which side of the braid you prefer to show, and keep that side facing you when working Row 1 and attaching the buttons in Row 3.
Row 1: Attach thread with a sl st in the end of the strand on the right, *ch 1, sl st in next strand; repeat from * across in each strand, turn – 6 sl st, 5 ch
Row 2: Ch 1, *sc in sl st, sc in ch-1 sp*; repeat from * to * 2 more times, sc in same sp as last sc made; repeat from * to * 2 times, sc in last sl st, turn. Remove safety pin – 12 sc
Row 3: Ch 1, sc in first st, sc in next 2 sts; *using smaller hook, attach button with sc following instruction in Special Stitches & Techniques*; using larger hook, sc in next 4 sts; repeat from * to *; using larger hook, sc in last 3 sts, turn – 12 sc
Row 4: Ch 1, sc in first st, sc in each st across, turn
Row 5: Ch 1, sc in first st, sc in each st across; rotate piece, ch 1, sl st in each row end to corner, rotate piece, ch 1, sl st through each st of Row 1, rotate piece, ch 1, sl st in each row end, fasten off.
Finishing
Weave in all ends
Pin it for later
If we’re not hanging out on social media yet, come check me out on Facebook, Instagram and Pinterest.
Want to talk about yarn goodness, crochet tips, and exclusive weekly deals? Join my Facebook Group, Creations By Courtney Community.
Join my newsletter for sneak peeks, crochet tips, and more. HERE
Please use #CreationsByCourtney on social media when sharing your projects.
This pattern is not to be duplicated or resold, and not to be reproduced commercially. You may sell finished products on Etsy, at farmers markets, and craft fairs, but please credit Creations By Courtney as the pattern’s author.
6 Responses
Might have to make this.
You should! It’s a great accessory to add to any outfit.
I love the pattern and will be making it soon
I’m so glad to learn that you love this pattern. I look forward to seeing your finished bracelet. Don’t forget to tag me when you share your pictures of the finished bracelet.