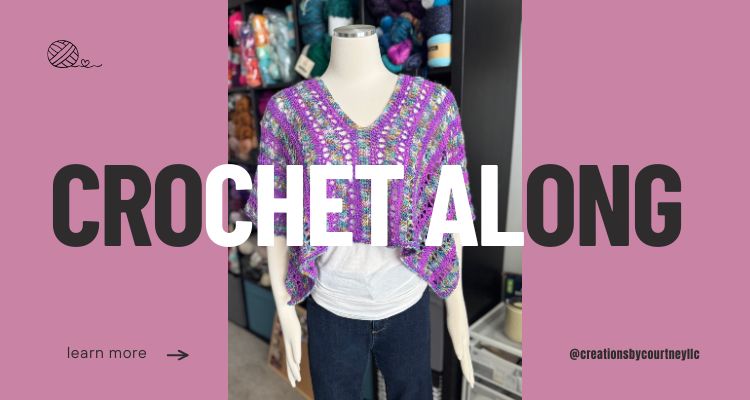
Ready to turn beautiful stitches into a wearable piece you’ll actually reach for in your closet?
Join the Xcapade Poncho Crochet Along, where we’ll crochet a customizable poncho step-by-step together. This crochet along is designed to help you create a stylish crochet poncho pattern while learning garment construction techniques you can use again and again.
Whether you’re making your first wearable or adding another handmade piece to your wardrobe, this CAL will help you build confidence while enjoying the process with other crocheters.
Grab your yarn, your favorite hook, and let’s make something fabulous together.
Why Join a Crochet Along?
Crochet alongs are one of my favorite ways to work through a project — especially when making garments, and spending time with Crochet Besties.
Instead of feeling overwhelmed by a full pattern, we break the project into manageable weekly steps.
When you join a CAL, you get:
- A clear weekly plan so the project feels manageable
- Encouragement and accountability from other crocheters
- Time to practice new techniques without feeling rushed
- The fun of seeing everyone’s color choices and progress
By the end of the CAL, you’ll have a finished poncho and a few new crochet skills to use in future garments.
PSSSSTTT! I’ve added a giveaway. Keep reading to get the details.
How This Design Has Evolved
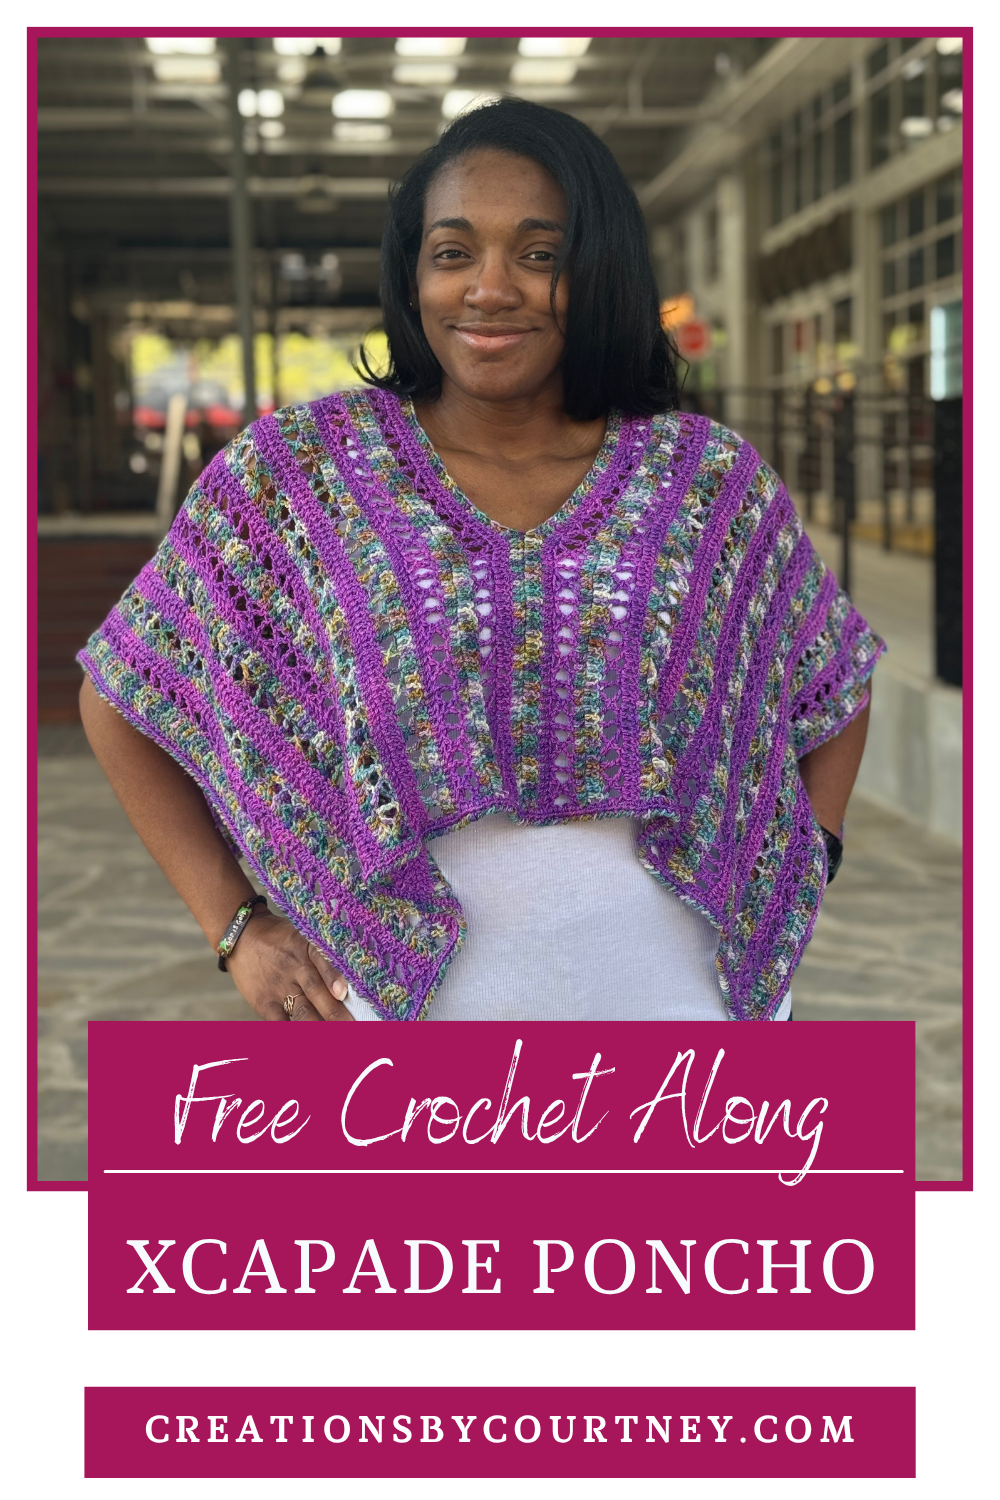
The Xcapade Poncho started as an easy way to showcase my obsession with the x-stitch, as well as playing with silhouettes.
For this crochet along, the design has been refined to give crocheters even more flexibility.
The updated version:
- Keeps the eye-catching stitch pattern + bold color choices
- The same simple rectangular construction
- Allows you to adjust the finished length
- Works beautifully with multiple yarn weights
You still get the fun stitch pattern — but now it’s even easier to customize the poncho for your wardrobe.
How This Poncho Is Constructed
This crochet poncho pattern uses one of the simplest garment construction methods in crochet: two rectangles seamlessly joined together.
Instead of complicated shaping or sleeve construction, you will:
- Crochet the first rectangle
- Use foundation double crochet to create a neck opening and start the second rectangle
- Add an edging… or not.
The starting row determines the length, whereas the rows determine the width or far it comes down one’s arms.
This easy construction allows a Crochet Bestie to experiment with color, if they choose, and explore draping of fabric.
Choose Your Poncho Length
One of the best parts of this crochet poncho pattern is that you can choose the length that fits your style.
Waist Length Poncho
A cropped version that pairs beautifully with high-waisted jeans or skirts.
This length is lightweight, playful, and perfect for layering during warmer seasons.
Hip Length Poncho
The most versatile option.
This length creates a relaxed silhouette that works with both casual outfits and everyday wear.
Tunic Length Poncho
Looking for more coverage?
The tunic length creates a longer, cozy silhouette that pairs beautifully with leggings or slim-fit pants.
Choosing Your Yarn Colors
One of the most fun parts of this crochet along is choosing your yarn.
The three-row repeat of double crochet and lace stitches highlights color beautifully, making this project perfect for experimenting with different palettes.
Popular choices include:
- tonal yarns
- speckled yarns
- two-color palettes
- gradients
You can also use the coloring page to sketch out your color placement before you start crocheting.
Planning your colors ahead of time makes it easier to visualize how the stitch pattern will flow across the poncho.
Gauge Matters for Garments
Checking gauge helps ensure your poncho turns out the size you expect.
If you need help measuring gauge, you may find these tutorials helpful:
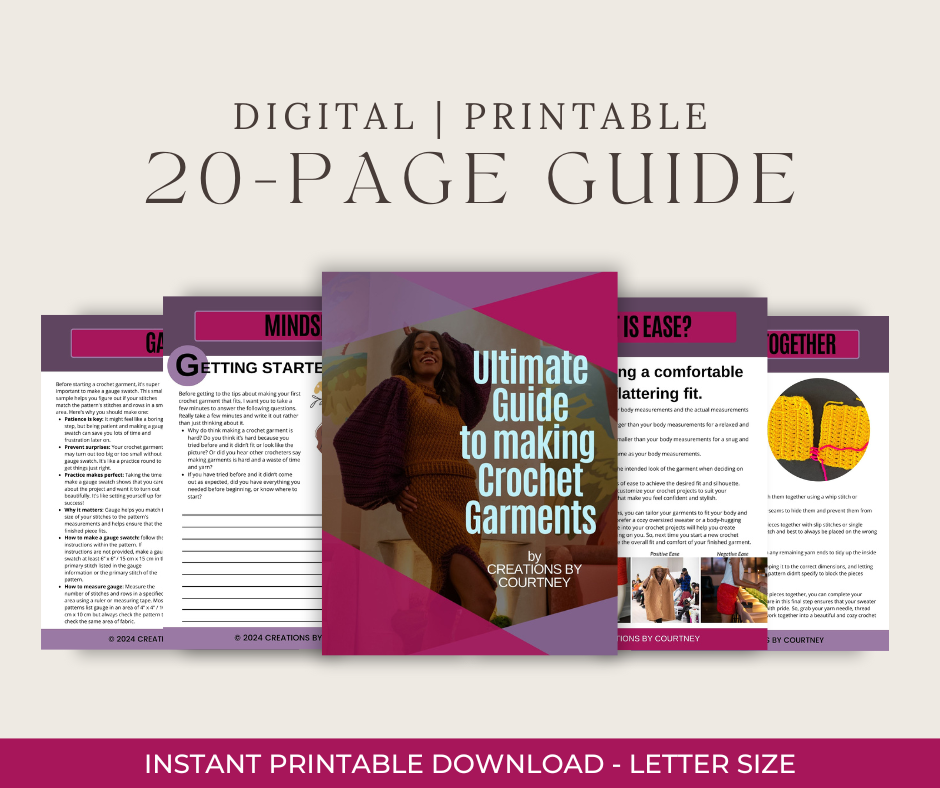
Learning how gauge and measurements affect garment fit is one of the key skills taught inside From Stitch to Style: Make Simple Crochet Garments.
Customize the Pattern With Any Yarn Weight
Want even more flexibility?
The Xcapade Poncho Pattern Customizer allows you to adjust the poncho for different yarn weights and stitch counts.
The customizer helps you:
- use any yarn weight
- adjust stitch counts automatically
- plan different garment lengths
- experiment with different yarn choices
This makes it easier to personalize the poncho and explore how different yarns affect the finished fabric.
Crochet Along Schedule
The crochet along begins April 13, and we’ll work through the project together over six weeks.
Each week focuses on a manageable section of the pattern.
Week 1: April 13 – April 19
Choose Your Yarn
- decide on yarn weight
- plan your color palette
- review the stitch pattern
Week 2: April 20 – April 26
Gauge + First Rows
- crochet your gauge swatch
- block and measure gauge
- First Half Rows 1–5
Week 3: April 27 – May 3
Continue First Rectangle
Rows 6–22 (22, 30, 35 depending on length)
Week 4: May 4 – May 10
Finish First Panel + Start Second Panel
Rows 23–29 (23–31, 31–35, 36–41)
Second Half Rows 1–10 (11, 13, 15)
Week 5: May 11 – May 17
Continue Second Panel
Second Half Rows 11–25 (12–27, 14–31, 16–36)
Week 6: May 18 – May 24
Finish + Block
Rows 26–29 (28–31, 32–35, 37–41)
- add edging
- block your poncho
- enjoy your finished garment
Materials
- Fingering Weight #1
- Worsted Weight #4
- Hook: US G+ (4.5mm) or US J (6.0mm) or size needed to obtain gauge based on yarn weight
- Scissors
- Yarn Needle
- 4-6 Locking stitch markers
YARN AMOUNTS
| Yarn | 1 | 2 | 3 | 4 |
| Waist Length | ||||
| Yards | 803 | 1012 | 1139 | 1345 |
| Meters | 734 | 926 | 1042 | 1230 |
| Skeins | 2 | 3 | 3 | 4 |
| Hip Length | ||||
| Yards | 1147 | 1360 | 1566 | 1740 |
| Meters | 1049 | 1244 | 1432 | 1591 |
| Skeins | 3 | 4 | 4 | 5 |
| Tunic Length | ||||
| Yards | 1262 | 1645 | 1851 | 2254 |
| Meters | 1154 | 1504 | 1692 | 2061 |
| Skeins | 4 | 4 | 5 | 6 |
| Worsted weight, Tunic Length, Tassels & Belt | ||||
| Yards | 1664 | |||
| Meters | 1522 | |||
| Skeins | 8 | |||
Gauge
Fingering weight: approx 18 sts x 8 rows = 4” x 4” [10 cm x 10 cm]
Worsted weight: 12 dc = 4”/ 10cm, 3 X-Sts = 4.75”/ 12cm; 6 rows in pattern = 4.25” / 11cm
How to make a gauge swatch
Ch 38 or 36 fdc
Row 1: Starting in 4th st, dc in each st to end, turn. 36 dc
Row 2: CSDC in first st, dc in each st, turn.
Row 3: CSTR in first st, *X-st, tr in next st, rep from * to end, turn. 7 X-st, 8 tr
Rows 4-5: CSDC in first st, dc in each st, turn.
Rows 6-17: Rep Rows 3-5
Finished Measurements
| Size | 1 | 2 | 3 | 4 |
| To fit chest circum. | 30-38 in.71-86 cm | 42-50 in.91-112 cm | 54-62 in.117-132 cm | 66-72 in.137-152 cm |
| Width, flat | 29 in.56 cm | 32 in.81 cm | 36 in.91 cm | 40 in.102 cm |
| Waist Length, folded | 14 in.36 cm | 16 in.41 cm | 16 in.41 cm | 17 in.43 cm |
| Hip Length, folded | 20.5 in. 52 cm | 21.5 in. 55 cm | 22 in.56 cm | 22 in.56 cm |
| Tunic Length, folded | 24 in.61 cm | 26 in. 66 cm | 26 in.66 cm | 28.5 in.72 cm |
| Worsted weight, Tunic Length, folded | 40” /102 cm wide | 28.5” /72 cm length |
Pattern Key
Ch(s): chain(s)
CSDC: chainless starting double crochet
CSTR: chainless starting treble crochet
Dc: double crochet
Fdc: foundation double crochet
FO: fasten off
Hdc: half double crochet
M: stitch marker
PM: place marker
Prev: previous
Rsc: reverse single crochet
Sc: single crochet
Sk: skip
Sl st: slip stitch
sp: space
st(s): stitch(es)
Tr: treble crochet
X-St: X-stitch
YO: yarn over
Special Stitches and Techniques
CSDC: Chainless Starting Double Crochet – pull up a loop to the height of the stitch, holding loop, yarn over (YO) {turn hook around yarn}, insert hook in first stitch, YO, pull up a loop, yarn over, [pull through 2 loops] twice
CSTR: Chainless Starting Treble Crochet – single crochet (sc) in first stitch without a chain 1, insert hook through middle of first sc and under 2 loops, YO, pull up a loop, YO, pull through 2 loops, [insert hook through middle of last sc and under 2 loops, YO, pull up a loop, YO, pull through 2 loops] twice
Rsc: Reverse Single Crochet – working in opposite direction (left to right or right to left), insert hook in next st, YO and pull up a loop, YO, pull through 2 loops
X-St: YO 2 times, insert hook in next stitch, YO, pull up a loop (4 loops on hook), YO, pull through 2 loops (3 loops on hook), YO (4 loops on hook), skip next 2 stitches, insert hook in next stitch, YO, pull up a loop (5 loops on hook), [YO, pull through 2 loops] four times, chain 2, YO, insert hook from right to left under two loops in center of the X (not under the legs of the X), YO, pull up a loop, [YO, pull through 2 loops] twice.
Notes
- Pattern is written in US terms.
- Read entire pattern before beginning.
- Poncho is made in three parts, First Half, Second Half and Edging.
- This is constructed lengthwise, so you must choose your length first, Waist, Hip or Tunic.
- The fdc of the second half for the neck opening can be replaced with the same number of chains as listed in pattern below. Use stitch markers to mark where to start and end chain. Attach yarn with a slip knot, make chain, skip the listed amount of stitches, and then slip stitch where the second marker is placed. Be mindful to chain looser in order to work stitches into each chain for row 1 of the Second Half.
- The neck opening can be adjusted by adding or subtracting 2 stitches at a time, and skipping the same number of stitches before continuing the first row of the second half.
- Loosen stitches for the edging to avoid puckering.
- St in pattern refers to stitch and chain within the pattern.
- Poncho was designed to work dc in to the chains, rather than around the chain. You can work the dc rows based on preference.
- Poncho width can be shortened or widened by making fewer or more rows before edging, but this will change the yarn amount required.
Purchase the ad-free PDF from your favorite pattern shop

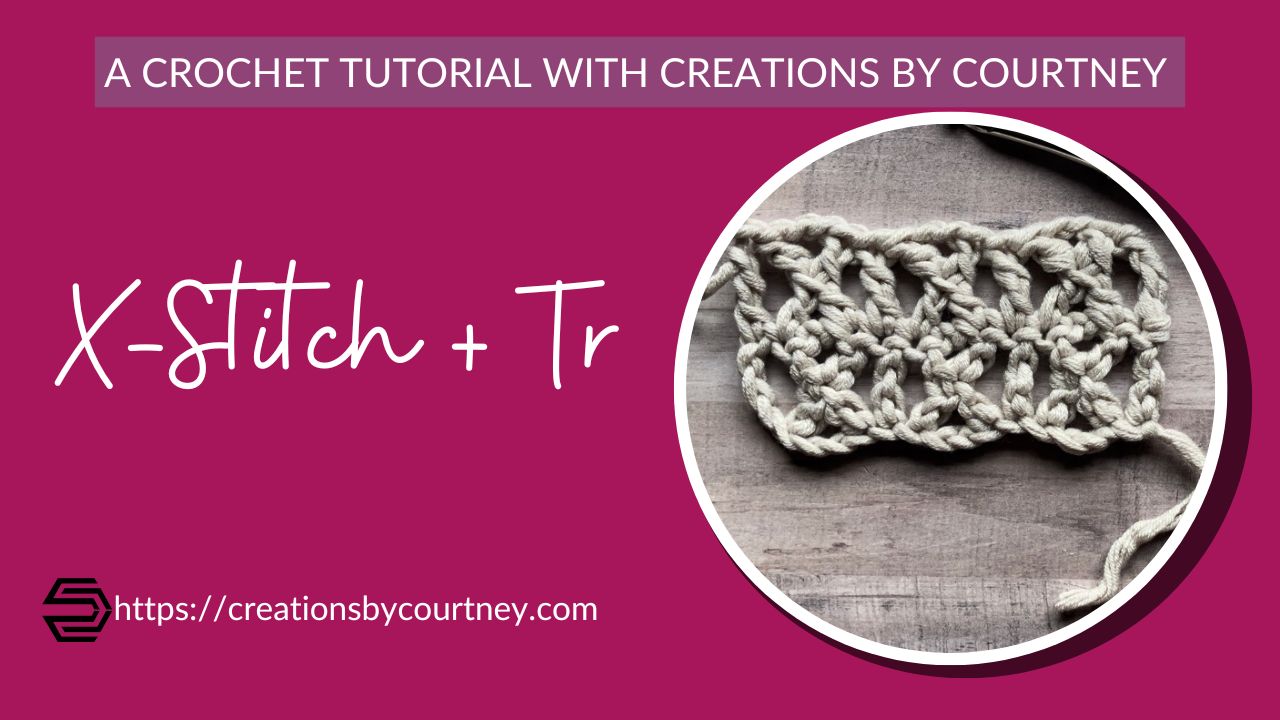
Need to practice the X-st?
I’m obsessed with the X-st and have almost 20 crochet patterns with one more in the queue that I know you’re going to LOVE. Well, I hope you’re going to love it as much as I imagine. LOL
If you have tight tension, the x-st might be not be as much fun to play, so increase the hook size and be mindful of the yanking when completing the last yarn overs.
Check out the following tutorial or watch it. Making a gauge swatch will definitely let you begin developing the rhythm of the stitch. And if you continue to have a hard time, you can replace the x-st with crossed trebles: skip 3 sts, tr in next st, ch 2, tr in first skipped st
Giveaway
Soooo, although the crochet along has already started, I’m switching things up starting, April 30, 2026.
This is really simple and open to anyone in the world.
You just need to share the crochet along with other crochet friends, and tag Creations by Courtney.
If you share the Xcapade Poncho Crochet Along on Facebook or Instagram, use @creationsbycourtneyllc.
If you’re not able to tag Creations by Courtney, just take a screenshot of your share and send it by email Contact AT Creationsbycourtney.com or use this form.
Each share will earn ONE entry. 6+ shares earns double, i.e. 6 shares = 12 entries
Prizes
3rd Place receives a copy of the ad-free PDF and pattern customizer of the X-capade Poncho
2nd Place receives $10 towards any patterns, ebooks or other digital products
1st Place receives $25 towards any patterns, ebooks, or other digital products
ONE Grand Prize Winner receives access to From Stitch to Style course
Winners will be randomly selected at the end of the crochet along on May 25, 2026.
Best of luck, Crochet Besties!
INSTRUCTIONS
First Half
Fingering Weight Yarn:
| Size | 1 | 2 | 3 | 4 |
| Row 1: | # Fdc, turn. | |||
| Stitch total – Waist | 126 | 141 | 141 | 151 |
| Hip | 166 | 191 | 196 | 196 |
| Tunic | 196 | 231 | 231 | 251 |
| Row 2: | CSDC in first st, dc in each st, turn. | |||
| Waist | 126 | 141 | 141 | 151 |
| Hip | 166 | 191 | 196 | 196 |
| Tunic | 196 | 231 | 231 | 251 |
| Row 3: | CSTR in first st, *X-st, tr in next st, rep from * to end, turn. | |||
| Sts – Waist | 25 X-st, 26 tr | 28 X-st, 29 tr | 28 X-st, 29 tr | 30 X-st, 31 tr |
| Sts – Hip | 33 X-st, 34 tr | 39 X-st, 40 tr | 39 X-st, 40 tr | 39 X-st, 40 tr |
| Sts – Tunic | 39 X-st, 40 tr | 46 X-st, 47 tr | 46 X-st, 47 tr | 50 X-st, 51 tr |
| Rows 4-5: | CSDC in first st, dc in each st, turn. | |||
| Rep Rows 3-5: | 8 more times | 9 more times | 10 more times | 12 more times |
| Total Rows – All lengths | 29 | 31 | 35 | 41 |
Worsted Weight Yarn
Row 1: 171 fdc, turn.
Row 2: CSDC in first st, dc in each st, turn. 171 dc
Row 3: CSTR in first st, *X-st, tr in next st, rep from * to end, turn. 34 X-st, 35 tr
Rows 4-5: CSDC in first st, dc in each st, turn.
Rows 6-29: Rep [Rows 3-5] 8 times, turn.
Second Half
Fingering Weight Yarn
| Size | 1 | 2 | 3 | 4 |
| PM in #st from each end (Waist, Hip, Tunic) | 45th 65th 80th | 49th 77th 94th | 49th 77th 94th | 56th 77th 104th |
| Row 1: | CSDC in first st, dc in each st until M, ♦︎ fdc, sk ♦︎ sts and attach to prev row (neck opening made), dc in rem sts, turn. | |||
| ♦︎: fdc sts to make and # of sts to skip | 36 36 36 | 43 42 43 | 43 42 43 | 43 42 43 |
| # of sts before & after neck opening: (Waist, Hip, Tunic) | 45 65 80 | 49 77 94 | 49 77 94 | 56 77 104 |
| Row 2: | CSDC in first st, dc in each st, turn. | |||
| Waist | 126 | 141 | 141 | 151 |
| Hip | 166 | 196 | 196 | 196 |
| Tunic | 196 | 231 | 231 | 251 |
| Row 3: | CSTR in first st, *X-st, tr in next st, rep from * to end, turn. | |||
| Waist | 25 X-st, 26 tr | 28 X-st, 29 tr | 28 X-st, 29 tr | 30 X-st, 31 tr |
| Hip | 33 X-st, 34 tr | 39 X-st, 40 tr | 39 X-st, 40 tr | 39 X-st, 40 tr |
| Tunic | 39 X-st, 40 tr | 46 X-st, 47 tr | 46 X-st, 47 tr | 50 X-st, 51 tr |
| Rows 4-5: | CSDC in first st, dc in each st, turn. | |||
| Rep Rows 3-5: | 8 more times | 9 more times | 10 more times | 12 more times |
| Total Rows – All lengths | 29 | 31 | 35 | 41 |
Worsted Weight Yarn
Place marker in 63rd st from each end.
Row 1: CSDC in first st, dc in each st to M, sk 43 sts, 43 fdc and attach to prev row, dc in rem sts, turn.
Row 2: CSDC in first st, dc in each st, turn. 171 dc
Rows 3-29: Continue in pattern as First Half, FO.
Edging
Rnd 1: Turn the poncho to work in the end rows, ch 2 (counts as hdc), hdc in same st, *2 hdc in each dc, 3 hdc in each tr, rep from * across to corner, (2hdc, ch 1, 2hdc) in corner, hdc in each st across, (2hdc, ch 1, 2hdc) in corner, repeat from * to corner, (2hdc, ch 1, 2hdc) in corner, hdc in each st until last st, 2hdc, ch 1, slst to join.
Rnd 2: Ch 1, rsc in each st around, sl st to join, FO.
Finishing
Weave in all ends.
Block, if needed.
OPTIONAL FINSIHING
Tassel
Take a piece of cardboard at least 6” (15 cm), wrap yarn 3-4 times, cut. Repeat as many times as you like, fold each in half and attach to bottom of poncho front and back. Cut the ends and trim evenly. Place a tassel in each corner, around the ch-1, place a tassel every 5th stitch
Twist Tie
- Cut 6 pieces of yarn approximately 120” long and tie one end with a knot. Attach knot to wall or desk
- Separate pieces into two groups of 3, and begin twisting both groups in a clockwise direction until tight.
- Twist the strands counter-clockwise. Knot the end of the twist. Trim end evenly.
Crochet Along FAQ
Can beginners join this crochet along?
Confident beginners who are comfortable with basic crochet stitches can join the CAL.
Can I use a different weight yarn?
Yes. The pattern customizer allows you to adjust the poncho for different yarn weights.
Do I need to make a gauge swatch?
Yes, checking gauge helps ensure the poncho is the desired size and that you have enough yarn.
How is the poncho constructed?
The poncho is made by crocheting one rectangular panel and then crocheting a second rectangular panel together that is seamlessly connected.
Join the Crochet Along
Crochet alongs are always more fun with friends, and I’d love to see the colors you choose for your poncho.
Whether you make the waist length, hip length, or tunic length, this project is a great opportunity to practice garment techniques while creating something beautiful to wear.
Choose your yarn, mark your calendar for April 13, and let’s crochet together.
Want to talk about yarn goodness, crochet tips, and exclusive weekly deals? Join my Facebook Group, Confidently Crochet with Creations By Courtney.
If we’re not hanging out on social media yet, come check me out on Facebook, Instagram and Pinterest.
Join my newsletter for sneak peeks, crochet tips, and more.
Use #CreationsByCourtney on social media when sharing your projects.
This pattern is not to be duplicated or resold, and not to be reproduced commercially. You may sell finished products on Etsy, at farmers markets, and craft fairs, but please credit Creations By Courtney as the pattern’s author.