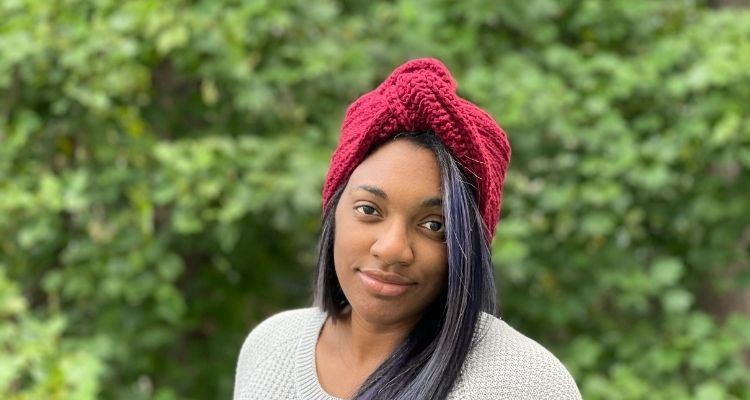
The Terressa Turban crochet pattern is for you if you enjoy being stylish, or want to hide the fact that your hair has a mind of it’s own this day.
For this particular design, it was inspired by my “Work Mom,” who was experiencing hair loss as her health declined. She was never the fancy type to care a whole lot about her hair, but she didn’t care to walk around with balding spots. As a joke in the office, we referred to her as Queen Terresa, so I made her this turban and found the perfect brooch to add to the center knot. Sadly, Terresa passed March 2018.
So whether your hair is not cooperating, you want to hide thinning hair, or just be cute, the Terresa Turban crochet pattern is made for you, a friend, the neighbor, and all of the kids.
YARN
Don’t you just love how there are so many options when choosing yarn?
I have made the Terresa Turban three times now in three different yarns, an acrylic, a cotton blend and a superwash merino wool. I love each version in each color, but I think the natural fiber yarns are my absolute favorite! For me, the natural fibers offer great stitch definition, as well as extra stretch that helps the overall shape.
The Terresa Turban was the first design I chose to remake in a King Cole Yarn as one of the US Brand Ambassadors! This design is really special to me as a reminder of Terresa, and all that I learned from her in the four years we worked together.
It’s exciting to be a US Brand Ambassador, as I hope to get lot of crochet friends hooked on these squishy yarns. If you’re not familiar with brand ambassadorship, it means that King Cole Yarns provide a sample of current and yet to be released yarns for me and the other ambassadors to review and design with. It is not a paid role, so all opinions will be mine.
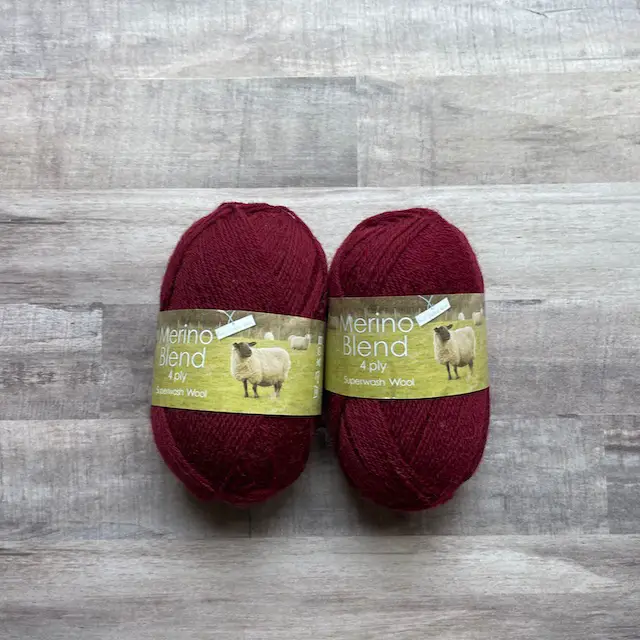
When choosing a natural fiber, Merino Blend 4 Ply was an easy choice, as it’s 100% super wash merino wool, which offers a healthy stretch to the fiber, warmth and coolness. Did you know that wool yarns have a wicking property? This means that wool can be worn in warmer weather, and there won’t be dreadful sweat stains.
Although Merino Blend 4Ply is a fingering weight, it has a “density” to it that when held double creates a great option for worsted weight.
Did I mention stitch definition?
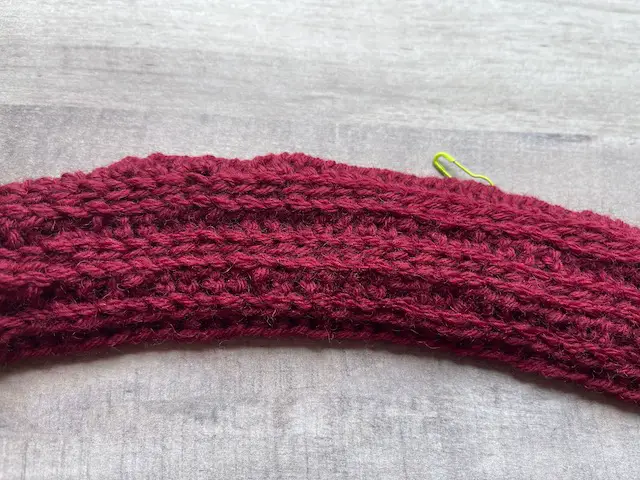
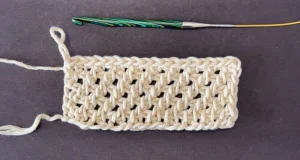
Well look at these stitches! The ribbing effect created by working in the 3rd loop of a half double crochet pops with this color, fiber and double strands.
There were only two knots in the three skeins that I used, which is AMAZING, as no one enjoys having to cut and rejoin yarn when in the middle of making stitches. Since it’s a fingering weight yarn, and even when held double, I had no issues of splitting when crocheting. *This is always important to know as a crocheter.
King Cole North American Brand Ambassador Make Along
I am sooo excited to be the first King Cole North American Brand Ambassador for the Autumn Accessories Make Along!!
For this make along, there will be four crochet or knit patterns featured each Wednesday at 6pm ET from August 18 to September 8, 2021. Each pattern will highlight a King Cole natural fiber yarn in various weights.
As stated above, I chose Merino Blend 4 Ply in Bordeaux, which is such a rich burgundy color that will forever be in style for fall fashion. You’ll have to stay tuned to see each pattern over the next few weeks, and the best way to be in the know is to join my newsletter!
Find the complete schedule and shopping list HERE.
*Disclosure: This post may contain affiliate links to products that I use, and think you will enjoy using too. Should you decide to use any such link, I will earn a small commission at no cost to you. Thank you for supporting this small business.
Add to Ravelry Queue
Materials
- King Cole Yarn Merino Blend 4 Ply (100% wool, 197 yards / 180 meters, 1.8 oz/ 50 g) held double, 3 skeins
- Alternate Yarn: your favorite worsted weight yarn
- Hook US J10 / 6.00 mm I used my blue Furls Odyssey.
- Stitch markers or straight pins
- Bent yarn needle
- Mannequin head or similar sized bowl, optional
GAUGE
16 stitches = 4”, 13 rows = 4”
SIZES
*all sizes are listed prior to seaming
- Preemie 18” x 2”
- 0-3 months 22” x 2.5”
- 3-6 months 26” x 3”
- 6-12 months 32” x 3”
- 1-2 years 32” x 3.5”
- 3-4 years 34” x 3.5”
- 4-8 years 36” x 4”
- 8+ years 38” x 4.5”
- Adult 40” x 5”
- Adult Large 42” x 5”
PATTERN KEY
- Ch(s): chain(s)
- Fhdc: foundation half double crochet
- FO: fasten off
- Hdc: half double crochet
- M: stitch marker(s)
- Rem: remain(s)
- RS: right side
- St(s): stitch(es)
- WS: wrong side
- YO: yarn over
SPECIAL STITCHES & TECHNIQUES
- Hdc in 3rd loop wrong side: YO, insert hook in 3rd loop of next stitch (under the top two loops) from bottom to top on right side, YO, pull up loop, YO and pull through all three loops.
- Hdc in 3rd loop right side: YO, insert hook in next stitch from bottom to top around the 3rd loop on the RS of st, YO, pull up loop, YO and pull through all three loops.
EXPERIENCE LEVEL
Intermediate
NOTES
- Pattern written in US terms.
- Read the entire pattern before beginning.
- Follow this tutorial on how to make the HDC in 3rd loop in both directions. All stitches will be completed this way, except for the first and last stitch.
- Ch 1 does not count as a stitch.
- It helps to place a M every 10 or 20 sts to help with counting each row and placement of the last st to maintain st count for each row.
- If you want the hat to come lower on your ears, add two more rows. Yarn totals do not include any additional rows. The extra width will make the twist bulkier.
Grab the ad-free, color coded PDF that includes a picture and video tutorial from your favorite pattern shop.
Instructions
Preemie (Newborn, 3-6 mos, 6-12 mos, 1-2 yr, 2-3 yr, 4-8 yr, 8+ yr, Adult, Adult Large)
Ch74 (90, 106, 130, 130, 138, 146, 154, 162, 170), turn.
Row 1: Hdc in back bump in 3rd ch from hook, hdc in each ch across, turn – 72 (88, 104, 128, 128, 136, 144, 152, 160, 168) hdc
Alternate start
Row 1: 72 (88, 104, 128, 128, 136, 144, 152, 160, 168) fhdc
Row 2: Ch 1, hdc first st, hdc in 3rd loop WS of each st until 1 st rem, hdc in last st, turn –72 (88, 104, 128, 128, 136, 144, 152, 160, 168) hdc
Row 3: Ch 1, hdc in first st, hdc in 3rd loop RS of each st until 1 st rem, hdc in last st, turn
Row 4-7 (8, 10, 10, 12, 12, 13, 15, 17, 17): Repeat Rows 2-3 until piece is 2 (2.5, 3, 3, 3.5, 3.5, 4, 4.5, 5, 5)” tall. FO a tail 2-3 times the length of the finished rectangle for seaming.
Finishing:
- Place M in center the rectangle on one side; place across the back of the head / bowl and bring the ends toward the front of the head.
- Twist the ends twice by crossing each end over the other end. You can choose to have one end RS and the other end WS showing, or have the RS of both ends showing.
- Pull the ends across the crown of the head / bowl, and tuck the ends into / under the top rows of the back.
- Use M or straight pins to hold the pieces in place and close gaps for seaming. Remove from head.
- Using the long tail, seaming along the back of the head, through the twist (optional, if you would prefer the twist to appear larger, do not secure the twists), around the remainder of the back of the turban, and then along the center overlapping pieces. It can help to use a medium sized bowl or mannequin head when seaming.
- FO and weave in ends.
Need a little help with seaming?
Check out this detailed video on how to seam your Terresa Turban. This project is totally worth the seaming. 😜
Pin it for Later
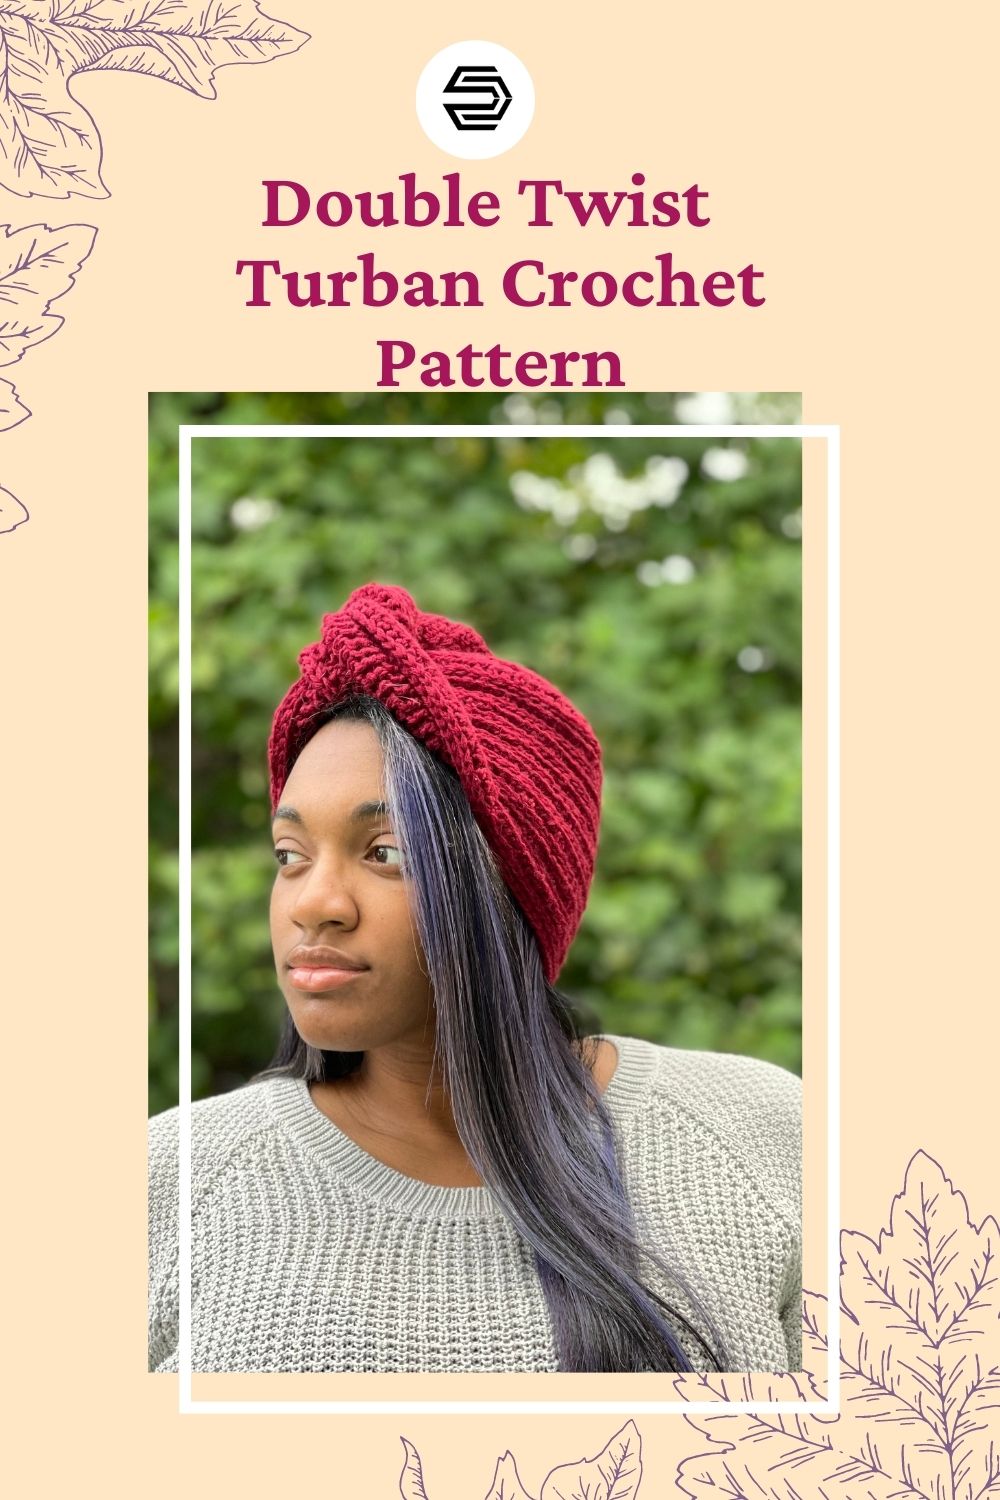
Enjoyed making the Terresa Turban? Check out these other crochet hat patterns.
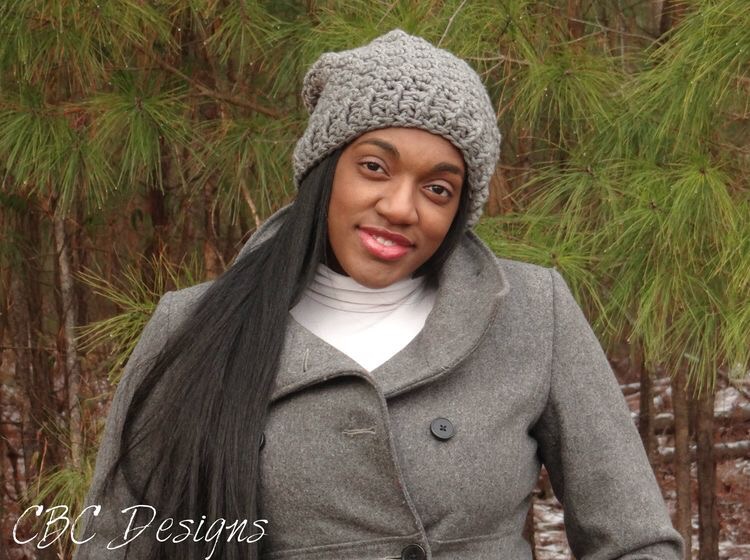
Rainy Day Hat 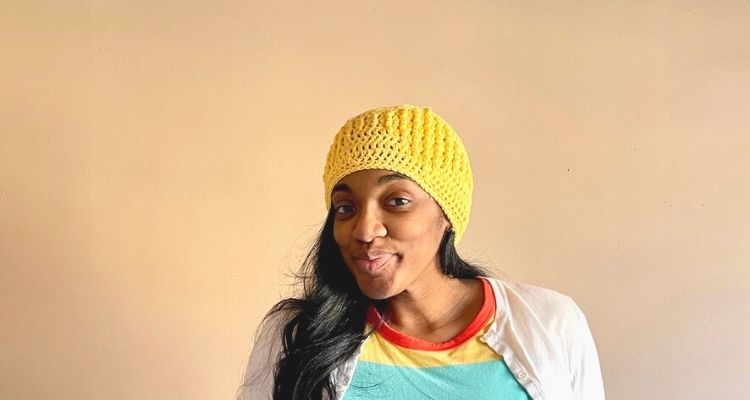
Diamonds Hat 
Las Olas Hat
If we’re not hanging out on social media yet, come check me out on Facebook, Instagram and Pinterest.
Want to talk about yarn goodness, crochet tips, and exclusive weekly deals? Join my Facebook Group, Creations By Courtney Community.
Join my newsletter for sneak peeks, crochet tips, and more. HERE
Please use #CreationsByCourtney on social media when sharing your projects.
This pattern is not to be duplicated or resold, and not to be reproduced commercially. You may sell finished products on Etsy, at farmers markets, and craft fairs, but please credit Creations By Courtney as the pattern’s author.



11 Responses
This is lovely. I make hats for women with cancer and this would be great, when I get more funds I will surely buy this one,
Thanks so much for creating your lovely patterns.
Gramcar
Thank you Gramcar for the kind words, and more importantly for using your time and skill to donate hats. If you’re not already signed up for my newsletter, you can sign up to find out when patterns are on sale. I offer various deals in my FB community too.
Can I see what the top and back should look like? I’m making the preemie size and am a bit confused.
Hi Rachna!
There are pictures on my Ravelry listing of the original hat and hats completed by pattern testers. You can click the Add to Ravelry link in the post or use this link. https://www.ravelry.com/patterns/library/terresa-turban
Thanks! Very helpful.
This is beautiful! I cannot work with animal fibers. Is it a good pattern for acrylic yarn or cotton/acrylic blends?
I also like the way you use the back loop of the half double crochets to create great texture. I’ve heard this called the Camel Stitch.
Yes, this works great with acrylic yarn too! I’ve made it with acrylic for my work mom to not irritate her scalp, and I have made it with a cotton blend. This stitch creates a lovely texture in any fiber, but could be challenging with a fiber that has a halo.
i would love to make this pattern bc i love Headbanda alot and this Turban is the perfect pattern to do so i will try to make it.. My email: kittyabdullah@gmail.com
I’m so glad that you like it, Katty! It’s easy to make, and easier to wear. Let me know when you’re finished, so I can shout you out!
I made this turban for myself – so cute! And it covers my hair on a “bad day” (lol).
Thank you designing an easy to do and useful project. More to make for Christmas!
That’s awesome, Ginger! I’m glad that you enjoyed making and wearing it. Those will be very stylish gifts this year.