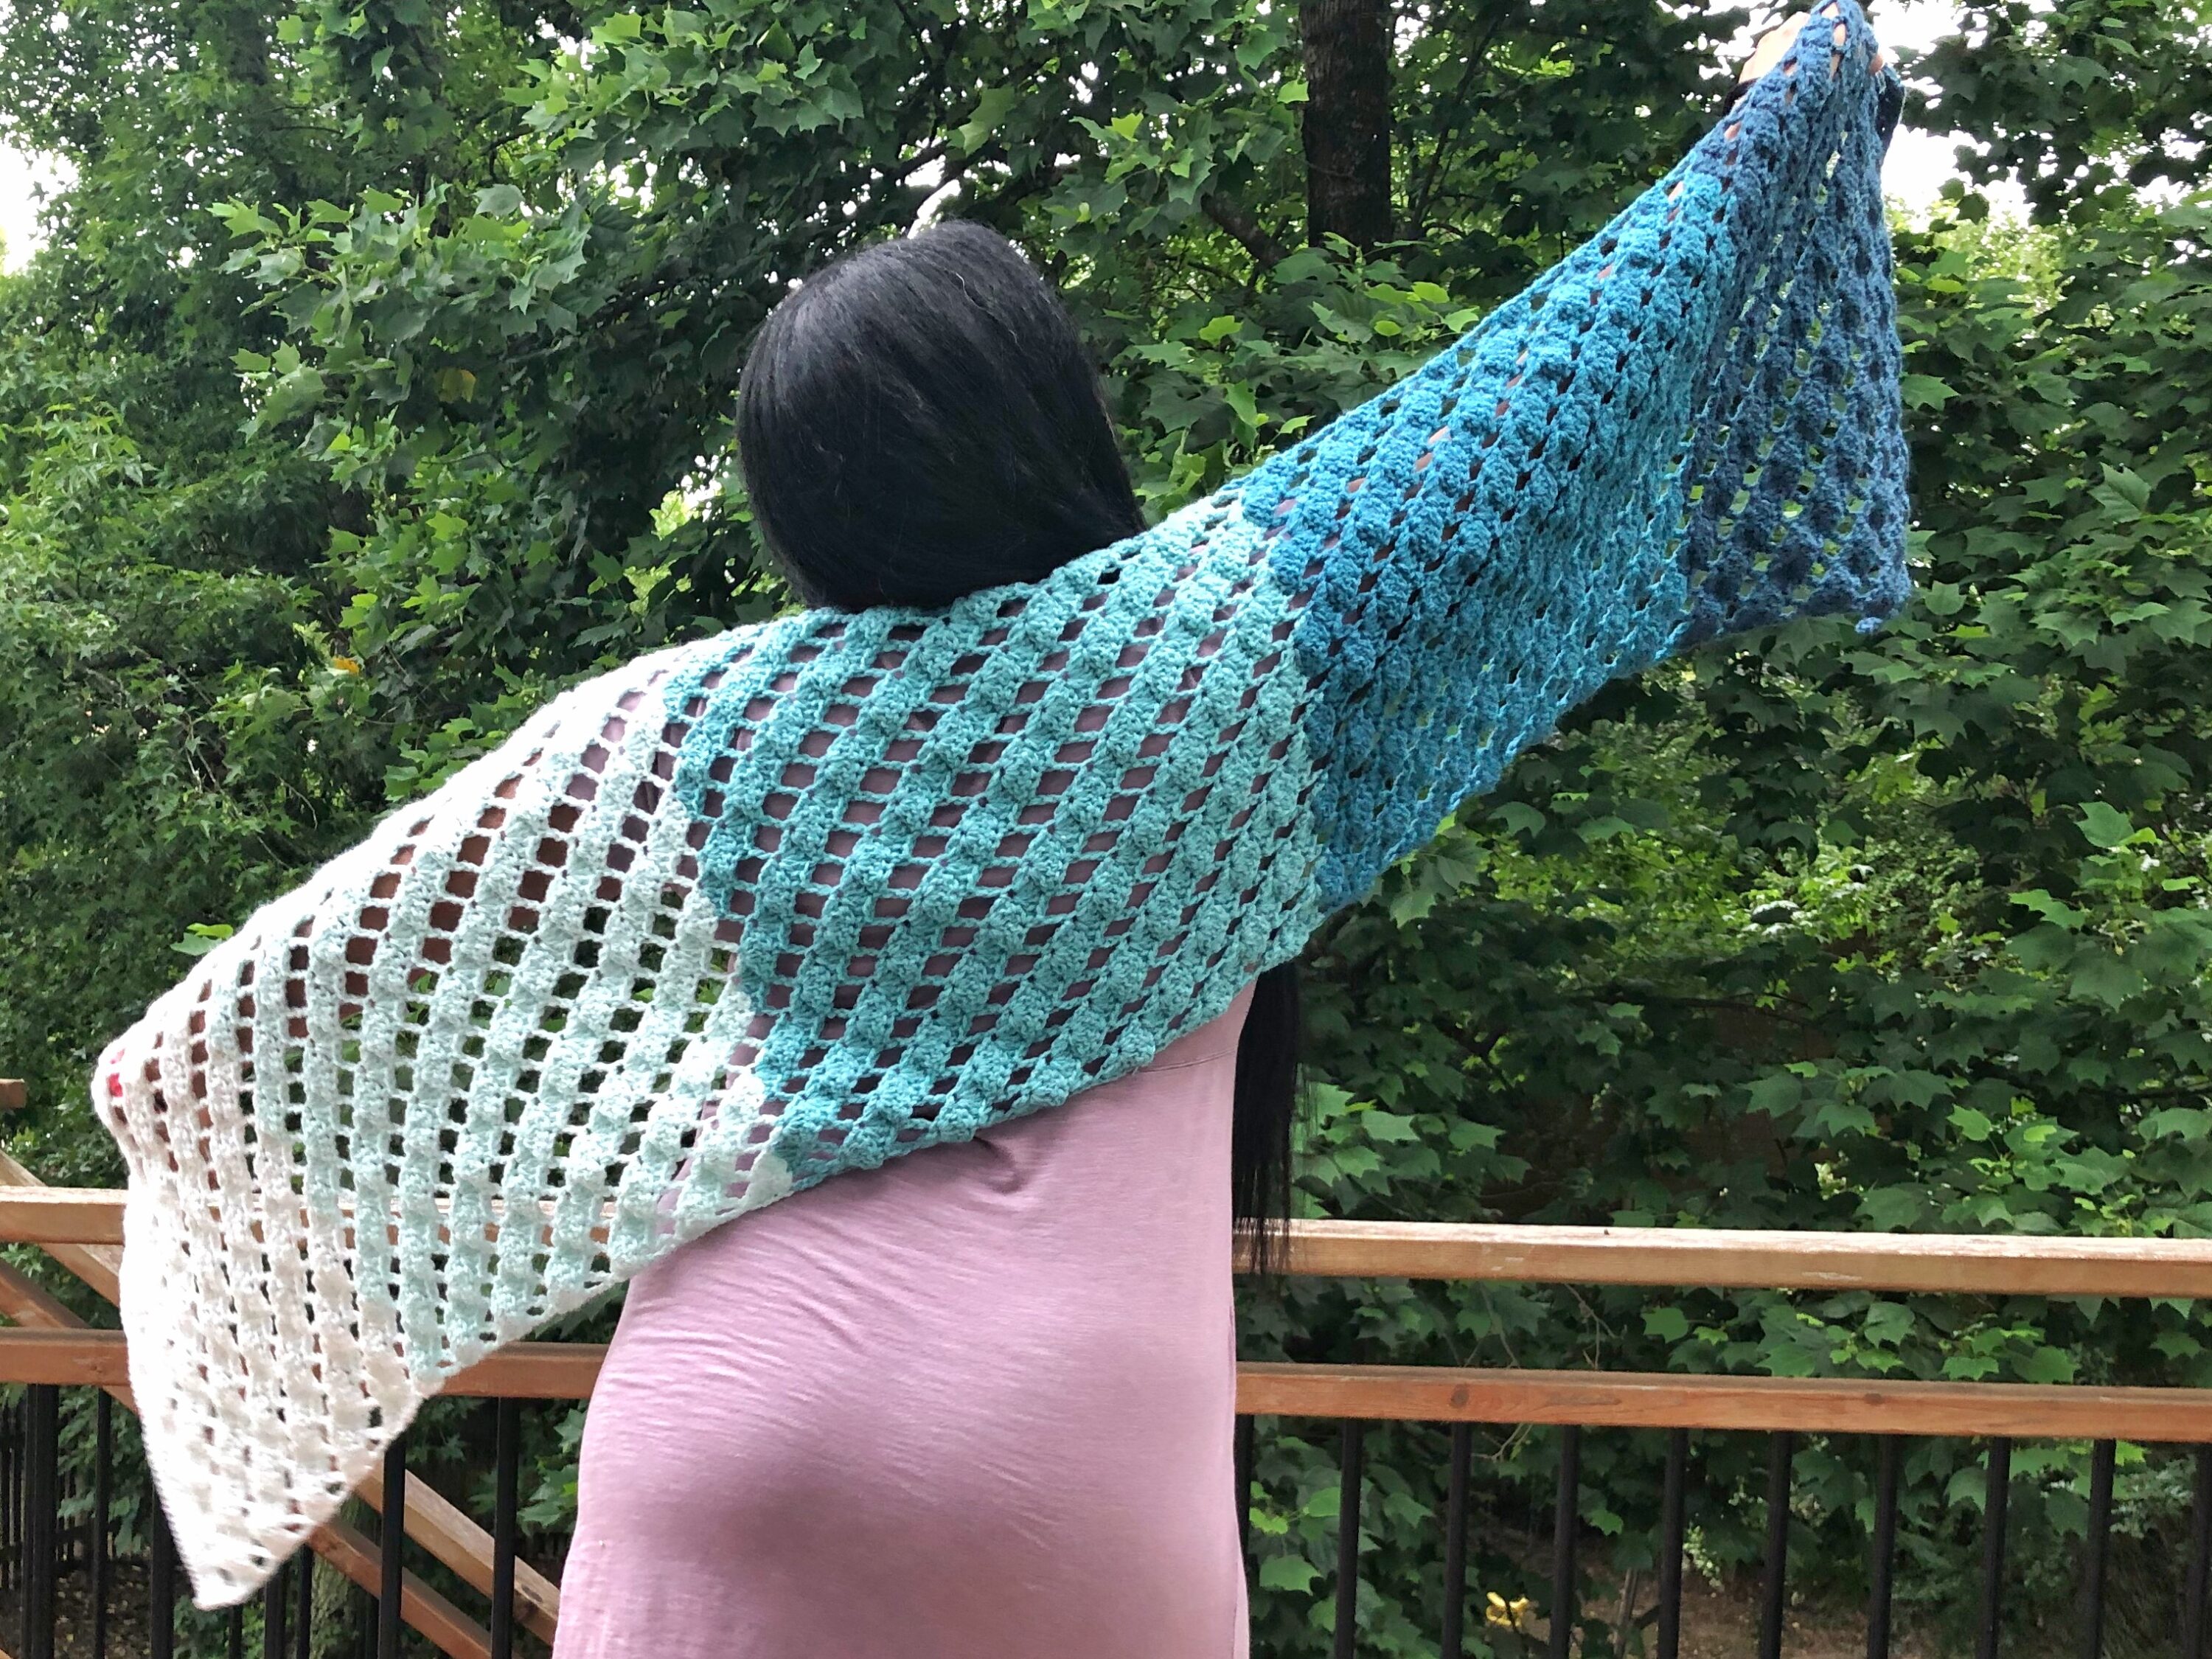
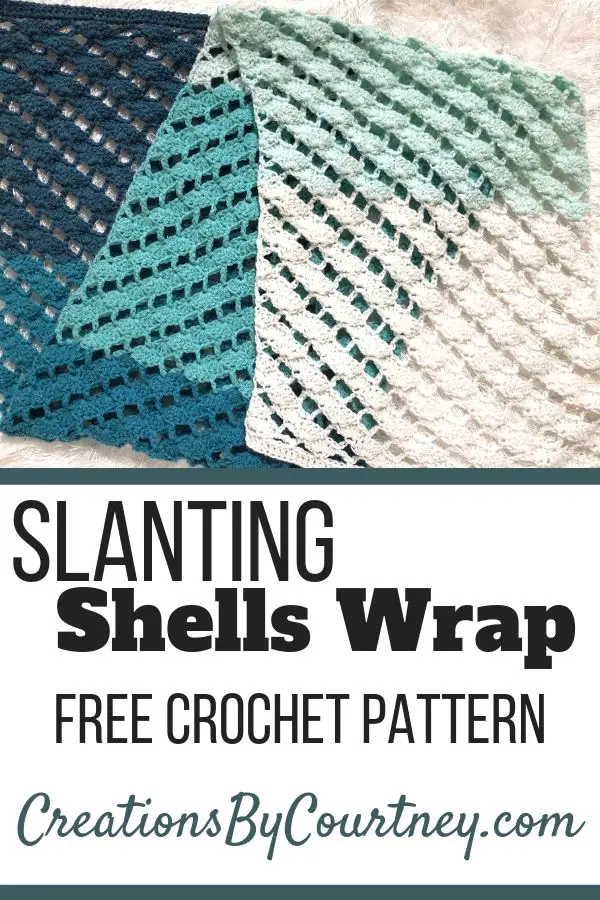
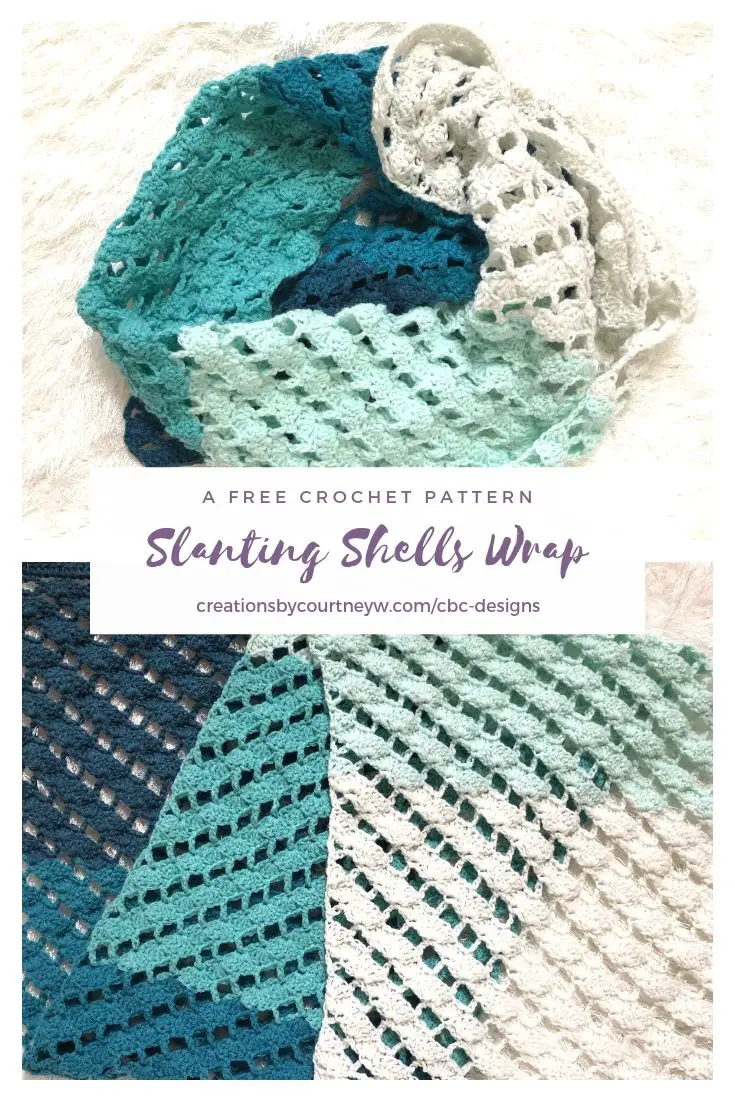
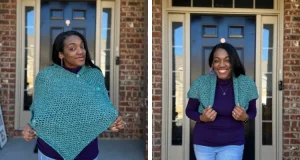
The Slanting Shells Wrap is sort of a blast from the past. I made an infinity scarf at least 7 years ago for my younger sister, and I thought it was time to revisit this pretty stitch.
Over the Christmas holiday, my family and I stopped at a Jo-Ann Fabrics Store, and I scooped up two Big Twist Gradients in shades of teal and pink. As they sat on the shelf waiting to for the perfect yarn, I realized that I already had the perfect idea! The gradient set makes it super easy to create accessories that can have the awesome color change of a cake yarn, but with more control over the color change.
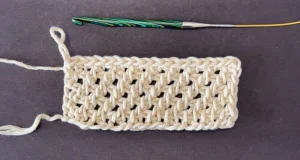
The Slanting Shells Wrap involves a 4-row repeat that can seem daunting at first, but it’s actually easy. You don’t have to use a gradient yarn, as a solid color in your favorite fiber would be lovely too. If you decide to use a yarn weight that’s not worsted, it will change the overall size and yarn needed.
Grab the ad-free PDF
MATERIALS
- Big Twist Yarns Gradients (100% Acrylic; 580 yds/530 m): Ocean, 1 kit of 5 skeins
- US Size I/9 (5.50 mm) crochet hook
- Scissors
- Yarn Needle
- Stitch Markers
- Measuring Tape
GAUGE
- 10 pattern stitches (edge of shell, sc, ch-5, sc, shell, sc) = 4”, 6 pattern rows = 4”
- To measure stitches, begin at the left edge of a shell; each shell counts as one stitch.
- To measure rows, start at the bottom of a shell. It can help to use two rulers, where the second ruler is placed perpendicular to the first ruler, and you can count the slanted shells.
SIZES
- 68” long x 16” wide
PATTERN KEY
- Ch: chain, sl st: slip stitch, sc: single crochet, dc: double crochet, fdc: foundation double crochet, st(s): stitch(es), FO: fasten off
SPECIAL STITCHES & TECHNIQUES
- Shell: 5 dc in indicated st
NOTES
- Pattern is written in US terms
- Beginning ch 3 counts as first dc, and ch 6 counts as first dc and ch 3.
- Length can be adjusted by making fewer or more rows.
Check out the other patterns that make great gifts, especially for mom or another special lady.
INSTRUCTIONS
64 fdc, turn
Row 1: Ch 6 (counts as first dc and ch 3, here and throughout), skip next 2 sts, sc in next st, *ch 5, sk 4 sts, sc in next st; repeat from * to end of row, turn – (12 ch-5 groups, ch 6)
Row 2: Ch 3 (counts as dc here and throughout), 2dc in first st (half shell made), sc in center of next ch-5, *ch 5, sc in center of next ch-5 group, shell in next sc, sc in center of next ch-5 group; repeat from * to end of row with last sc placed in 3rd ch, turn – (1 half shell, 6 shells, 6 ch-5 groups)
Row 3: Ch 3, 2 dc in first st, sc in center dc of next shell, *ch 5, sc in center of next ch-5 group, shell in next sc, sc in center dc of next shell; repeat from * to end of row with last sc placed in 3rd ch of half shell, turn – (1 half shelf, 6 shells, 6 ch-5 groups)
Row 4: Ch 6, *sc in center dc of next shell, shell in next sc, sc in center of next ch-5 group, ch 5; repeat from * to end of row, sc in 3rd ch of half shell, turn – (6 shells, 6 ch-5 groups, 1 ch-6)
Row 5: Ch 6, *sc in center of next ch-5 group, shell in next sc, sc in center dc of next shell, ch 5; repeat from * to end of row, sc in 3rd ch of ch-6, turn – (6 shells, 6 ch-5 groups, 1 ch-6)
Row 6: Ch 3, 2dc in first st, sc in center of next ch-5, *ch 5, sc in center of next shell, shell in next sc, sc in center of next ch-5 group; repeat from * to end of row with last sc placed in 3rd ch of half shell, turn – (1 half shell, 6 shells, 6 ch-5 groups)
Next Rows: Repeat Row 3-6 until desired length ending on a Row 4 repeat
Next Row: Ch 1, sc in first st, ch 2, *sc in center of next ch-5 group, ch 4, sc in center of next shell, ch 4; repeat from * to last ch-5, ch 4, sc in center of last shell, ch 4, sc in 4th ch, turn – (14 sc, 50 ch)
Last Row: Ch 3, dc in next st, dc in each st to end. Do not dc in 3rd ch of ch-6. (64 dc)
To Make an Infinity Scarf
Bring first and last rows together, and slip stitch through both thicknesses; or cut a length at least 3 times the width of the wrap (approx. 48”) and seam together; FO
Finishing
Weave in all ends, trim excess. Block to finished measurements, particularly if natural fiber was used.
Thank you for your support! ♥ I invite you to join Creations By Courtney Community for CALs, giveaways, and exclusive deals.
Check me out in the following places:
Blog, Newsletter, Facebook, Pinterest, Instagram, Ravelry


18 Responses
Hi Courtney! I saw this pattern in a search on the web and I knew immediately that I wanted to use it for a shawl / wrap for my sister. Since I’m basically a visual learner, I always plot out a pattern before I try working it with yarn. I used my favorite program for constructing a diagram of your pattern, and in the process, I discovered a problem. The instructions say to end “on a Row 3 repeat,” but when I tried to finish the diagram, that row sequence didn’t match up properly with the instructions for the next row. What I found was that a Row 4 worked much better and I was able to complete the pattern in my diagram. (I can send you a picture of it if you want to see what I mean.) Please let me know if I’m misunderstanding the pattern, because I don’t want to do anything until I’m sure of how to accomplish it. Thank you for your help.
Happy Birthday Courtney! I love slanted and diagonal elements! This wrap is a stand out!