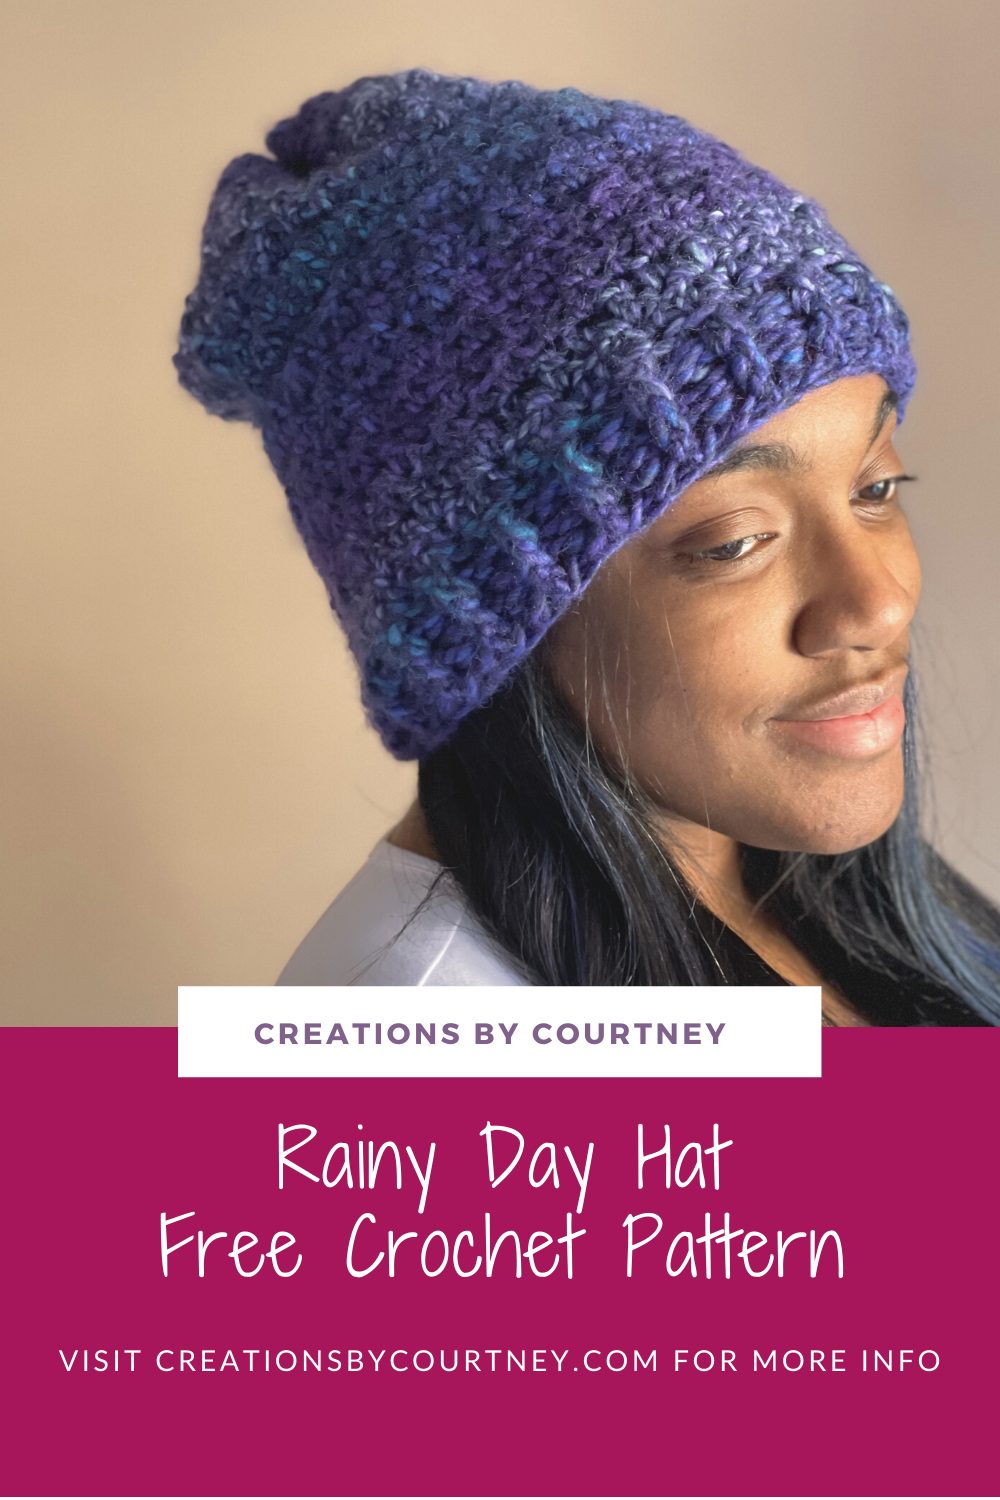
Crochet is a great way to distract oneself from lots of rain. Keep reading on how the Rainy Day Hat came to be.
For those along the east coast, October 2016 brought Hurricane Matthew to our doorsteps- wind, a torrential downpour, broken trees, power lines across roads, and flooding. My family and I found ourselves in the house with lots of flashlights and a few tablets as our only light source. Luckily, the loss of power was the worst of our experience, unlike many residents just 3 miles away that loss most of their property due to flooding.
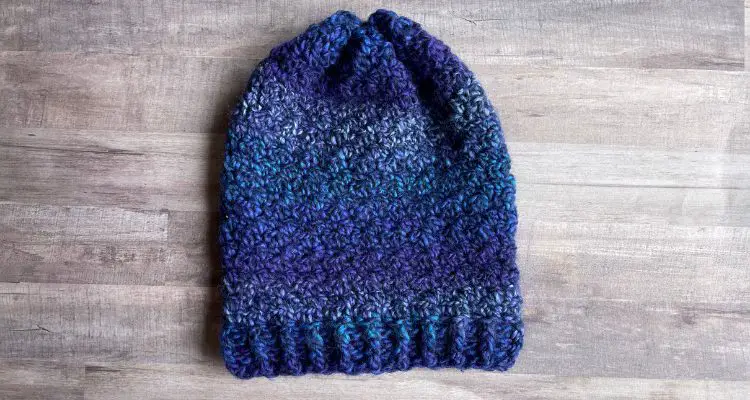
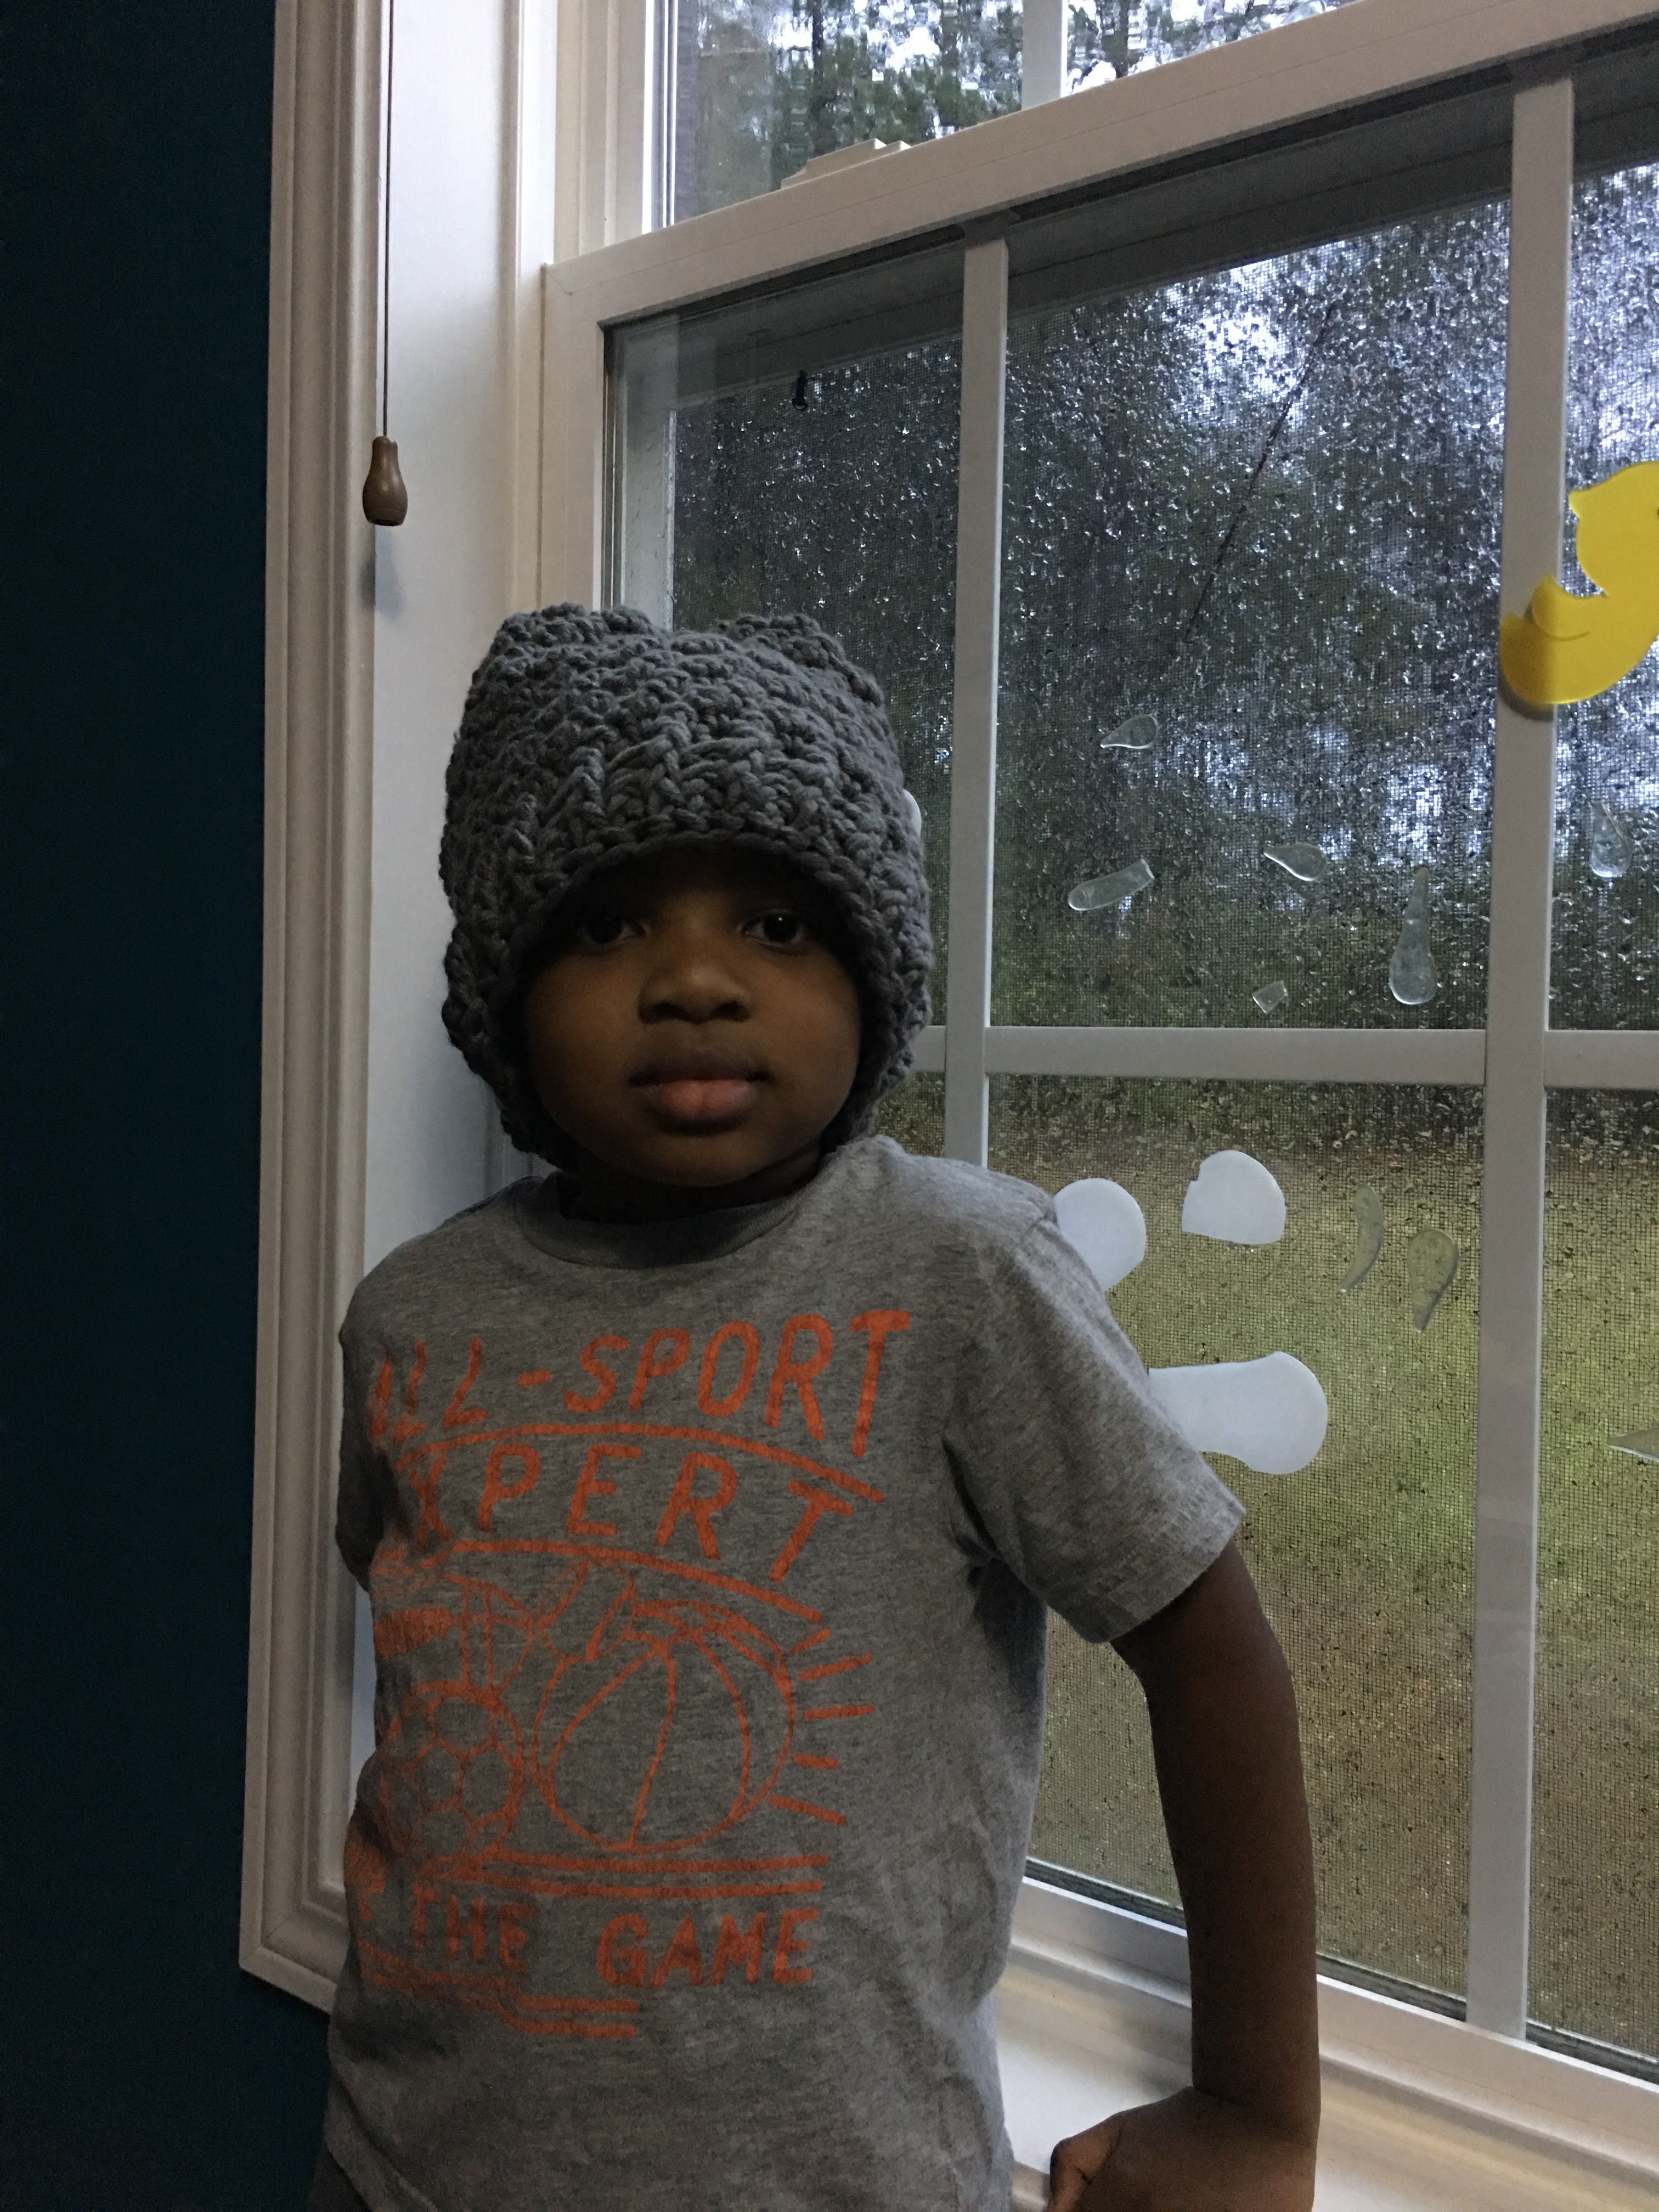
As a distraction from the howling wind (it literally sounded like a never-ending train), I grabbed some yarn and a large hook. As a result, the Rainy Day Hat was created. Since last year, I have been fascinated with texture, so a ribbing and an easy stitch repeat were used to create a loose-fitted slouch hat with chunky yarn. I love using a chunky yarn because it works up quickly! And I had the cutest model, my four-year old son! His twin sister were just tow months old, and not a fan of modeling crochet items like they are now.
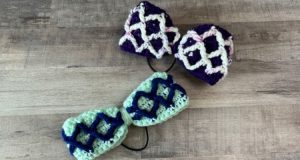
Since writing this post, I have added numerous patterns with the same stitch pattern used in the Rainy Day Hat. This pattern uses the lemon peel stitch, which is a simple repeat of alternating single crochet and double crochet. This is not to be confused with the grit stitch, which uses the same stitches, but both stitches are in a single stitch. This means the lemon peel stitch looks like this: sc in first st st, dc in next st…; whereas the grit stitch looks like this: skip next st, (sc, dc) in next st… Both create a lovely texture!
Check out some of these lemony? crochet patterns ?
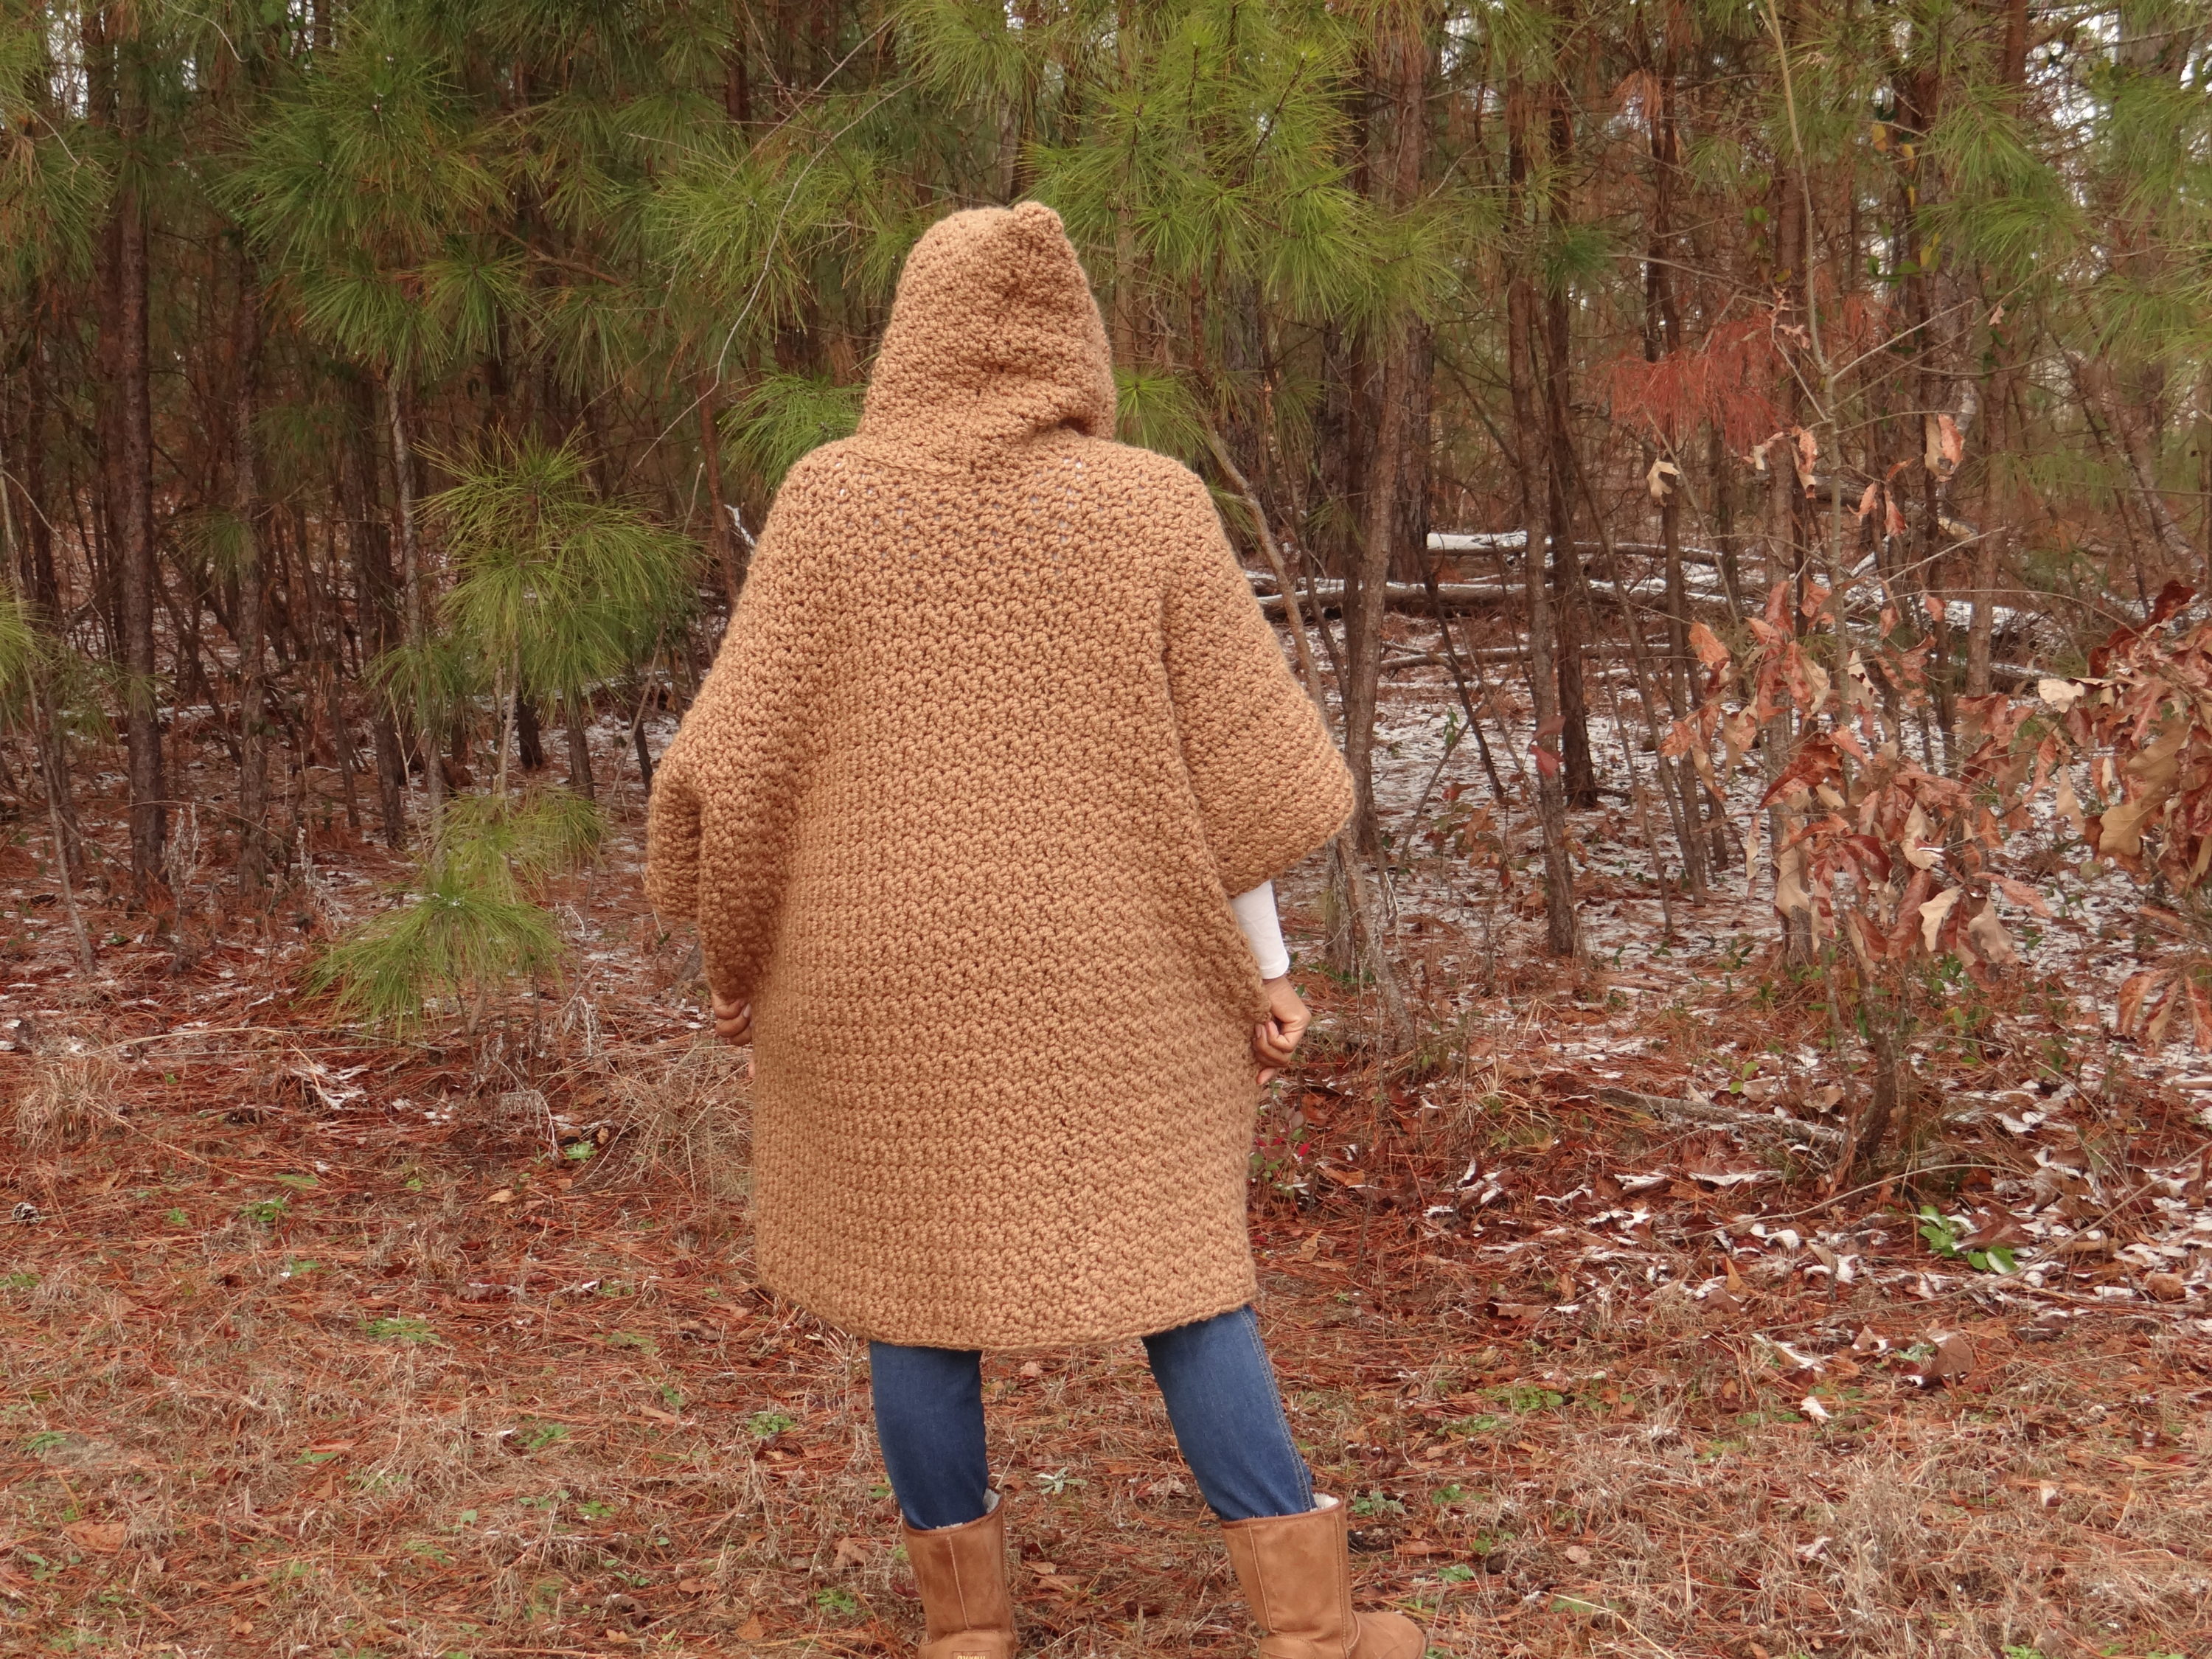
Hooded Poncho 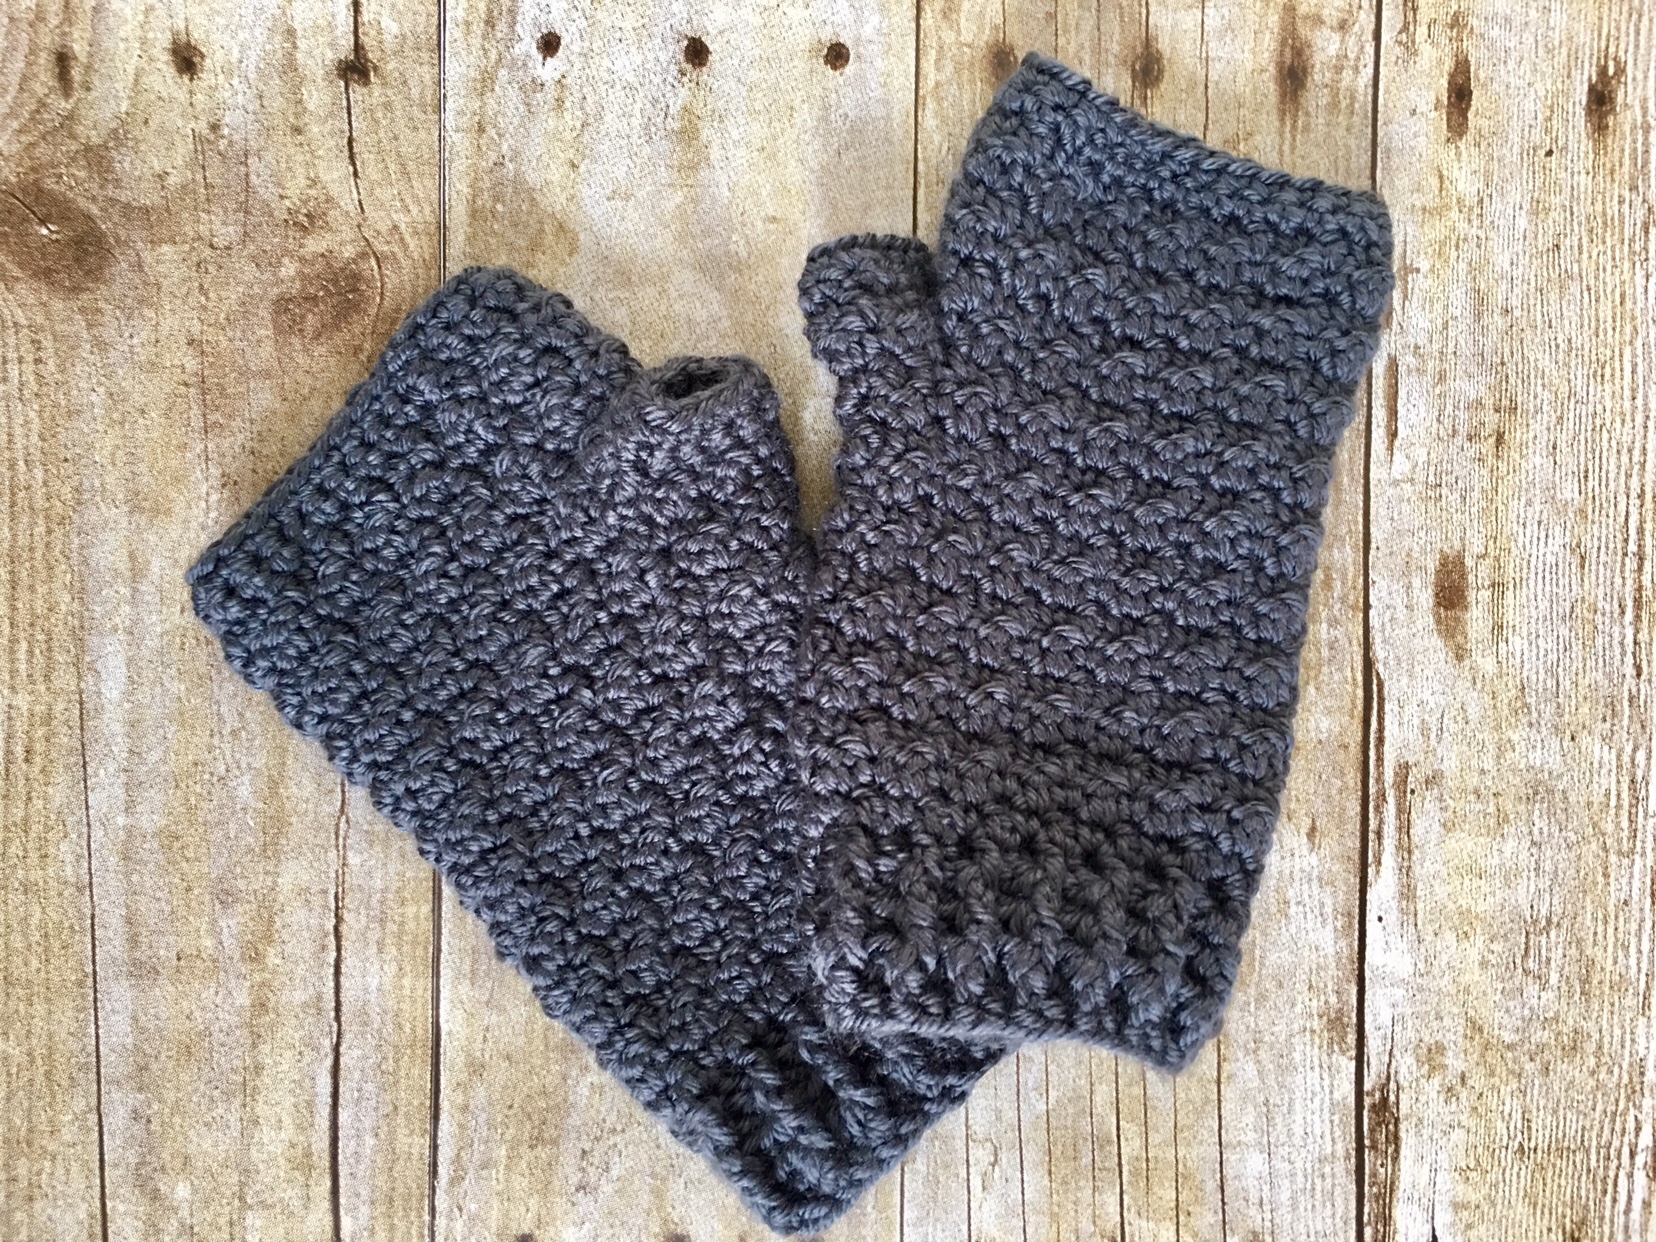
Lemon Peel Fingerless Gloves 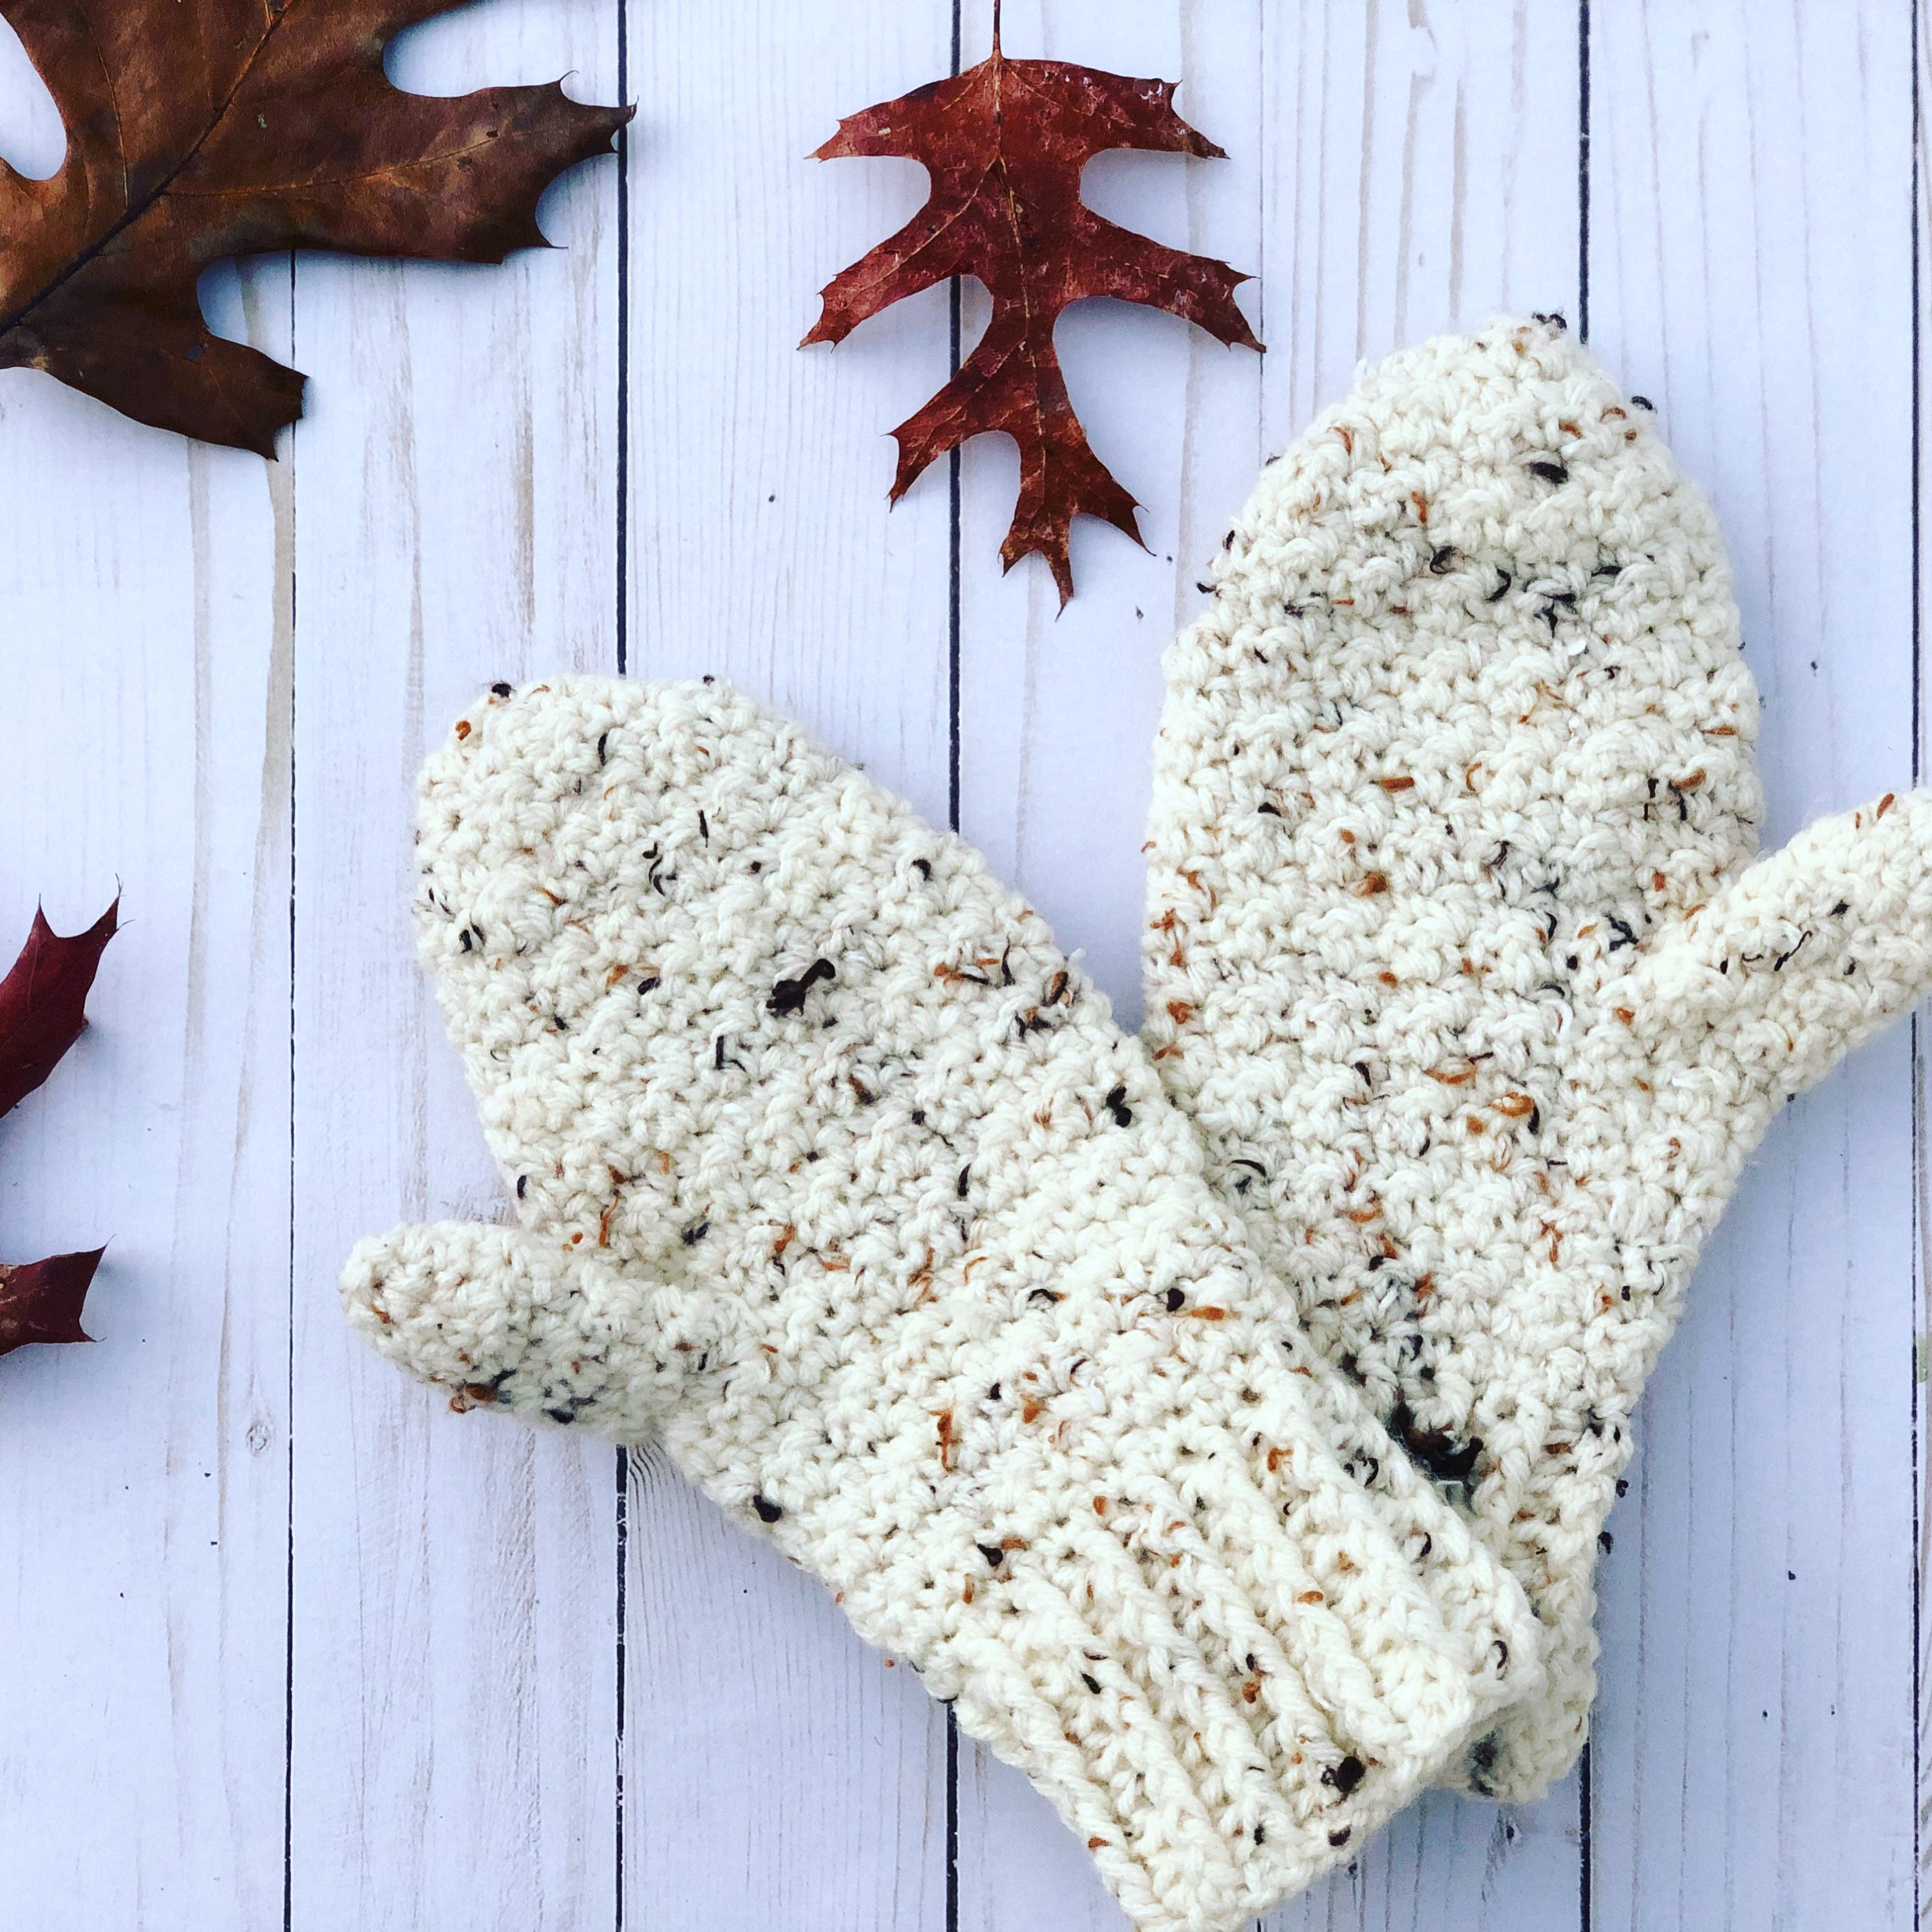
Lemon Peel Mittens
Disclosure: This post may contain affiliate links for products I love. If you choose to make a purchase with the link, I earn a small fee at no cost to you. This supports this one-woman business, and allows me to continue to offer great crochet content for you
Yarn
The original version of the Rainy Day Hat was made with Loops & Thread Woolike Chunky, which was an acrylic and nylon bulky weight yarn similar to Lion Brand Woolspun. This yarn has been discontinued.
As a brand ambassador for King Cole Yarn, I decided to refresh this pattern with one of their squishy yarns. Enter one of the new yarns, Autumn Chunky, an 80% acrylic and 20% wool blend that comes in a 100g ball. This yarn is a bulky weight #5, and comes in 8 gorgeous colors: Autumn Leaves, Autumn Sunset, Log Fire, Morning Dew, Hedgerow, Frozen, Chestnut, and Magpie.
I cannot emphasize enough that you need some of this yarn in your stash, and probably in each color. ? As a bulky yarn, it was super easy to crochet without the thickness and heaviness of some other bulky weight yarns. And the striping effect was a pleasant surprise once I finished making the Rainy Day Hat. It’s like a heathered gradient all in one ball of yarn! ?
At the time of writing this update, you can get all 8 gorgeous shades on LoveCrafts for $6.76. LoveCrafts is a great site to keep tabs on because they have amazing sales on yarn, fabric and other crafting supplies, in addition to amazing crochet and knit patterns.
MATERIALS
- King Cole Yarn Autumn Chunky (80% Acrylic, 20% Wool; 3.5 oz / 100g); 153 yard (140m): Morning Dew x 1 ball or 150 yards total
- US Hook size 9.00mm I used my Furls Crochet Odyssey, Size N hook
- Large-eye needle
GAUGE
8 stitches x 9 rows = 4”x4”
FINISHED SIZES
- Child: to fit 20” head circumference, ~9” length
- Teen: to fit 21.5” head circumference, ~10” length
- Adult: to fit 22.5” head circumference x 11” length
- Adult Large: to fit 24” head circumference, 11” length
PATTERN KEY
Bpdc: back post double crochet
Ch: chain
Dc: double crochet
Fdc: foundation double crochet
Fpdc: front post double crochet
FO: fasten off
Hdc: half double crochet
Rem: remain(s)
Rep: repeat
Sc: single crochet
Sl st: slip stitch
Sp: space
St(s): stitch(es)
SPECIAL STITCHES & TECHNIQUES
Join fdc in the round: For final fdc, yarn over and insert hook through foundation chain of last st made, yarn over and pull up loop (3 loops on hook), insert hook through foundation of first st (starting ch-3), yarn over and pull through two loops (3 loops on hook), [yarn over, pull through two loops] twice, sl st to 3rd ch to join
EXPERIENCE LEVEL
Easy
Notes
- Pattern is written in US terms.
- This hat is constructed in the round from the bottom up in 2 parts, Ribbing and Body.
- Different sizes are indicated within the ( ).
- Due to the stitch pattern, it is helpful to use a row counter or some means of tracking rounds.
- Below of the instructions for the Child size.
Download the ad-free, formatted PDF from your favorite pattern shop


INSTRUCTIONS
Ribbing
Alternate start: Ch 34, 38, 42, 46, sl st to join
Alternate Rnd 1: Ch 3 (counts as dc), dc in each st, sl st to join, turn – 34 (38, 42, 46) dc
Rnd 1: 33 (37, 41, 45) fdc, join fdc following Special Techniques instructions, turn – 34 (38, 42, 46) dc
Rnds 2-3: Ch 2 (counts as hdc here and throughout), *fpdc around next dc, bpd around next dc; rep from * around until 1 st rem, fpdc around last st, sl st to join, turn – 1 hdc, 17 (19, 21, 23) fpdc, 16 (18, 20, 22) bpdc
Body
Rnd 1: Ch 1, sc in first st, dc in next st, *sc in next st, dc in next st; rep from * around, sl st to join, turn – 34 (38, 42, 46) sts
Rnds 2-13 (15, 18, 18): Rep Row 1, FO after the last row with a long tail for closing the top.
Finishing
- Flip hat to wrong side.
- Thread the tail, fold hat in half, weave through the center; fold in half again and weave through the center; continue to fold and weave through the center.
- Once all fold are gathers, pull tight and knot to secure
- Alternate Closing: flip hat to wrong side, weave tail through every other st, pull tight; weave through the center a few times, knot to secure.
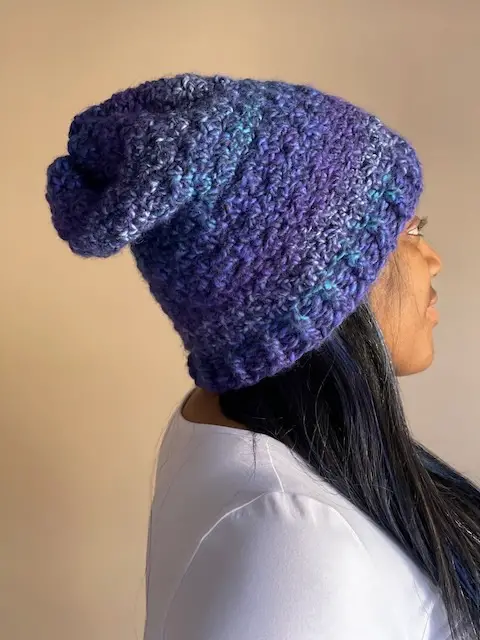
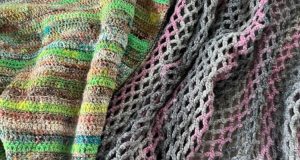
New Rainy Day Hat 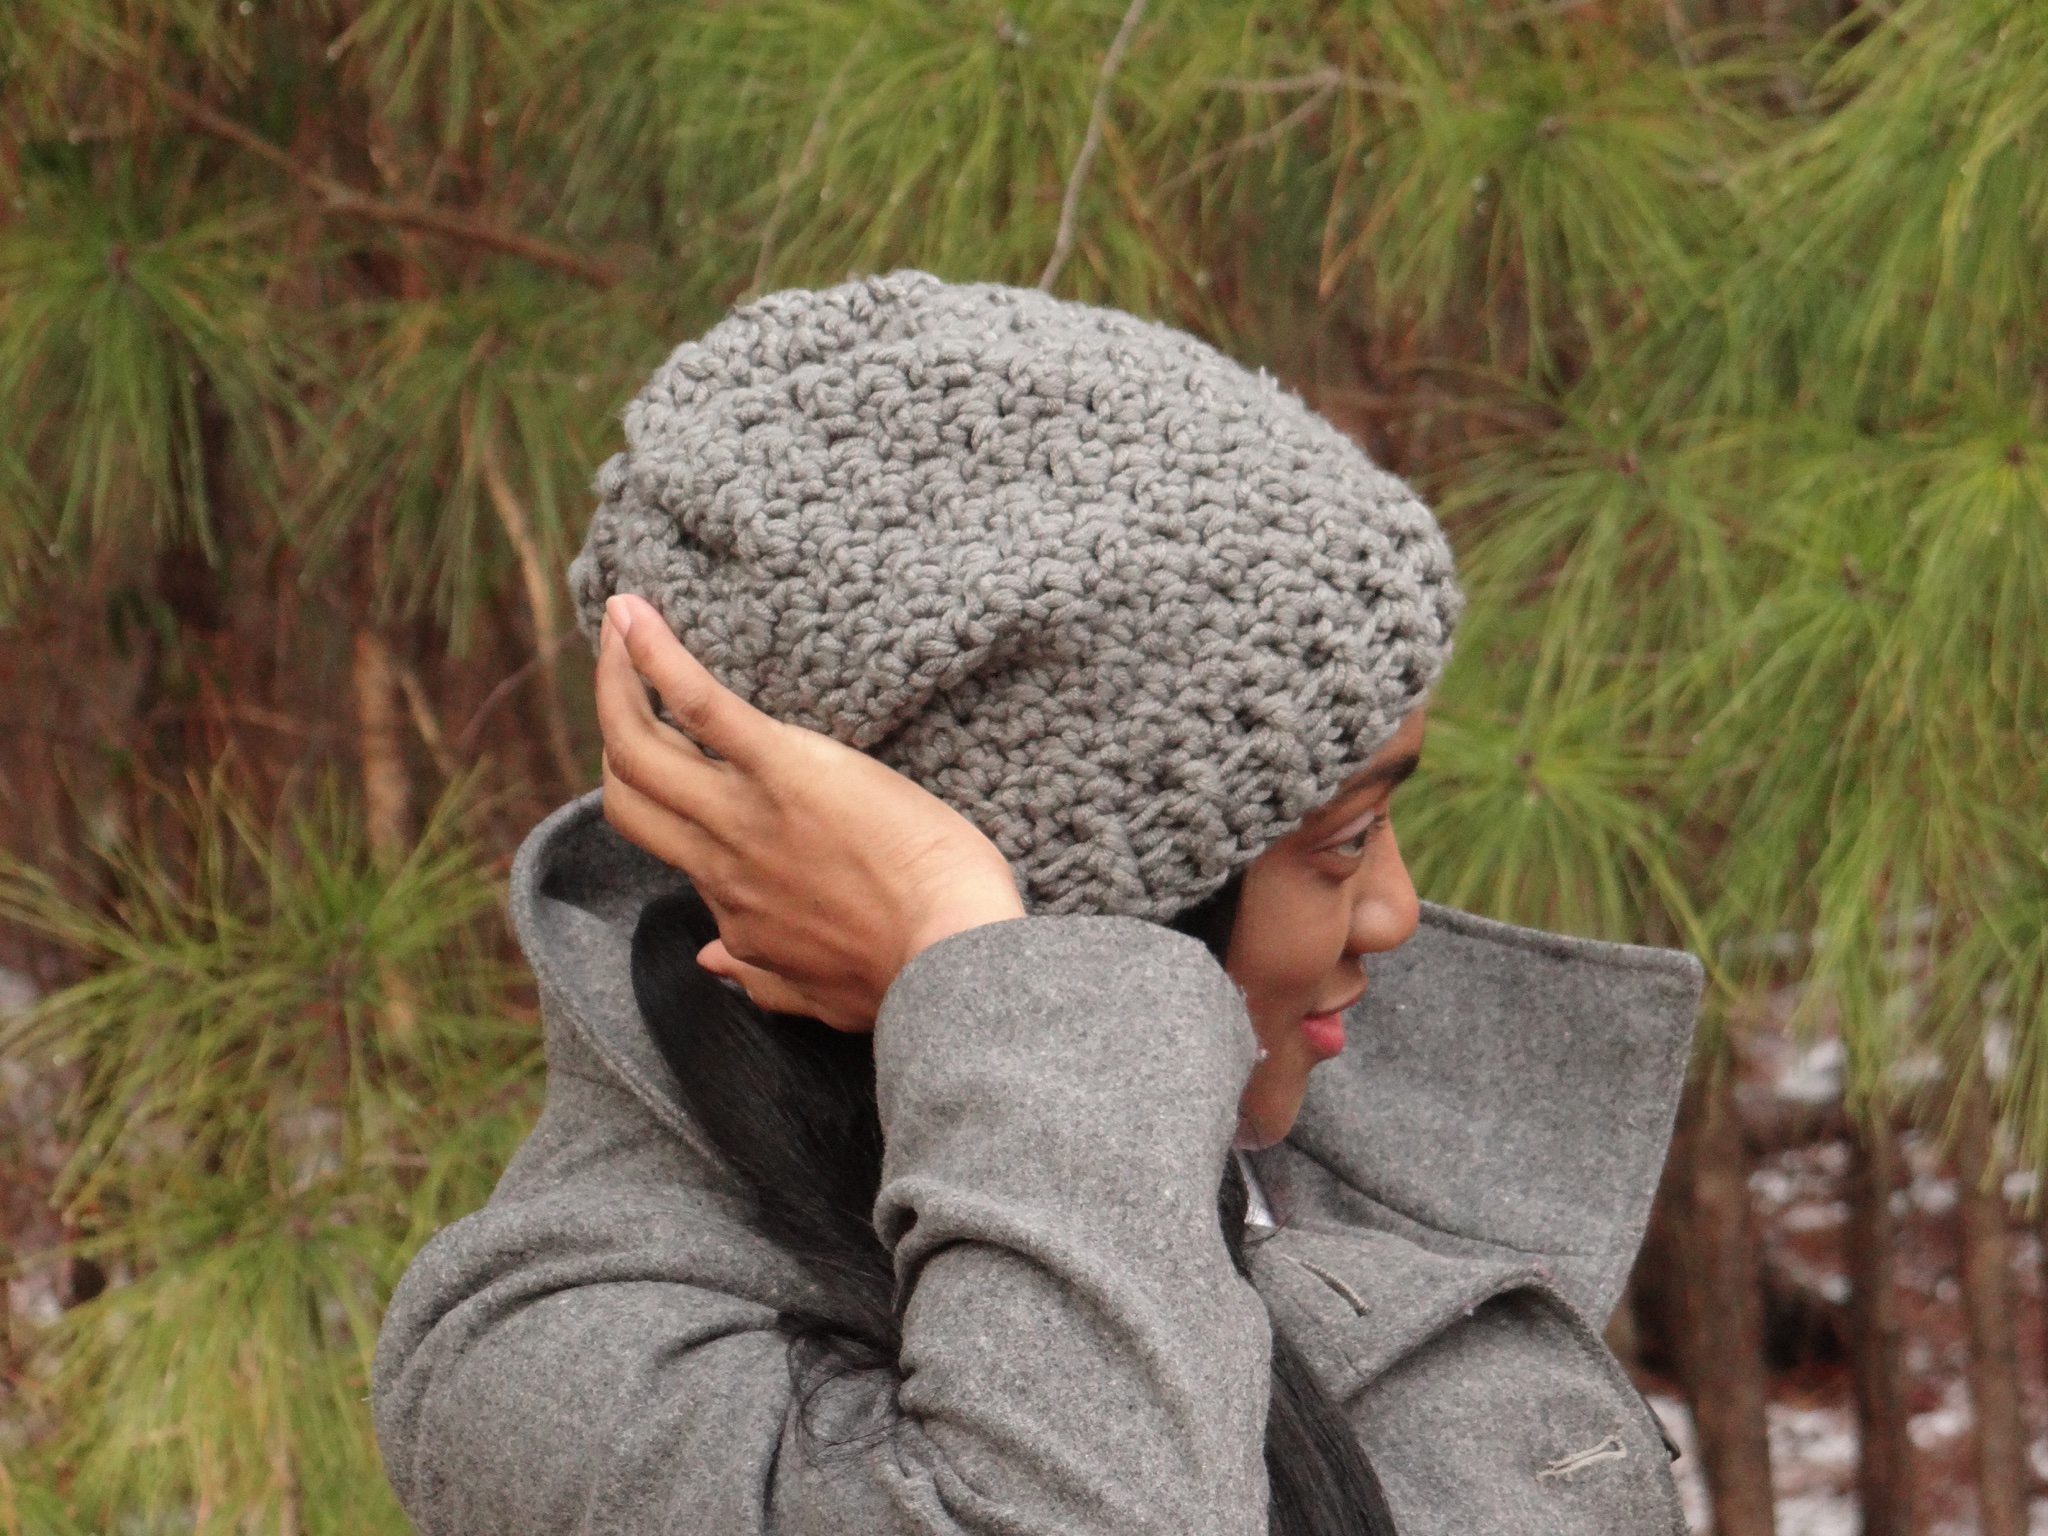
Original Rainy Day Hat
Pin it for later
Want to talk about yarn goodness, crochet tips, and exclusive weekly deals? Join my Facebook Group, Creations By Courtney Community.
If we’re not hanging out on social media yet, come check me out on Facebook, Instagram and Pinterest.
Join my newsletter for sneak peeks, crochet tips, and more. HERE
Use #CreationsByCourtney on social media when sharing your projects.
This pattern is not to be duplicated or resold, and not to be reproduced commercially. You may sell finished products on Etsy, at farmers markets, and craft fairs, but please credit Creations By Courtney as the pattern’s author. Review Terms & Conditions for more details.

6 Responses