Welcome to Creations by Courtney for the Diamond Trellis crochet stitch tutorial!
It’s has been a goal for 2021 to create more tutorials to accompany the published crochet patterns, and I’m even working on videos to go along with it. 🤭😆
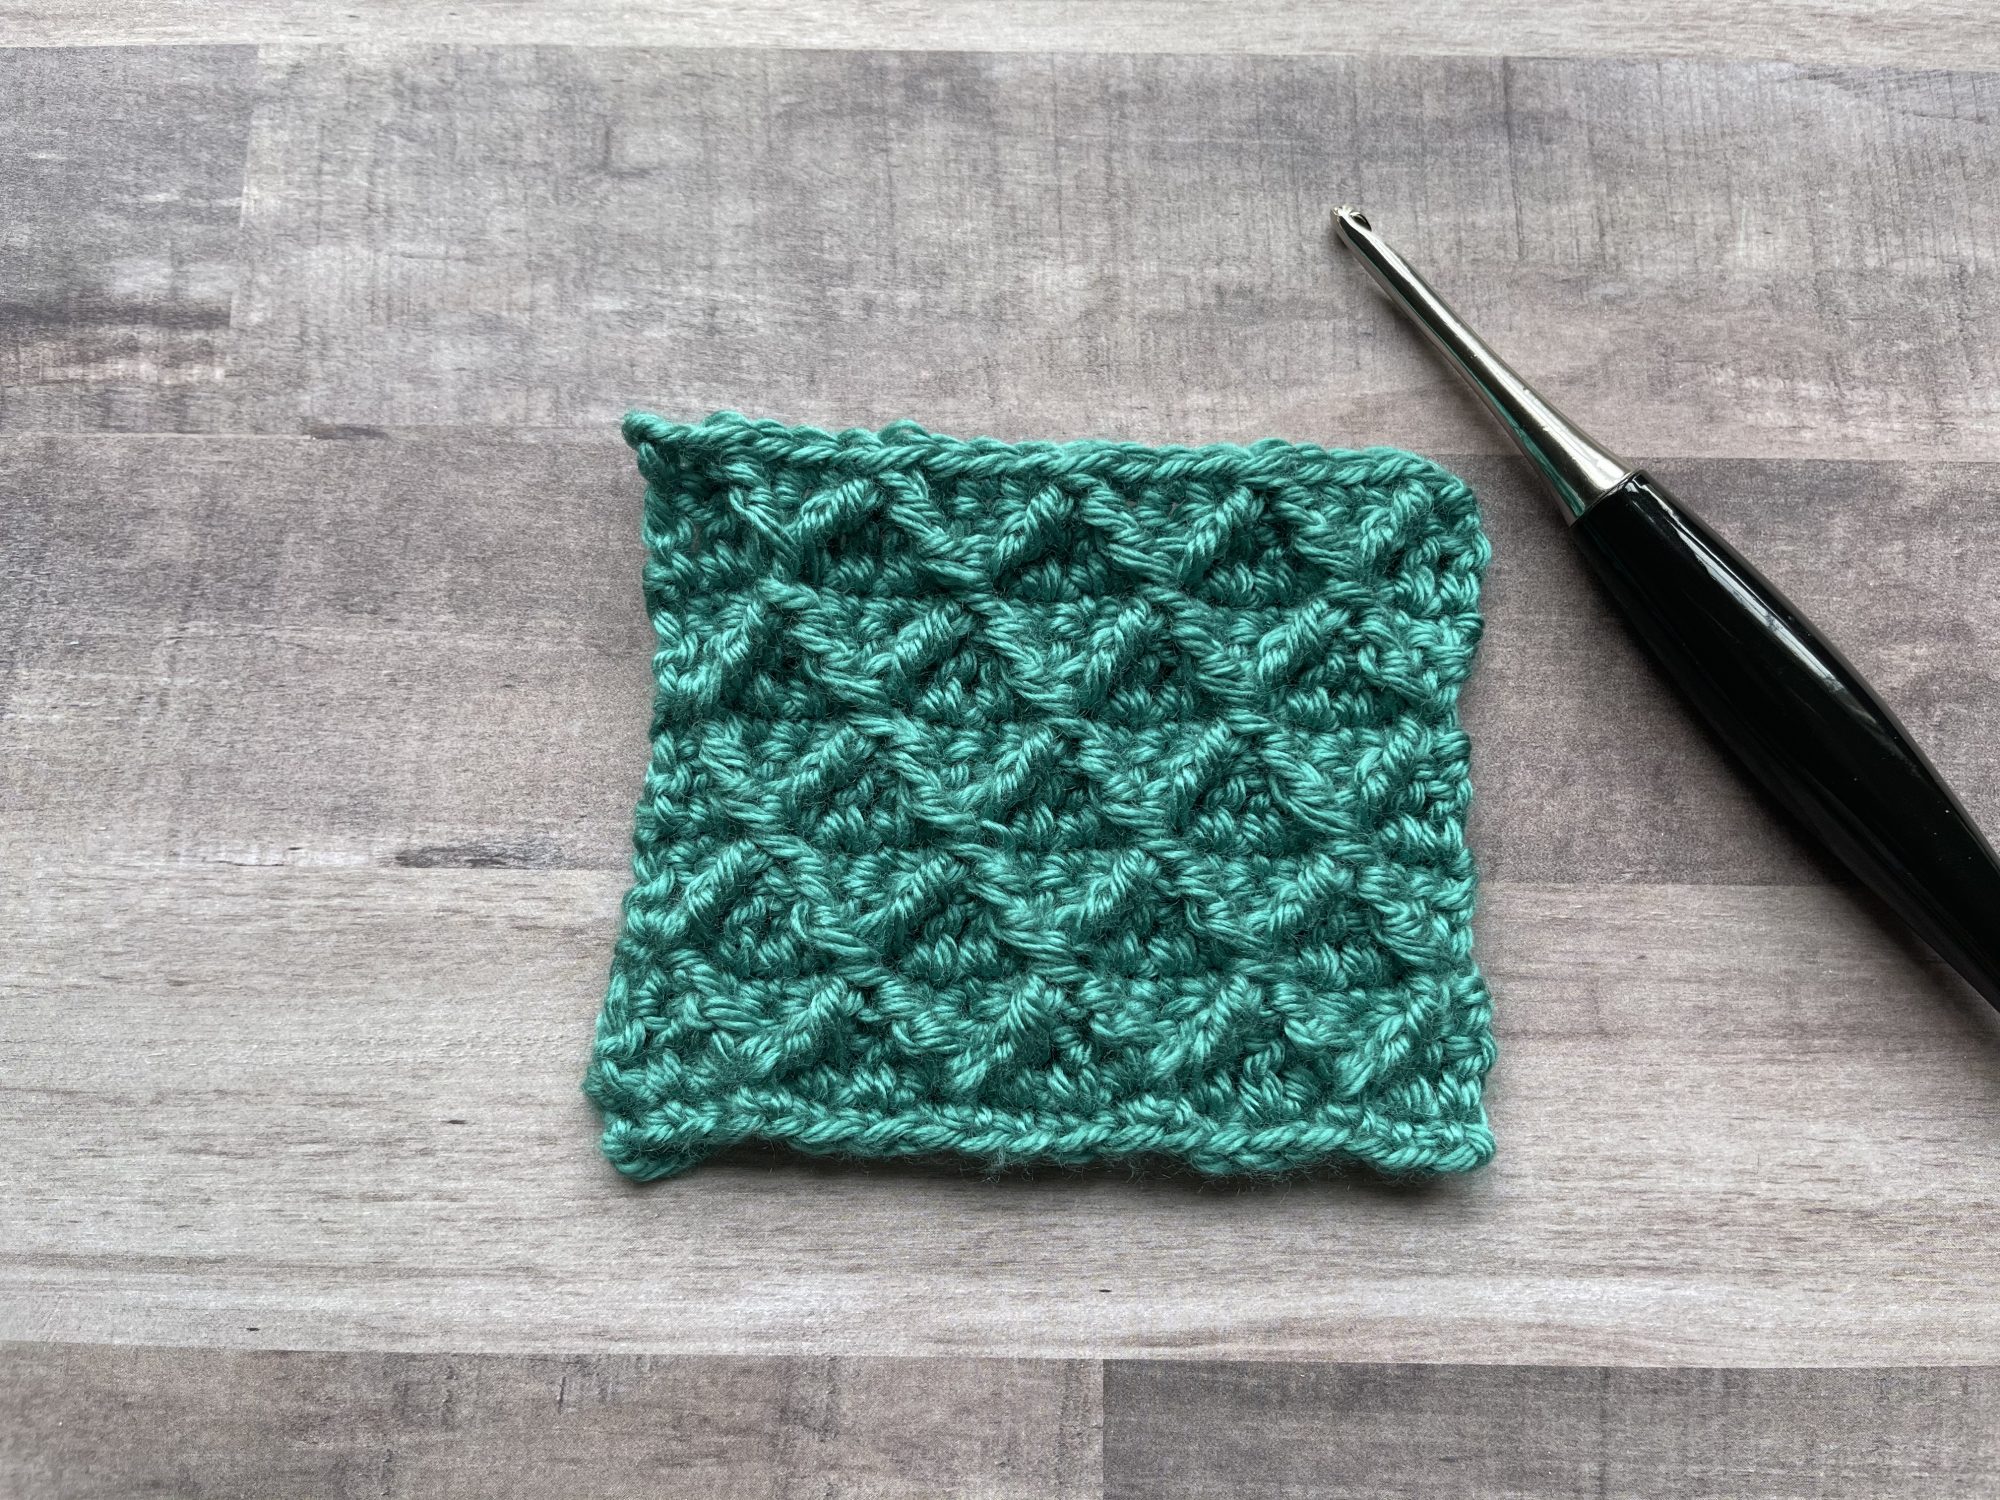
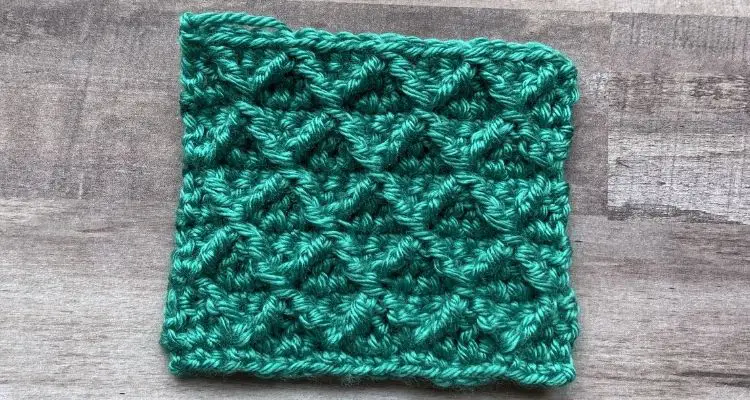
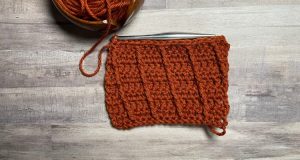
The Diamond Trellis Stitch or Diamond Stitch is created in a four-row repeat using front post treble crochet, double crochet and single crochet stitches.
The third row is likely the trickiest row because it set ups the beginning of the diamonds, but once the first row of front post treble stitches are made and remembering to work into the ch-1, it’s an easy pattern to remember and make.
Multiples needed for the stitch
The Diamond Trellis Stitch requires a multiple of 4+3 when starting with a foundation chain that will be worked into.
If you’re like me and like to use foundation stitches whenever possible, this stitch will require a multiple of 4+2 in foundation single crochet.
Notes
- The first row of front post treble stitches will be worked around the first row of single crochet, and foundation single crochet are not as easy to work around.
- The CSDC of each row is included in the total st count. It can be replaced with a ch 3, but a noticeable gap will form.
- Be sure to sk the st behind each FPtr and FPtr2tog.
- All FPtr2tog have 3 skipped sts btw each leg of the st to create half of the diamond shape.
- All FPtr2tog and FPtr are linked to create the diamond shape.
Techniques and Abbreviations Used:
Beg: beginning
Ch: chain
CSDC: Chainless starting double crochet
Dc: double crochet
Fptr: front post treble crochet
FPtr2tog: front post treble crochet 2 together
RS: right side
Sc: single crochet
Sk: skip
st(s): stitch(es)
CSDC: pull up a loop to height of row, holding loop in place and wrap yarn around hook (yarn over), insert hook in first st, YO, pull up a loop, [YO, pull through 2 loops] twice
FPtr: YO twice, inert hook from front to back to front around indicated st, [YO, pull through 2 loops] 3 times
Fptr2tog: *YO twice, insert hook from front to back to front around indicated st, YO and pull up a loop (4 loops on hook), [YO, pull through 2 loops] 2 times**; sk next 3 sts, rep from * to **, YO, pull through all 3 loops
Supplies Used:
Red Heart Soft
Furls Crochet Odyssey, size I-9/ 5.50mm
Step by Step Instructions
- Ch 19
2. Starting in the second ch from hook, sc in each ch to end, turn – 18 sc
3. CSDC in first st or ch 3, dc in each st to end, turn – 18 dc
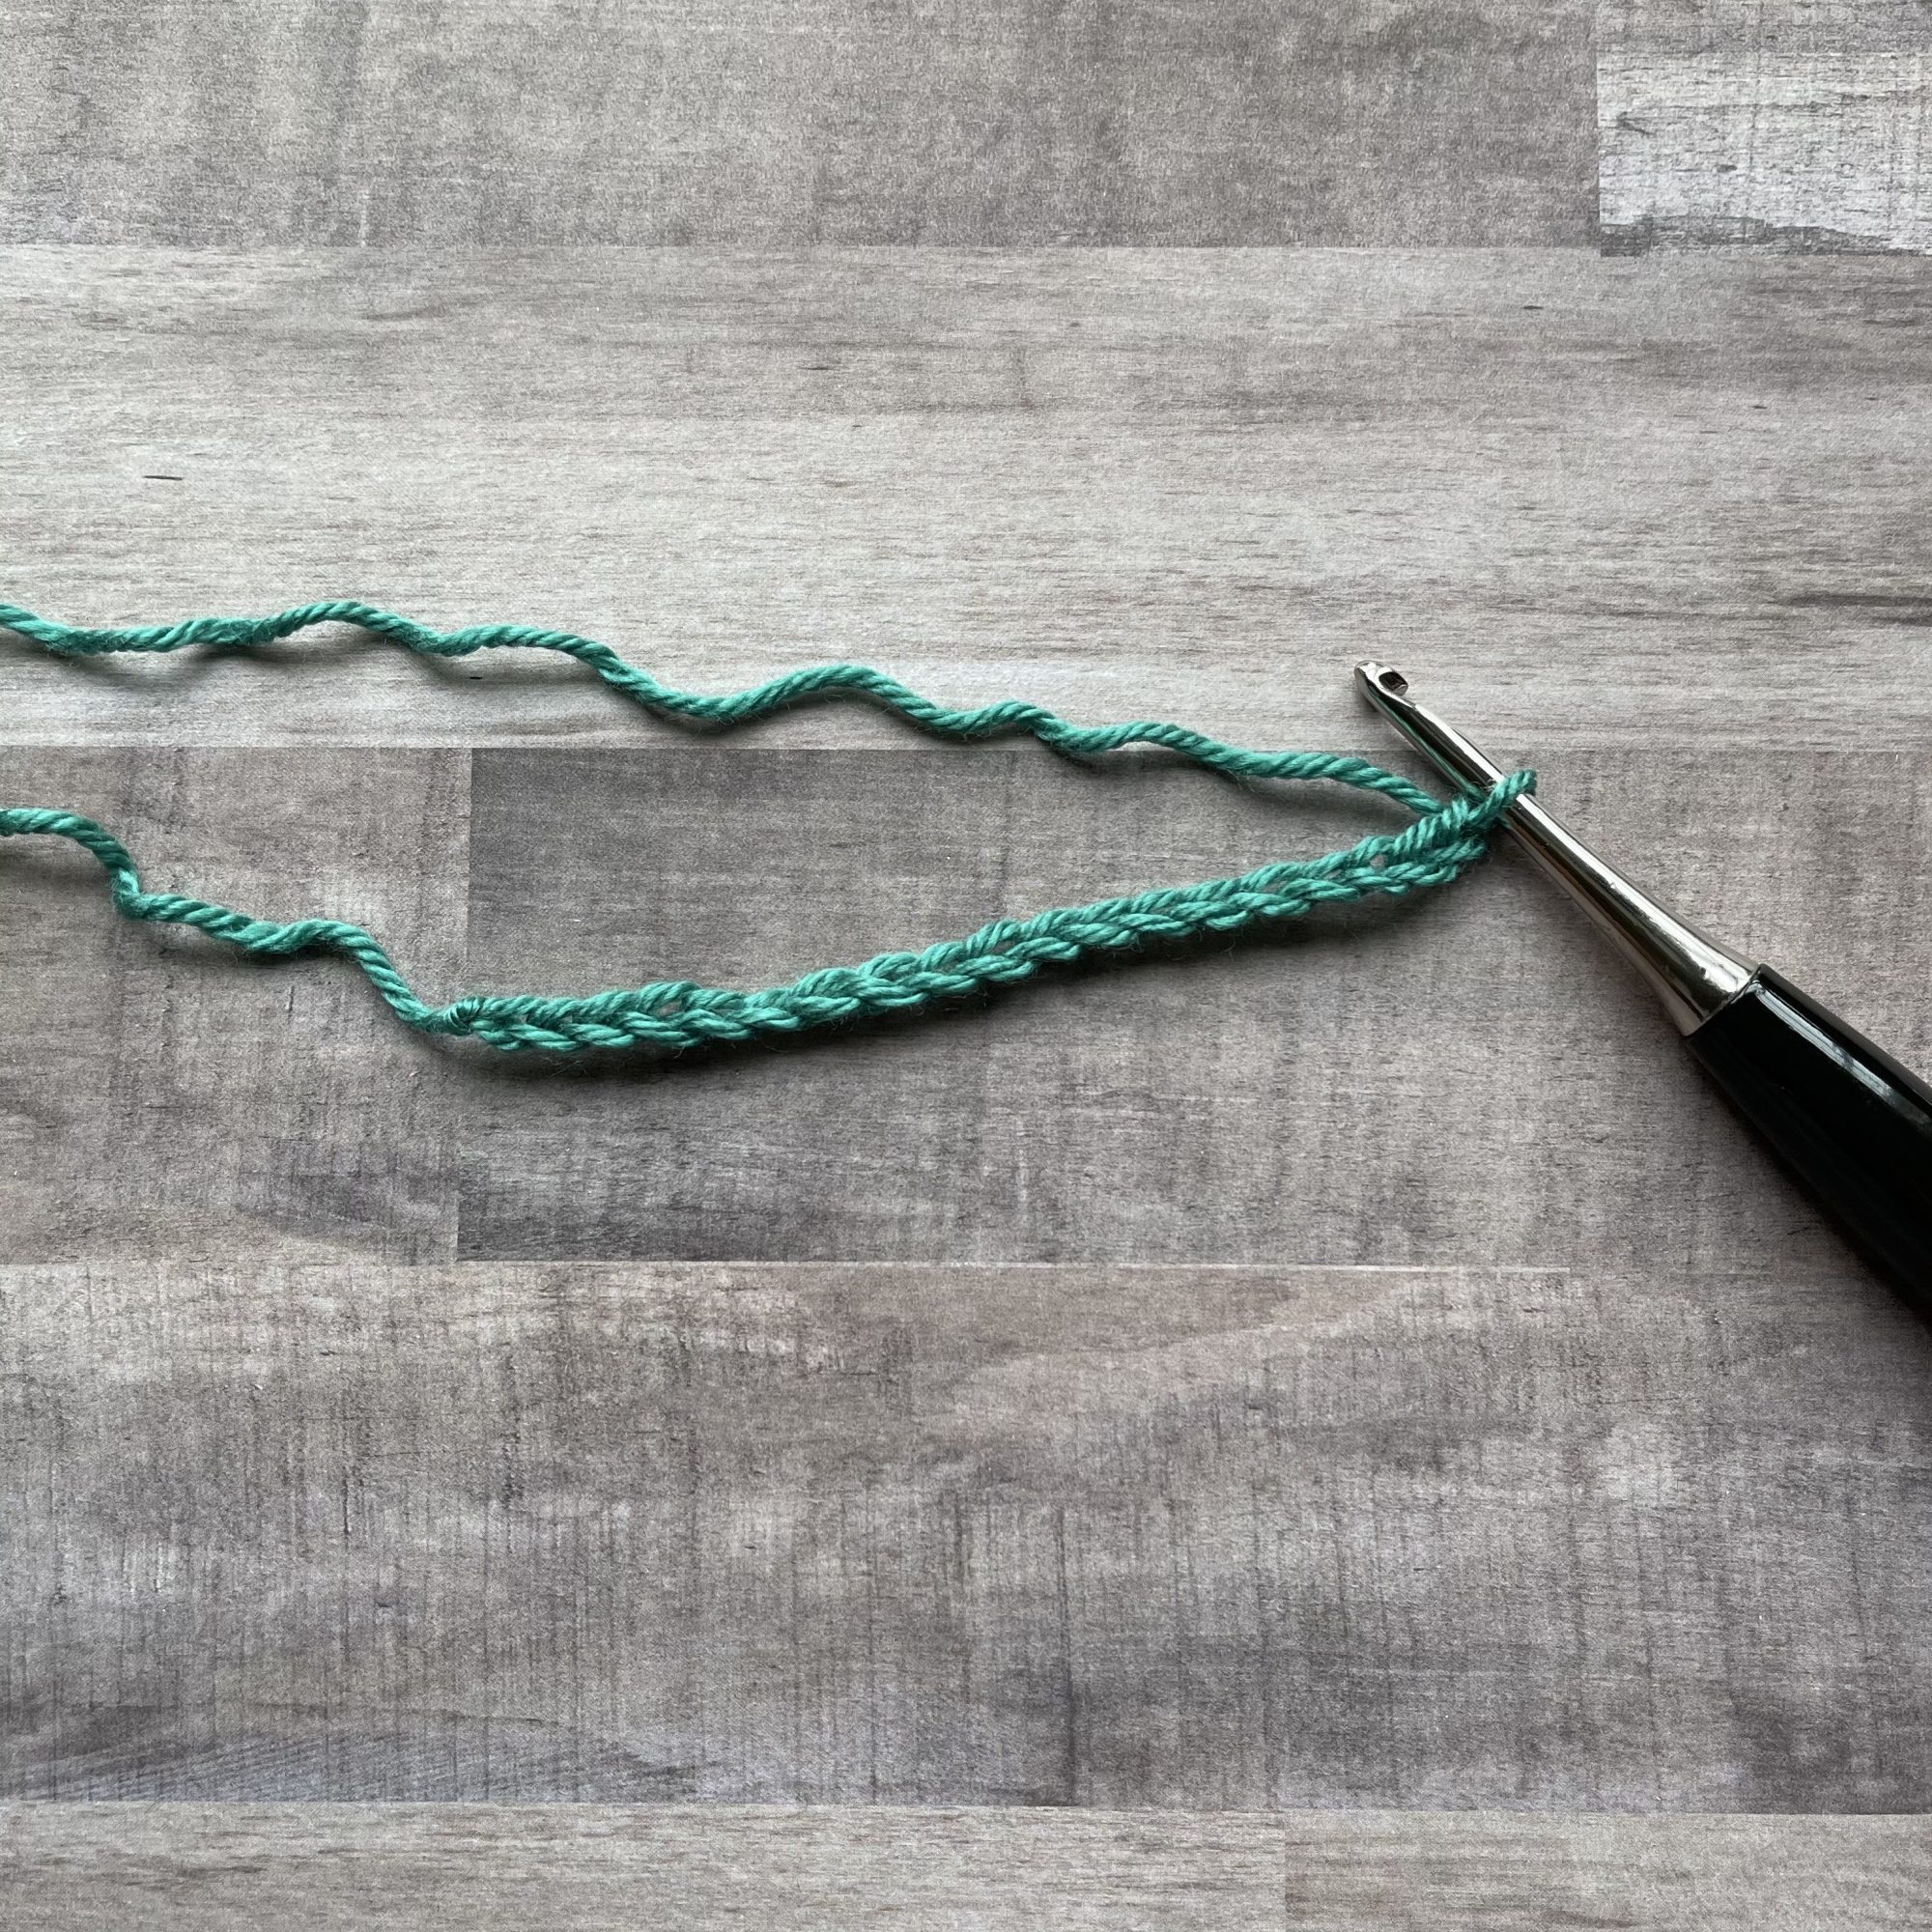
Ch 19 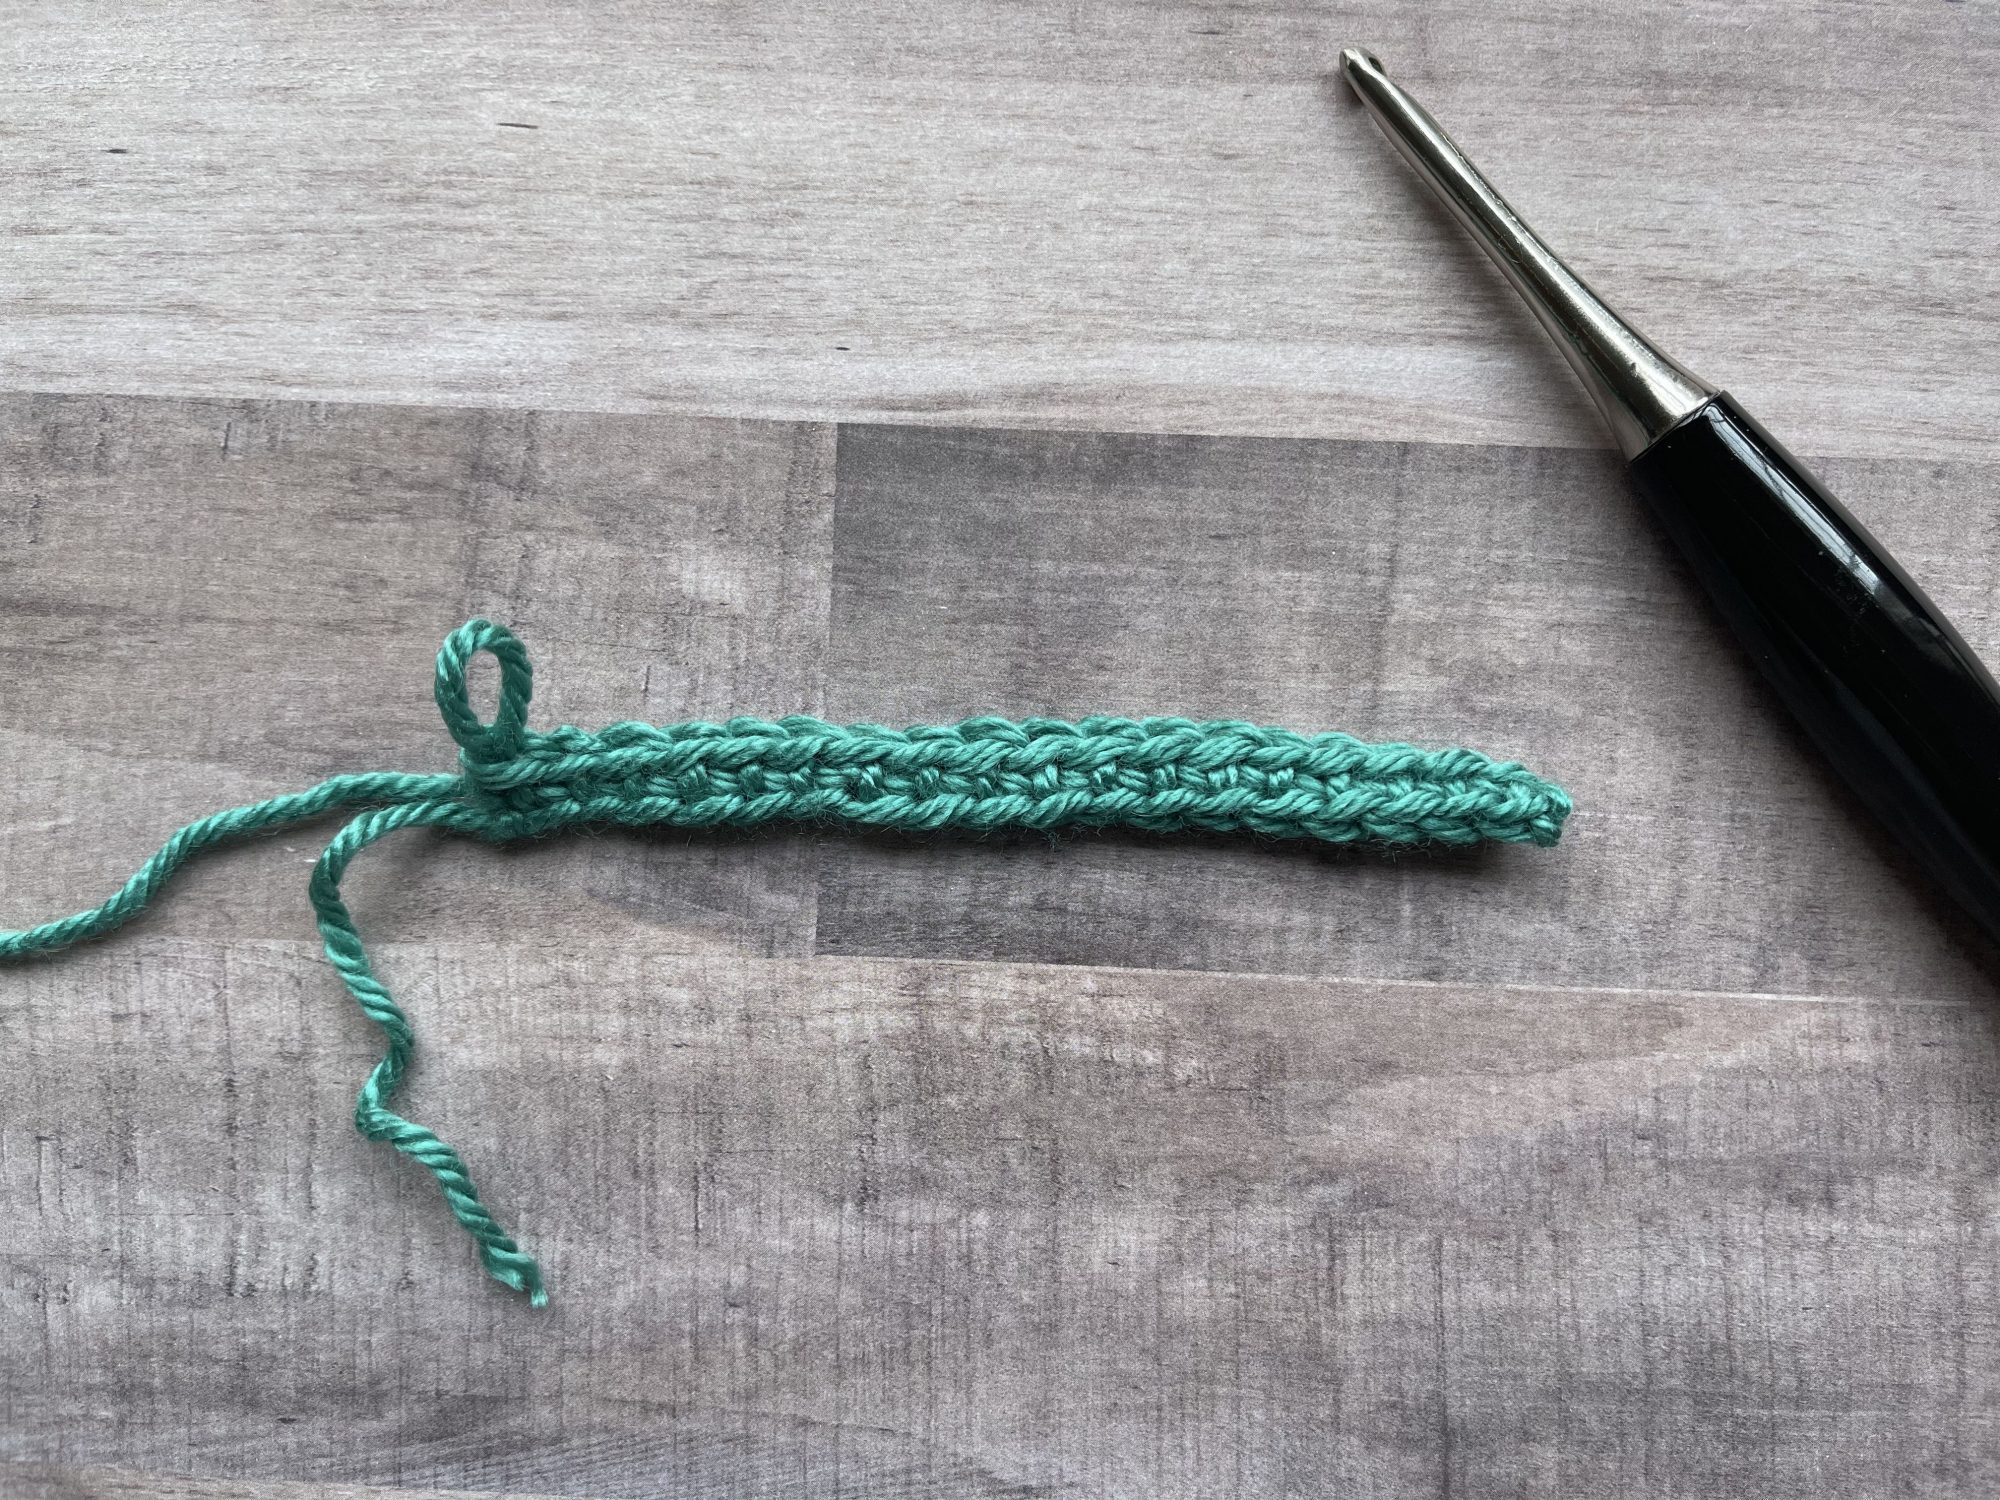
Sc in each st 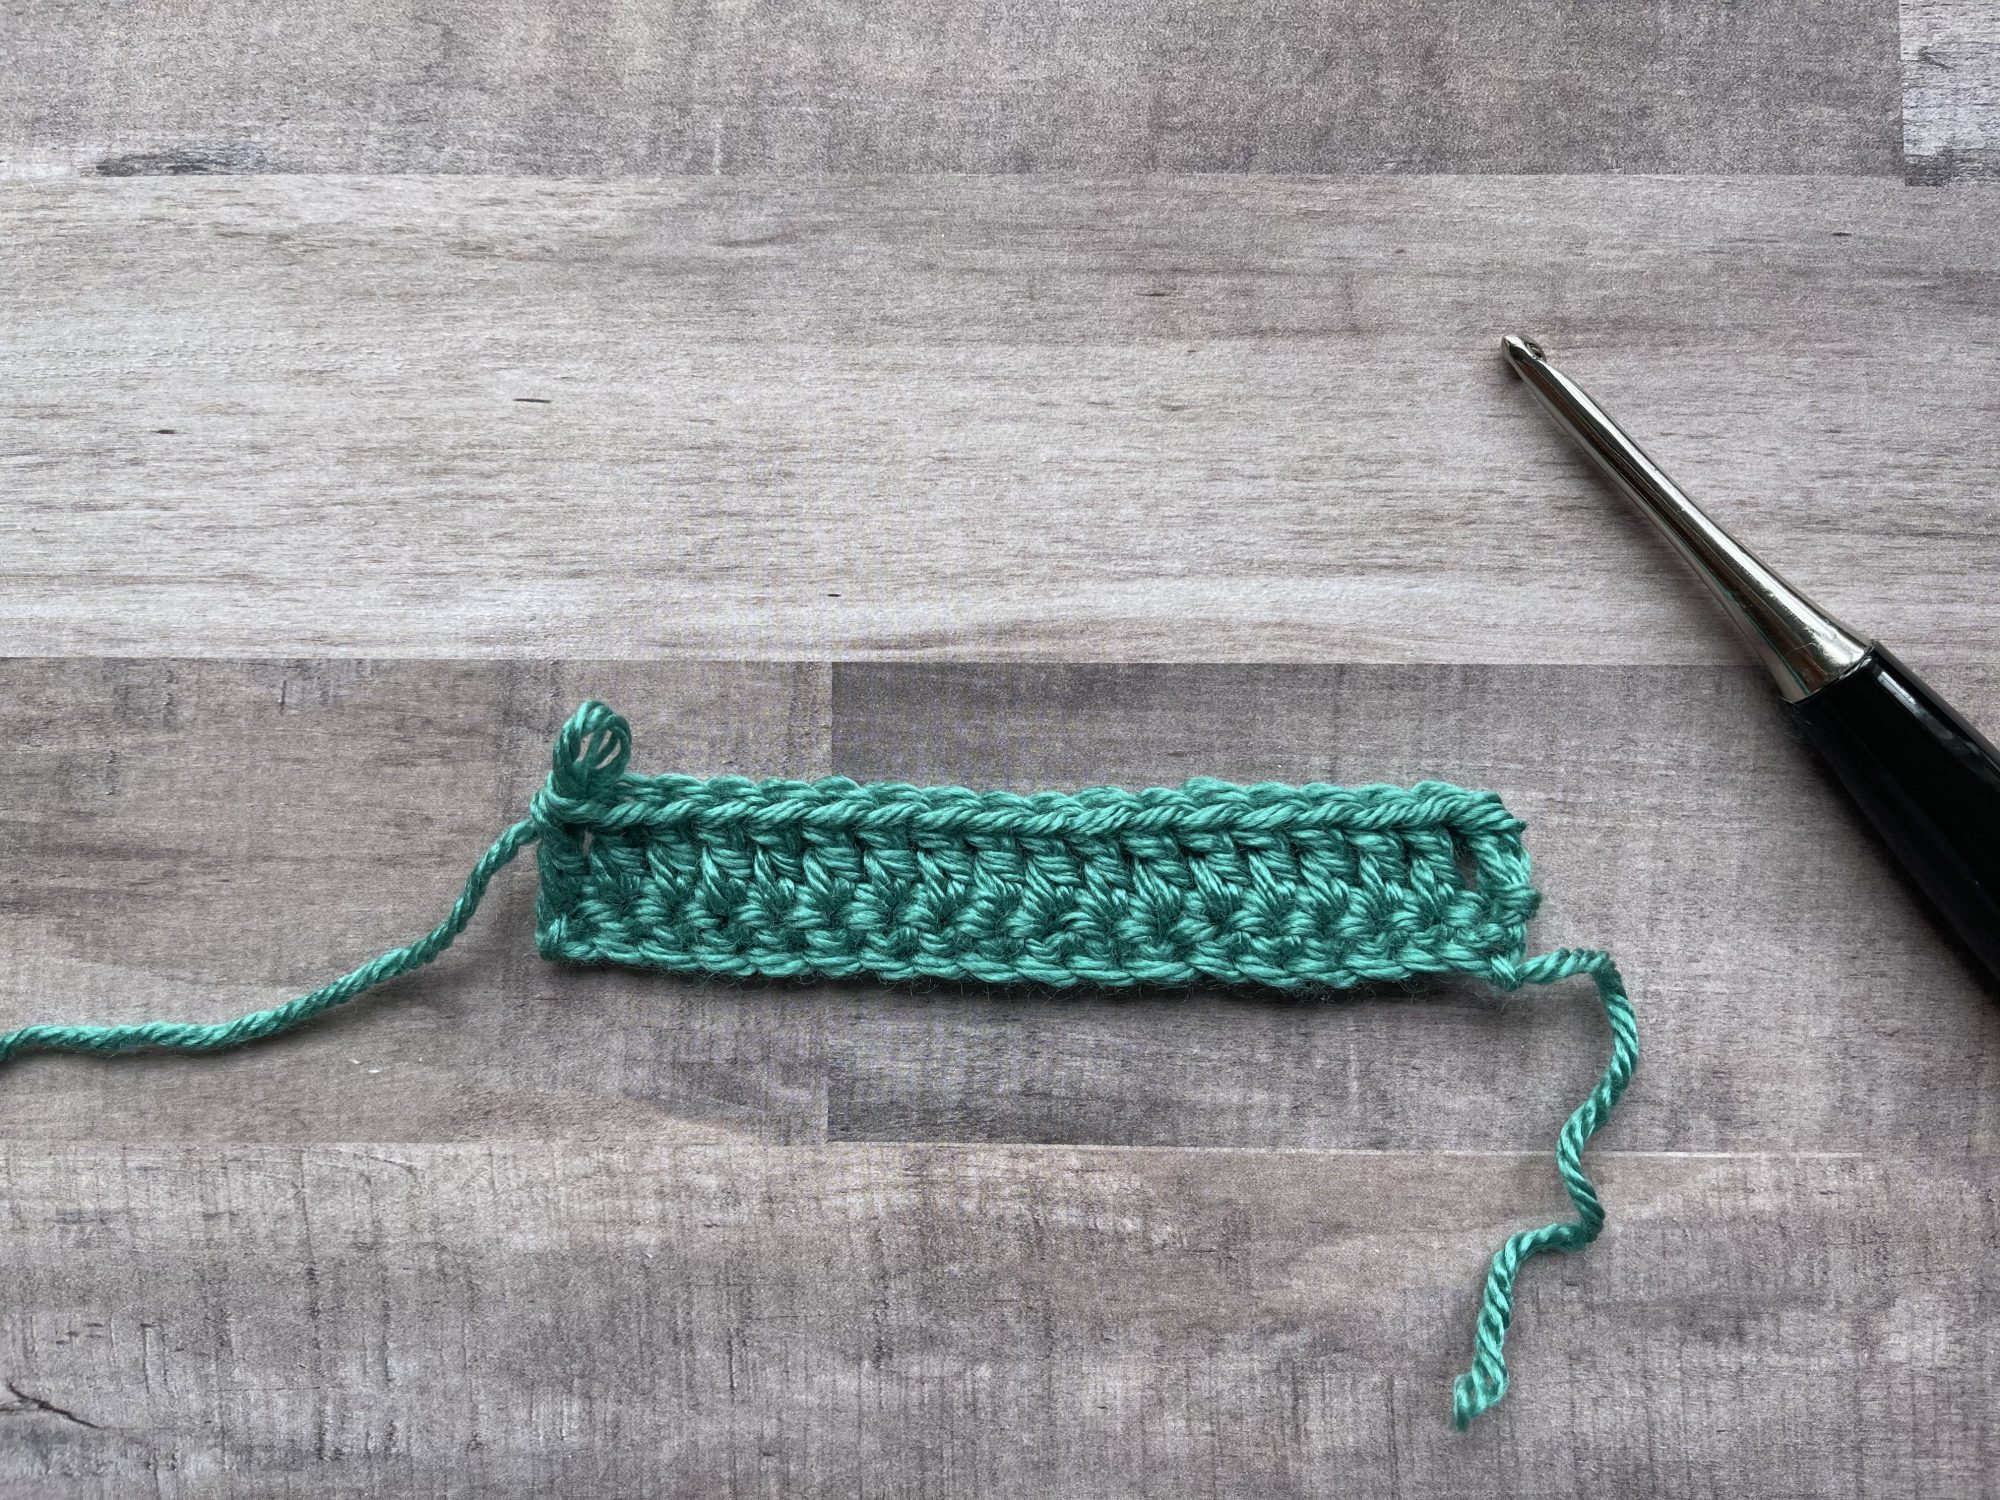
Dc in each st
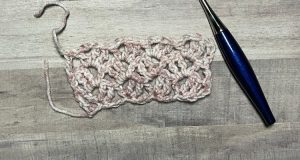
4. Ch 1, FPtr around 3rd sc 2 rows below (sk 3 sts between the legs; don’t forget to sk the sc behind the FPtr), sc in next 3 sts
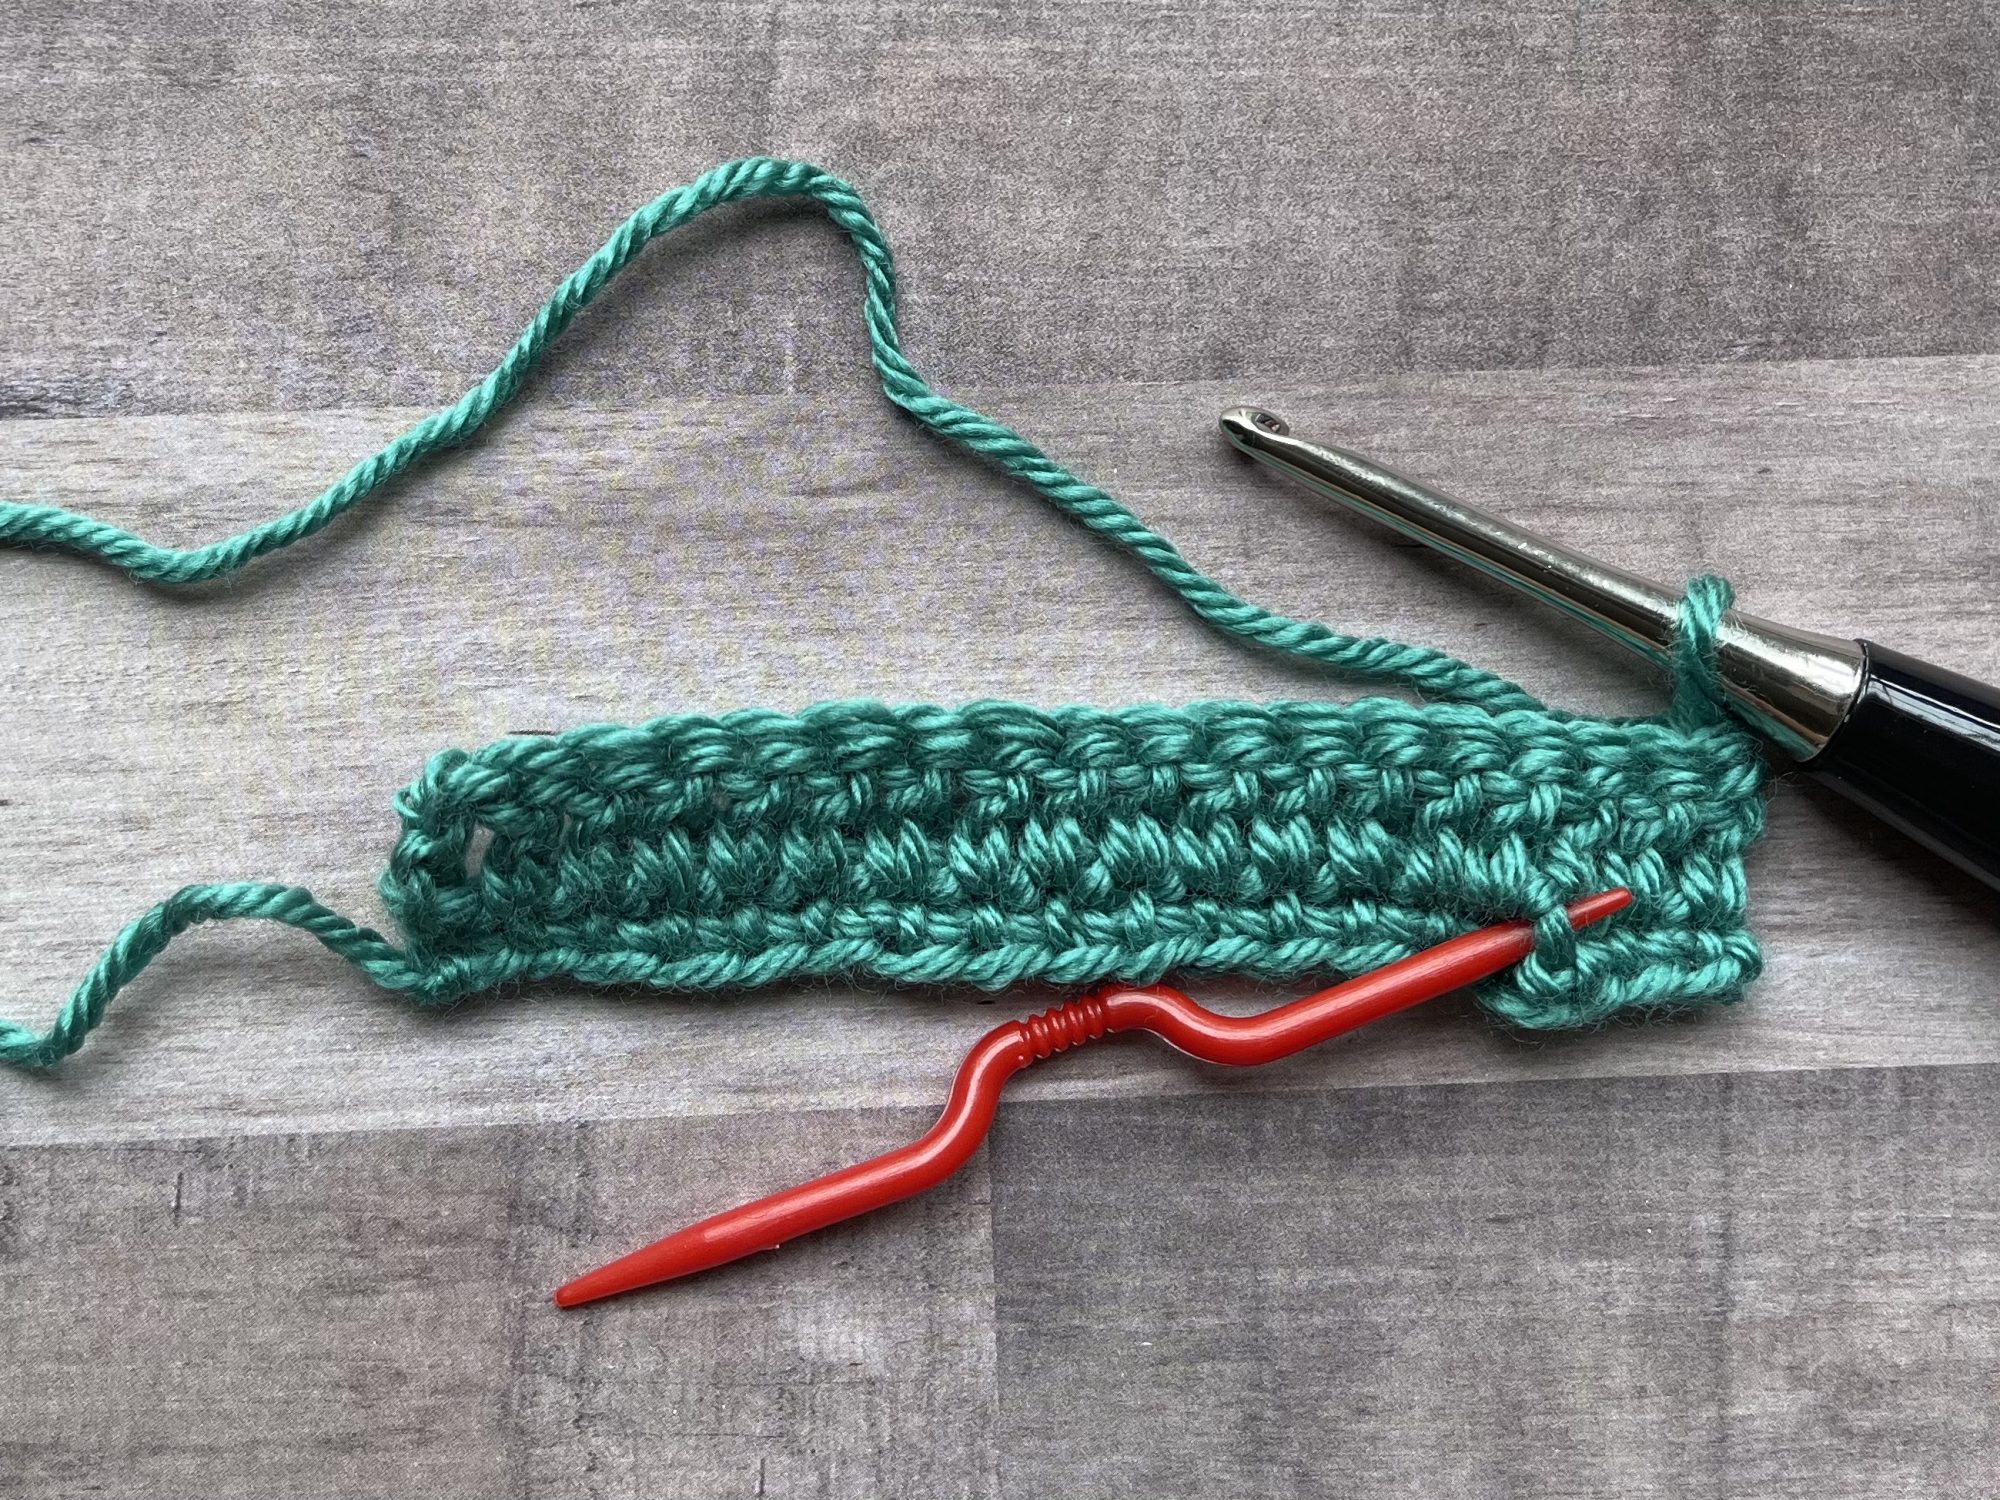
Ch 1; 3rd Sc from 2 rows below indicated 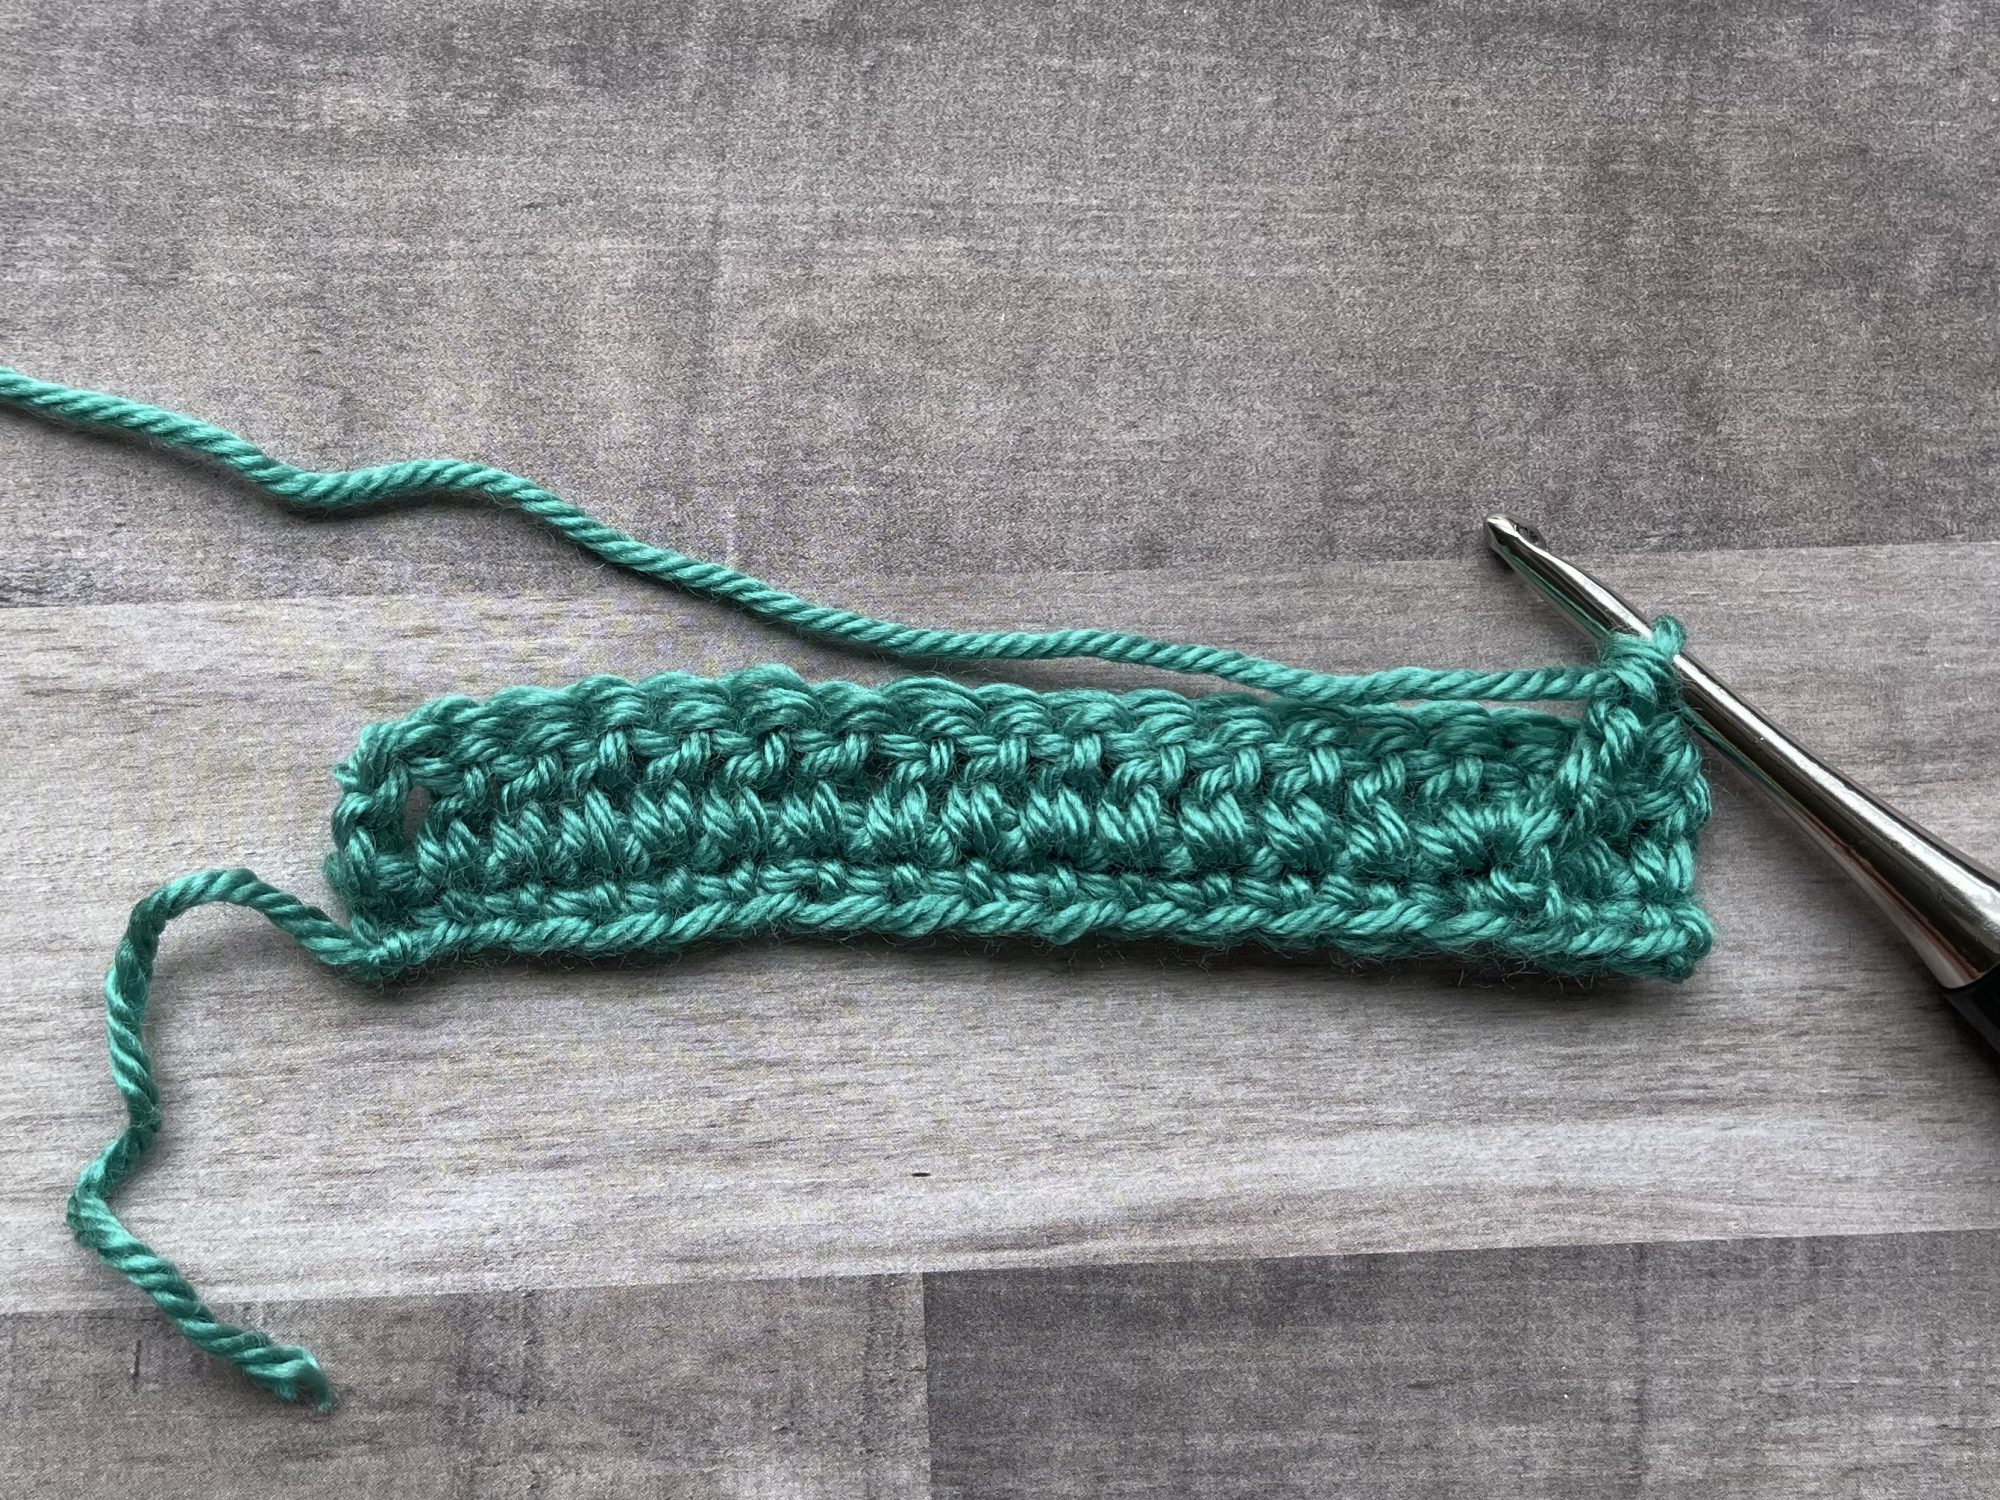
FPtr made 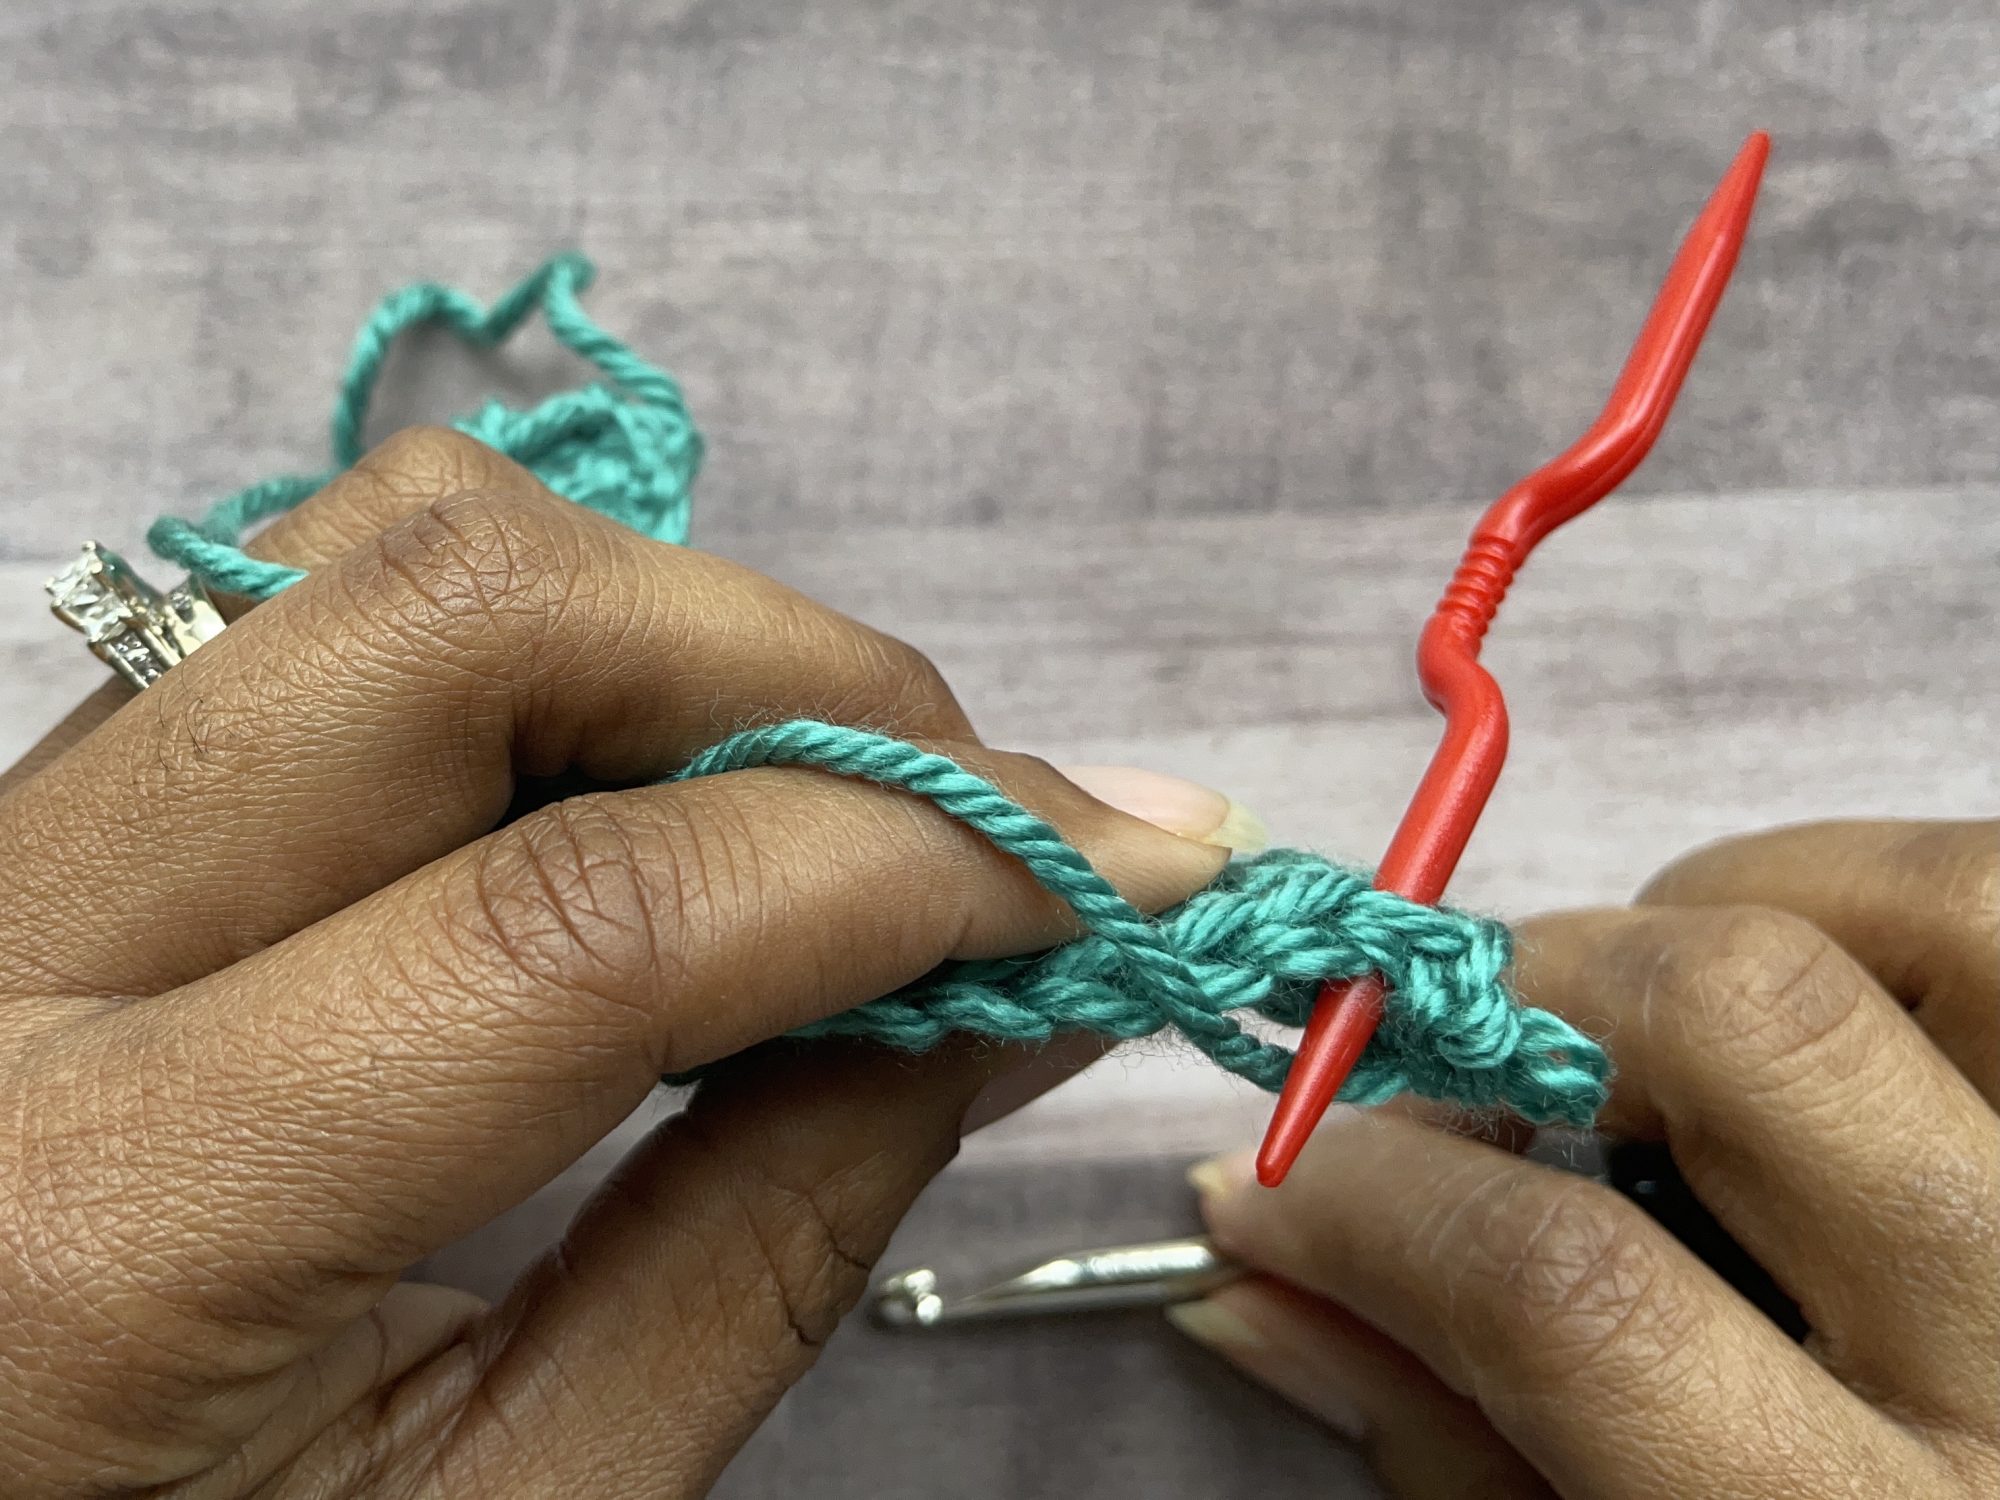
Sk sc behind the FPtr 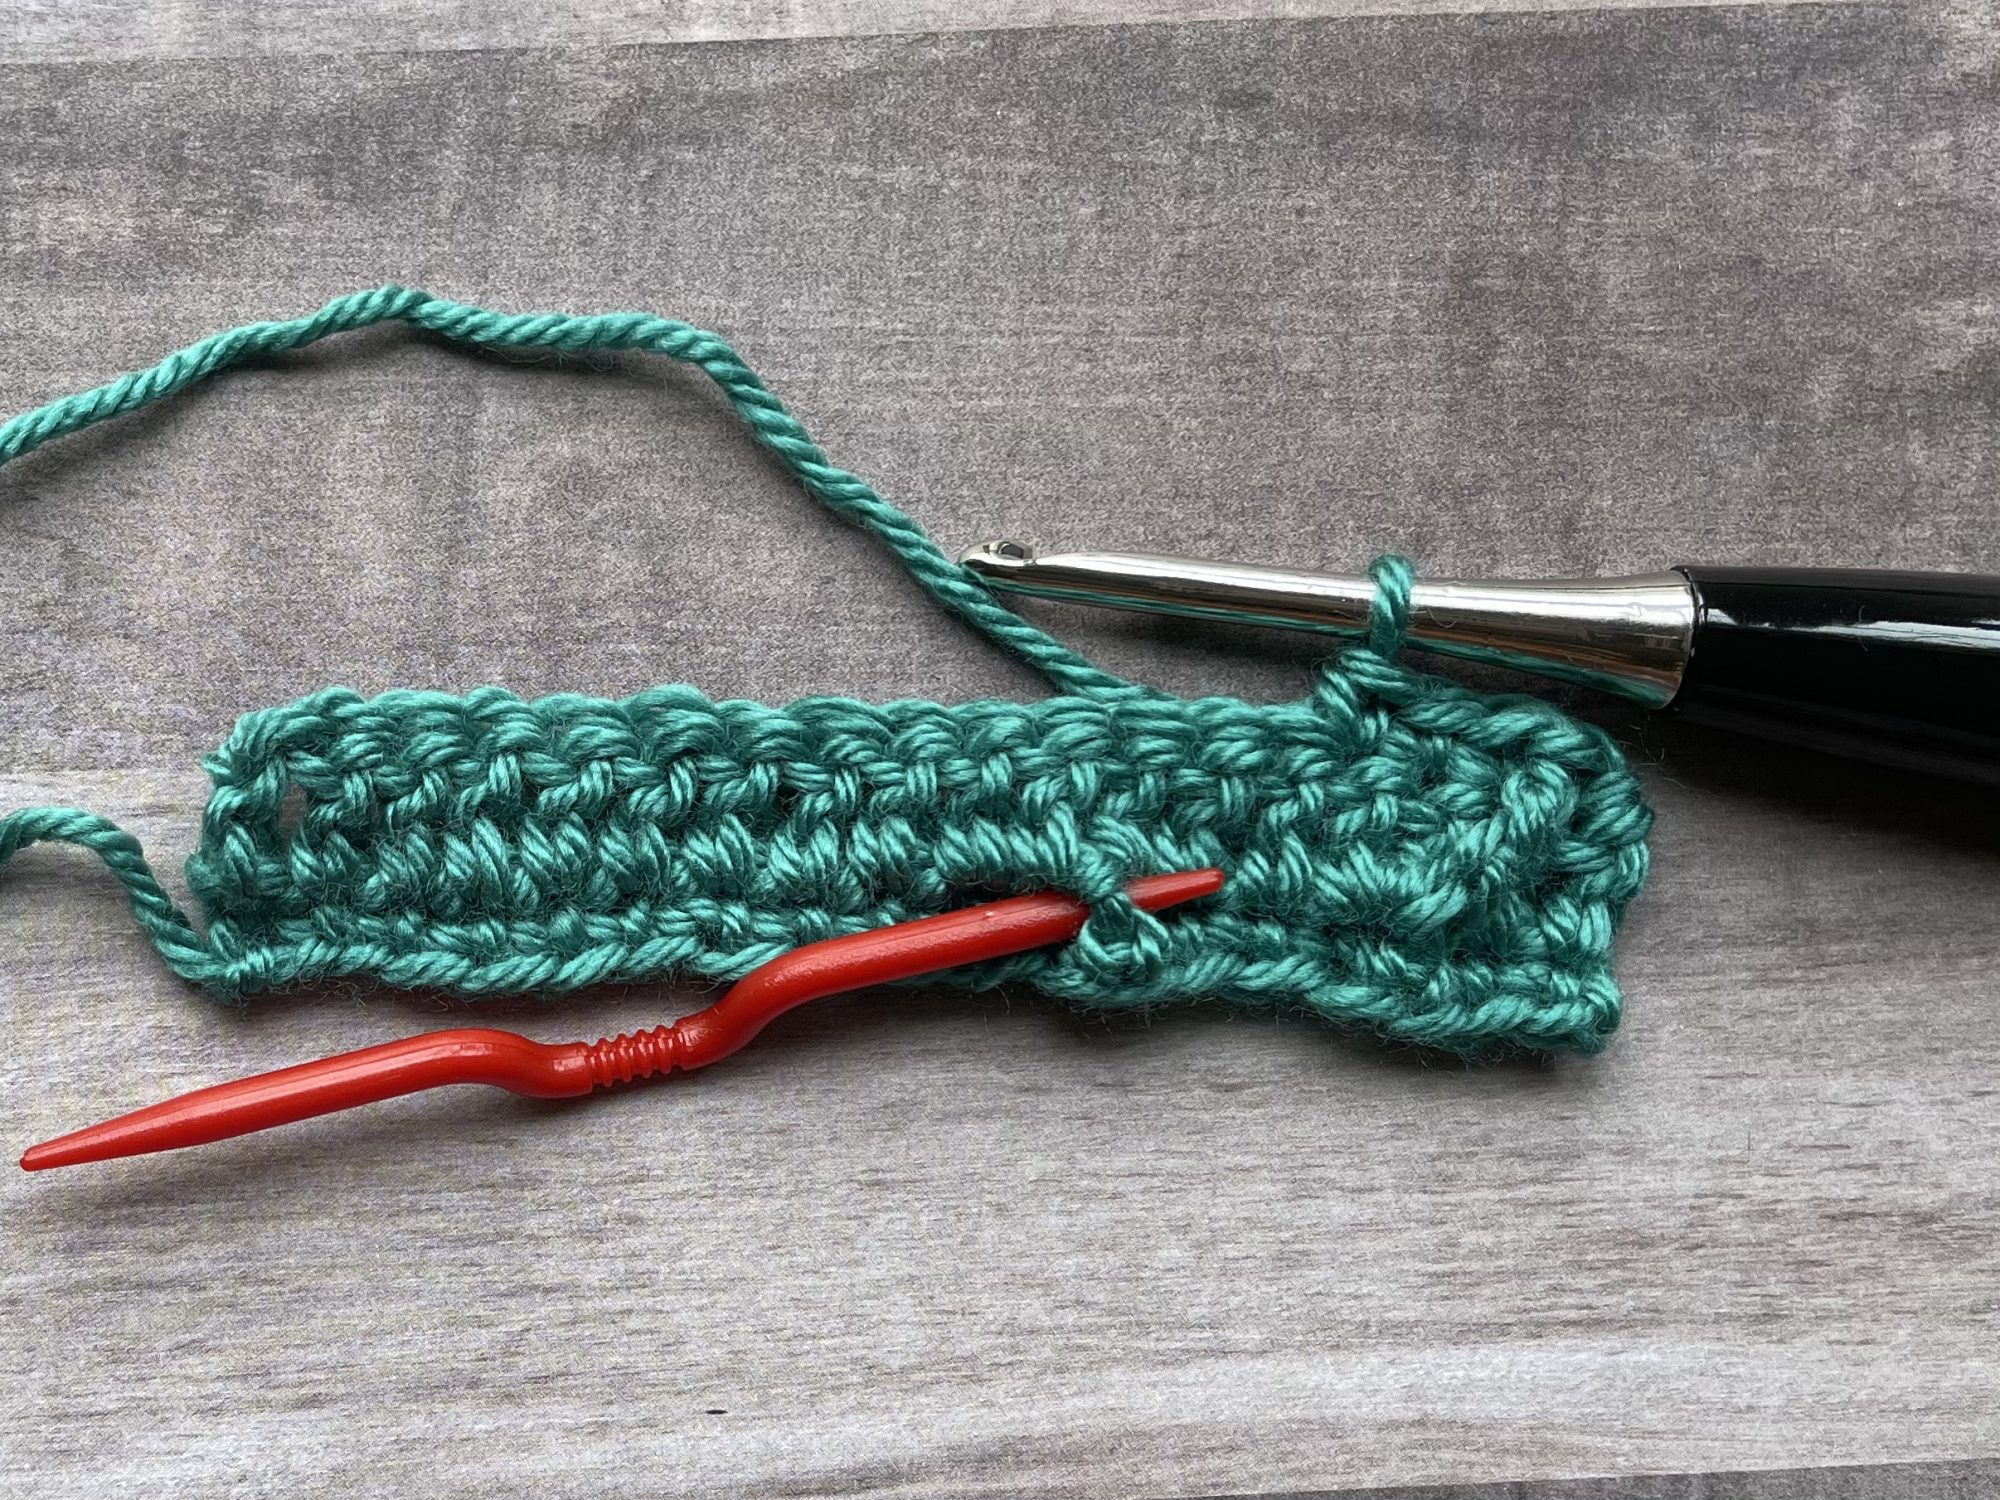
Sc in next 3 sts,; st indicated for 2nd leg of FPtr2tog
5. *FPtr2tog beg around same sc 2 rows below (connects to the first FPtr), sc in next 3 sts, rep from * until 2 sts remain, FPtr around same st as last FPtr2tog, sc in last st, turn
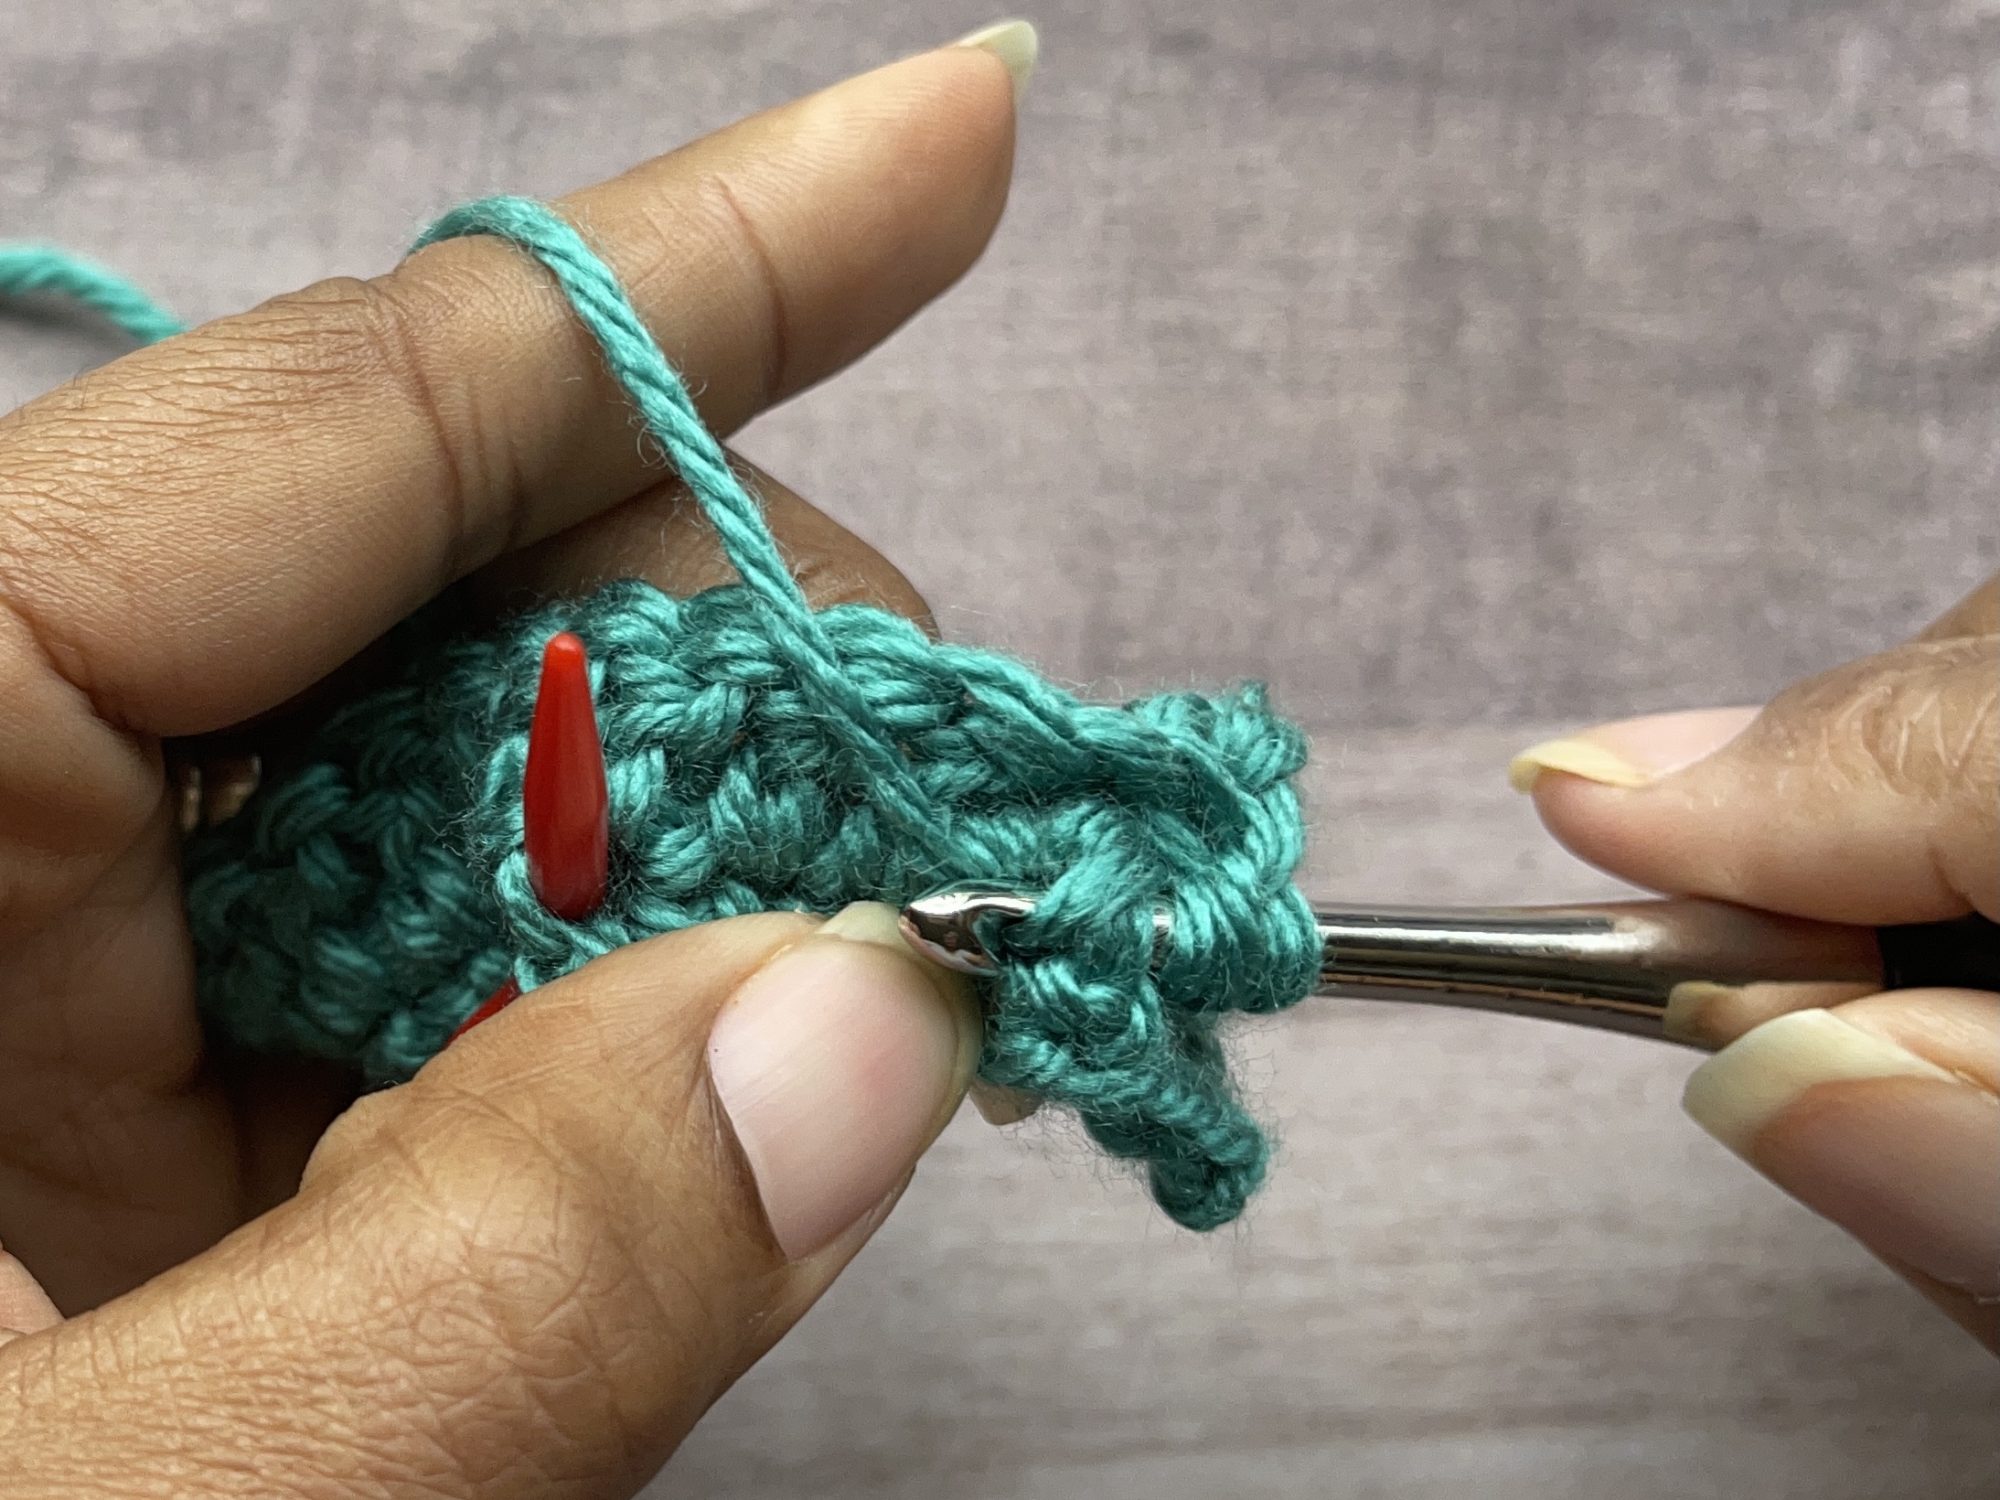
Begin FPtr2tog 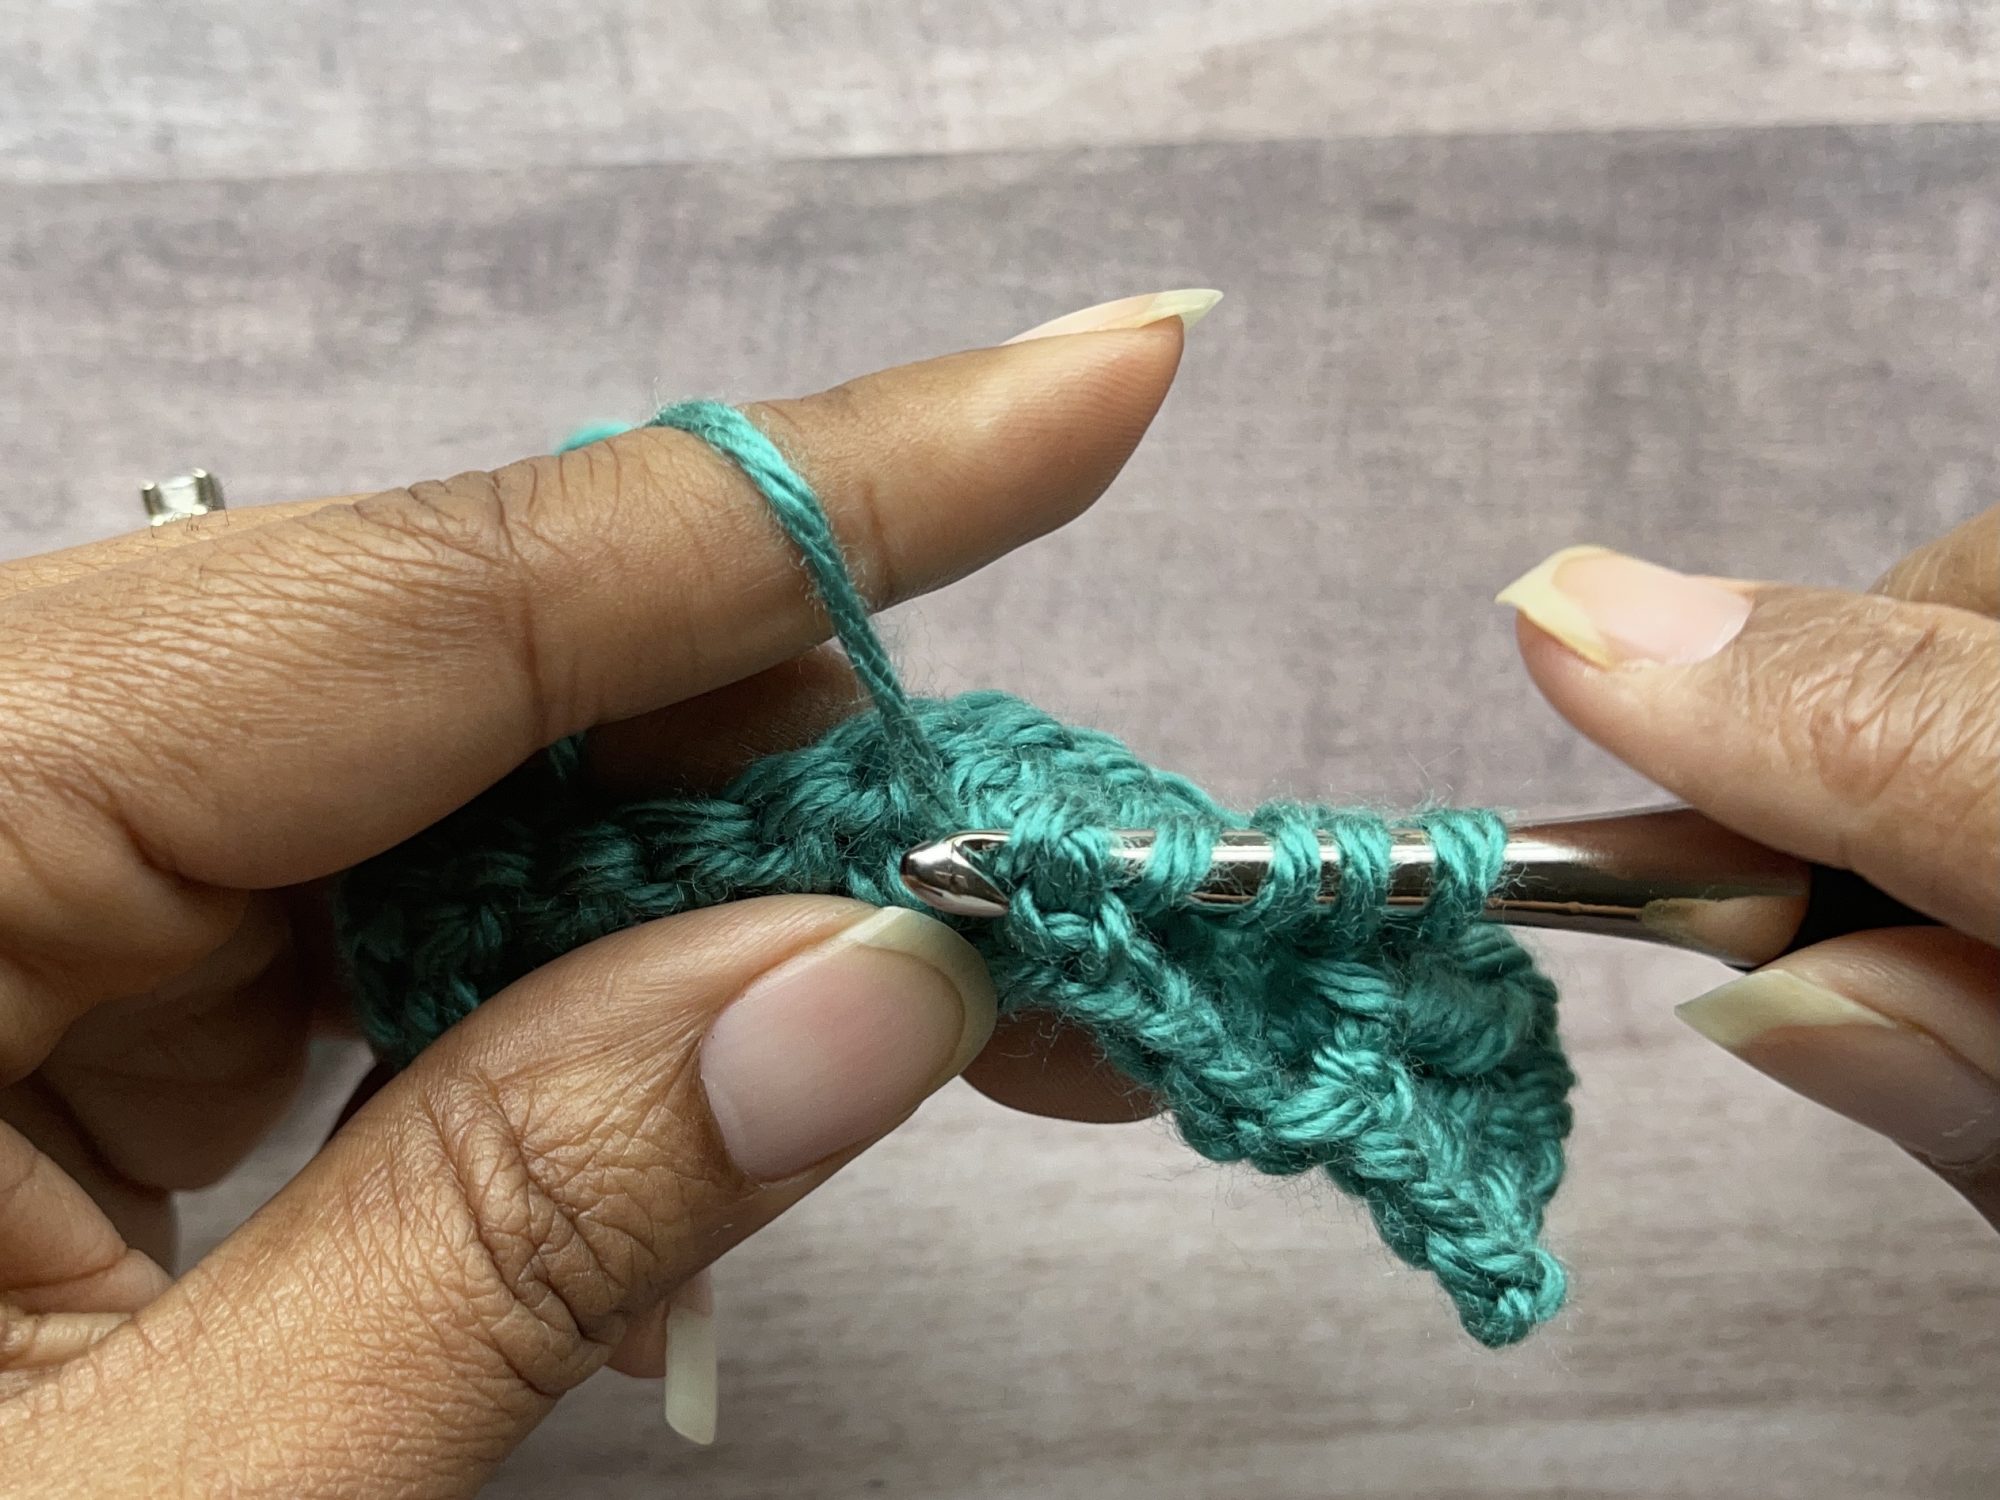
Sk 3 sts 2 rows below and work around next st 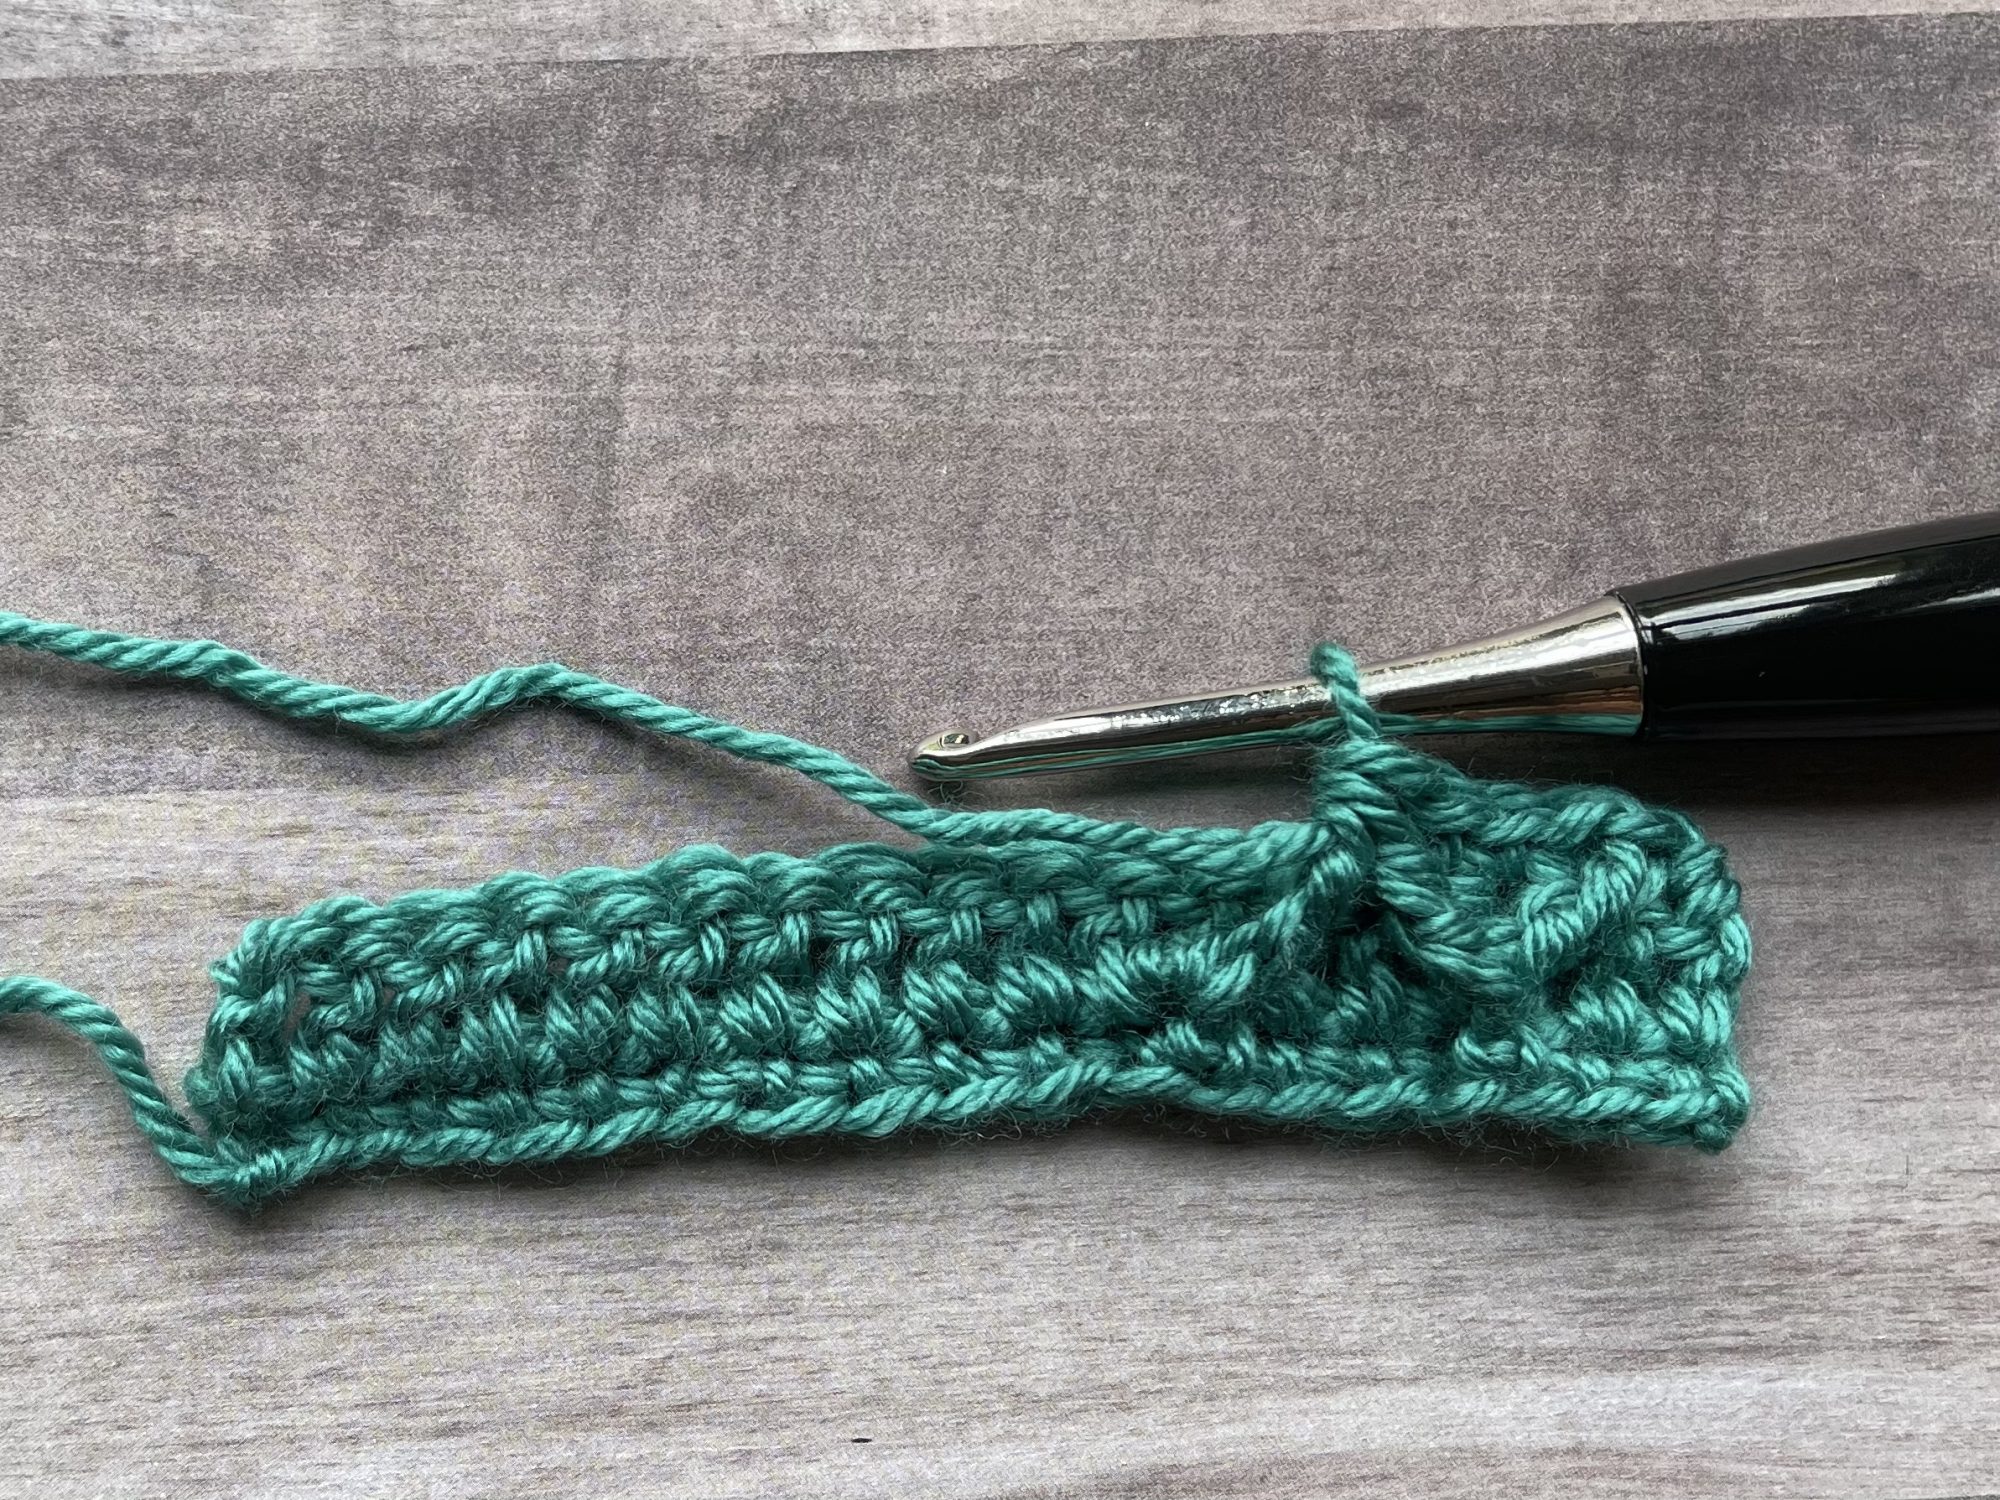
FPtr2tog made 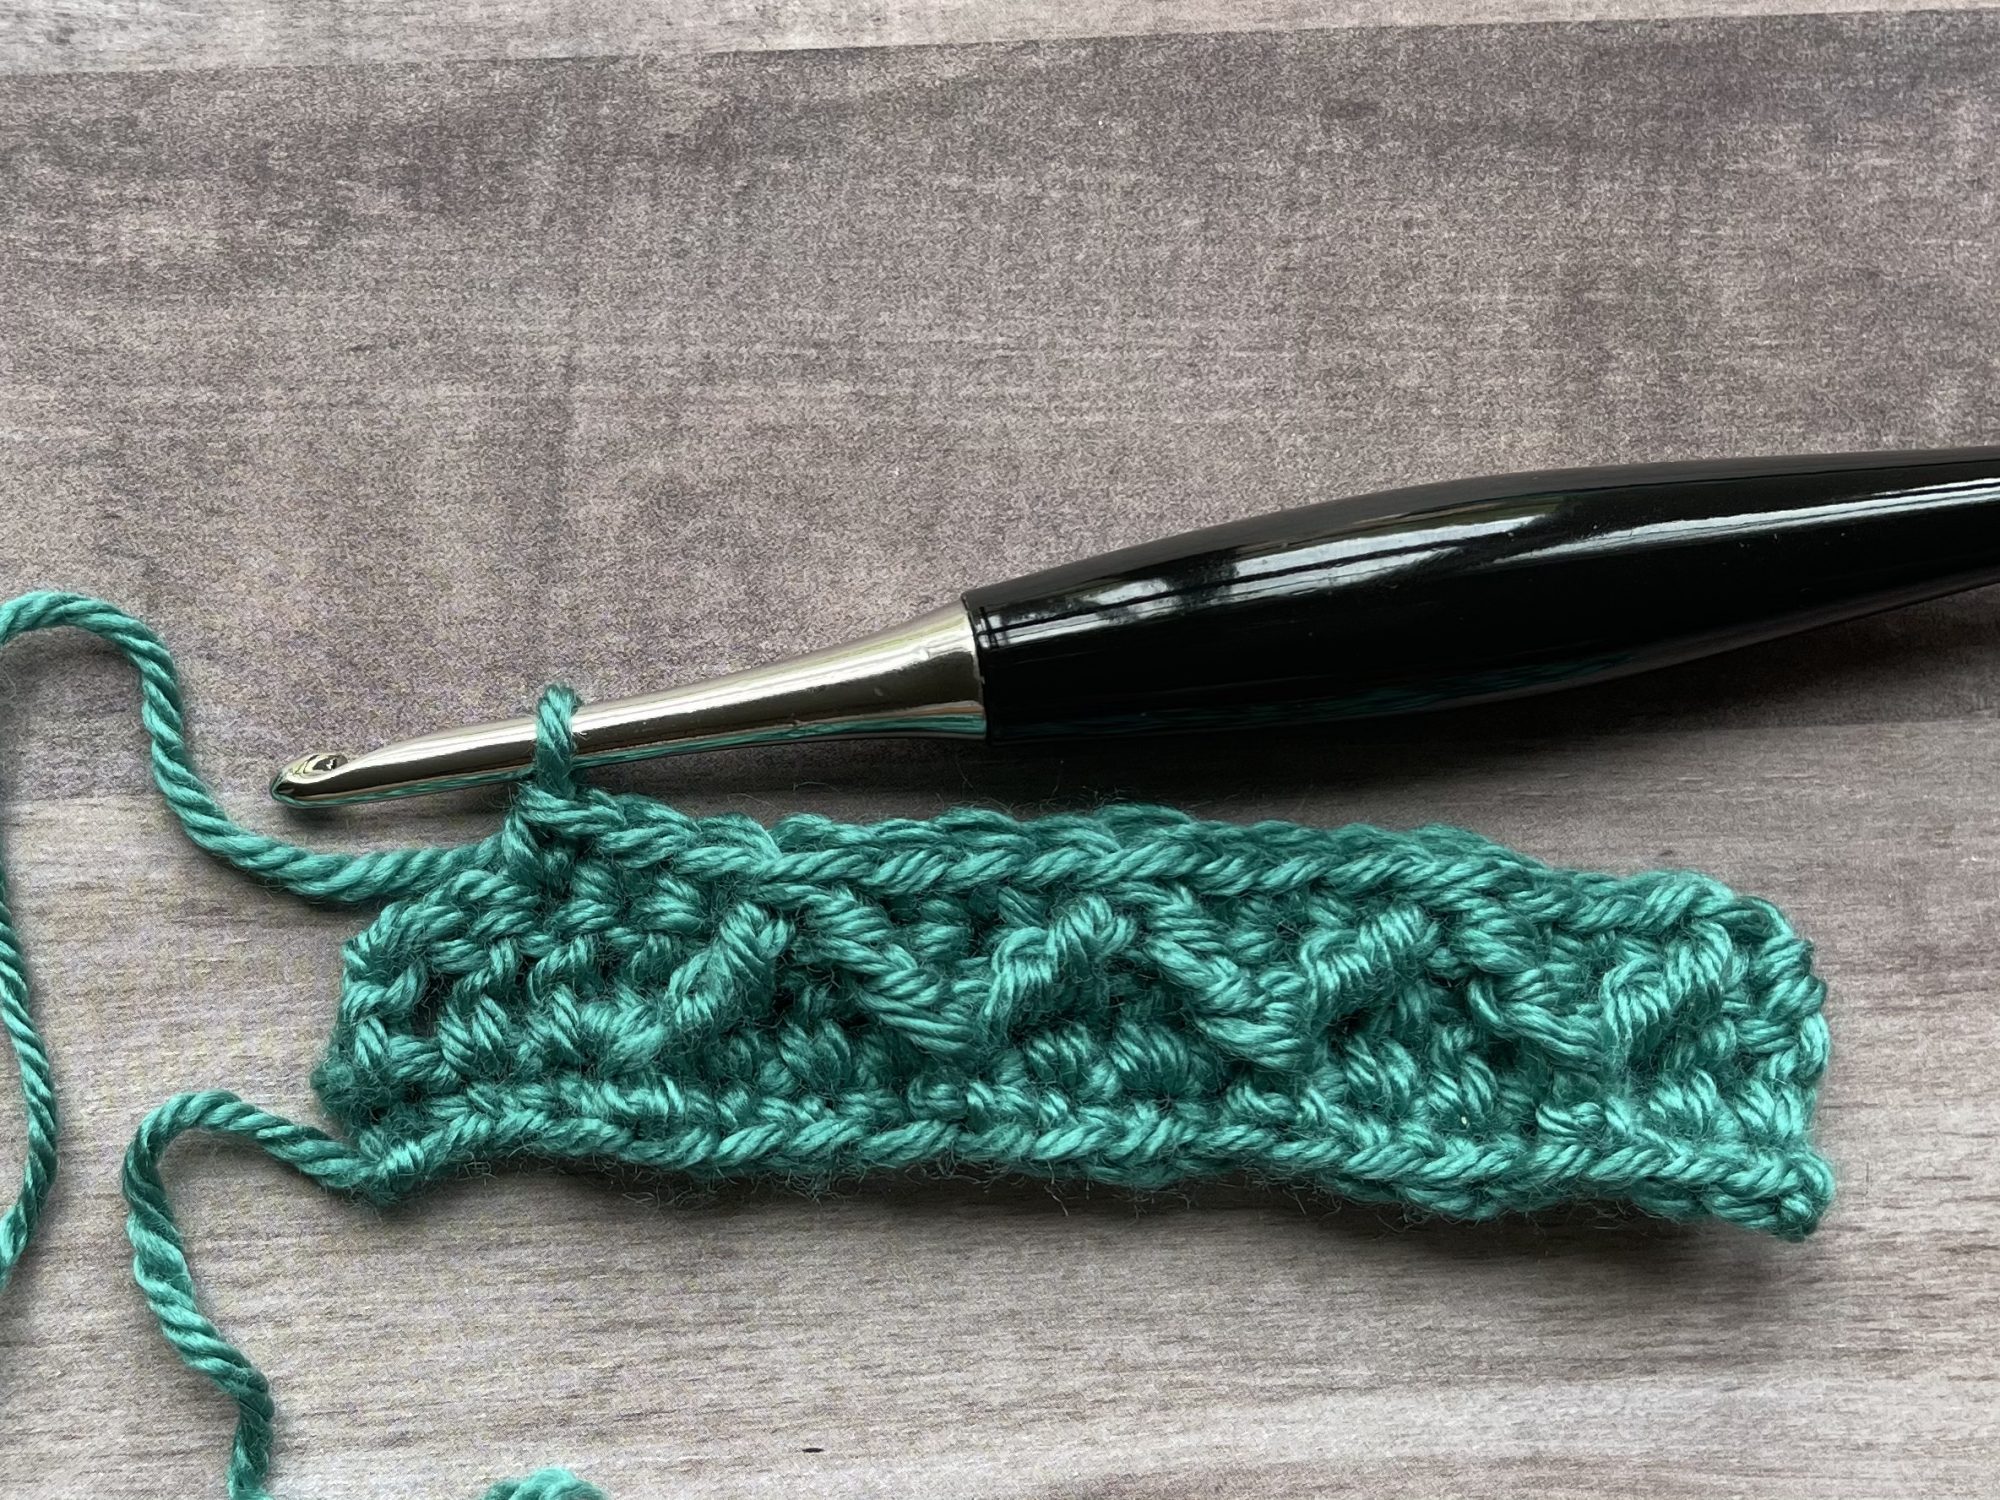
*Sc in next 3 sts, FPtr2tog, rep from * until 2 sts remain 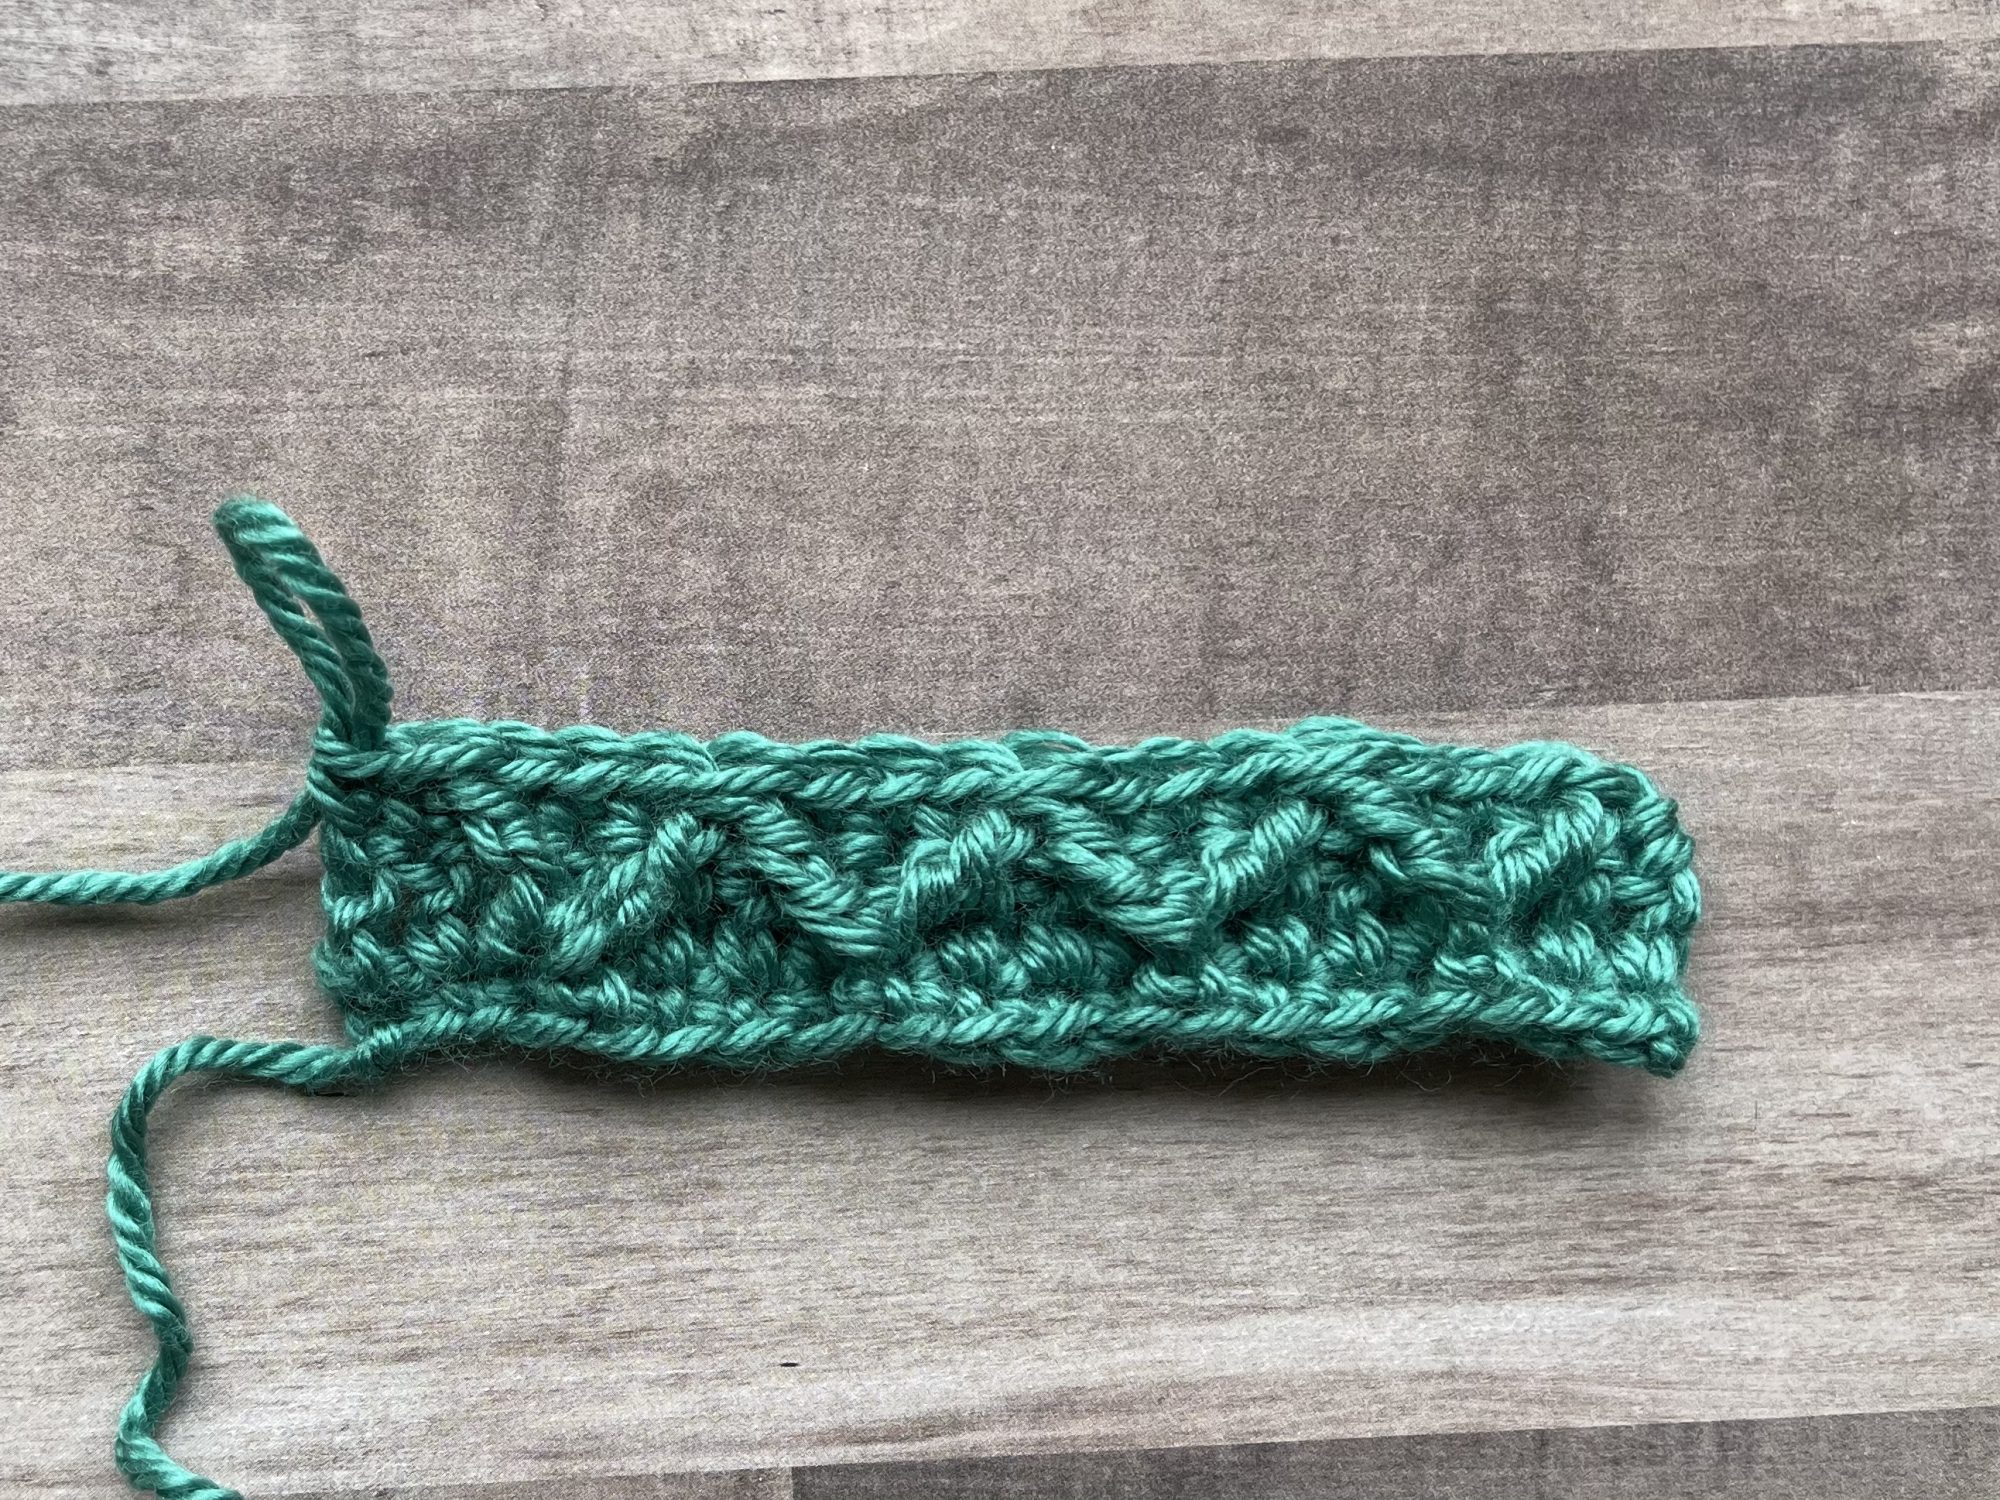
FPtr, sc in last st
6. CSDC in first st, dc in each st to end, turn
*Make sure to place the last dc in the first FPtr of the previous row.
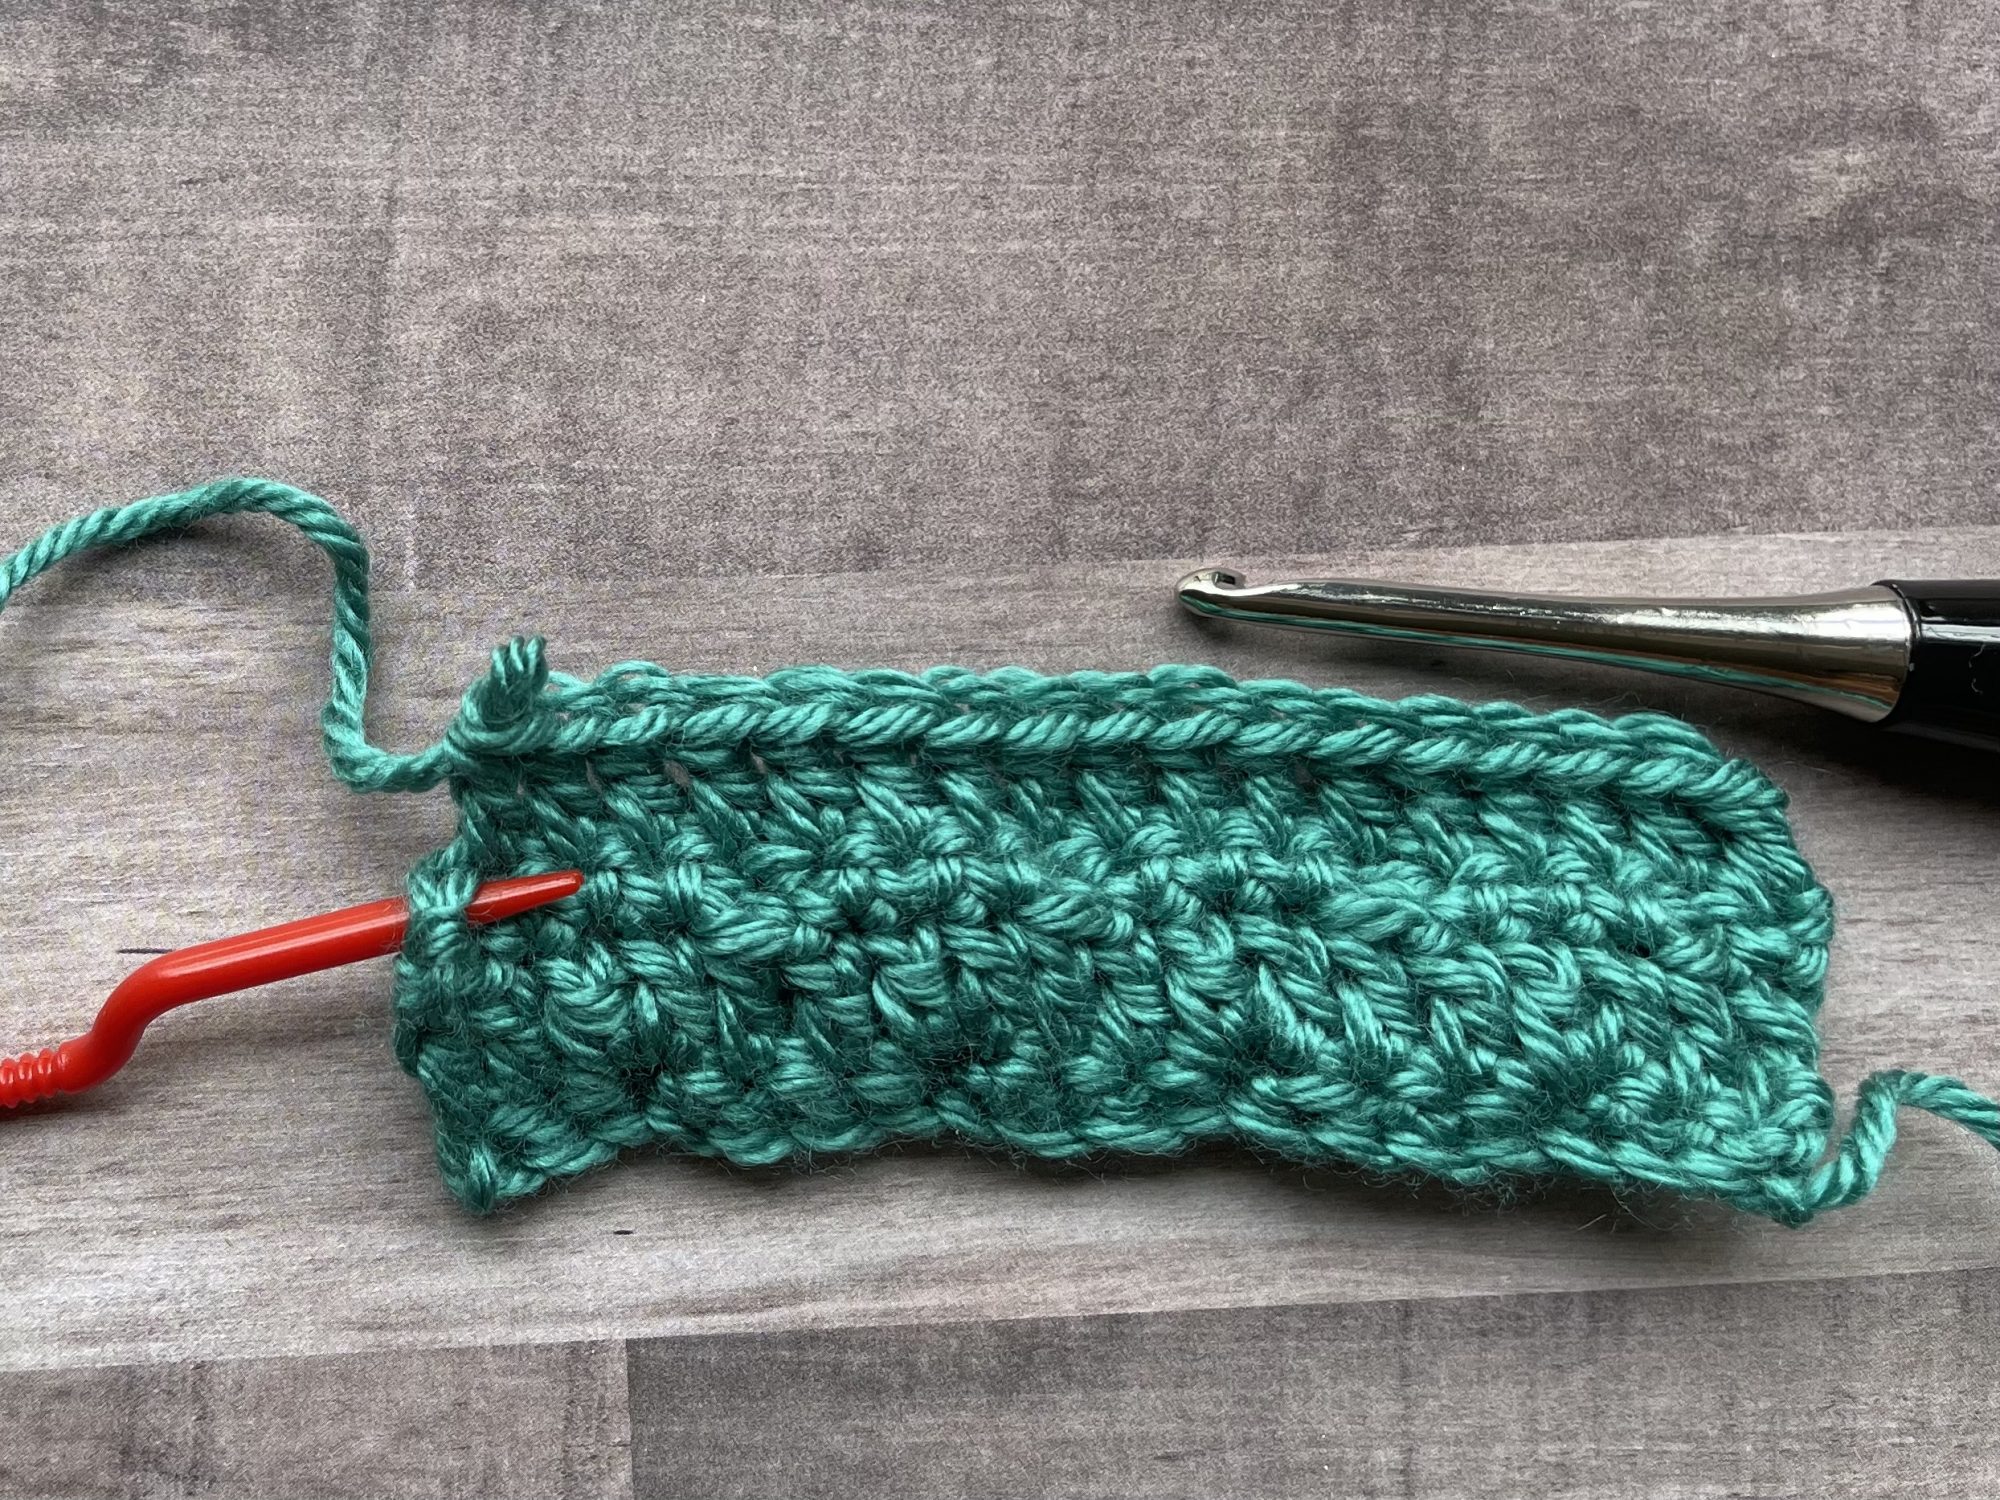
The first FPtr from the previous row 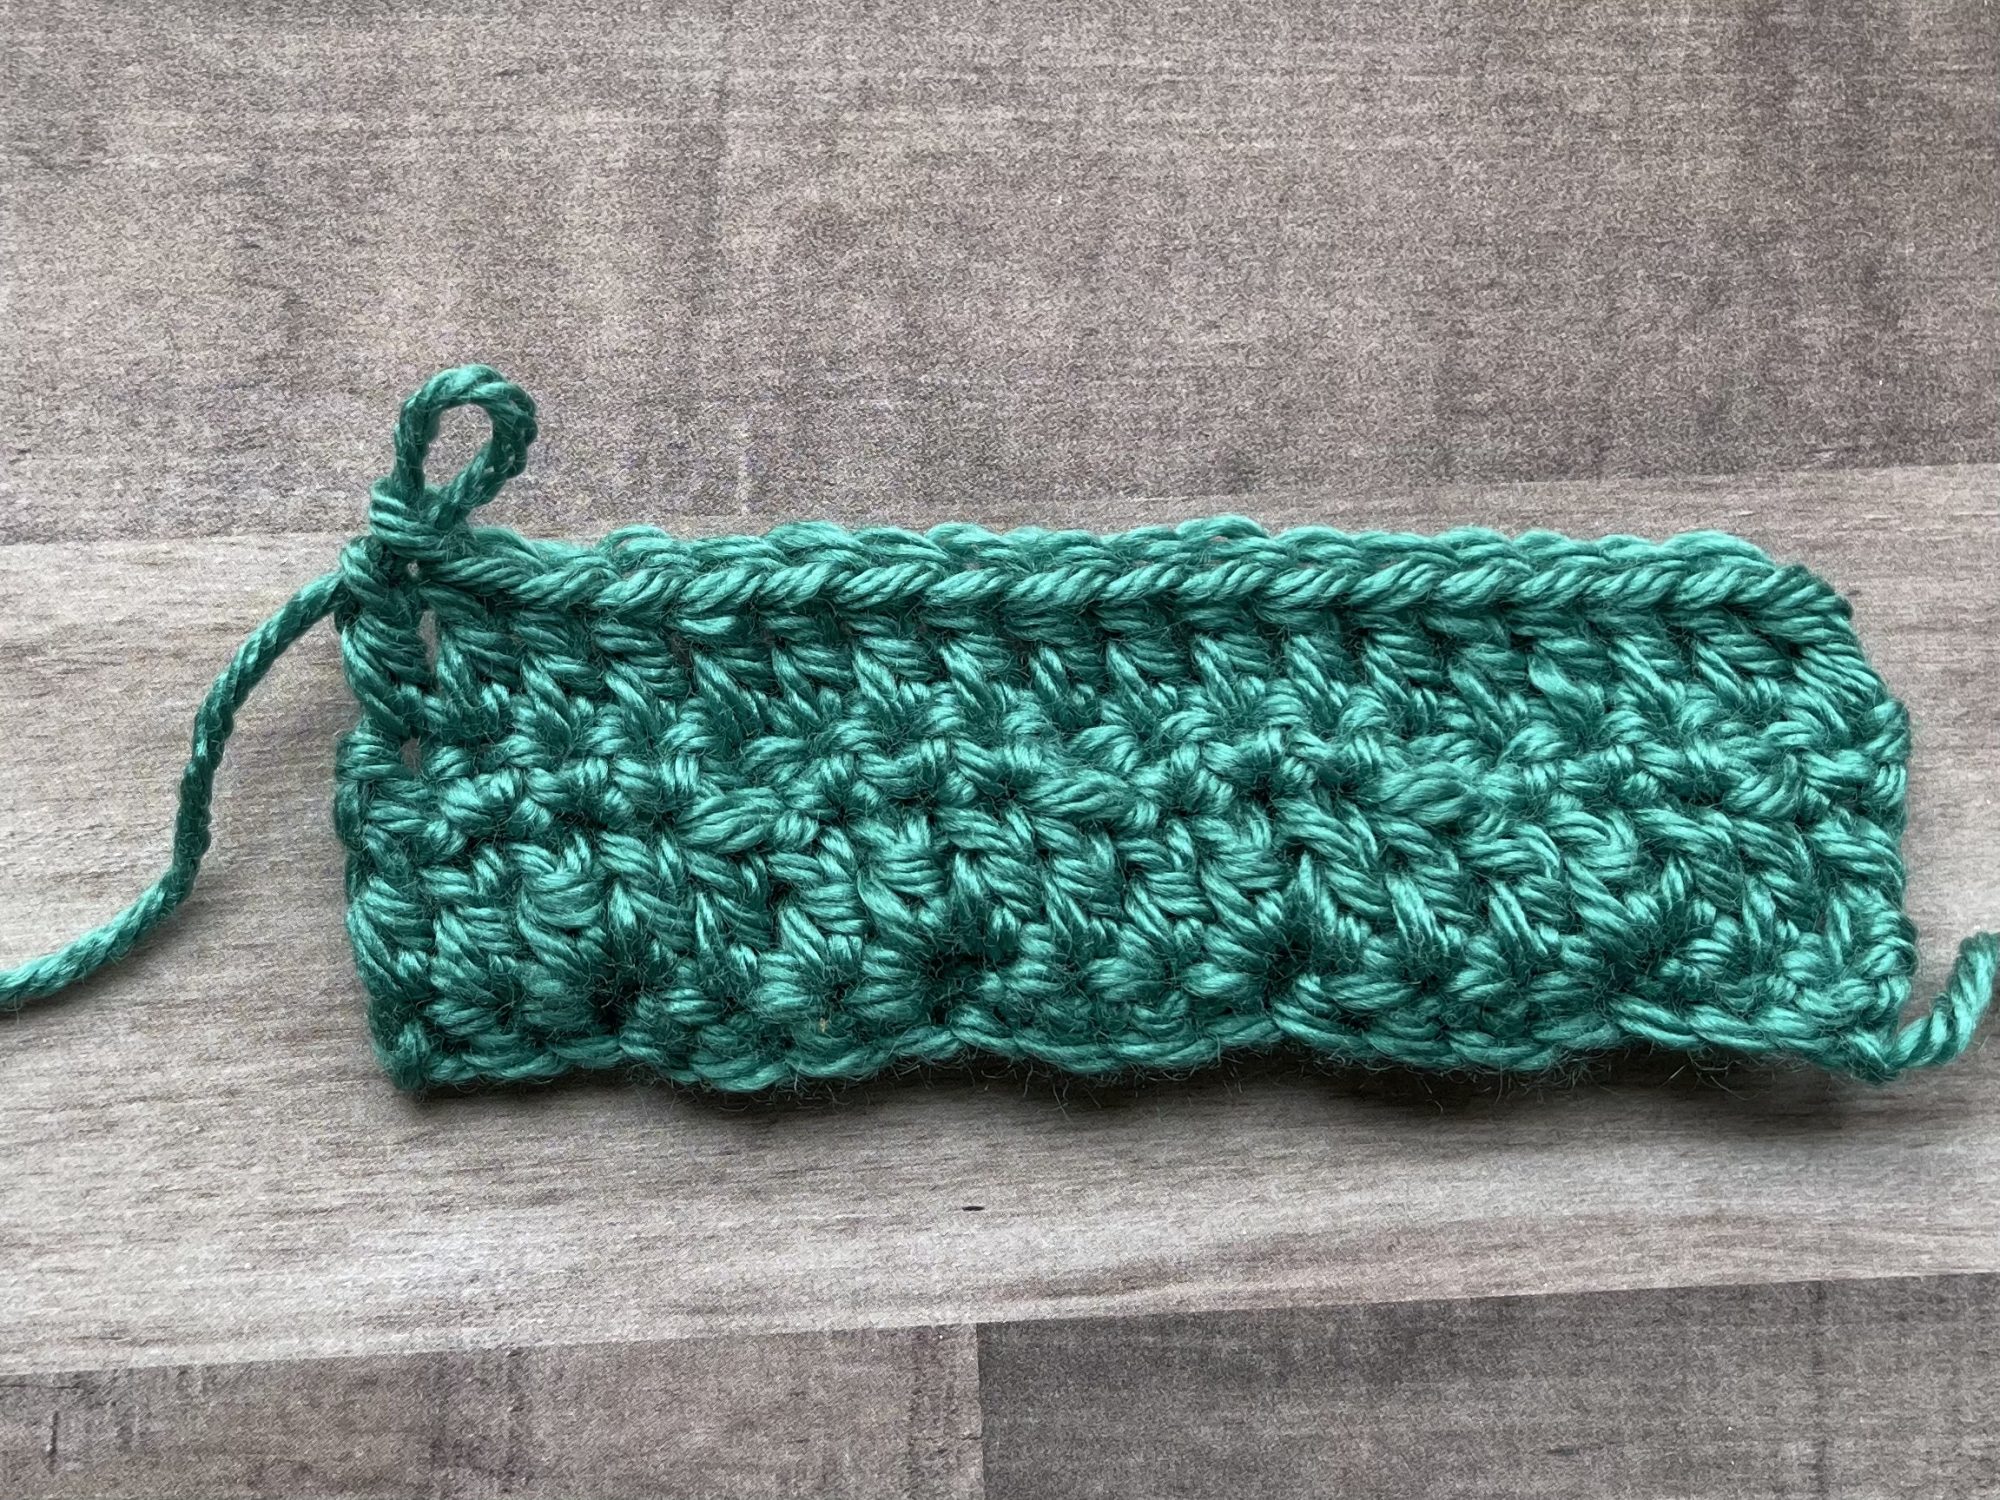
7. Ch 1, sc in first st, sc in next st, FPtr2tog around 1st and 4th st 2 rows below (connects to make first diamond)
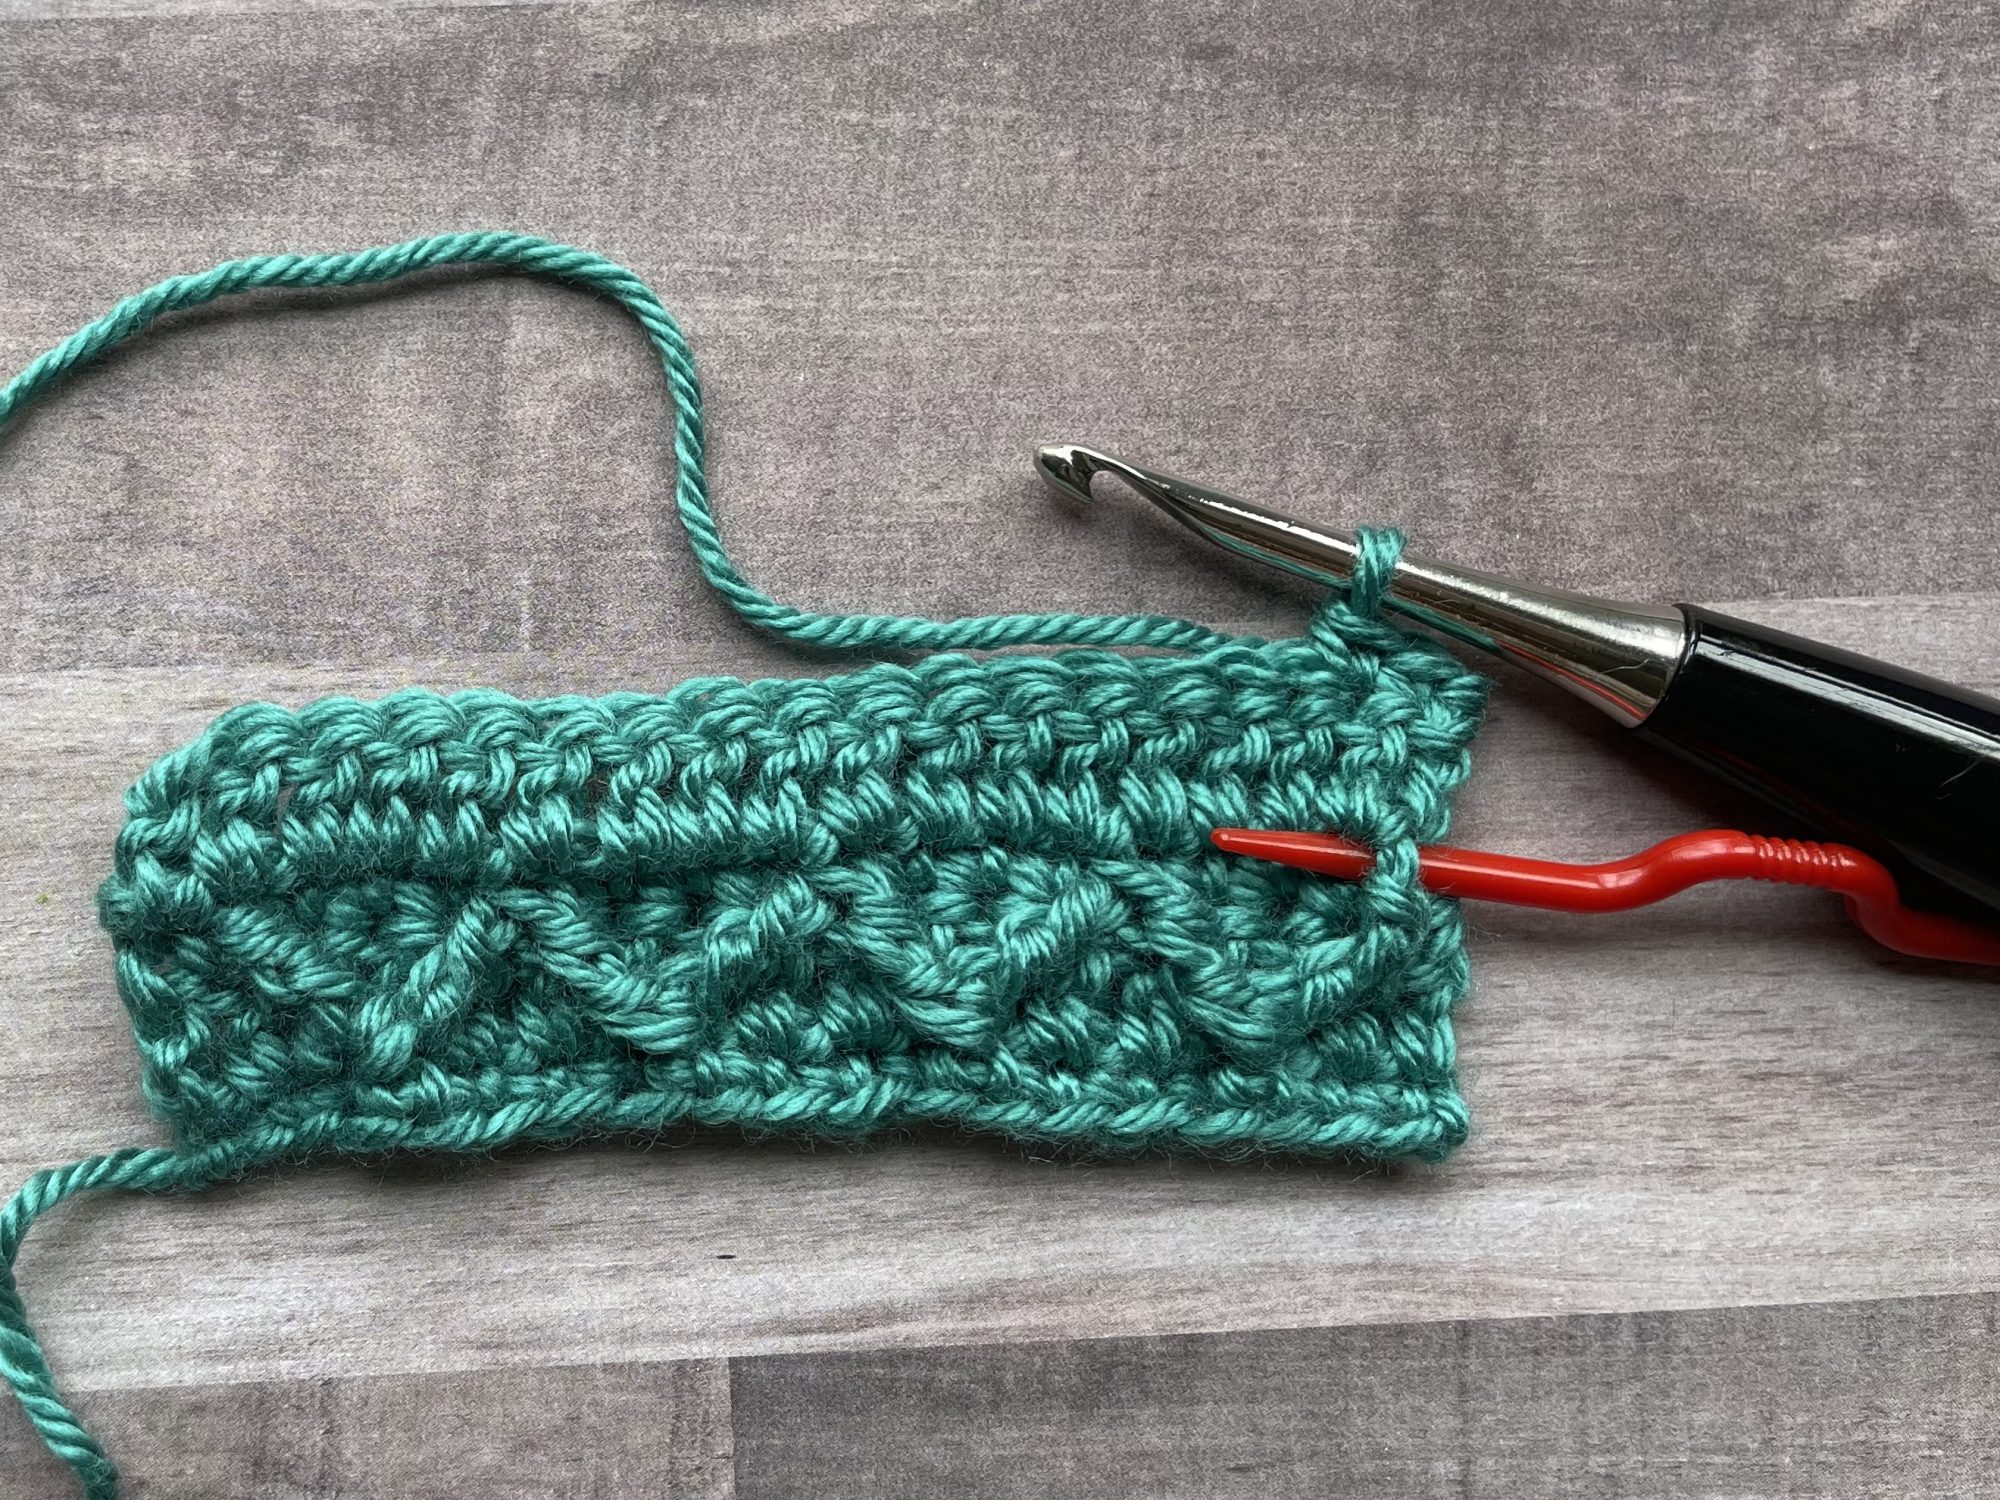
First st indicated 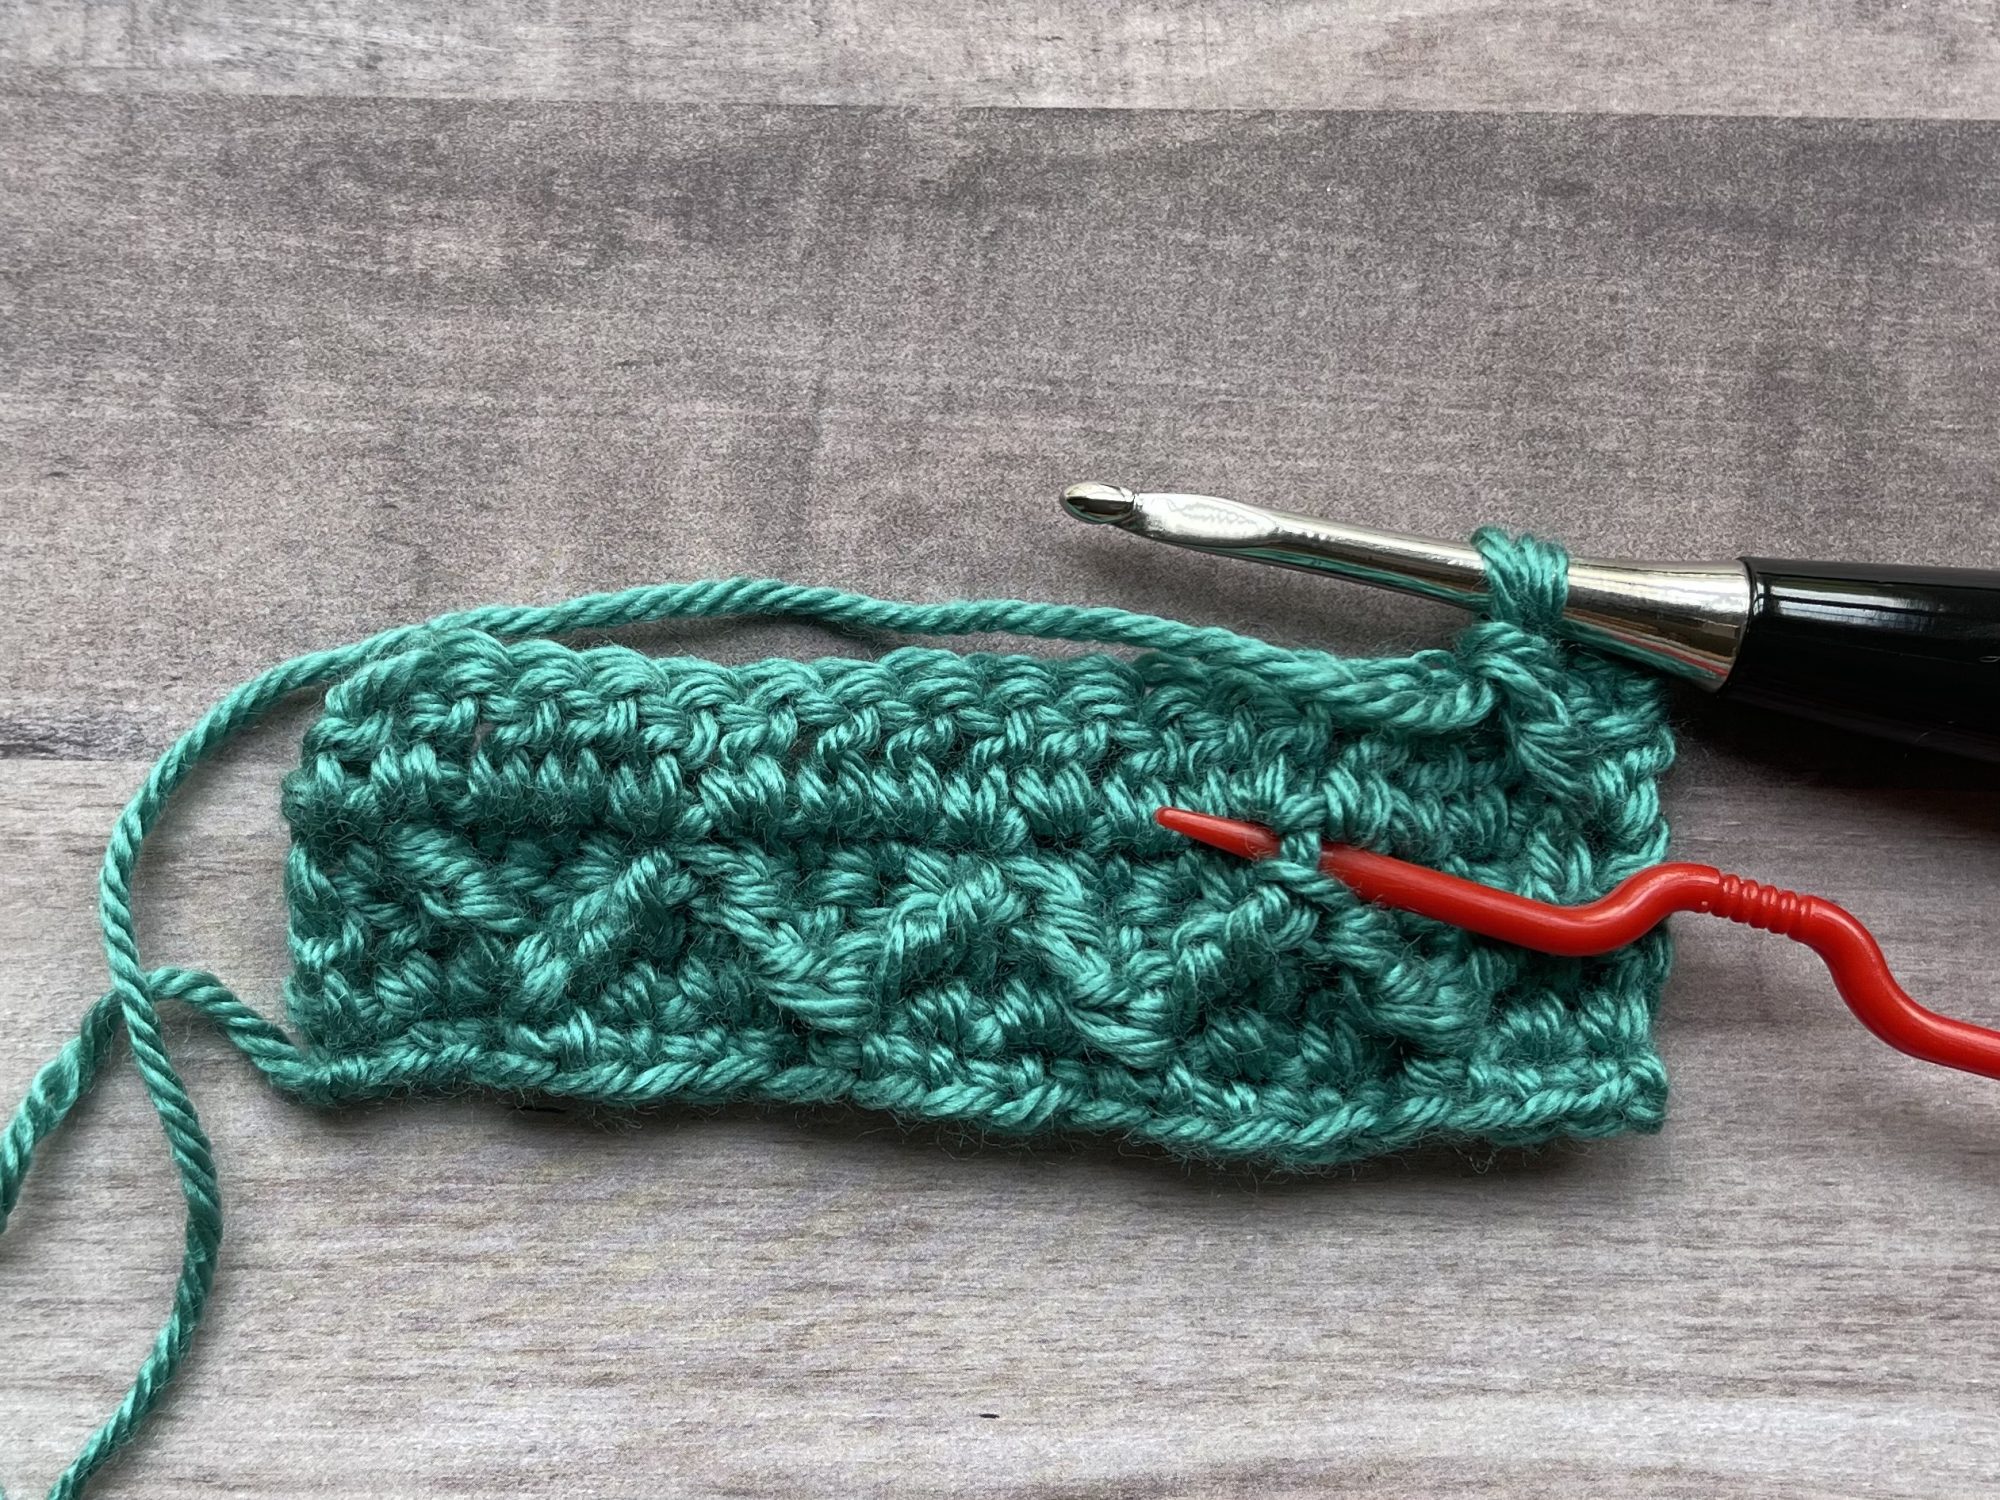
Fourth st indicated 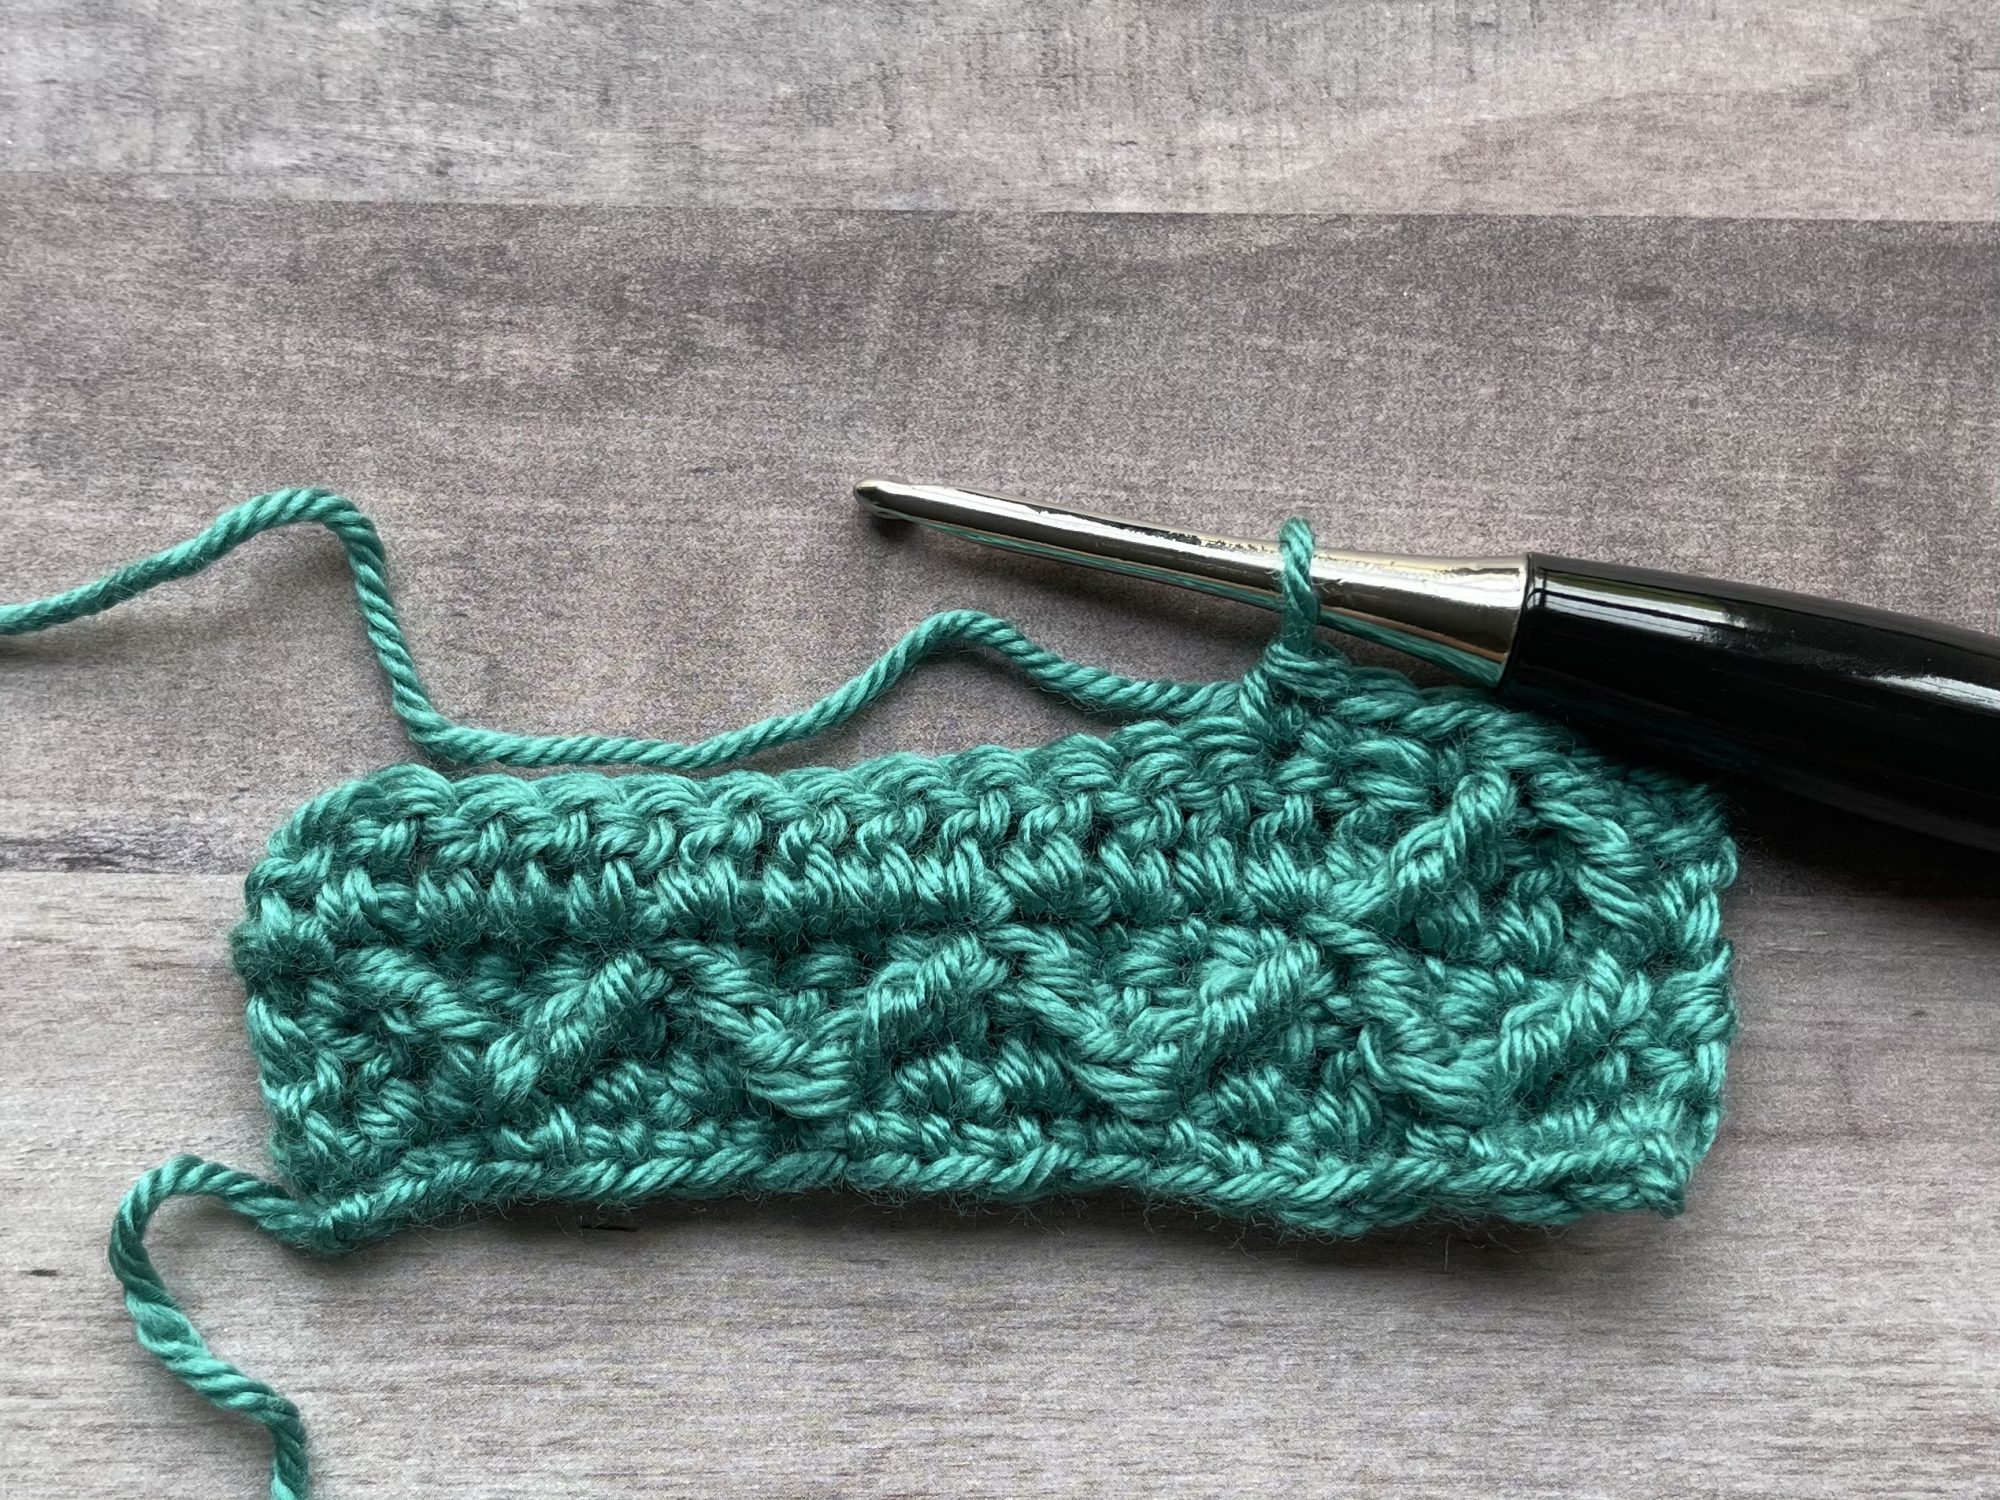
FPtr2tog, sc in next 3 sts
8. *Sc in next 3 sts, FPtr2tog; rep from * until 3 sts remain, sc in last 3 sts, turn
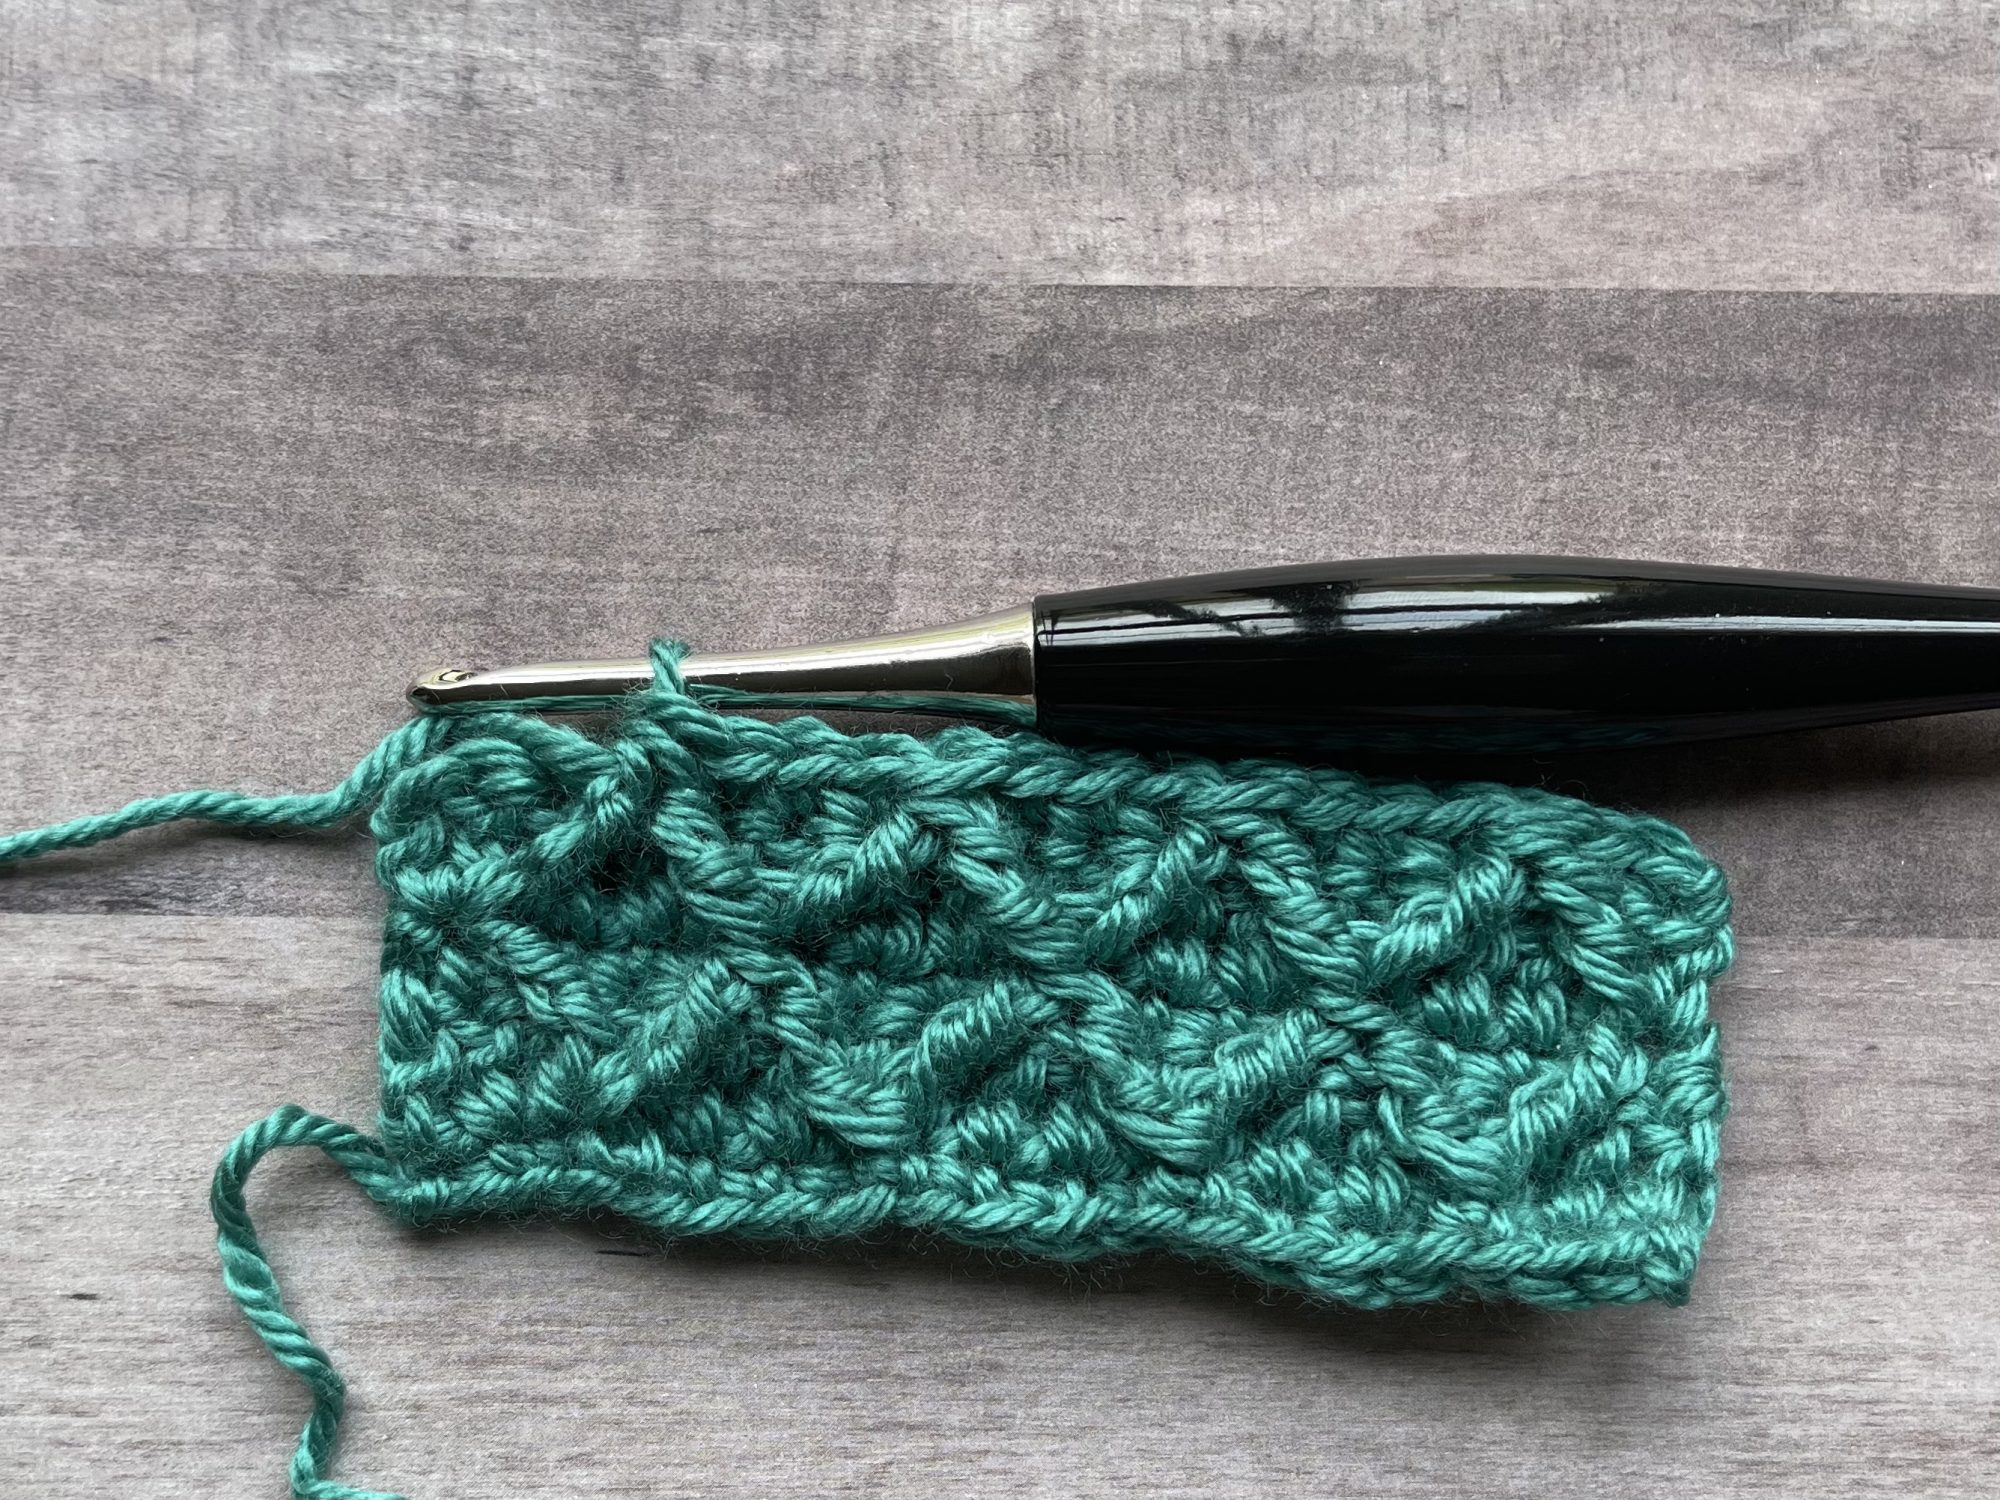
Continue in pattern until 3 sts remain 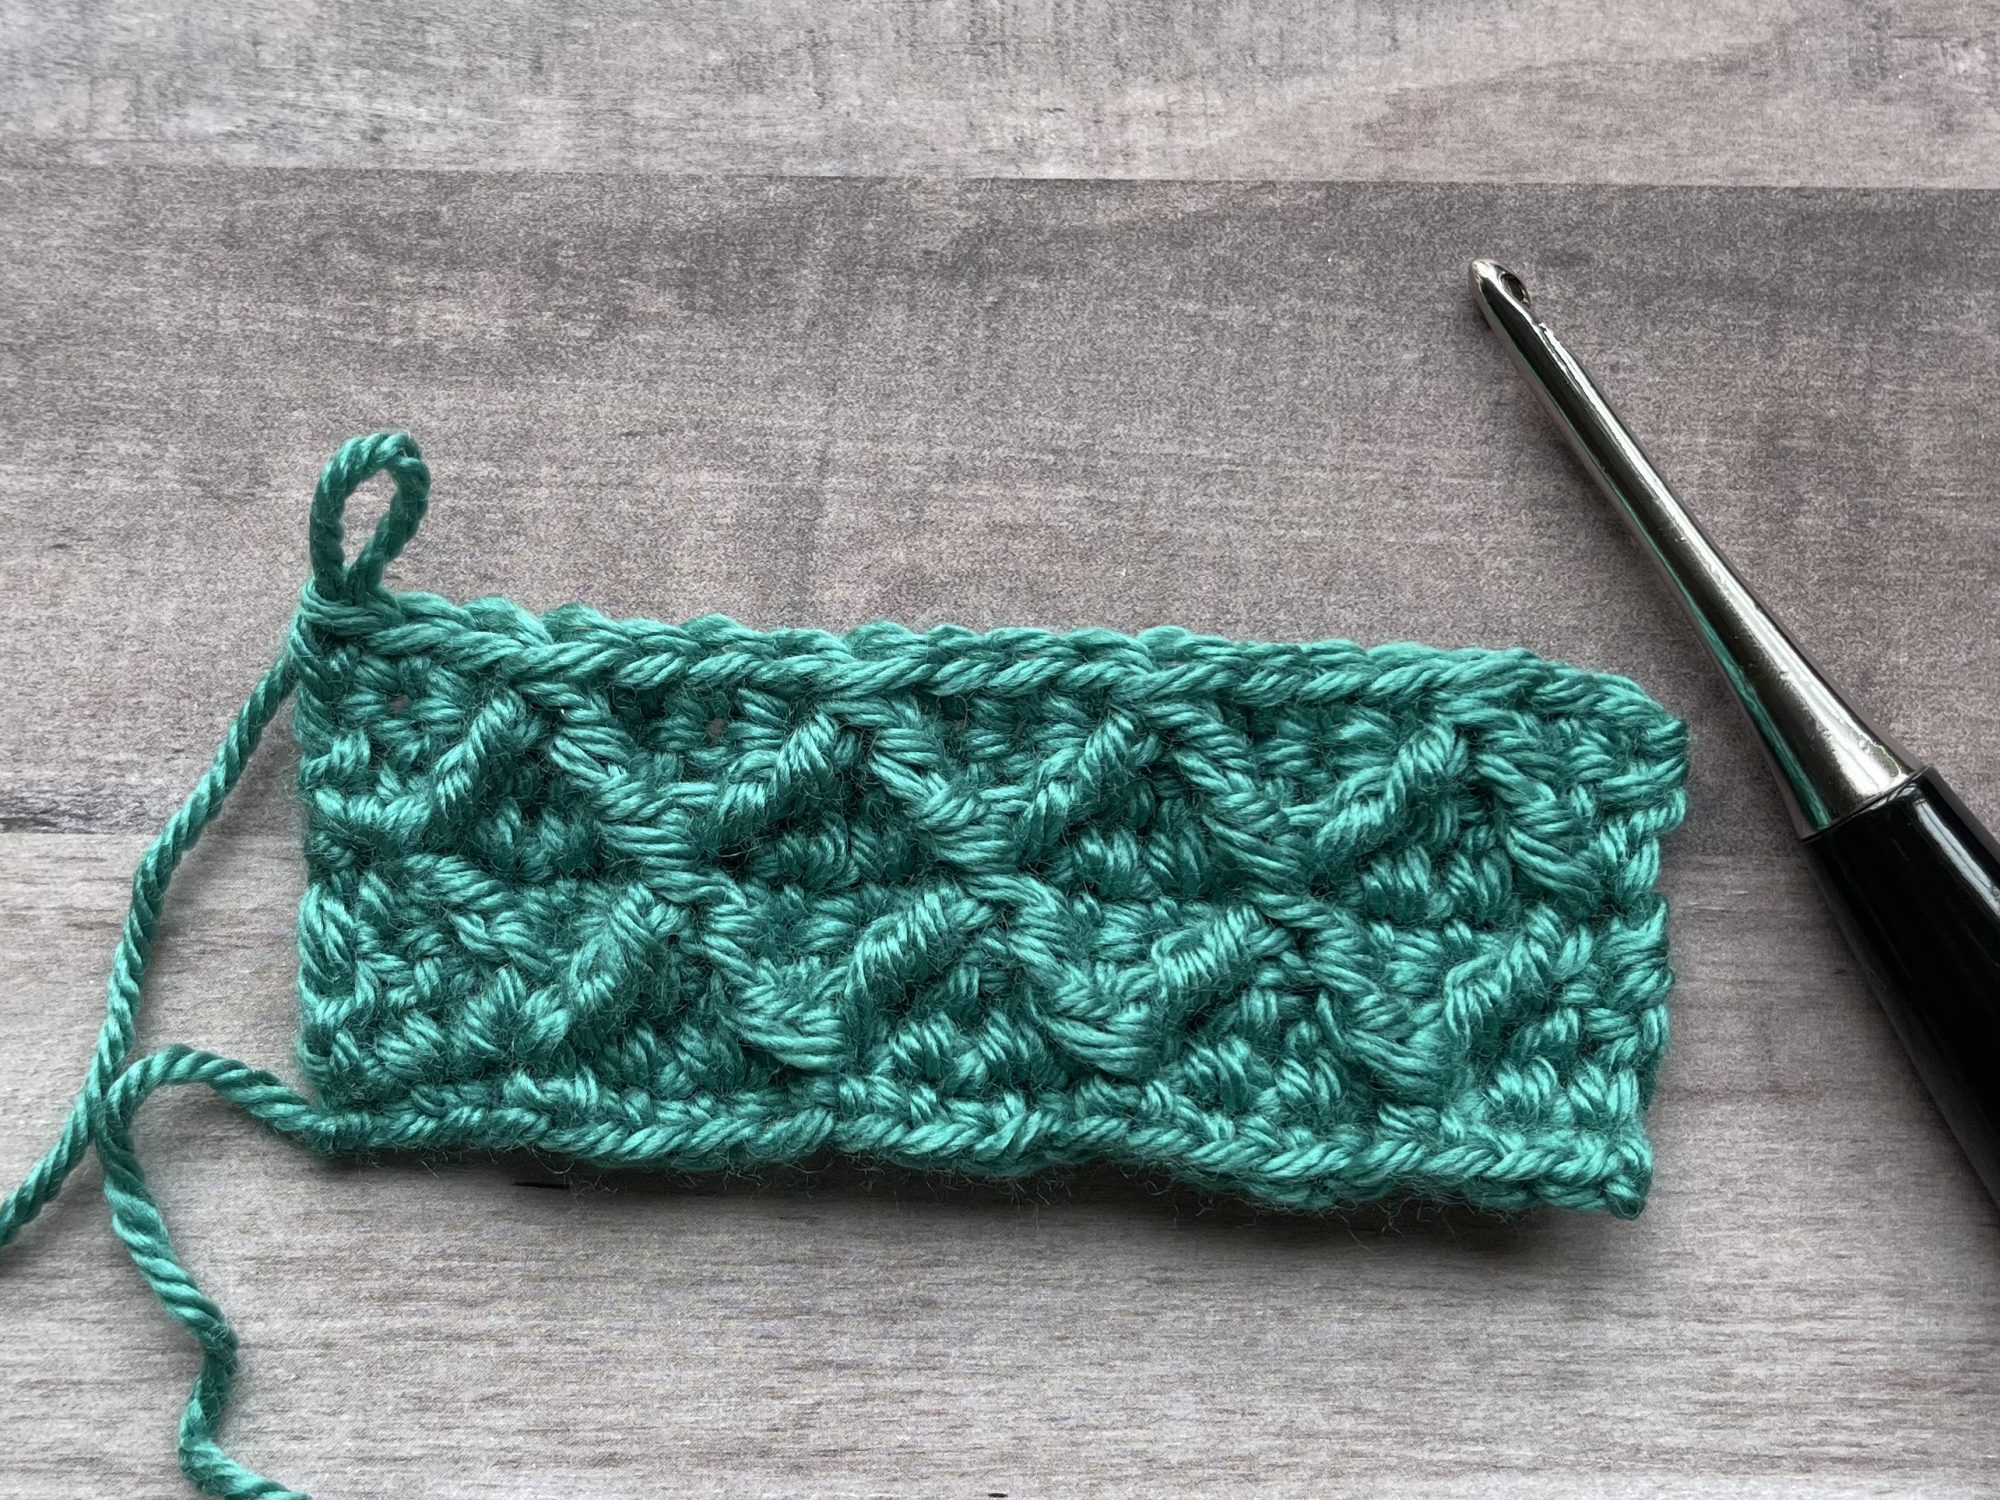
Sc in last 3 sts
9. CSDC in first st, dc in each st to end, turn
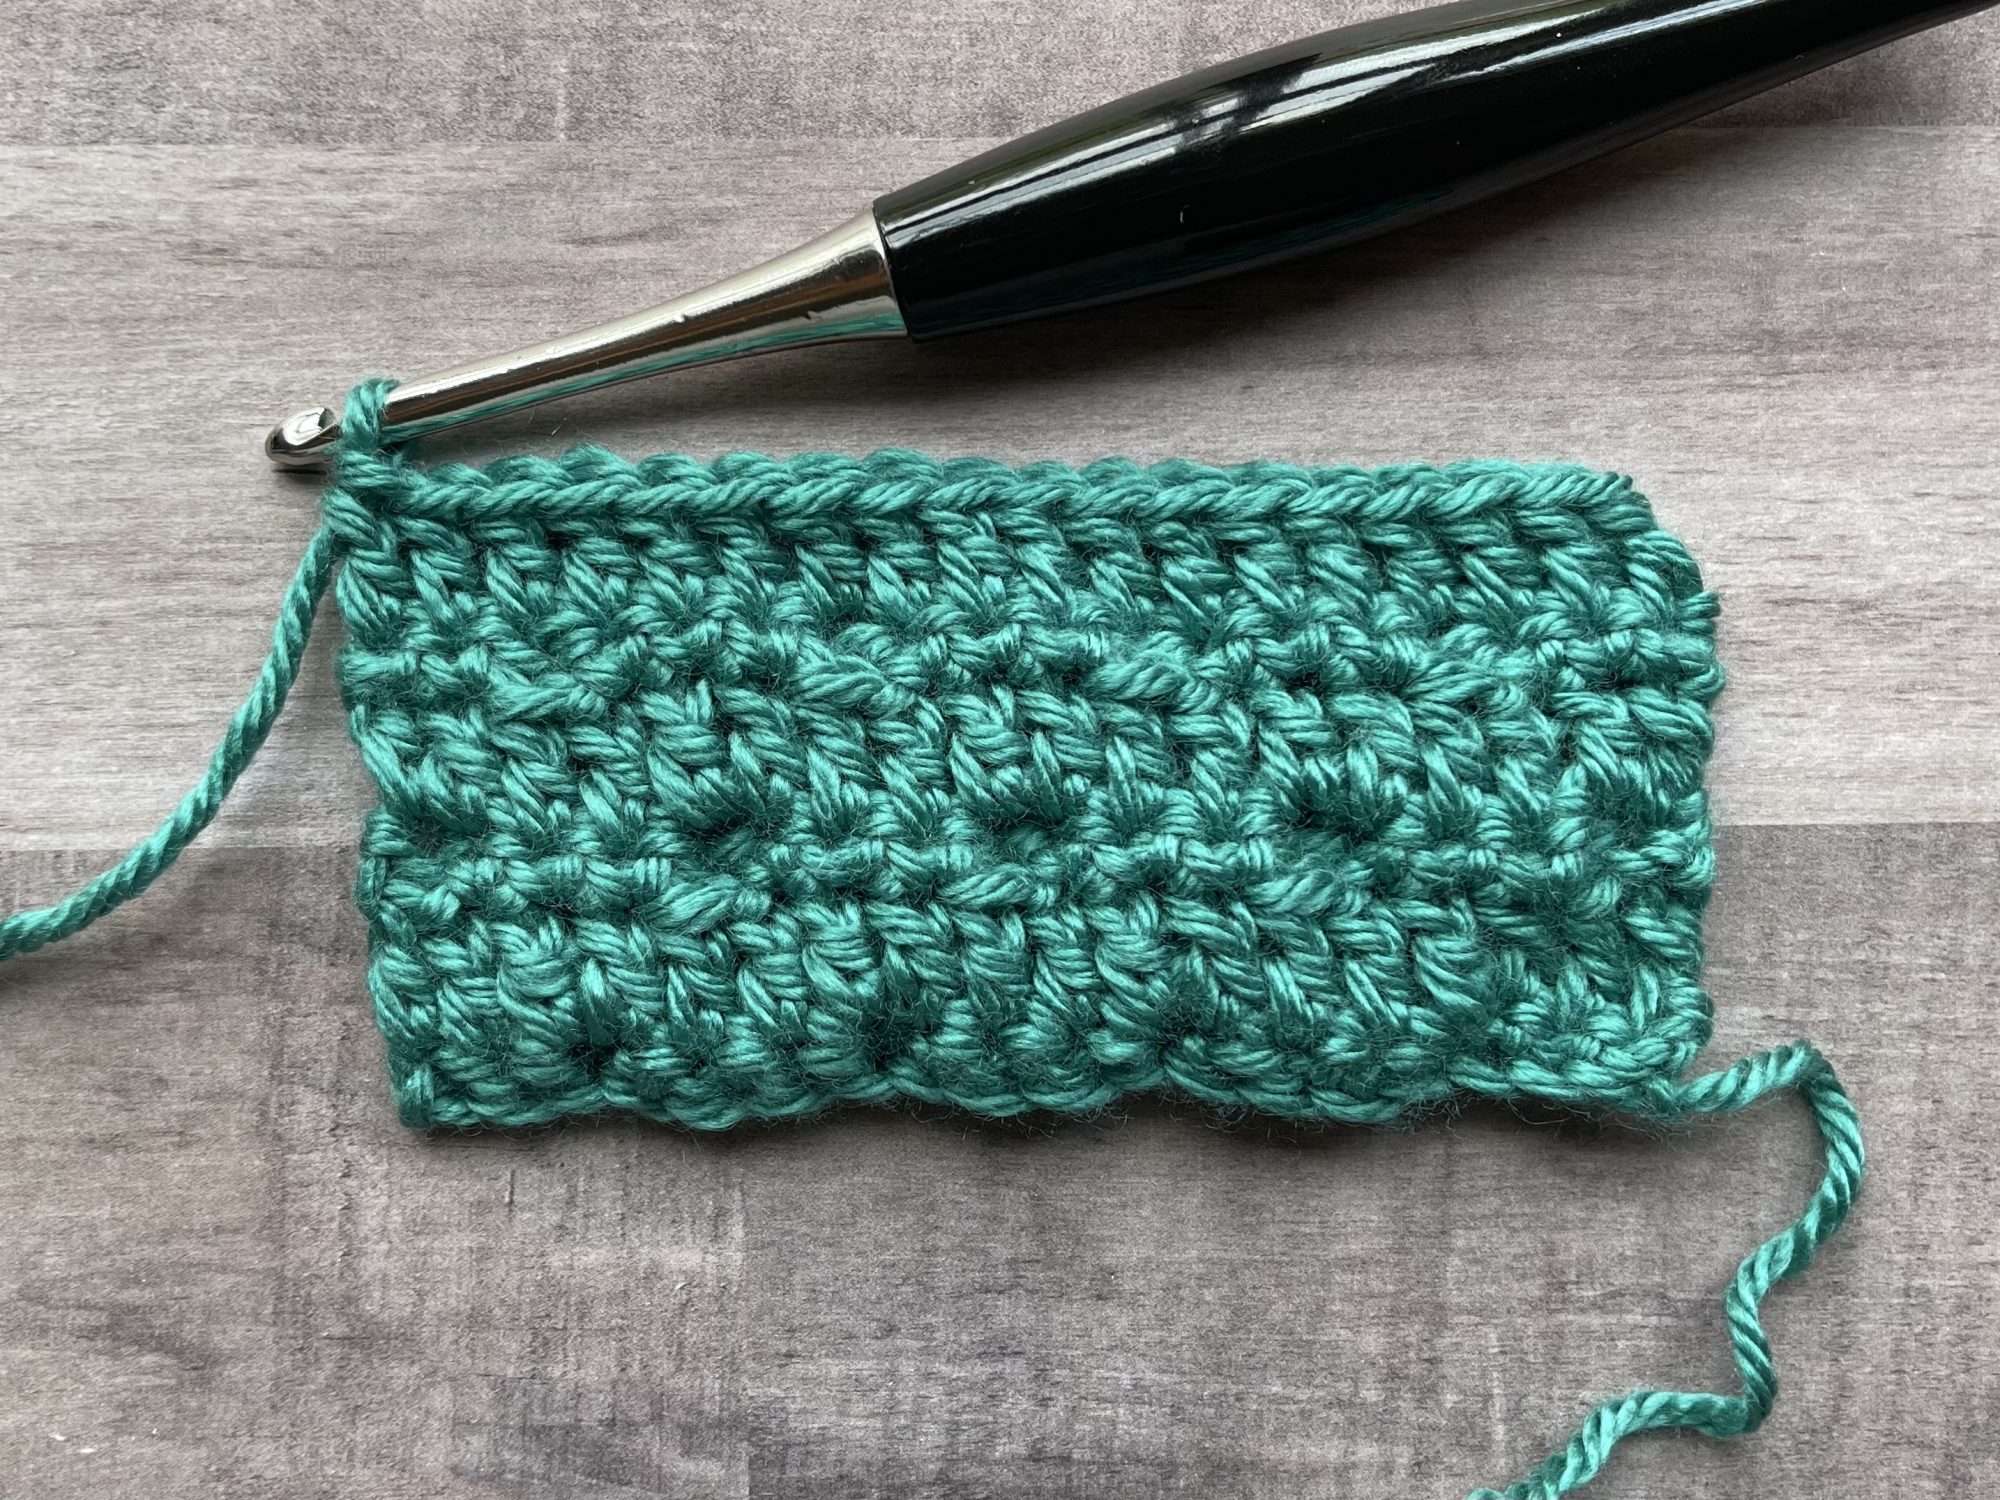
10. Repeat Steps 4-9, but working around the same st as previously made FPtr and FPtr2tog to connect and make the diamond shape
Written Instructions
Ch 19
Row 1: Starting in second ch from hook, sc in each ch to end, turn – 18 sc
Row 2: CSDC in first st, dc in each st to end, turn – 18 dc
Note: Be sure to skip a st behind each FPtr and FPtr2tog; skip 3 sts between each leg of the FPtr2tog and work around the next sc 2 rows below.
Row 3 (RS): Ch 1, FPtr around 3rd sc 2 rows below, sc in next 3 sts, *FPtr2tog beg around same sc 2 rows below, sc in next 3 sts, rep from * until 2 sts remain, FPtr around same st as last FPtr2tog, sc in last st, turn
Row 4: CSDC in first st, dc in each st to end, turn
Row 5: Ch 1, sc in first st, sc in next 2 sts, FPtr2tog around 1st and 4th st 2 rows below (connects to make first diamond), *sc in next 3 sts, FPtr2tog; rep from * until 2 sts remain, sc in last 2 sts, turn
Row 6: CSDC in first st, dc in each st to end, turn
Next Rows: Repeat Rows 3-6 until desired length
Want to see that in a video?
Check out step by step in video below. Let me know in the comments if you’ve ever worked this stitch before.
That’s all there is to making the Diamond Trellis Stitch in crochet. Have fun creating lots of crochet projects.
Pin it for later
Want to talk about yarn goodness, crochet tips, and exclusive weekly deals? Join my Facebook Group, Creations By Courtney Community.
If we’re not hanging out on social media yet, come check me out on Facebook, Instagram and Pinterest.
Join my newsletter for sneak peeks, crochet tips, and more. HERE
Use #CreationsByCourtney on social media when sharing your projects.
This tutorial is not to be duplicated or resold, and not to be reproduced commercially. You may use this stitch to create original products for personal use or to sell finished products on Etsy, at farmers markets, and craft fairs, but please credit Creations By Courtney for the tutorial.

5 Responses
I recently made a baby blanket using this stitch. It was great. Thank you for taking the time to show people this stitch.
I’m sure that was a beautiful blanket! What color(s) did you use? And you’re very welcome! It’s a lot of fun helping other crocheters.
I’ve been noticing this stitch quite a bit lately, and it kept catching my eye. I think I’ve finally found the perfect yarn to make a scarf with it for a friend. Thank you so much for the timely tutorial! I’ll definitely be following closely as I work it out! 🙂
That’s going to be a fabulous and texture-licious scarf for your friend! I can’t wait to see it. Tag me when you’re finished with it.