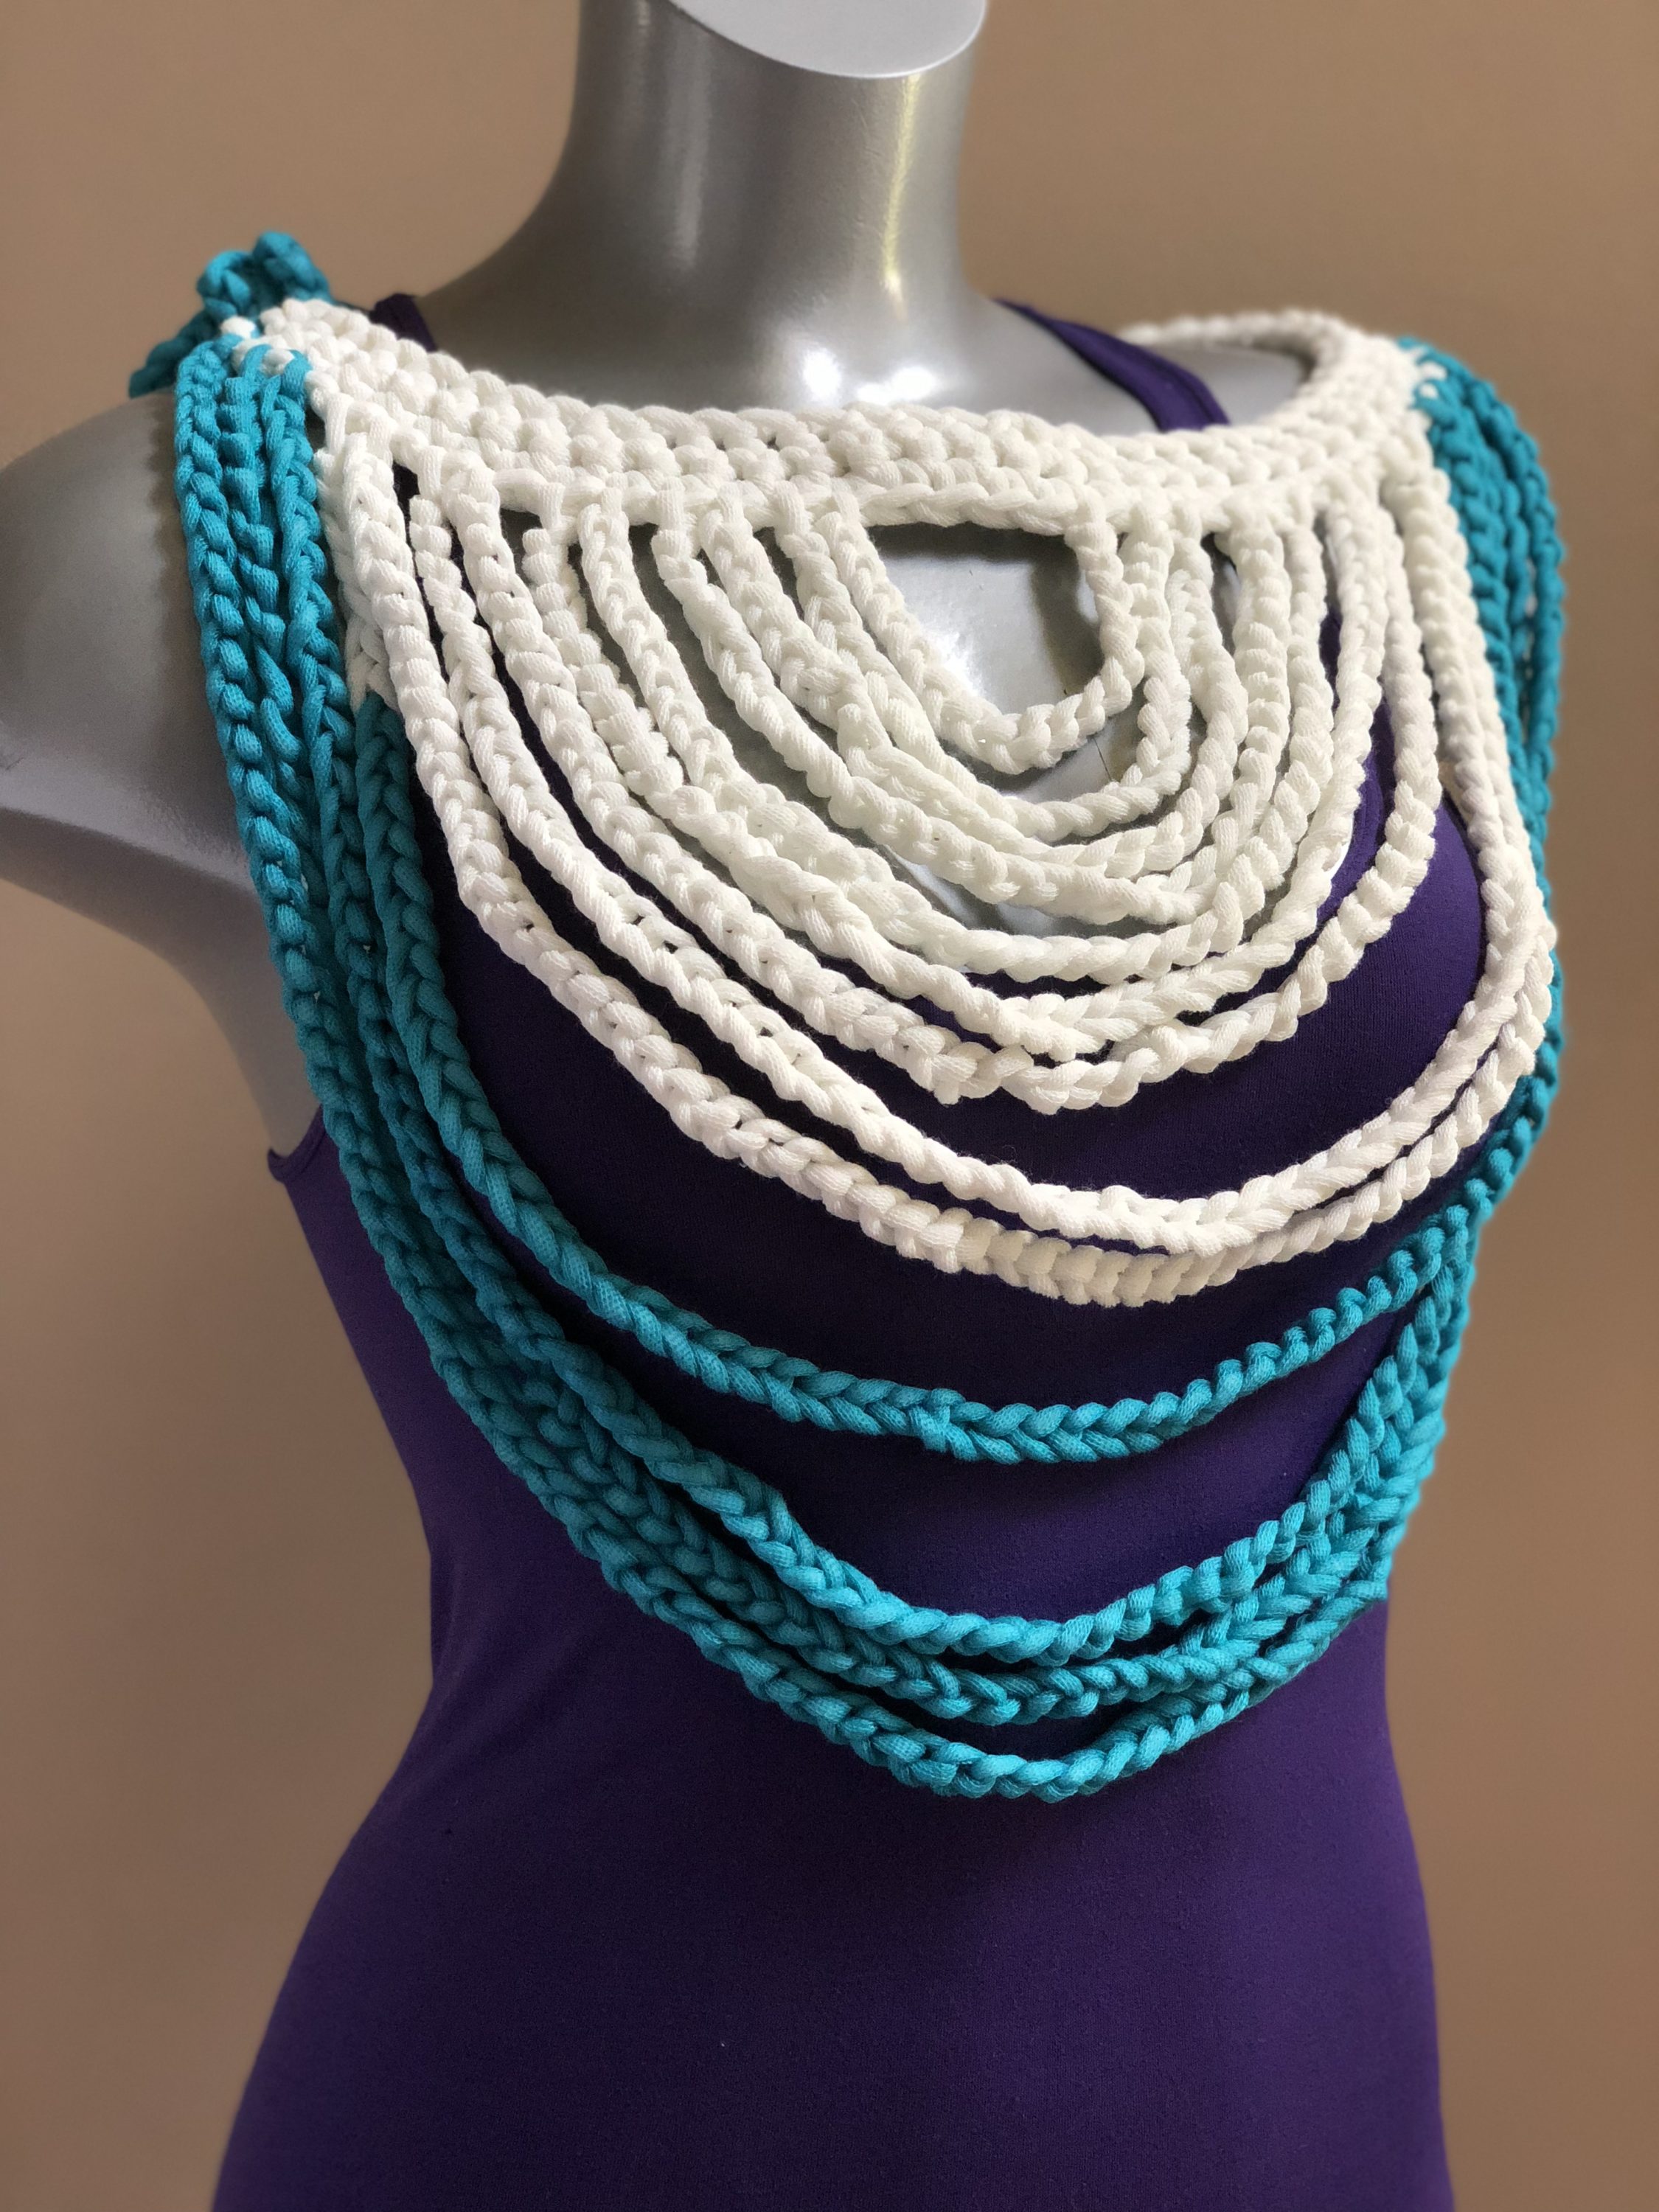
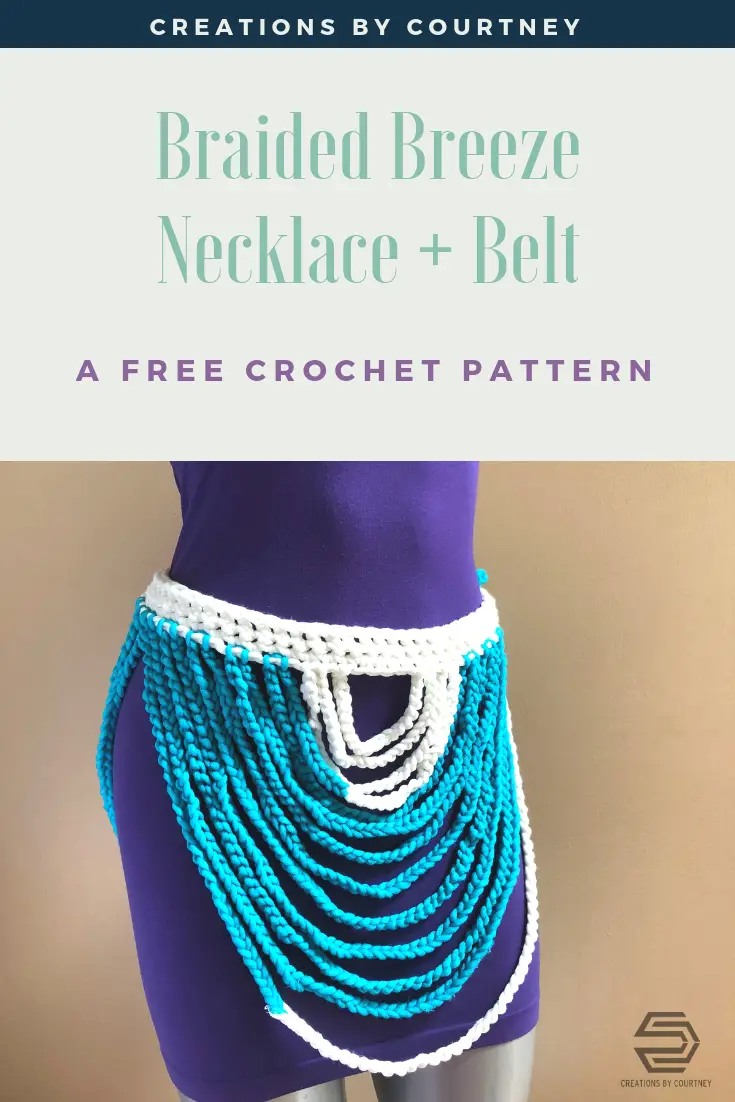
The Braided Breeze Belt + Necklace was inspired by the African rope necklace that I discovered while scrolling through Pinterest one day. A rope necklace can be made from printed fabric to create unique color combinations and patterns that would be impossible to replicate with yarn, but I was going to try anyways. On Instagram, I discovered from one of many crochet designers I follow, that Yarnspirations had released Bernat Maker Outdoor in a stripes and solid versions. A quick run to Joann Fabrics after work, and I had my hands on one cake of the Fresh Teal.
With no particular plan for how I was going to make a crochet version, the Braided Breeze Belt + Necklace was created with some bulky weight yarn and a large hook. I originally tried using my 12.00mm hook, but the nature of the yarn and my fingers, a standard large hook works too.
I hope you enjoy making this quick accessory that is sure to bring you lots of compliments and questions on wear you bought it. It’s always a good feeling to tell others that you made what you’re wearing. ?
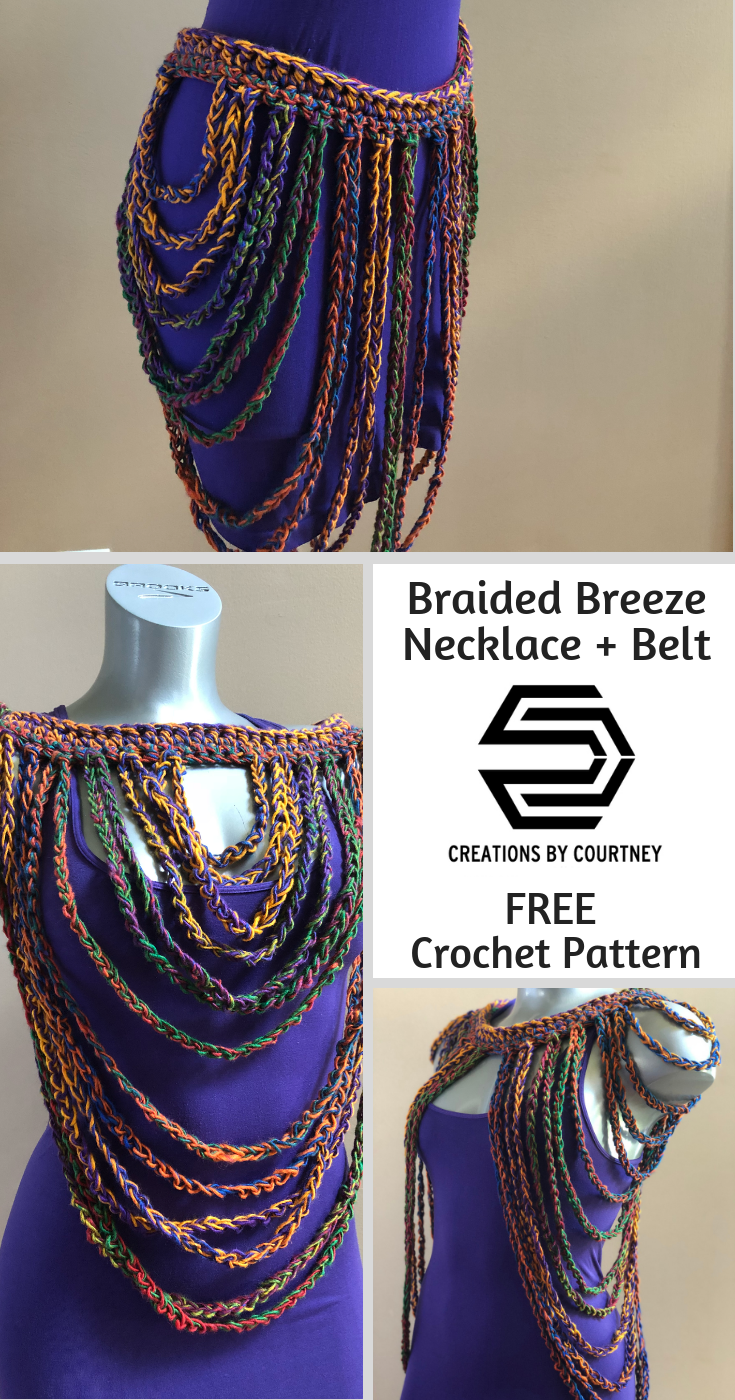
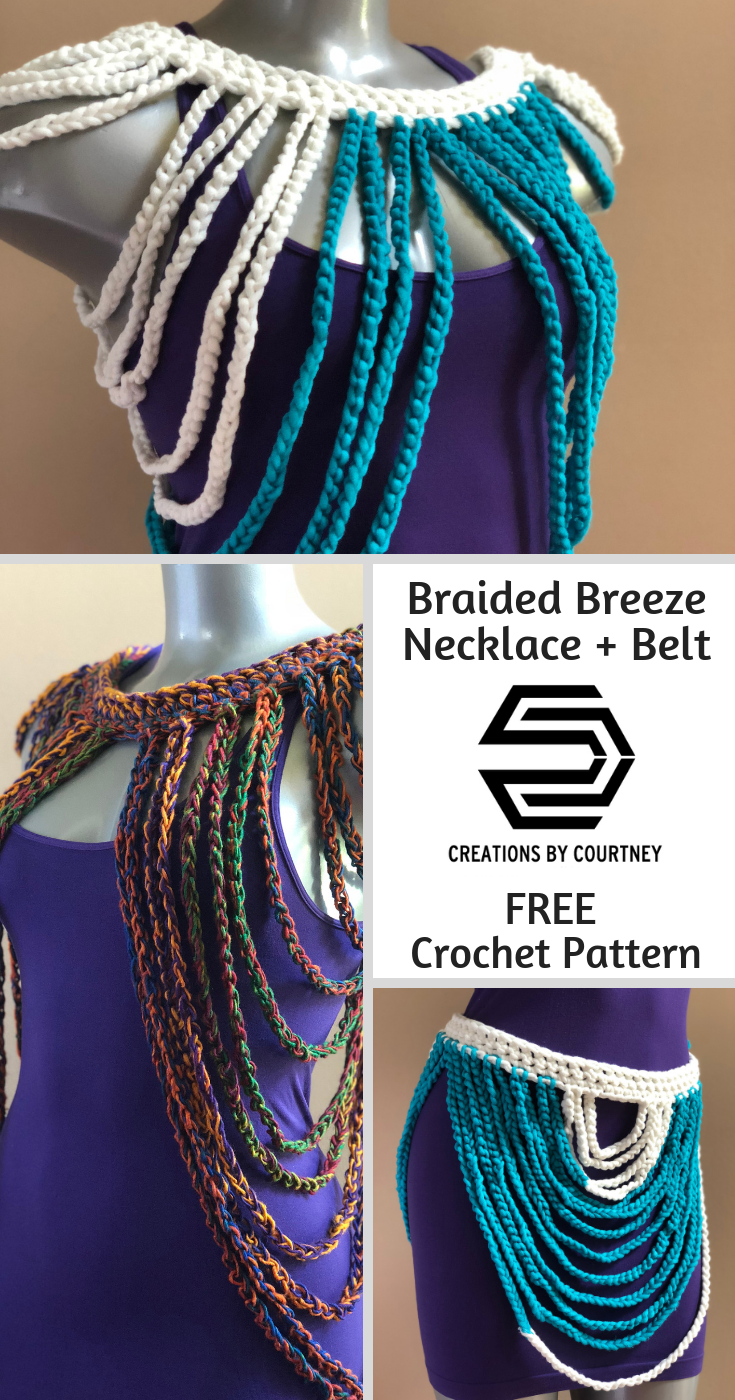
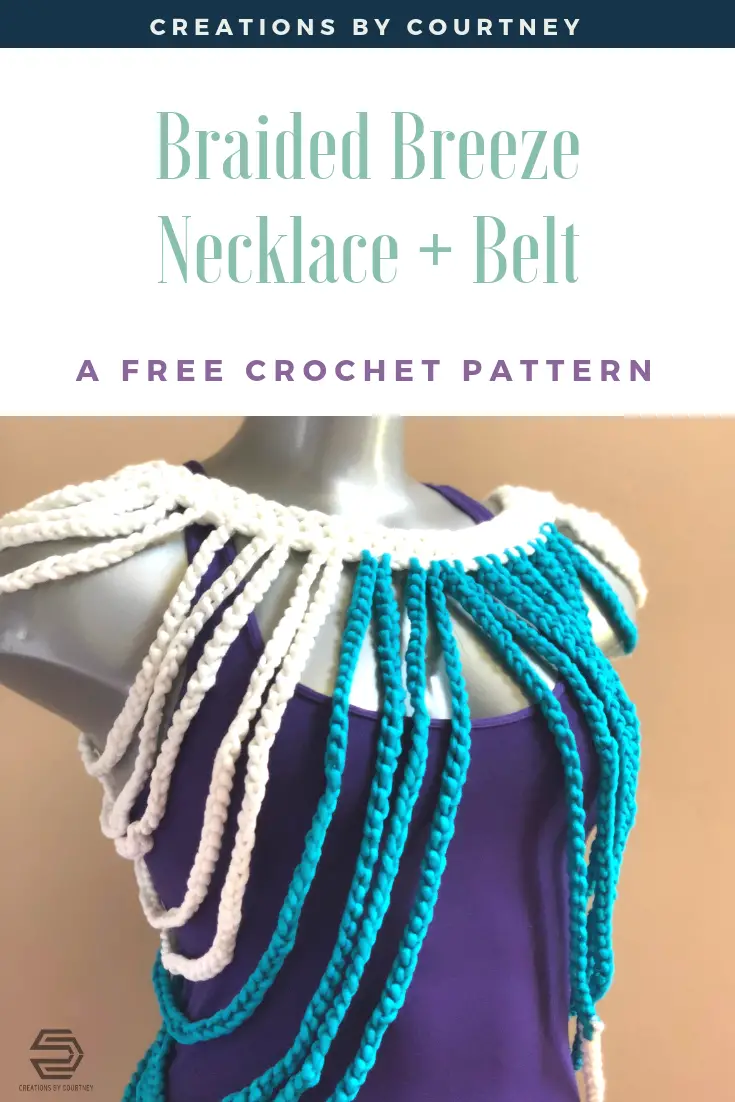
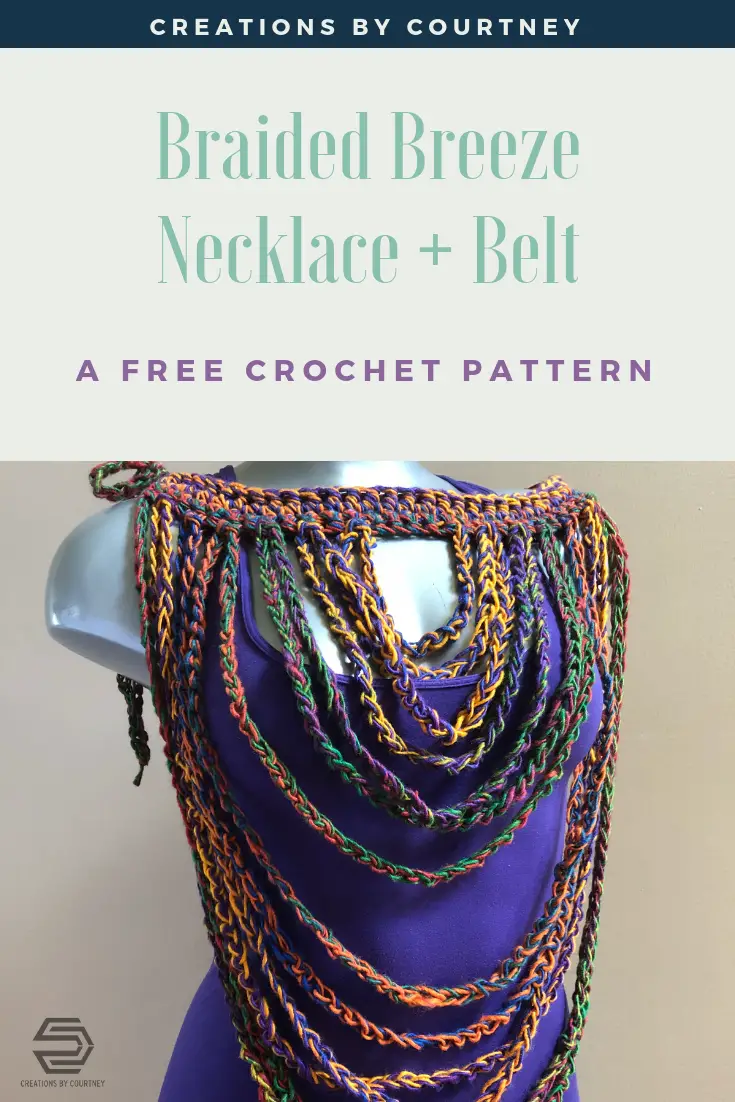
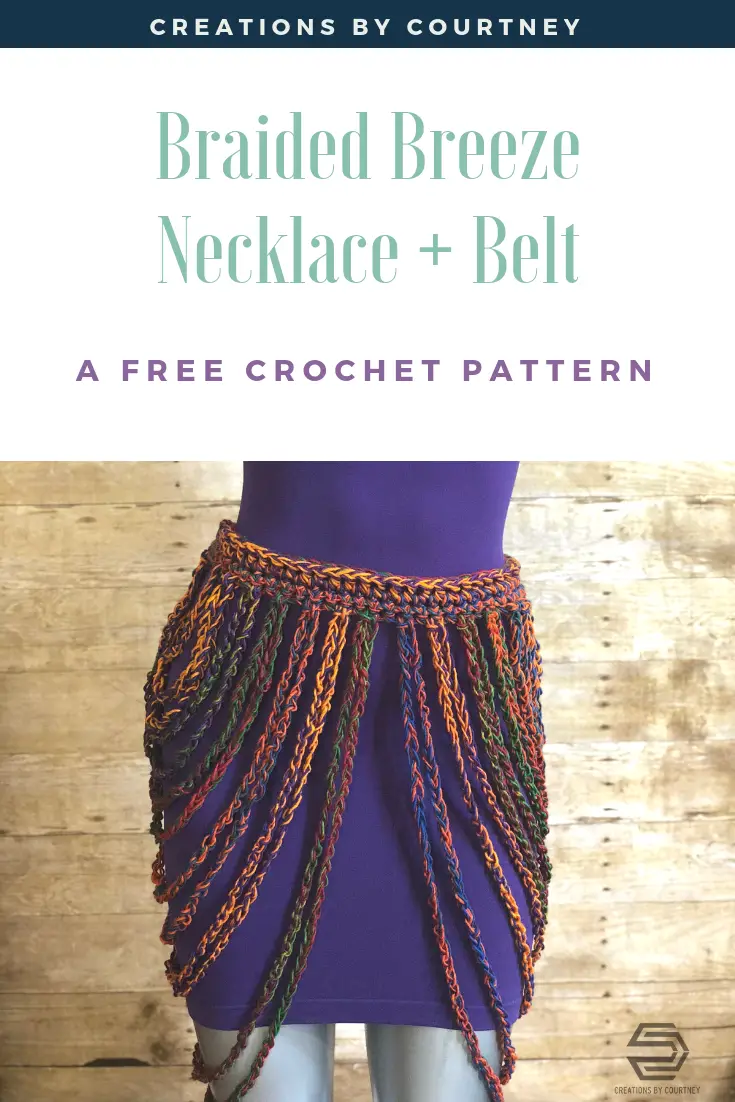
This accessory can be worn like a necklace with the ropes hanging across the front or rotate it and then the ropes drape over your shoulders. Tie it around your waist to accent your hips and add some pizazz to your skirt or dress.
Pssst! Psst! Don’t have any bulky weight on hand, grab two skeins of a worsted weight yarn, and hold them together to create a unique color combination and have a bulky weight yarn to work with. ?
Let’s get to the pattern!
Difficulty: Advanced Beginner
Materials Needed:
Hook: M/9mm
Yarn: Bernat Maker Outdoor, two strands of worsted weight, or any bulky weight yarn
4 Stitch Markers
Scissors
Large eye needle
Stitches Used:
ch: chain
sc: single crochet
slst: slip stitch
fsc: foundation single crochet
Additional Terms Used:
sk: skip
st(s): stitch(es)
FO: fasten off
Gauge: Not critical for this project
Measurement: Belt without ropes = 30.5″ x 2.5″
Notes:
- Pattern is written in US terms
- Foundation single crochet can be substituted with a starting chain and then single crocheting in each chain for Row 1. Remember to add one chain (30+1) if you use this method, and chain looser to allow for some stretch.
- Gauge is not critical, but offered as a suggestion, and chain lengths can be adjusted to your preference.
- If you need to adjust the size to be smaller, subtract in multiples of 4, or to be larger, add in multiples of 4.
- Ropes are created twice, a first half and second half. For the first half, you will start at the end of the row and attach in the last stitch marked at the center, and the next rope is created by attaching on the left, you’ll continue in a left to right to left manner until the center four stitches remain. The second half is worked in the opposite manner from the center out. The Markers in the 13th and 18th sts mark where you will begin for the second half of ropes. The sts in between will remain unworked and become the center of the second half of ropes.
- It helps to hold the belt/necklace right side up, meaning the rows of single crochet are held in the same direction they were created. The rows will be upside down once the project is complete.
- Pattern tested by Melissa C and Deborah H. Should you find an error, please let us know.
Want an ad-free PDF version? Grab a copy from My Shop, Ravelry or Craftsy.
Instructions:
Belt:
Row 1: ch 35, 60 fsc, turn
Row 2-3: Ch 1, sc in each st across, turn (60 sc) Do Not Fasten off after Row 3. Place markers in center 2 stitches (30th and 31st stitch from the end). Counting from the center towards the right, 31st st, place markers in 13th and 18th stitches of the second half.
First Half of Ropes:
Row 1: Ch 90, sk 28 sts, slst in next st, remove marker
Row 2: Slst in next st to the left of last ch-group made, ch 84, sk 26 sts, slst in next st
Row 3: Slst in next st to the right of last ch-group made, ch 78, sk 24 sts, slst in next st
Row 4: Slst in next st to the left of last ch-group made, ch 72, sk 22 sts, slst in next st
Row 5: Slst in next st to the right of last ch-group made, ch 66, sk 20 sts, slst in next st
Row 6: Slst in next st to the left of last ch-group made, ch 60, sk 18 sts, slst in next st
Row 7: Slst in next st to the left of last ch-group made, ch 50, sk 16 sts, slst in next st
Row 8: Slst in next st to the right of last ch-group made, ch 45, sk 14 sts, slst in next st
Row 9: Slst in next st to the left of last ch-group made, ch 40, sk 12 sts, slst in next st
Row 10: Slst in next st to the right of last ch-group made, ch 35, sk 10 sts, slst in next st
Row 11: Slst in next st to the left of last ch-group made, ch 30, sk 8 sts, slst in next st
Row 12: Slst in next st to the right of last ch-group made, ch 25, sk 6 sts, slst in next st
Row 13: Slst in next st to the left of last ch-group made, ch 20, sk 4 sts, slst in next st, FO.
Second Half of Ropes
Row 1: Leaving a tail long enough to weave in, attach yarn with a slip knot in the 13th st from center marker, ch 20, sk 4 sts, slst in next st, remove marker, slst in next st
Row 2: Ch 25, slst in the next 2 sts to the right of last ch-group made
Row 3: Ch 30, slst in next 2 sts to the left of last ch-group made
Row 4: Ch 35, slst in next 2 sts to the right of last ch-group made
Row 5: Ch 40, slst in next 2 sts to the left of last ch-group made
Row 6: Ch 45, slst in next 2 sts to the right of last ch-group made
Row 7: Ch 50, slst in next 2 sts to the left of last ch-group made
Row 8: Ch 60, slst in next 2 sts to the right of last ch-group made
Row 9: Ch 66, slst in next 2 sts to the left of last ch-group made
Row 10: Ch 72, slst in next 2 sts to the right of last ch-group made
Row 11: Ch 78, slst in next 2 sts to the left of last ch-group made
Row 12: Ch 84, slst in next 2 sts to the right of last ch-group made
Row 13: Ch 90, slst in last st, slst in end of the 3 sc rows of the belt, turn belt, slst in back loop only of each st to end (60 slst), ch 35, FO
Finishing: Weave in ends. Trim the ties to be even, and enjoy your uniquely handmade accessory!
Thank you for your support! ♥ You can check out more of my latest free and paid patterns by visiting my blog.
Additionally, I invite you to sign-up for my email newsletter, and follow me on social media for more crochet and yarnie goodness!
Newsletter
Facebook
Pinterest
Instagram
Ravelry

4 Responses