Why Ribbing?
Ribbing is typically thought of for sleeves, bottoms of sweaters and necklines in knitting. There are more crochet patterns with ribbing commonly made from backloop only single or double crochet, or the dreaded slip stitch like in the Openwork Top. (It took me FOREVER to finish the ribbing, but it felt great to finally finish, despite the change in gauge ?). I decided to experiment with a HDC (half double crochet) Ribbing after stumbling on a lovely knitted turban.
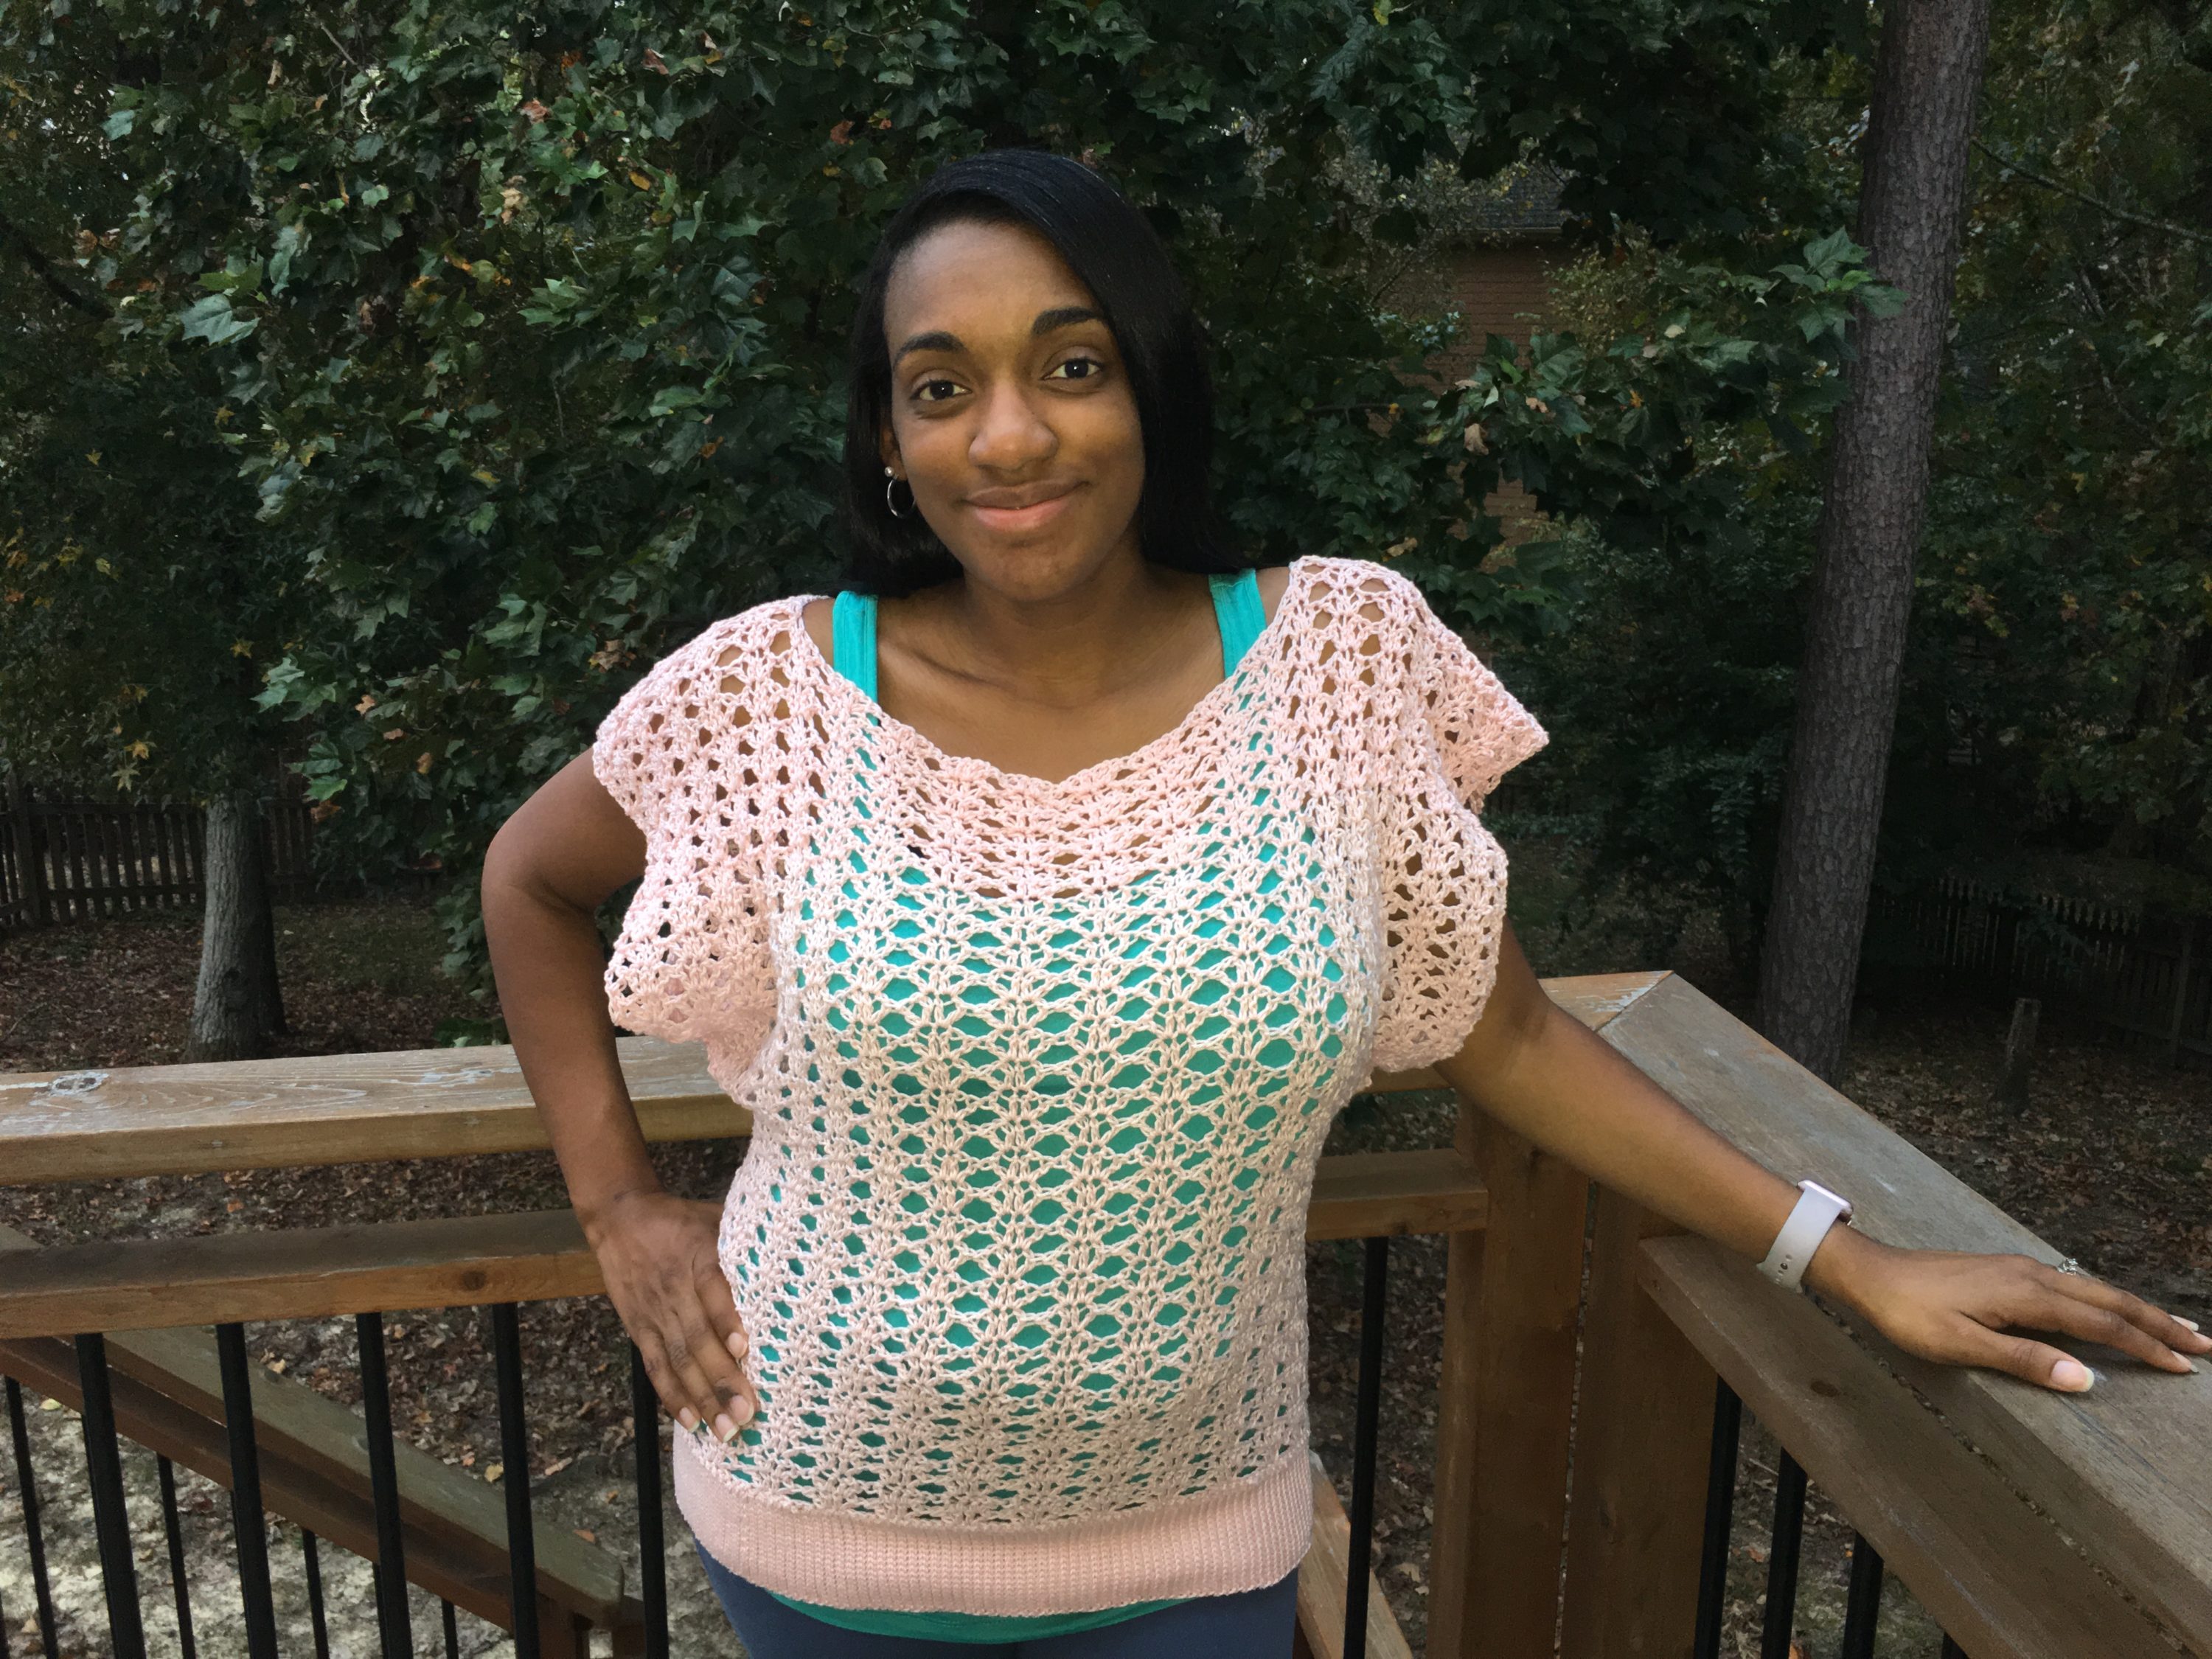
As I am not that great with knitting, I had to create a crochet version, and working in the third loop of HDC created a similar look. I’ve seen other crochet hats with HDC ribbing but working in the round or alternating between rows of half double crochet and slip stitch. I don’t know about you, but the slip stitch is only great in small doses for me, so I wanted to do it differently, so here is the method I used to create a turban for my former coworker/”Work Mom” as a gift as her health declined with a loss of hair (Rest in Heaven ‘Resa).
Check out the Terresa Turban to use this technique!
Materials Needed:
- some scrap yarn
- hook
Abbreviations:
- ch(s) = chain(s)
- hdc = half double crochet
- st(s) = stitch(es)
- YO =yarn over
Notes
- It helps to counts stitches at the end of the row to ensure you’re working through the right third loops and placing the last hdc in the top of the ch-2 to keep your rows even
- Working in the back bump of the chain creates a neater edge.
Let’s Get Started!
1. Ch 26 (see pic 1)
2. Hdc in 3rd ch from hook (the first two chs count as a hdc only in this row) (see pic 2), hdc in each ch across, turn (24 hdc) (see pic 3 and 4)
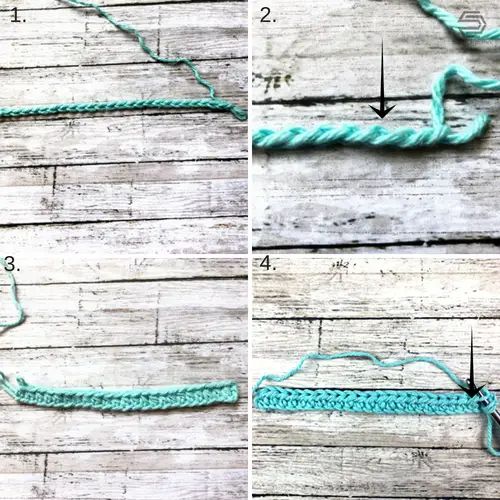
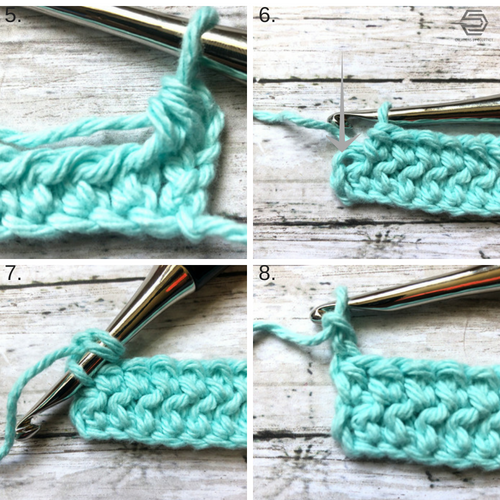
3. Ch 2 (does not count as st), YO, insert hook in first back third loop closet to hook (see pic 4), YO, pull up a loop, YO, pull through all three loops. (see pic 5)
4. Hdc in back third loop across to the end, place last hdc in top of ch-2, turn. (see pic 6 and 7)
5. Ch 2, (does not count as st), *YO, insert hook in front third loop, YO, pull up loop, YO, pull through all three loops. Repeat from * until end, place last hdc in top of ch-2, turn.
- Picture 8 shows the front of the stitch and the third loop that will be used
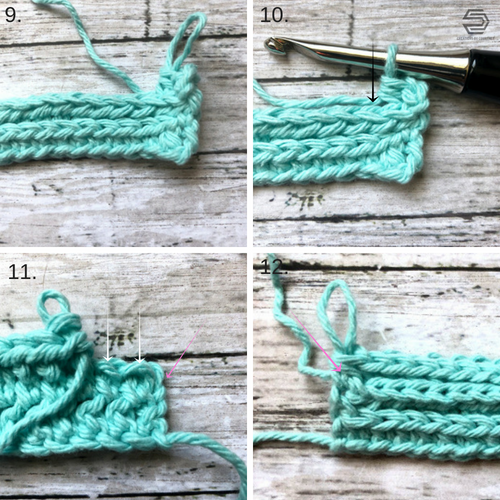
- Picture 9 shows the side facing you as you work, and the completion of the ch-2 and first hdc
6. Continue making hdc in the next st (see pic 10), hdc in each st across the row
- Picture 11: arrows indicate where the last three hdc will be places. The last hdc is worked in the top ch of the ch-2 of the previous row.
- Picture 12: Arrow points the last hdc worked in the ch-2
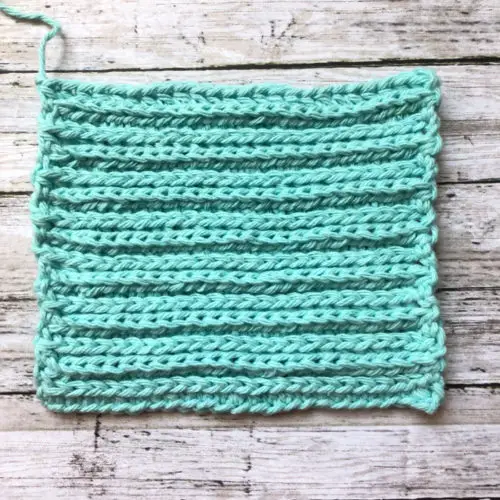
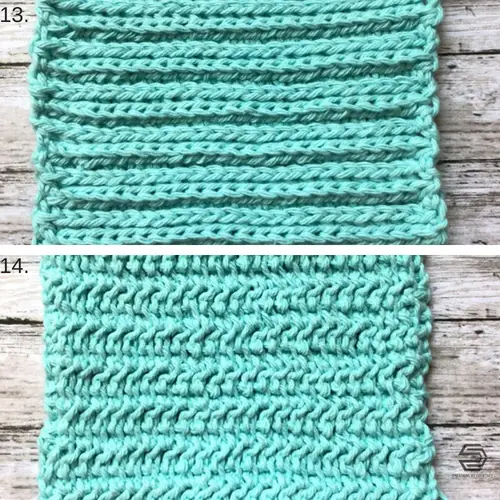
7. Alternate rows by working hdc in the back third loop and then the next row is working in the front third loop.
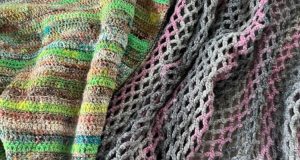
- Picture 13: front side of HDC ribbing
- Picture 14: back side of HDC ribbing
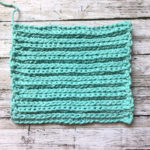
You now have a ribbing created with no slip stitches for flat projects. Stay tuned for a free pattern to practice this stitch!
Thank you for your support! ♥ You can pick up my latest free and paid pattern by visiting my website: https://www.creationsbycourtney.com/cbc-designs
Additionally, I invite you to sign-up for my email newsletter, and follow me on social media for more crochet and yarnie goodness!
Newsletter: http://eepurl.com/dHP80z
Facebook: https://www.facebook.com/creationsbycourtneyllc
Pinterest: https://www.pinterest.com/creationsbycourtney
Instagram: http://www.instagram.com/creationsbycourtneyllc
Ravelry: http://www.ravelry.com/designers/courtney-w-of-creations-by-courtney